
Discover eight trendy DIY craft ideas from TikTok that can quickly brighten your home and showcase your style. You can create boho-chic macramé wall hangings, personalize resin coasters with epoxy art, or upcycle old jeans into stylish tote bags. Add charm with washi tape candle jars, hand-paint geometric plant pots, craft customizable photo string lights, or experiment with tie-dye T-shirts. For cozy home accents, try faux fur pillows with unique stitches. Keep exploring these ideas to make your space uniquely yours.
Key Takeaways
- Discover popular TikTok DIY projects like macramé wall hangings and decorative candle jars for trendy home decor.
- Explore personalized crafts such as resin coasters and tie-dye fabric creations to showcase individual style.
- Learn upcycling ideas like denim tote bags to promote sustainable fashion in TikTok trends.
- Find faux fur and textile art projects, including plush pillows with unique stitching techniques, for cozy home accents.
- Use TikTok-inspired tutorials to combine creativity and current trends in easy, stylish DIY craft ideas.

FREEBLOSS DIY Macrame Leaf Wall Hanging Beginners Macrame Kit Leaf Woven Tapestry Feather Wall Hanging DIY Macrame Kit for Adults Birthday Gift
- Package Includes: Wooden stick, cotton ropes, beads, stickers, tools
- Bohemian Style Design: Vintage-inspired, artistic wall hanging decor
- Beginner Friendly: Easy instructions suitable for all skill levels
As an affiliate, we earn on qualifying purchases.
As an affiliate, we earn on qualifying purchases.
Macramé Wall Hangings for Boho Vibes
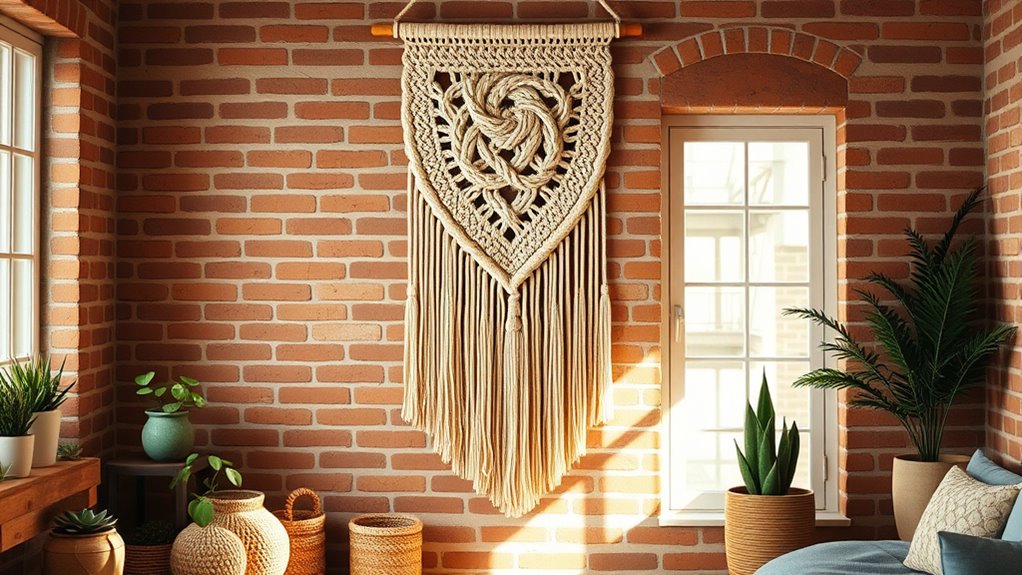
If you’re looking to add a relaxed, bohemian touch to your space, macramé wall hangings are an easy and stylish DIY project. You can customize them with different knots, beads, or fringe to match your vibe.
Start by choosing your cord and a dowel or branch as your base. Follow simple knotting techniques like square knots and spiral knots to create interesting textures.
As you work, experiment with length and pattern to make your piece uniquely yours. Hanging a macramé wall hanging instantly elevates any room, adding warmth and artistic flair.
Plus, it’s a fun way to unwind and craft something beautiful with your own hands. Once finished, hang it on a blank wall to give your space a cozy, boho-inspired upgrade.
Personalized Resin Coasters With Epoxy Art
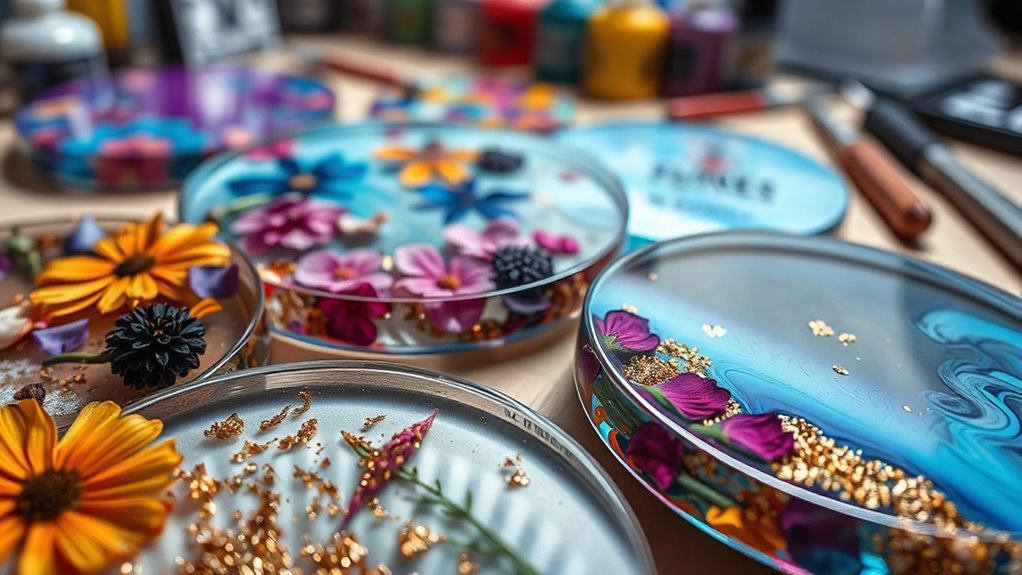
Building on your creative spirit, personalized resin coasters with epoxy art offer a fun way to craft functional decor. You can mix vibrant pigments, embed tiny charms, or even add dried flowers for a unique touch. As you pour the epoxy into molds, you’ll see your designs come alive with swirling colors and shimmering effects. This project lets you experiment with textures and patterns, turning simple coasters into art pieces. Imagine a coaster with marbled blues, gold flakes, or pressed florals—each one a reflection of your style. Here’s a visual to inspire you:
| Colors & Effects | Embeds & Add-ins | Final Look |
|---|---|---|
| Swirling blues | Dried flowers | Elegant, personalized |
| Gold flakes | Charms | Sparkling, unique |
| Marbled textures | Glitter | Eye-catching, trendy |
| Soft pastels | Small photos | Charming, memorable |
Additionally, using different dyes and effects can enhance the depth and visual interest of your epoxy art. Exploring customization techniques can help you tailor each piece to match specific themes or occasions. Incorporating state-specific retirement benefits might inspire you to consider crafting personalized items as thoughtful gifts for retirees or loved ones. You can also experiment with dog breed-inspired designs, such as incorporating features from your favorite breeds, to add a personalized touch to your creations. Exploring cost-effective asset division strategies could also motivate you to create meaningful, customized gifts for family and friends that celebrate your personal style.
Upcycled Denim Tote Bags
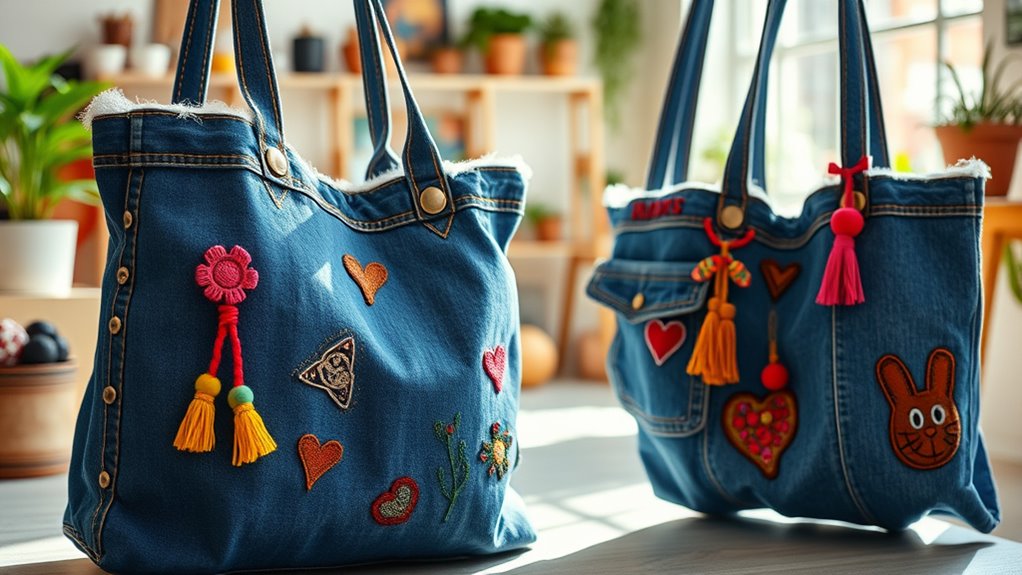
Start by cutting a pair of sturdy jeans just below the pockets, then trim the waistband and the bottom hem. Sew the sides together to create a roomy bag, and reinforce the handles with extra stitching or by adding fabric loops. Be sure to check the wear and tear of your jeans to ensure durability before starting the project. You can add personal touches like fabric patches, embroidery, or even paint for a unique look. These totes are perfect for groceries, books, or daily essentials.
Not only do you repurpose old jeans, but you also craft a durable, fashionable accessory that’s completely your own. It’s a simple project with a big, stylish impact.
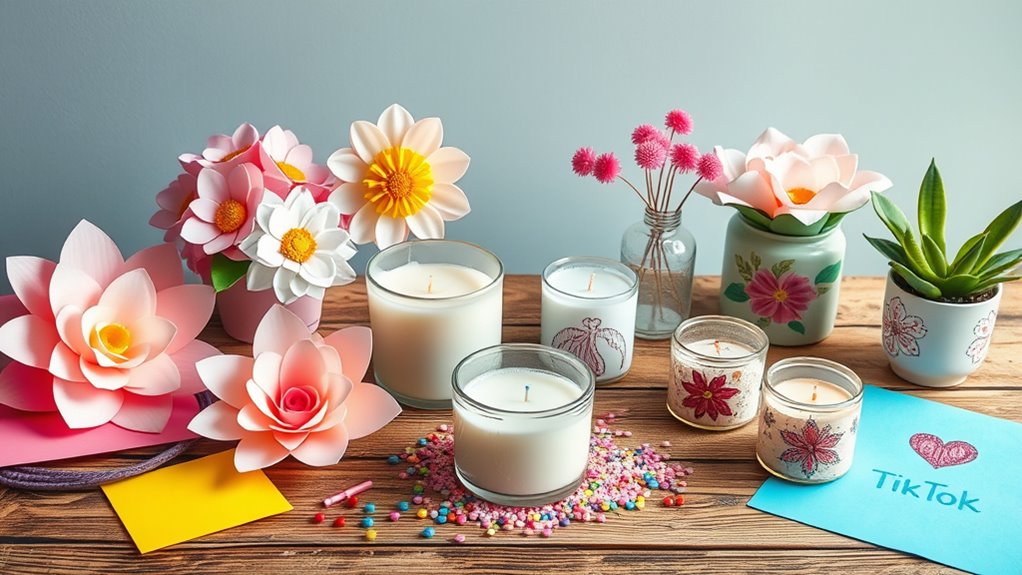
Decorative Candle Jars With Washi Tape Accents
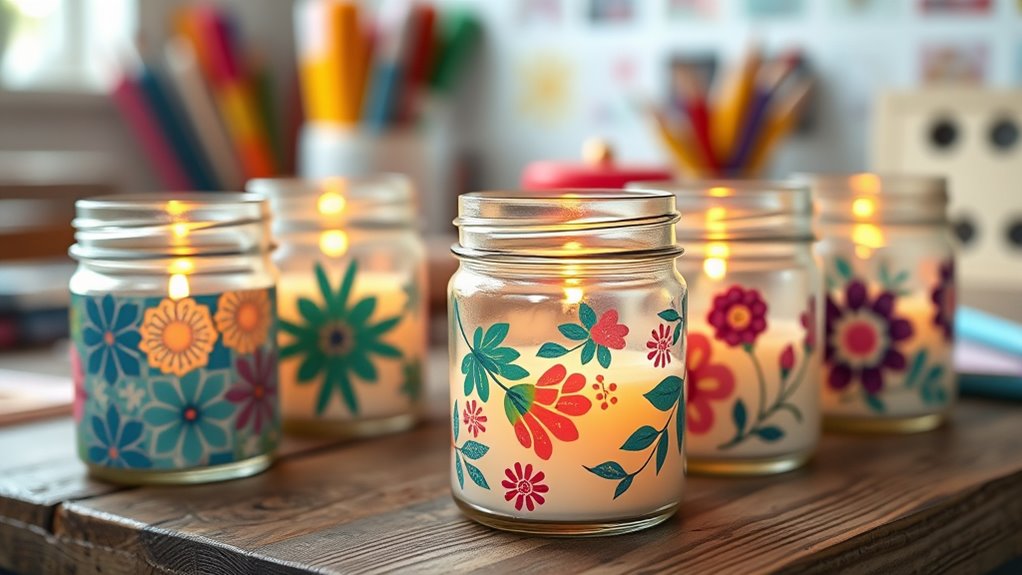
Decorative candle jars with washi tape accents are an easy way to add a personalized touch to your home decor. Start by selecting clear jars and your favorite washi tapes in various patterns and colors. Wrap the tape around the jars in creative ways—try horizontal stripes, zigzags, or layered designs for a unique look. You can also cut shapes or labels from the tape for added detail. For a more authentic farmhouse vibe, consider incorporating natural materials like twine or burlap alongside the washi tape. Incorporating eco-friendly elements can enhance the sustainability of your decor. To ensure your design is durable, choosing high-quality washi tape can help your accents stay intact longer. Fill the jars with candles or fairy lights to create a cozy ambiance. This craft requires minimal effort but makes a big impact. Plus, you can easily switch out the washi tape whenever you want a new look. It’s perfect for customizing your space or gifting a charming, handmade touch. Washi tape patterns can be varied to match different themes or seasons for an ever-changing display.
Hand-Painted Plant Pots With Geometric Designs
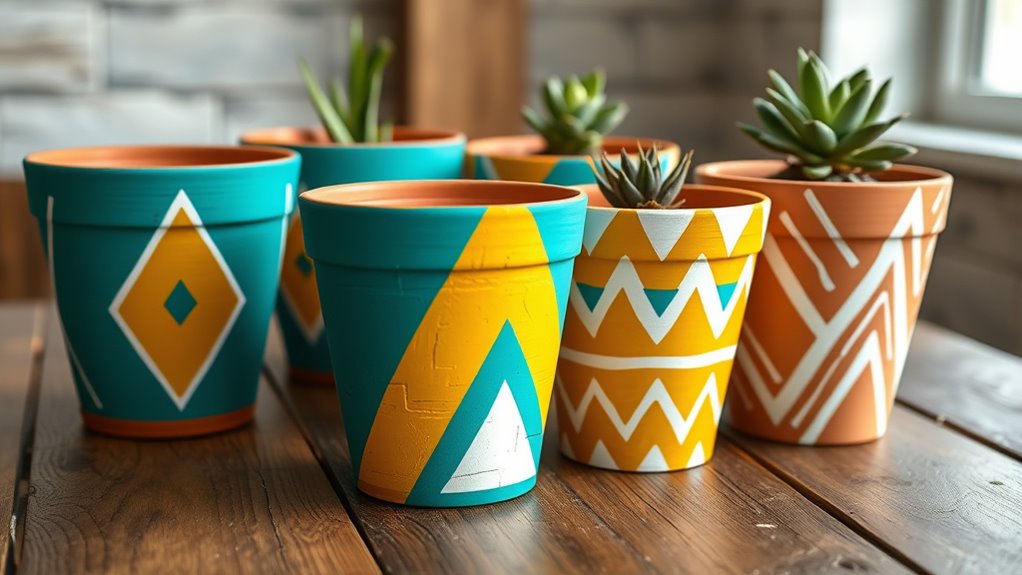
Transform plain plant pots into eye-catching pieces by adding bold geometric designs through hand painting. Choose a neutral base color for your pot, like white or black, to make your patterns pop. Use painter’s tape to create sharp lines and symmetrical shapes, ensuring a professional look.
Pick vibrant paint colors such as teal, mustard, or coral to add visual interest. Be patient and let each layer dry before adding new details. You can experiment with triangles, squares, or chevrons for a modern vibe.
This craft is perfect for customizing your indoor or outdoor plants and adds a trendy touch to your home decor. Plus, it’s a fun, budget-friendly activity that lets your creativity shine.
Customizable Photo String Lights
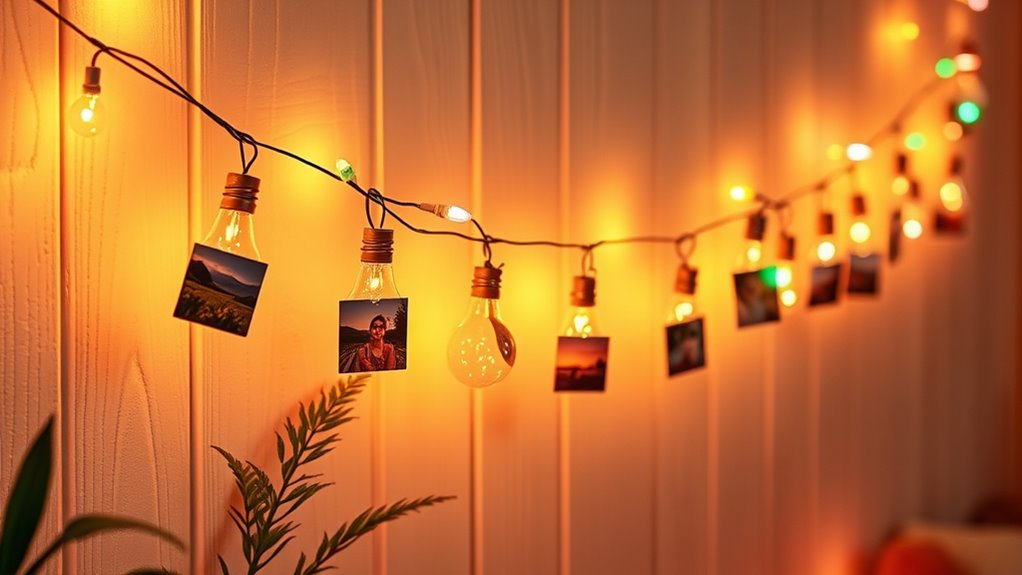
Create a personalized ambiance by turning string lights into a gallery of your favorite memories. You can easily craft customizable photo string lights to brighten up any space. Start by printing small photos or polaroids, then attach them to the string lights using mini clothespins or clips. To add a personal touch, consider decorating the clips with washi tape or paint. Here are three ideas to enhance your project:
- Create a themed display by organizing photos in chronological order or by color scheme.
- Incorporate fairy lights behind the photos for a glowing effect, which can also highlight your favorite images more vividly. Using high-quality filtration systems can help keep your environment fresh and allergen-free while enjoying your decor. Additionally, choosing the right cleaning methods for your lighting setup ensures longevity and safety.
- Add small decorative elements like mini flags, paper flowers, or charms to the clips for extra flair. Incorporating keto-friendly ingredients into your home decor can also inspire healthier lifestyle choices. This DIY transforms your cherished memories into a charming, functional decor piece. Utilize apps or journals for efficient photo printing and organization, making your craft even easier and more personalized.
DIY Tie-Dye T-Shirts and Accessories
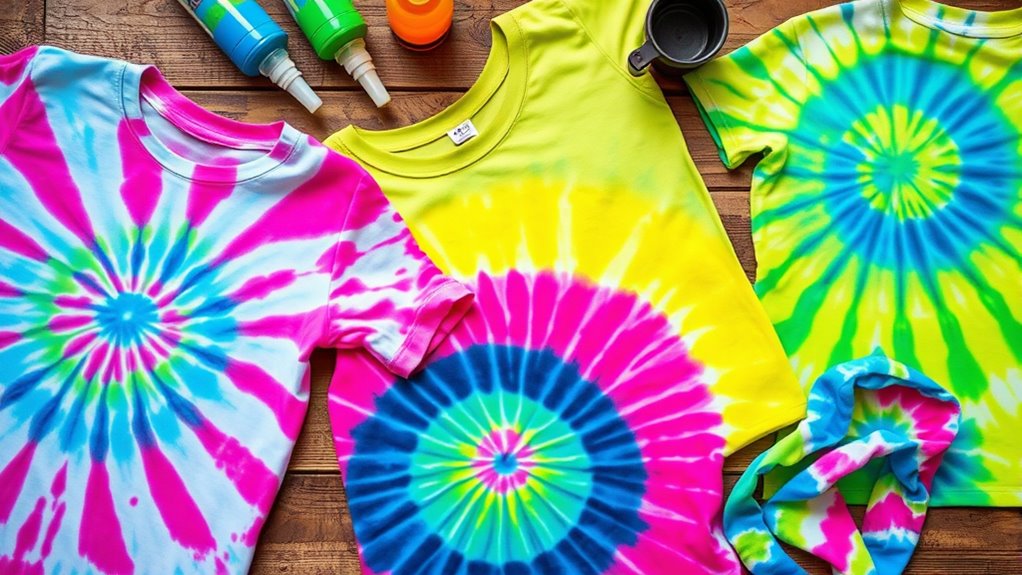
If you’re looking to add a burst of color and personality to your wardrobe, DIY tie-dyeing is the perfect project to try. It’s fun, creative, and surprisingly easy to do at home.
Start by choosing plain white T-shirts or accessories like tote bags, socks, or bandanas. Mix your favorite dye colors according to the package instructions, then fold, twist, or crumple your fabric to create unique patterns. Proper dye application is key to achieving vibrant and true-to-life results in your designs.
Apply the dye with squeeze bottles or brushes for precision. Wrap your items in plastic and let the dye set for several hours or overnight.
Rinse, wash, and reveal your vibrant, one-of-a-kind creations. Tie-dye adds a retro vibe to any outfit, and making your own lets you experiment with endless color combinations and patterns.
Faux Fur Throw Pillows With Unique Stitching
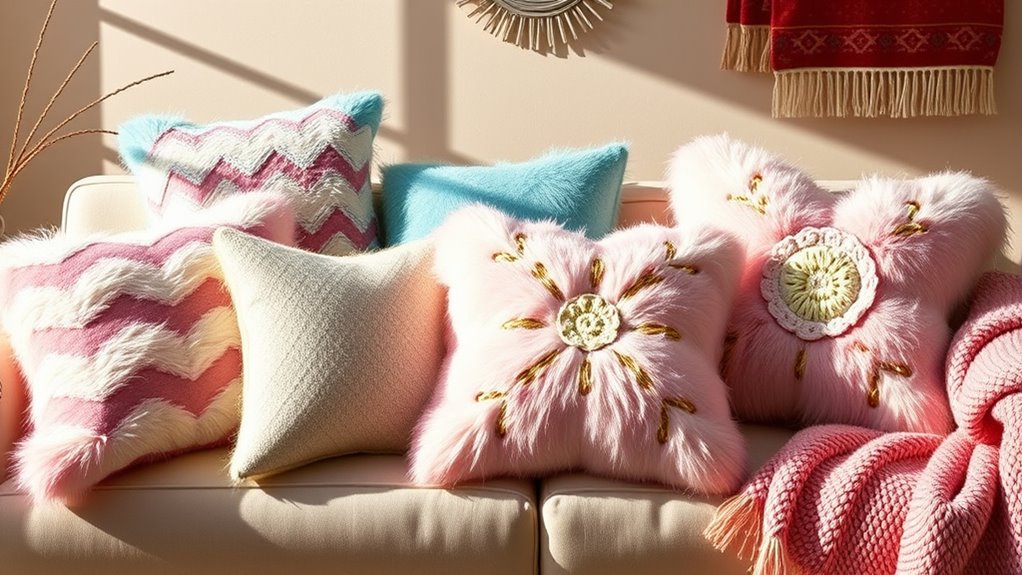
Start by selecting plush faux fur that feels soft and luxurious to create a cozy vibe. Experiment with creative stitching techniques like contrasting threads or decorative patterns to make your pillows stand out. Incorporate textile art techniques such as embroidery or decorative stitching for added texture and visual interest. Additionally, exploring mood board inspiration can help you visualize and coordinate your designs with existing decor. Incorporating fabric selection ensures your pillows have the right feel and durability for everyday use. Considering emotional alignment can also inspire designs that resonate positively within your space. Developing leadership skills during your crafting process can enhance your confidence and creativity, making the project more enjoyable. Finally, learn styling tips to seamlessly incorporate your unique pillows into your home decor.
Choosing Plush Faux Fur
Choosing plush faux fur for your throw pillows requires paying attention to texture and quality, as these factors considerably impact the overall look and feel. You want a fabric that’s soft, dense, and durable to guarantee your pillow stays cozy and maintains its shape. Look for faux fur with consistent pile height and vibrant color to enhance your design. Additionally, selecting a high-quality material can help prevent common issues such as shedding or matting over time, ensuring your pillows remain beautiful for years to come long-term durability.
Here are three tips to choose the best plush faux fur:
- Check the backing material for sturdiness and ease of sewing.
- Opt for high-pile faux fur for a luxurious, fluffy appearance.
- Test the fabric’s softness by feeling it in person or reading reviews.
These steps will help you pick the perfect faux fur for your DIY pillows, ensuring a stylish and comfortable result.
Creative Stitching Techniques
Adding creative stitching techniques to your faux fur throw pillows can instantly elevate their style and uniqueness. Instead of basic seams, try decorative stitches like zigzag, cross-stitch, or running stitch to add texture and visual interest. You can also experiment with variations such as contrasting thread colors or layered stitches for a modern touch. To help visualize, here’s a quick guide:
| Stitch Type | Effect | Best Use |
|---|---|---|
| Zigzag | Adds texture | Edging or detail |
| Cross-stitch | Creates pattern | Center accents |
| Running stitch | Simple & elegant | Outlines or borders |
Using these techniques, your pillows will stand out with stylish, handcrafted flair, transforming simple faux fur into a statement piece.
Styling Tips for Decor
To showcase your faux fur throw pillows with unique stitching, consider incorporating them thoughtfully into your decor for maximum impact. Place them on neutral-toned sofas or beds to let their textures stand out. Mix and match different stitch styles to add visual interest and depth.
Here are some styling tips:
- Pair with minimalist furniture to highlight the pillows’ texture.
- Use complementary colors to make the stitching pop.
- Arrange pillows asymmetrically for a relaxed, inviting look.
Frequently Asked Questions
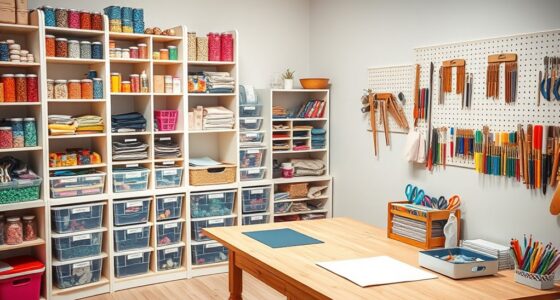
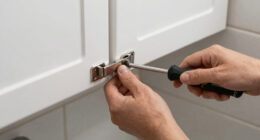
What Are the Best Tools for Beginner DIY Craft Projects?
For beginner DIY craft projects, you want simple, versatile tools. Start with scissors for cutting, glue or a hot glue gun for sticking, and basic paint supplies for decorating.
A ruler or measuring tape helps with precision, while a craft knife can be useful for more detailed work. Don’t forget a cutting mat to protect your surfaces.
These tools make your projects easier and more enjoyable without overwhelming you.
How Can I Choose the Right Colors for My Crafts?
Choosing the right colors for your crafts is like selecting your favorite playlist—you want harmony and excitement.
Start by considering your project’s mood and your personal taste. Use color theory basics, like complementary or analogous colors, to create balance.
Don’t be afraid to experiment—trust your instincts and see what sparks joy.
Are There Eco-Friendly Materials Suitable for DIY Projects?
You’re wondering if eco-friendly materials work for your DIY projects, and the answer is yes. You can use natural fabrics like cotton, linen, or jute, and opt for biodegradable glues, paints, and adhesives.
Recycled materials, such as cardboard, glass, and plastic, are also great choices. By choosing sustainable options, you create beautiful crafts while reducing environmental impact.
It’s easy to make eco-friendly crafts that look fantastic and help the planet.
How Can I Personalize Crafts for Special Occasions?
Imagine your crafts as heartfelt stories waiting to be told. You can personalize them for special occasions by adding meaningful touches like handwritten notes, custom colors, or themed embellishments.
Use photos, charms, or ribbons that reflect the recipient’s personality or the event’s vibe. By tailoring each detail, your creations become memorable keepsakes, turning simple crafts into treasured tokens of celebration that truly resonate with everyone involved.
What Safety Tips Should I Follow During DIY Crafting?
When you’re doing DIY crafts, safety is key. You should always work in a well-ventilated area and wear protective gear like gloves and goggles if needed.
Keep sharp tools and hot glue guns away from children and handle them carefully.
Read instructions thoroughly before starting, and never leave your craft unattended when using electrical tools.
Conclusion
Now, isn’t it funny how just yesterday, I found myself trying that same resin coaster project after seeing it on TikTok? These DIY ideas aren’t just trendy—they’re surprisingly easy to make, and you might just discover a new hobby or gift your friends something special. So go ahead, pick one or two from this list, and see where your creativity takes you—you never know, you might end up loving the process more than you expect.