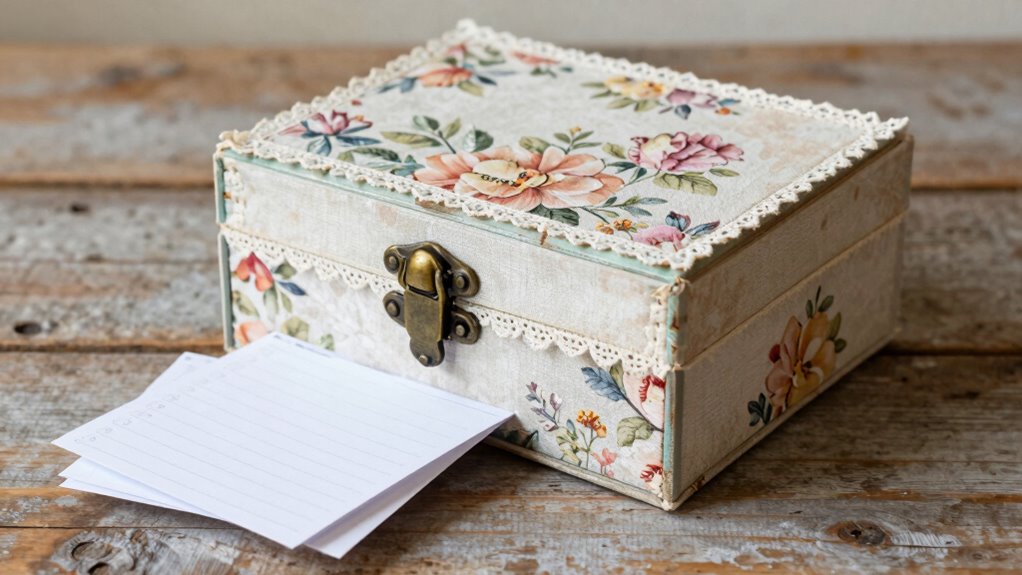

To make a handmade recipe card box, start by selecting sturdy cardstock or decorative paper that matches your kitchen style. Cut and fold it into a box shape, then glue the edges and reinforce them for durability. Decorate the outside with stickers, labels, or stamped designs, and add small internal dividers for organization. Fill it with labeled recipe cards, and personalize with quotes or notes inside. Keep going to discover more tips for creating a stylish, functional recipe box that suits your taste.
Key Takeaways
- Select sturdy cardstock and measure/cut to desired dimensions for the box and lid.
- Fold and glue the sides, bottom, and lid, reinforcing edges for durability.
- Decorate the exterior with patterned paper, stickers, or labels to match your kitchen style.
- Create dividers from thinner cardboard to organize different recipe categories inside.
- Add labels, quotes, or notes on the inside for personalization and inspiration.
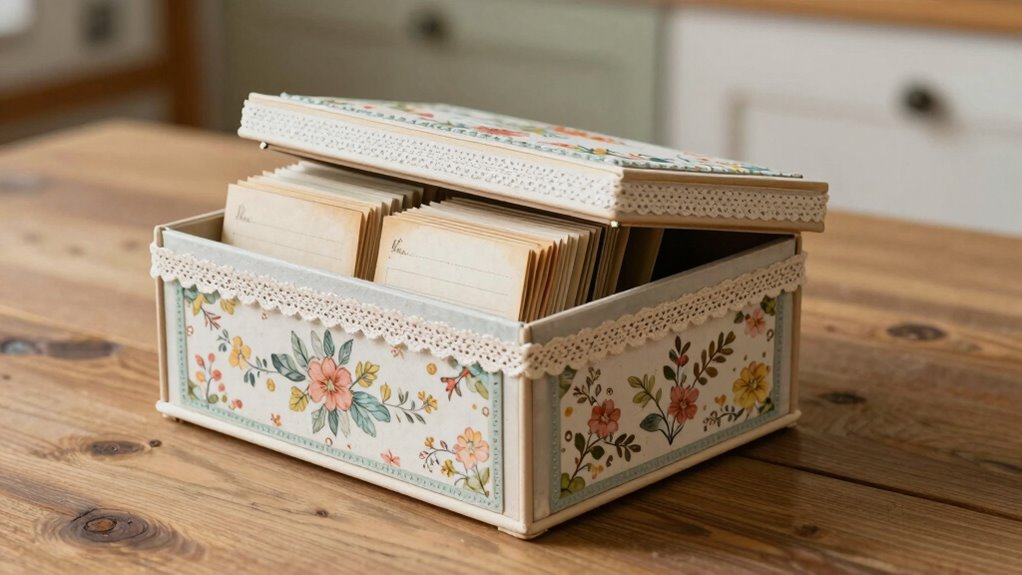
If you’re looking for a charming way to organize your favorite recipes, making a handmade recipe card box is a fun and rewarding project. Not only does it add a personal touch to your kitchen, but it also helps keep your recipes neat and accessible. To start, gather your materials: sturdy cardstock or decorative paper, scissors, glue, a ruler, and optional embellishments like stickers or stamps. Choose colors or patterns that match your kitchen’s style, making the box both practical and eye-catching.
Begin by measuring and cutting your cardstock to create the main body of the box. A typical size might be around 6 inches tall, 8 inches wide, and 4 inches deep, but you can customize these dimensions based on your collection. Use the ruler to ensure straight, clean lines, and cut carefully. To assemble, fold along the edges to form the sides, bottom, and lid. Use glue to secure the corners, making sure everything stays sturdy. Reinforcing the edges with extra glue or double-sided tape can help your box withstand frequent use.
Measure, cut, fold, and glue your cardstock to create a sturdy, customizable recipe box that reflects your kitchen style.
Decorate the outside of your box with your chosen paper or embellishments. Personal touches like handwritten labels, stickers, or stamped designs make your recipe box unique. If you’re into cooking tips, you might add small notes or quotes about favorite dishes or cooking techniques. These little details can serve as inspiration every time you open your box, making it a functional piece of kitchen organization that also reflects your personality. Exploring CAD designs or printable templates can assist in creating precise patterns or labels for your box.
For the inside, consider adding dividers or small compartments to organize recipes by categories like appetizers, mains, desserts, or dietary preferences. You can create dividers from thinner cardboard or heavier paper, securing them with glue or inserting tabs for easy removal. When you’re ready, fill your handmade box with index cards or special recipe cards, each labeled clearly for quick reference. Keep frequently used recipes at the top for convenience, and store less common ones toward the back. Incorporating background checks or fraud prevention tips can help safeguard your personal information if you plan to share your recipes online or via digital devices. Incorporating custom labels or printable templates can also add a professional touch and help keep your collection organized.
A well-organized recipe card box not only makes cooking easier but also encourages you to experiment with new dishes. It becomes a treasured keepsake as your collection grows, making your kitchen a more inviting space. With your own handmade recipe card box, you’ll enjoy a seamless blend of style and function—an essential part of good kitchen organization and cooking tips rolled into one charming project. Incorporating smart appliances, such as air purifiers or robot vacuums, can further enhance your kitchen environment, ensuring it stays clean and comfortable for cooking and organizing.

DRASTAR Recipe Card Box, Acacia Recipe Holder 4×6, Recipe Organizer with 50 Cards and 6 Dividers, Index Card Box, Wooden Box for Kitchen Countertop
- Functional Recipe Organizer: Groove on lid for easy recipe access
- Solid Acacia Construction: Handcrafted from durable acacia wood
- Ample Storage Capacity: Holds up to 300 recipe cards
As an affiliate, we earn on qualifying purchases.
As an affiliate, we earn on qualifying purchases.
Frequently Asked Questions
What Materials Are Best for a Sturdy Recipe Card Box?
For a sturdy recipe card box, you want durable materials like thick cardboard or chipboard as your base, providing good structural reinforcement. Cover it with decorative embellishments like patterned paper or fabric to enhance its appearance. Use strong adhesive and possibly a clear sealant to protect your design. Adding reinforcements to the corners and edges guarantees longevity, making your handmade box both beautiful and sturdy enough to last through years of cooking adventures.
How Can I Personalize My Recipe Card Box?
You can personalize your recipe card box by adding a custom touch, like painting or decorating it with favorite colors or patterns. For example, if you love floral designs, paint delicate flowers on the lid for a charming look. Use personalization tips like writing your name or a meaningful quote on the front. This makes your recipe storage uniquely yours and adds sentimental value, making it a special keepsake.
What Size Should the Card Slots Be?
You should make your card slots about 4×6 inches, which comfortably fits standard recipe cards. When measuring, use measurement tips like a ruler or measuring tape to guarantee accuracy, and leave a small margin for easy card removal. Adjust the dimensions slightly if your cards are larger or smaller. Consistent card slot dimensions give your recipe box a neat look and make it easier to organize and find recipes quickly.
How Do I Seal or Waterproof the Box?
To waterproof your recipe card box, apply a waterproof sealant, like a clear spray or liquid, over the entire surface, especially the edges and corners. For extra protection, use waterproof tape along the seams and edges to prevent water from seeping in. Make sure the sealant dries completely before handling the box. This combination of sealant and tape keeps your recipe cards safe from moisture and spills.
Can I Use Recycled Materials for the Project?
Think of your project as a garden thriving with recycled ideas. Yes, you can definitely use recycled materials for your recipe card box, making it an eco-friendly option. Old cereal boxes, tin cans, or scrap paper become the building blocks of your creative work. Not only are you helping the environment, but you’re also turning everyday items into charming, unique storage solutions that tell a story of sustainability and resourcefulness.
Conclusion
Now that you’ve crafted your own recipe card box, you’ve got a charming, personalized space to keep your favorite recipes organized—like a treasure chest for culinary gems. Every time you flip open the lid, you’ll feel a sense of pride, knowing you created something special with your own hands. It’s a simple project that adds a touch of warmth to your kitchen, turning everyday cooking into a delightful adventure, just like opening a gift every time.