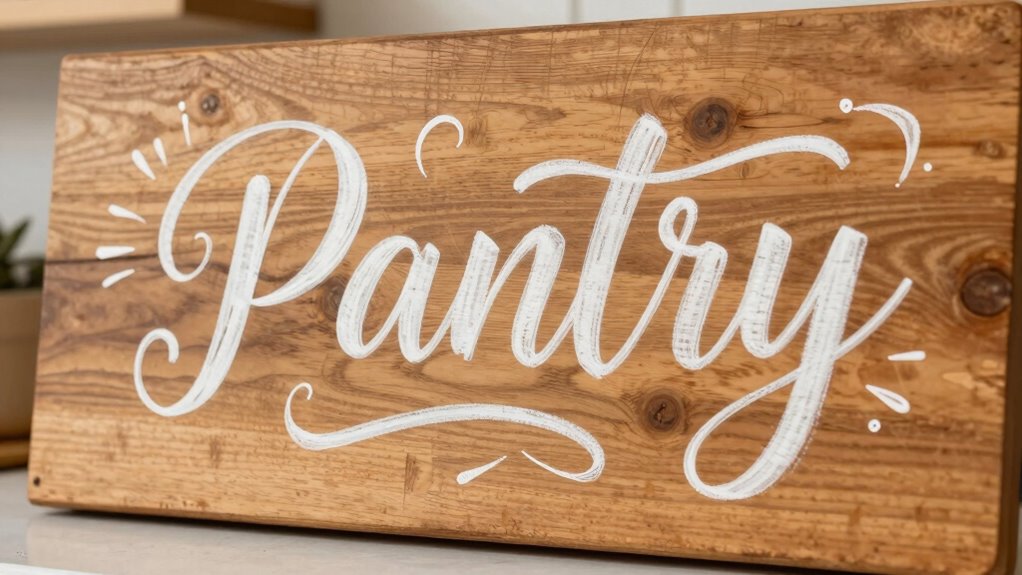

To make a hand-lettered pantry sign, start by choosing materials like chalkboard paint or sturdy paper and gather your tools—chalk, markers, and pencils. Practice calligraphy basics such as upstrokes and downstrokes to improve your lettering. Lightly sketch your design and layout before finalizing, then add decorative elements for extra charm. Once done, seal your sign with a protective spray to guarantee it lasts. Continue exploring detailed tips to create a beautiful, personalized piece.
Key Takeaways
- Choose a suitable surface like chalkboard or painted wood for your sign.
- Sketch your design lightly with pencil, planning layout and lettering style.
- Use chalk, chalk markers, or paint pens to carefully hand-letter your message.
- Add decorative elements like borders or banners to enhance visual appeal.
- Seal the finished sign with a protective spray for durability and long-lasting display.

Creating a hand-lettered pantry sign adds a charming, personalized touch to your kitchen decor. Whether you want to label your shelves or add a welcoming message, mastering a few calligraphy techniques can elevate your sign from simple to stunning. Start by choosing a style that suits your taste, such as classic calligraphy, modern brush lettering, or playful chalkboard styles. Chalkboard styles are particularly popular because they’re easy to customize, erase, and reuse, making them perfect for a pantry sign. Plus, they give your space a rustic, vintage feel that’s both warm and inviting.
Creating personalized pantry signs with hand lettering adds charm and warmth to your kitchen decor.
To begin, gather your materials. For chalkboard styles, you’ll need a chalkboard surface or a chalk-painted surface, along with chalk or chalk markers. If you prefer a more polished look, consider using a permanent marker or paint pens designed for chalkboard surfaces. When it comes to calligraphy techniques, practicing basic strokes like upstrokes and downstrokes is essential. Use light pressure on upstrokes and apply more pressure on downstrokes to create contrast and a beautiful, flowing letterform. This contrast is the foundation of many calligraphy styles and gives your sign that professional touch. Developing your calligraphy skills through consistent practice can significantly enhance the overall appearance of your sign. Practicing lettering techniques regularly can help you achieve more polished and confident strokes. Additionally, exploring different lettering styles can add variety and personality to your design. Engaging with calligraphy tools can also improve your control and precision, leading to more refined results.
Once you’ve familiarized yourself with the basic strokes, sketch your design lightly with a pencil. Planning your layout is important, especially if you’re including decorative flourishes or multiple words. Keep your letters consistent in size and shape, and consider using guidelines to maintain straight, even lines. If you’re experimenting with chalkboard styles, try incorporating some decorative elements like banners, arrows, or borders to frame your message. These embellishments add visual interest and make your sign stand out. Remember, with chalk or chalk markers, you can easily erase and adjust your design as needed, so don’t hesitate to make changes until it feels just right. Additionally, using automated grammar correction tools can help ensure your text is polished and error-free before you finalize your design. This step can be especially helpful if you’re including longer or more complex phrases. To further enhance your finished piece, consider sealing it with a protective spray to prevent smudging or fading over time.
As an affiliate, we earn on qualifying purchases.
Frequently Asked Questions
What Materials Are Best for Outdoor Pantry Signs?
For outdoor pantry signs, you should choose weather-resistant materials like metal, treated wood, or plastic to withstand the elements. Use durable outdoor paints that resist fading and peeling, ensuring your sign stays vibrant. Apply a clear sealant to protect your handiwork from rain, sun, and wind. These materials and paints help your sign stay attractive and intact, even with exposure to harsh weather conditions.
How Long Does Hand Lettering Typically Last?
You might worry about lettering durability and weather resistance, but with proper sealing, your hand-lettered pantry sign can last several years. Typically, high-quality paints and sealants guarantee your lettering withstands sunlight, moisture, and temperature changes. If you use outdoor-specific materials and apply a protective clear coat, your sign should stay vibrant and legible for three to five years, maintaining its charm despite outdoor conditions.
Can I Customize the Sign for Different Kitchen Styles?
Yes, you can definitely customize your hand-lettered pantry sign to match different kitchen styles. Your personalized decor can reflect rustic, modern, vintage, or eclectic aesthetics by choosing appropriate colors, fonts, and embellishments. Style adaptability is key, so feel free to experiment with various design elements to guarantee your sign complements your kitchen’s unique vibe. This flexibility helps create a harmonious look that truly feels like your own.
What Are Common Mistakes to Avoid in Hand Lettering?
Almost 60% of beginners struggle with lettering techniques, leading to uneven or messy signs. To avoid this, focus on maintaining design consistency and practicing steady strokes. Don’t rush your work, as inconsistent letter sizes or spacing can detract from your sign’s charm. Use guidelines to keep letters uniform, and choose the right tools. Remember, patience and attention to detail are key to creating beautiful, professional-looking hand-lettered signs.
How Do I Fix Mistakes in My Hand-Lettered Sign?
To fix mistakes in your hand-lettered sign, start with mistake correction by gently erasing or scraping off the errors if you’re working with pencil or chalk. If using ink or marker, try carefully layering over the mistake with matching ink or paint. Keep your lettering tips in mind—use a steady hand and consistent pressure. Practice on scrap paper first, and don’t be afraid to redo sections for a cleaner, more polished look.
Conclusion
Now that you’ve crafted your hand-lettered pantry sign, you’ve turned a simple space into a canvas of your personality. It’s like adding a splash of color to an otherwise monochrome world—transforming the ordinary into something special. With your newfound lettering skills, you’ve painted a piece of yourself onto your home’s walls. So hang it proud, and let your pantry be a little more cheerful, a little more you—proof that even the smallest details can make a big difference.