
To create DIY essential oil candles, start by gathering high-quality wax, wicks, containers, and your favorite essential oils. Melt the wax carefully using a double boiler or microwave, then add your chosen essential oils—about 6-10 drops per cup of wax—stirring well. Secure the wick in the container’s center, pour the melted wax, and let it cool undisturbed. Once set, trim the wick and enjoy your personalized aromatic creation; discover more tips below.
Key Takeaways
- Select a suitable heat-resistant container and measure wax about 20% more than the jar volume.
- Melt wax using a double boiler or microwave, maintaining a temperature of 170-180°F.
- Choose and blend essential oils to create your desired fragrance, adding small amounts and stirring well.
- Secure the wick centrally, pour melted wax slowly, and allow the candle to cool undisturbed.
- Trim the wick to about ¼ inch after cooling to ensure safe, even burning and optimal candle performance.
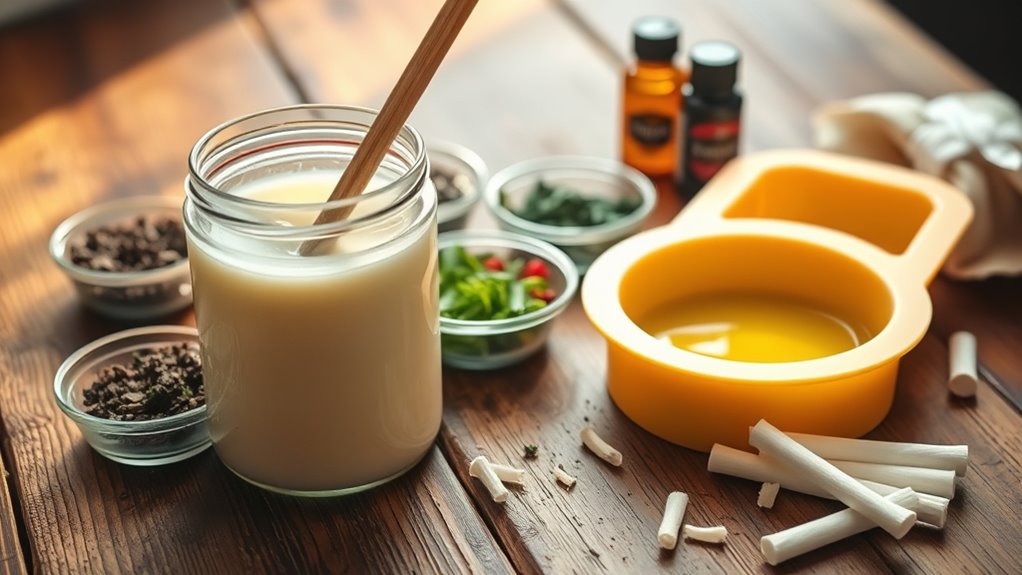
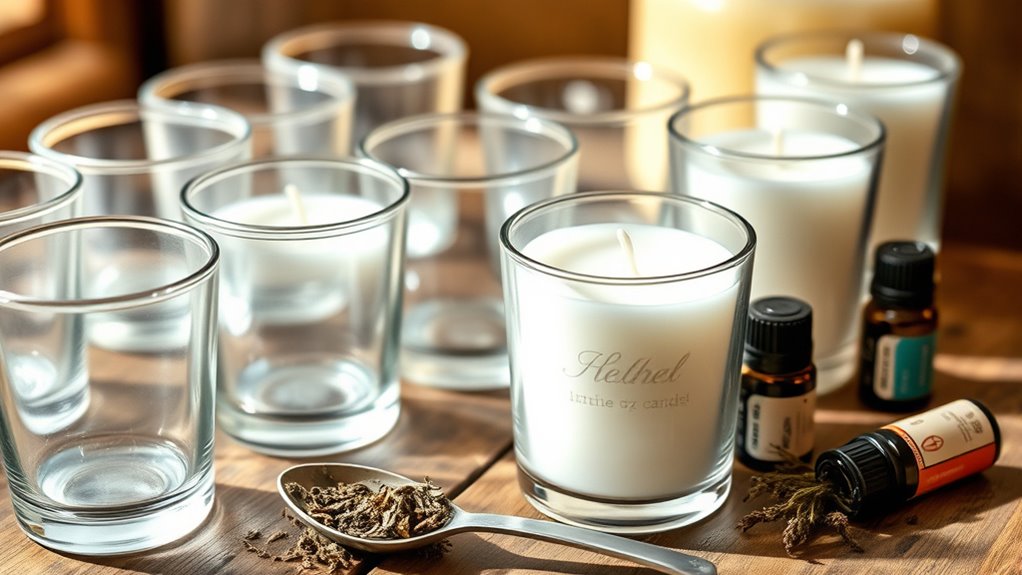
Gather Your Materials and Tools
Before you begin making your candles, it’s important to gather all the necessary materials and tools. First, pick a clean, heat-resistant container or candle jar with a secure lid. You’ll need wax—either soy, beeswax, or paraffin—measured according to your jar size. Get a double boiler or a microwave-safe container to melt the wax safely. Have a thermometer on hand to monitor the temperature. You’ll also need wicks, preferably cotton or wood, and wick centering devices to keep them in place. Don’t forget essential oils or fragrance blends for scenting your candles, along with stirring sticks or spoons. Ultimately, prepare protective gloves and paper towels for easy cleanup. Gathering everything beforehand ensures a smooth, stress-free candle-making process. For added ambiance, consider incorporating essential oils into your candles to create personalized scents. Additionally, understanding candle safety precautions and proper wick placement can help prevent accidents during the process. Remember that air purifier features such as filter types and maintenance are important for ensuring clean indoor air during any DIY project involving fumes or scents.
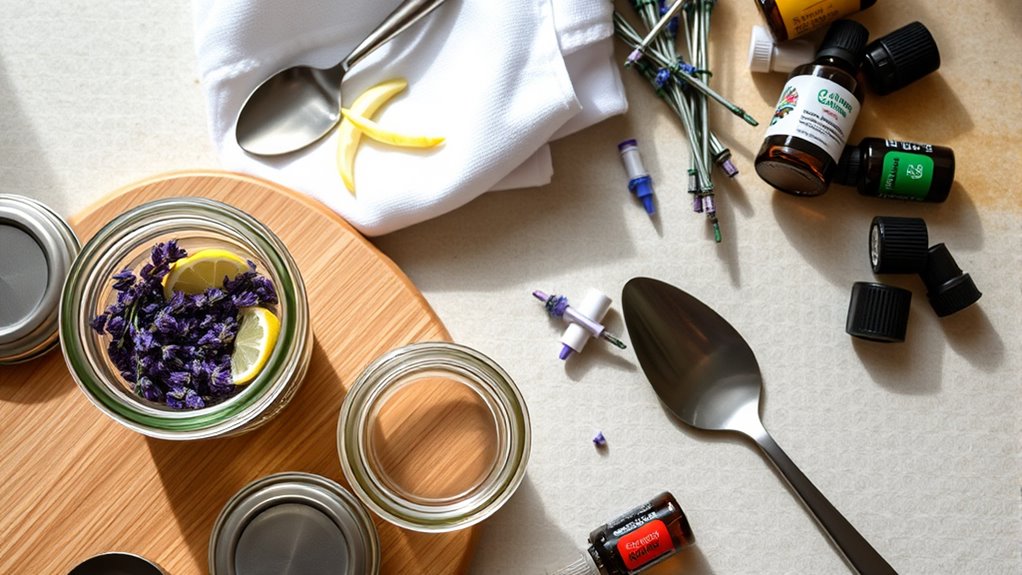
Choose Your Essential Oils and Fragrance Blends
Choosing the right essential oils sets the mood for your candles, so think about the scents you love. Experiment with different combinations to create unique fragrance blends that suit your space. Keep in mind the strength of each oil to balance the overall aroma and avoid overpowering your room. Additionally, consider how emotional bonds can transcend time to select scents that evoke meaningful memories or feelings. Remember that aroma therapy benefits can enhance your overall well-being, making your candle-making experience even more rewarding. Exploring artistic complexities and the ways colors and forms evoke emotional responses can also inspire your fragrance choices, adding depth to your candles. Incorporating knowledge of market trends and consumer preferences can help you craft scents that are both personal and appealing to others. Understanding private placement strategies may also guide you in creating products that resonate with targeted audiences seeking bespoke sensory experiences.
Selecting Aromatic Scents
Selecting the right aromatic scents is a crucial step in creating candles that evoke the mood and ambiance you desire. Think about the atmosphere you want to create—calm, energizing, romantic, or cozy—and choose essential oils that align with that vibe. For calming effects, opt for lavender or chamomile; for energizing scents, try citrus oils like orange or lemon. Consider the strength of each scent, as some oils are more potent than others. Keep in mind that aroma intensity can vary depending on the amount used. Avoid overwhelming your candle with too many overpowering scents; instead, aim for a harmonious balance. Experimenting with different oils allows you to craft a personalized fragrance profile that reflects your preferences and enhances your space. Additionally, understanding how essential oils combine can help you create unique and balanced blends that complement each other beautifully. Exploring the therapeutic properties of different oils can help you select scents that promote specific moods or benefits. Researching the aromatic profiles of essential oils can further refine your choices to achieve the desired atmosphere. Being aware of AI vulnerabilities in safety measures ensures that your candle-making process remains secure, especially if you incorporate smart or automated tools.
Crafting Fragrance Combinations
Creating appealing fragrance combinations involves mixing essential oils thoughtfully to achieve a balanced and harmonious scent profile. Start by choosing oils that complement each other, such as pairing citrus with floral or herbal with woody notes. Consider the dominant scent you want and build around it with supporting oils. For example, blend lavender with a hint of eucalyptus for a calming aroma, or combine orange with cinnamon for a warm, inviting feel. Use a few drops of each oil; too many can overpower the candle. Experiment with small batches to find your perfect blend. Remember, some scents energize, while others soothe, so pick combinations that match the mood you want your candle to evoke. Incorporating knowledge of essential oil blending principles can help you create more balanced and appealing fragrances. Additionally, understanding the drainage of essential oils can inform how you layer scents for a more complex aroma. Familiarity with dog names can inspire creative themes or personal touches in your candle presentation. Being aware of the importance of proper dilution ensures safety and optimal scent throw in your candles. When choosing your essential oils, consider their therapeutic properties to enhance the mood or effect you desire from your candle.
Balancing Intensity Levels
Balancing the intensity levels of your essential oils is key to crafting a harmonious candle scent. You want to avoid overpowering aromas that can be overwhelming or too subtle that they go unnoticed. To achieve balance, start with small amounts of each essential oil and gradually add more until you reach the desired strength. Keep in mind that some oils, like cinnamon or clove, are naturally stronger, so use them sparingly. Conversely, lighter oils, such as chamomile or citrus, can be increased without overwhelming the blend. Mix and test your fragrance in small batches to gauge how the scents develop when heated. By fine-tuning the ratios, you ensure your candle has a well-rounded, inviting aroma that’s pleasing and balanced. Additionally, considering the water content of your oils can help prevent separation or uneven burning in your finished candles.
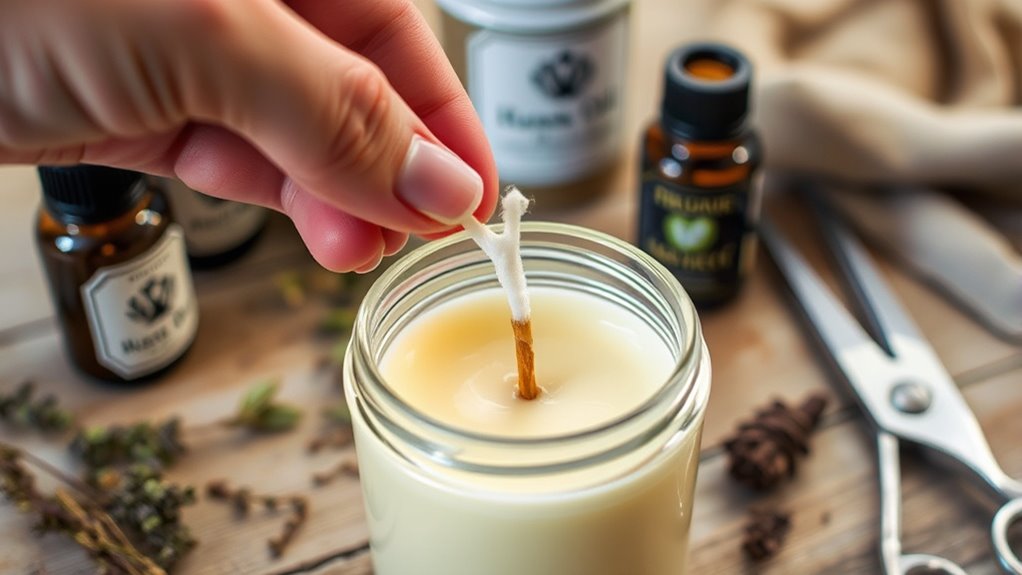
Prepare the Candle Containers
Before pouring your melted wax, it’s important to prepare your candle containers to make sure they hold the wax securely and burn evenly. Start by cleaning your containers thoroughly to remove dust, dirt, or any residual oils. Dry them completely to prevent moisture from affecting the wax. If your containers are glass or metal, check for cracks or sharp edges that could cause leaks or injuries. Consider adding a wick tab or glue at the bottom of the wick to keep it centered and upright. Measure and trim your wick to the right length for your container’s height. Finally, place the wick in the center of each container, ensuring it stays in place as you work. Proper preparation ensures your candles will burn cleanly and look professional.
Melt and Measure the Wax

Once your containers are prepared and your wicks are in place, it’s time to melt the wax. Use a double boiler or a microwave-safe container to melt the wax gradually. If using a microwave, heat the wax in 30-second intervals, stirring between each, until fully melted. Measure out the wax accurately using a kitchen scale to make sure you have enough for your containers. A good rule of thumb is to start with about 20% more wax than your container volume to account for shrinkage. Once melted, pour the wax into a measuring cup or bowl for easy handling. Keep the temperature in mind—most waxes melt around 170-180°F—so avoid overheating. This step ensures your wax is ready for pouring and scent addition later.
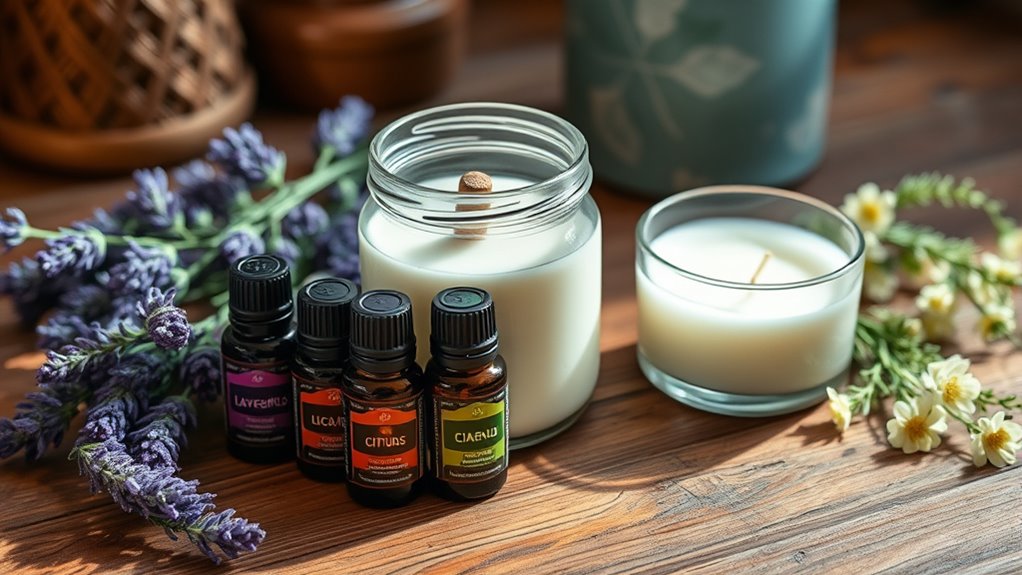
Add Essential Oils to the Melted Wax

When adding essential oils to your melted wax, it’s important to use the right amount for a strong scent without overpowering. Keep the ideal oil ratio in mind, usually around 6-10 drops per cup of wax, depending on your preference. Make sure to stir thoroughly to evenly distribute the oils and maximize their aroma.
Optimal Oil Ratios
Adding essential oils to melted wax requires finding the right balance to achieve a strong, pleasant scent without overpowering the candle. Generally, a good rule is about 1 ounce of essential oil per pound of wax. This ratio ensures your candle smells lovely without risking overheating or scent fade. Keep in mind that different oils have varying strengths, so you might need to adjust accordingly. Too much oil can cause smoking or uneven burning, while too little might leave your candle scentless. For best results, start with small batches and measure carefully. Remember, it’s easier to add more oil later than to fix an overpowering scent. Experimenting within these guidelines helps you discover your perfect aroma intensity.
- Use a kitchen scale for precise measurements
- Test small batches before full-making
- Adjust based on oil potency
- Avoid overfilling with oil to prevent issues
- Keep track of ratios for future reference
Stirring Techniques
Stirring your essential oils thoroughly into the melted wax is key to achieving an even scent distribution throughout your candle. Use a clean, heat-resistant spoon or stir stick to blend the oils slowly and consistently. Avoid rushing or whisking vigorously, as this can introduce air bubbles or cause uneven mixing. Incorporate the oils gradually, adding a few drops at a time, then stir well before adding more. Make sure to reach all areas of the melted wax, especially the bottom and sides of your container. Proper stirring ensures the fragrance disperses evenly as the candle burns, resulting in a balanced scent experience. Once fully blended, you can proceed to pour your wax into the container, confident that your essential oils are well incorporated.
Pour the Wax Into Containers and Set the Wicks

Have you prepared your containers and wicks? Now, it’s time to pour the melted wax. First, place your wicks in the center of each container, guaranteeing they stay upright. Secure the wicks with a wick holder or a pencil laid across the top of the container. Carefully pour the melted wax into each container, leaving about half an inch at the top. Use a funnel if needed to prevent spills. Make sure the wick remains centered as you pour. Keep an eye on the wax level, and adjust the wick if it shifts. Once filled, hold the wick upright and steady. This step ensures your candles will have a professional look and an even burn.
Allow the Candles to Cool and Cure
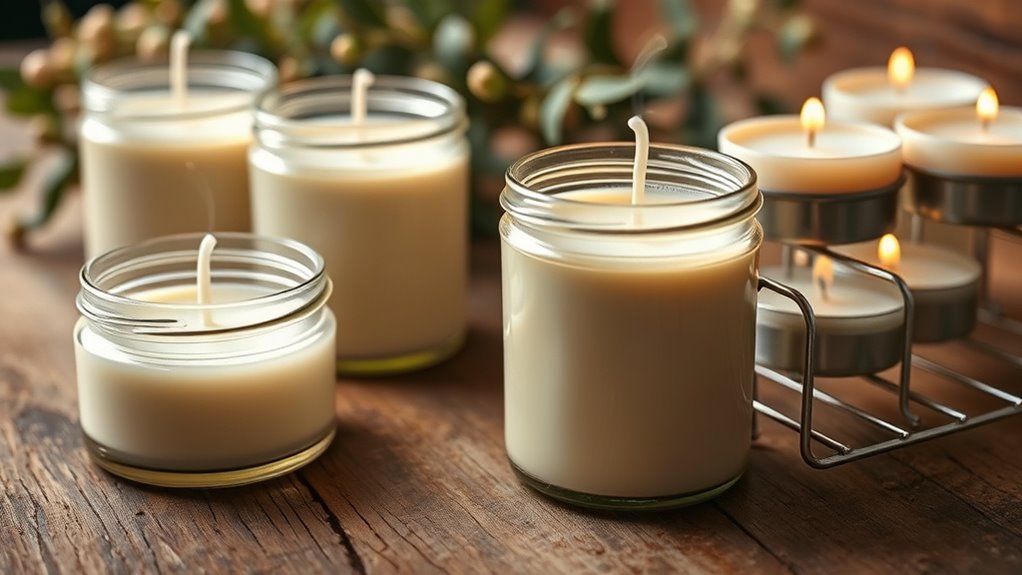
Once you’ve poured the wax and secured the wicks, it’s important to let your candles cool undisturbed. Keep them at room temperature and avoid moving or touching the containers during this time. This allows the wax to solidify evenly and prevents cracks or imperfections. Depending on the size of your candles, cooling can take anywhere from a few hours to overnight. After they’ve cooled completely, don’t rush into curing; giving your candles time helps the scent to fully develop and the wax to stabilize. Patience during this stage results in a better-burning, more fragrant candle. Once cooled and cured, you’ll be ready to trim the wicks and enjoy your handcrafted masterpiece.
Trim Wicks and Enjoy Your Handmade Candles
After your candles have fully cooled and cured, it’s time to trim the wicks to guarantee a clean, safe, and even burn. Cutting the wick to about ¼ inch helps prevent soot, smoke, and uneven burning. Always trim the wick before each use to maintain safety and maximize candle life. Use sharp scissors or wick trimmers for a clean cut. Keep an eye on the wick length, especially after the first burn, as it may get slightly longer. Proper wick trimming ensures your candle burns evenly, reduces soot buildup, and prolongs its lifespan. Enjoy your beautifully crafted, fragrant candles safely by maintaining the right wick length every time you light them. A well-trimmed wick makes all the difference in candle performance.
Frequently Asked Questions
Can I Reuse Old Candle Jars for My DIY Candles?
Absolutely, you can reuse old candle jars for your DIY candles. Just make sure to clean them thoroughly, removing any leftover wax and wick remnants. You might need to melt and pour out remaining wax, then wash with warm soapy water. Sanitizing the jars guarantees no residual smells or wax interfere with your new candles. Reusing jars is eco-friendly and adds a charming touch to your homemade candles.
What Safety Precautions Should I Take During Melting Wax?
When melting wax, you should always work in a well-ventilated area to prevent inhaling fumes. Use a double boiler or a heat-safe container to avoid direct contact with heat, and never leave melting wax unattended. Wear protective gloves and eye protection to avoid burns or splashes. Keep a fire extinguisher nearby in case of emergencies, and make sure your workspace is free from flammable materials.
How Long Do Homemade Essential Oil Candles Typically Last?
You’re asking how long homemade essential oil candles last, and it’s a bit of a moving target. On average, they burn for about 20 to 50 hours, depending on their size and wax type. Keep in mind, you get out what you put in — a well-made candle with proper wick size and quality wax will burn longer. So, don’t count your chickens before they hatch, but with care, they’ll last quite a while.
Are There Any Essential Oils to Avoid When Making Candles?
When making candles, you should avoid essential oils that are highly flammable or irritating when burned. Oils like cinnamon, clove, and eucalyptus can be strong or cause respiratory issues if not properly diluted. Also, steer clear of citrus oils like lemon or orange, as they tend to cause candle discoloration or uneven burning. Always research each oil’s safety and burn properties to guarantee a safe, enjoyable candle-making experience.
How Can I Fix a Candle That Didn’T Set Properly?
Fixing a flickering, failed candle might seem frustrating, but you can often salvage it. First, chill the candle completely to solidify the wax. Then, carefully reheat the wax, add more wax if needed, and pour it slowly into the container. Allow it to set undisturbed. Patience and precision are key—pour, pause, and patiently wait. This process helps perfect your project and produce a beautifully balanced, burn-ready candle.
Conclusion
Now, sit back and marvel at your homemade masterpieces—candles so perfect, they’ll make your favorite scented store-bought ones look like they got lost in a muddle of essential oils. Just imagine lighting your DIY candle, watching the flame dance like a tiny ballet, all while knowing you crafted it from scratch—no fancy factory needed. Who knew that turning wax and oils into a cozy glow could be so satisfying? Your home just got a whole lot more aromatic—and a little more smug.