
To make polymer clay earrings at home, gather your supplies like colorful clay, tools, and a clean workspace. Design and shape your earrings using cutters or sculpting tools, then bake them in a preheated oven following the manufacturer’s instructions until firm. After cooling, smooth any rough edges, attach hardware like hooks or jump rings, and add finishing touches such as sealants or decorative details. For more creative ideas and step-by-step tips, explore further to create unique, personalized jewelry.
Key Takeaways
- Gather colorful polymer clay, tools, and a clean workspace before starting your project.
- Shape and design earrings using cutters, blending colors, and adding details for customization.
- Bake the shaped earrings at approximately 265°F (130°C) on a ceramic tile or parchment-lined sheet.
- Finish by sanding edges, drilling holes, and sealing with gloss or matte sealant for durability.
- Assemble earrings with jump rings, hooks, and decorative accents to complete your jewelry.
As an affiliate, we earn on qualifying purchases.
Gathering Your Supplies and Preparing Your Workspace

Before you begin crafting your polymer clay earrings, it’s important to gather all the necessary supplies and set up a clean, organized workspace. Collect your polymer clay in the colors you want to use, along with tools like a rolling pin, craft knife, and sculpting tools. Make sure you have a cutting mat or a smooth surface to work on. Keep a small container of isopropyl alcohol or rubbing alcohol nearby for cleaning your tools. You’ll also need jump rings, earring hooks, and jewelry pliers for assembly. Clear your workspace of clutter and lay out all your supplies within easy reach. Proper workspace organization can help prevent accidents and make your crafting process more efficient. This preparation helps you work efficiently and prevents accidents, ensuring your creative process is smooth and enjoyable from the start. Additionally, having a tidy workspace can help you better manage your tools and keep track of small findings during assembly. Keeping your tools clean and maintained is essential for achieving precise and professional-looking results. Incorporating safety precautions, such as working in a well-ventilated area, can further enhance your crafting experience. Taking the time to plan your workspace can also reduce the likelihood of costly mistakes during creation.
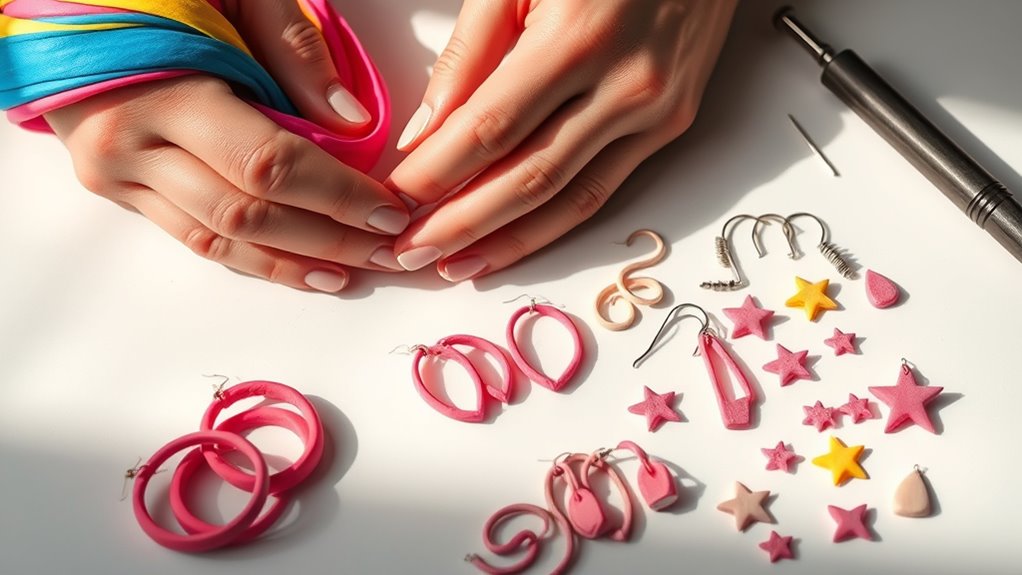
Designing and Shaping Your Earrings
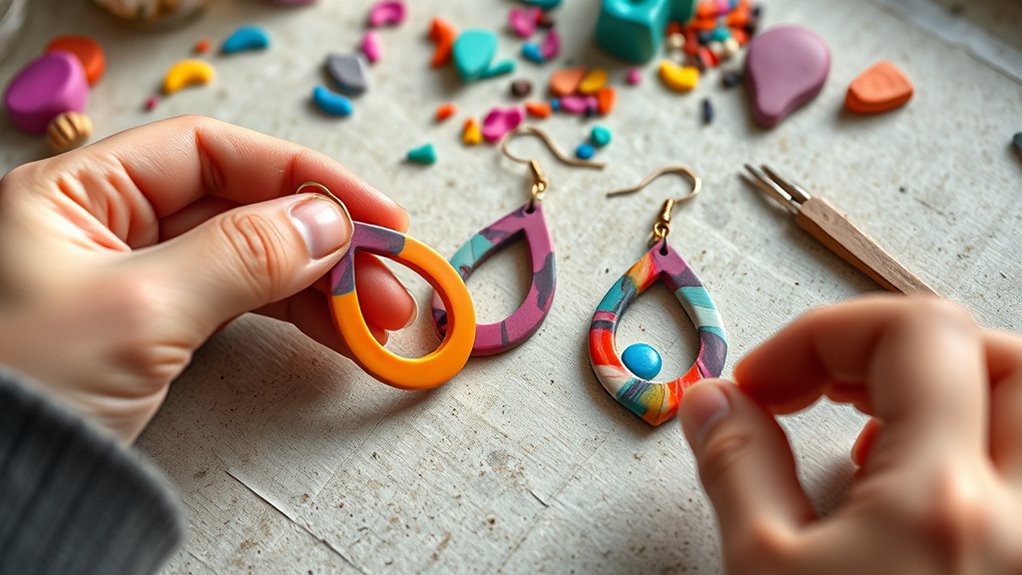
Once your workspace is set up and your supplies are ready, start visualizing your earrings’ design. Think about shapes, colors, and patterns that reflect your style. Incorporate inspiration from popular themes such as water parks, which often feature vibrant colors and playful designs, to make your earrings stand out. Use tools like cookie cutters or craft knives to cut precise shapes from your polymer clay. Incorporate layered designs or textured surfaces to add depth. You can also experiment with blending different colors or creating marbled effects for unique looks. Consider adding small details, such as dots or lines, using finer tools for intricate patterns. Don’t forget to keep your designs balanced and proportionate. Planning your shape and design beforehand makes shaping easier and more intentional. Additionally, understanding primitive weapons techniques can inspire you to add unique, handcrafted elements to your jewelry designs. Applying goal setting strategies can help you stay organized and motivated throughout your crafting process. Creating a cohesive theme for your earrings can make your jewelry collection feel more polished and professional. With a clear vision, shaping your earrings becomes a creative process that results in personalized, eye-catching accessories.
Baking and Curing the Polymer Clay
To guarantee your polymer clay earrings set properly and maintain their shape, you need to bake or cure them carefully. Follow your clay’s instructions and use a dedicated oven or a toaster oven. Preheat to the recommended temperature, usually around 265°F (130°C). Place your earrings on a ceramic tile or a baking sheet covered with parchment paper. Avoid overbaking, which can cause discoloration or burning. Use this visual to imagine your earrings:
| Before Baking | After Baking |
|---|---|
| Soft and malleable | Hard and sturdy |
| Bright colors | Muted or richer tones |
| Slightly flexible | Firm and durable |
| Freshly shaped | Set and ready to finish |
Additionally, ensuring proper baking conditions can help prevent common issues like cracking or warping. Proper temperature control during baking is essential for achieving the best results and preserving the integrity of your earrings. Using a quality oven thermometer can help monitor the precise temperature and ensure consistent results. Properly curing your clay not only improves durability but also enhances the color fidelity of your finished pieces. Being mindful of clay storage before baking can also help prevent unintended discoloration or damage to your creations.
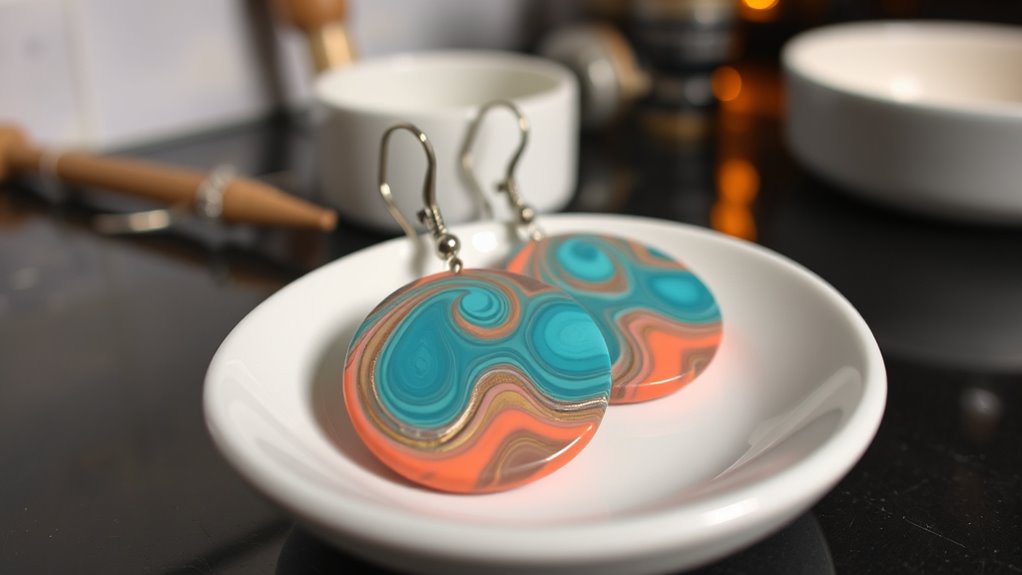
Finishing Touches and Assembly
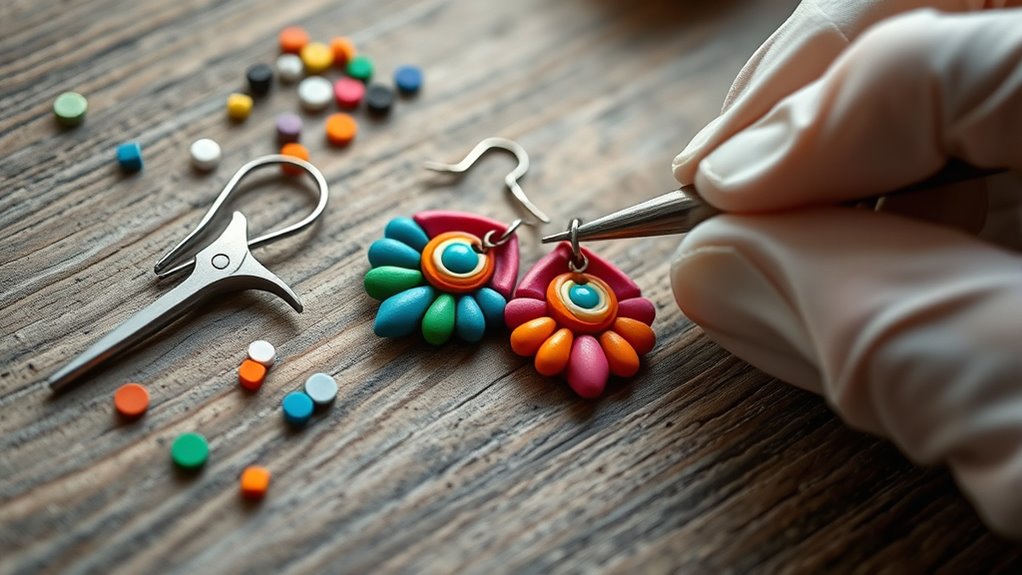
After baking your polymer clay earrings, you’ll want to add the finishing touches and assemble them for wear. Start by sanding any rough edges with fine-grit sandpaper to create a smooth surface. Use a craft knife or small drill to create holes if you plan to add jump rings or hooks. Apply a thin coat of gloss or matte sealant to enhance durability and appearance. Attach earring hooks or findings with pliers, ensuring they’re secure but not overly tight. Consider adding decorative accents like tiny beads or charms for extra detail. Remember, precise assembly ensures comfort and longevity. Additionally, proper finishing techniques can help protect your earrings from damage and keep them looking their best. Incorporating AI-powered tools can also assist in achieving more consistent and professional results. For added security, you might explore secure attachment methods to prevent loss or damage over time. Using appropriate adhesives can further improve the durability of your jewelry pieces. To ensure your earrings are comfortable to wear, consider testing different earring findings for the best fit and style.
Tips for Customizing and Personalizing Your Earrings

Adding personal touches to your polymer clay earrings can truly make them stand out. Start by experimenting with different colors, blending shades to create unique patterns. Incorporate tiny embellishments like glitter, metallic accents, or stamped designs to add texture and sparkle. You can also shape the clay into custom motifs or initials that reflect your style. Layering different clay pieces allows for intricate designs that are one-of-a-kind. Consider using stencils or carving tools to add fine details or personalized messages. Don’t forget to explore best beaches for inspiration on natural beauty and vibrant colors that can be mimicked in your designs. You might also incorporate figurative language techniques to describe your creative process or finished pieces, adding a poetic touch. To enhance the visual appeal, try experimenting with automation in business techniques like layering or patterning, which can help you achieve more complex designs efficiently. Exploring meditation can also help you find inspiration and stay centered during your creative process. Don’t be afraid to mix techniques—marbling, imprinting, or adding contrasting edges—to create depth. The more you customize, the more your earrings will showcase your personality and creativity. These personal touches ensure your jewelry is truly one-of-a-kind.
Frequently Asked Questions
Can I Use Household Oven Instead of a Dedicated Kiln?
You can definitely use a household oven instead of a kiln for polymer clay earrings. Just make certain your oven has a reliable temperature control and set it to the recommended baking temperature, usually around 265°F (130°C).
Keep a close eye on the temperature and avoid overbaking. Use an oven thermometer for accuracy, and make sure to work in a well-ventilated area to stay safe while baking your earrings.
How Do I Store Polymer Clay to Prevent It From Drying Out?
To keep your polymer clay fresh, store it in an airtight container or resealable plastic bag. Make sure to remove excess air and keep the clay in a cool, dark place away from direct sunlight and heat sources.
If you notice it becoming hard or cracked, knead it thoroughly to restore its pliability. Proper storage guarantees your clay stays workable and ready for your next creative project.
What Safety Precautions Should I Take When Baking Polymer Clay?
When baking polymer clay, you should always work in a well-ventilated area to avoid inhaling fumes.
Use a dedicated oven or toaster oven, and never bake clay in a kitchen oven you use for food.
Keep kids and pets away from the oven during baking.
Wear oven mitts to handle hot items, and follow the manufacturer’s instructions for temperature and time to guarantee safety.
Are There Eco-Friendly or Non-Toxic Polymer Clay Options?
Imagine you’re a gardener seeking eco-friendly seeds; similar care applies to choosing polymer clay. You’ll find non-toxic, biodegradable options made from natural materials that protect your health and the environment. These clays release fewer fumes during baking and are safer for your skin.
How Long Can I Keep Finished Earrings Before They Degrade?
You can usually keep your finished polymer clay earrings for several years if you store them properly. Keep them in a cool, dry place away from direct sunlight, which can cause fading or warping.
Avoid exposing them to water or extreme temperatures. When stored carefully, your earrings can last a long time without degrading, so you can enjoy them for years to come.
Conclusion
Now that you’ve crafted your unique earrings, let your creativity shine like a radiant star in the night sky. Each piece is a tiny masterpiece, a reflection of your imagination and passion. Wear them proudly, knowing you’ve turned simple clay into wearable art. With every detail you add, you’re painting your own story—bold, colorful, and beautifully yours. So go ahead, let your jewelry be a sparkling mirror of your vibrant spirit.