To create stunning DIY paper crafts, focus on mastering precision cutting and scoring with sharp tools and steady hands. Use folding techniques like pressing with a bone folder for crisp edges. Layer papers creatively with foam pads or textured sheets to add depth. Experiment with adhesives such as double-sided tape or foam dots for dimension. Enhance your projects with embellishments like rhinestones and ribbons. Keep practicing these techniques to reveal even more craft-boosting tips as you explore further.
Key Takeaways
- Master sharp cutting and scoring for clean edges and precise folds.
- Use proper folding tools like bone folders to achieve crisp, professional shapes.
- Layer different papers and textures to add depth and visual interest.
- Apply adhesives creatively with double-sided tape and foam dots for dimension.
- Incorporate embellishments such as rhinestones and ribbons to enhance detail and focal points.
Top picks for "techniqu beautiful paper"
Open Amazon search results for this keyword.
As an affiliate, we earn on qualifying purchases.
Mastering Precision Cutting and Scoring

To create clean, professional-looking paper crafts, mastering precision cutting and scoring is essential. You’ll want sharp scissors or a craft knife to achieve clean edges. Take your time, and don’t rush the cuts—steady hands make a difference. Developing a steady hand and patience is key to achieving neat results. Using a sharp blade can also prevent frayed edges and ensure more accurate cuts.
Master precision with sharp tools and steady hands for perfect paper craft edges and folds.
When scoring, use a bone folder or the back of a craft knife to create crisp fold lines. Light pressure is key; pressing too hard can damage the paper. Proper technique and consistent pressure help ensure smooth, even folds. Additionally, understanding the history of pinball machines can inspire creative thematic designs in your crafts. Practicing techniques for clean cuts can greatly improve the overall appearance of your projects.
Always measure and mark carefully before cutting or scoring, using a ruler and pencil for accuracy. Practice on scrap paper to build confidence. Developing these skills will notably elevate your paper crafts, and understanding the importance of precise measurement can help ensure your shapes fit perfectly and your folds are sharp, giving your projects a polished, professional finish.
Folding Techniques for Perfect Shapes
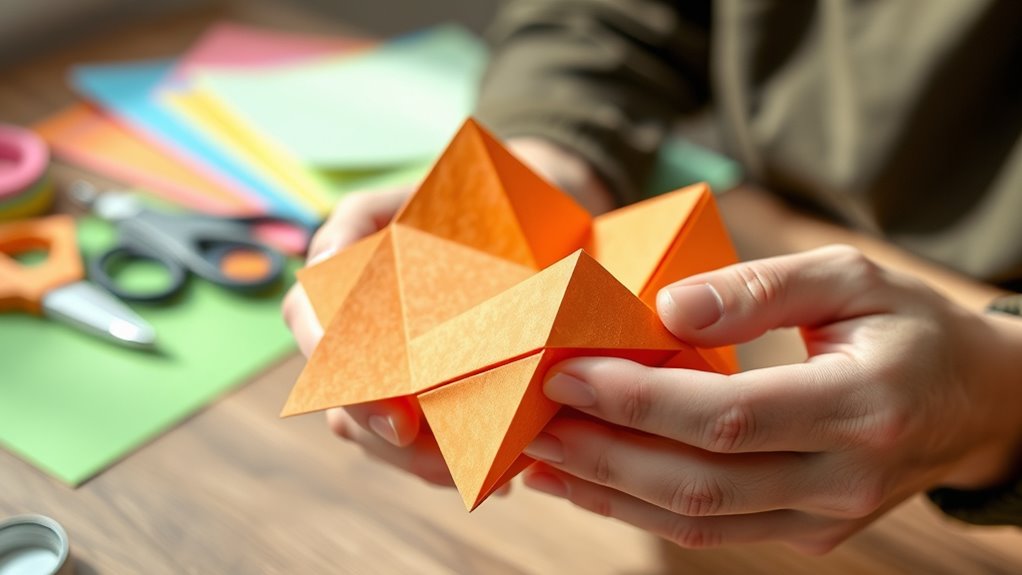
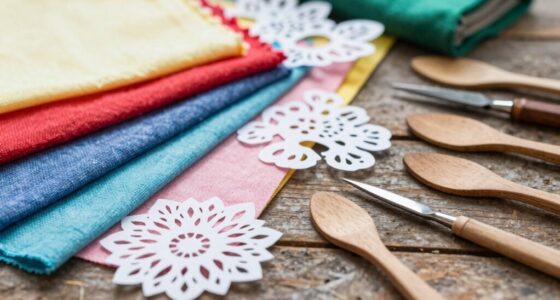
Ever wonder how to achieve crisp, flawless folds that bring your paper crafts to life? Mastering folding techniques is key. First, always use a bone folder or the back of a spoon to press along your fold lines for sharp edges. Second, align edges carefully before creasing to ensure symmetry. Third, make small, precise folds instead of trying to do everything in one go—smooth out uneven parts as you go.
Fourth, use your fingernail or a tool to reinforce creases, especially on thicker paper. Practice makes perfect, so take your time with each fold. With these tips, your shapes will look clean and professional, elevating your DIY projects effortlessly.
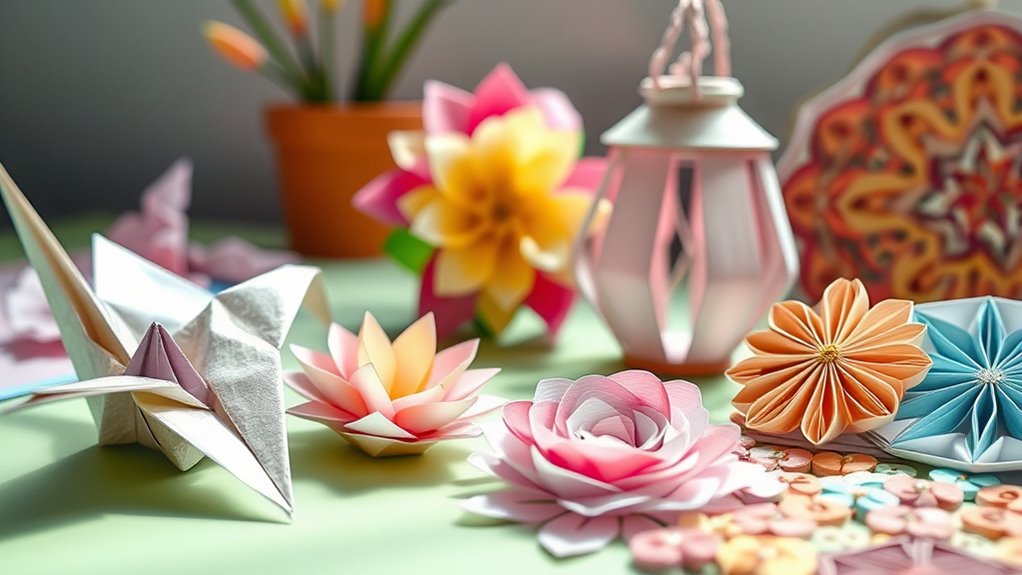
Layering and Texturing for Depth
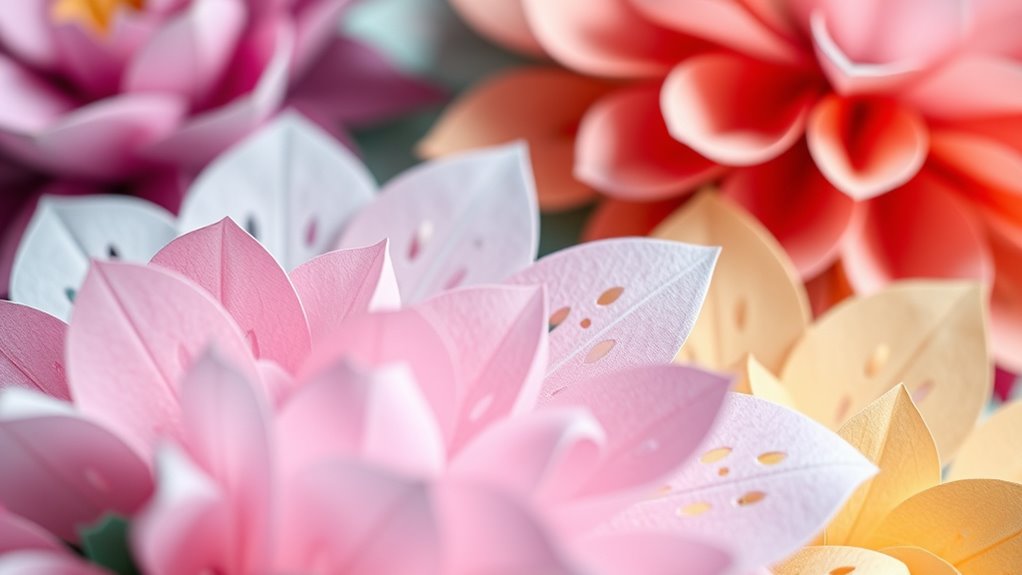
Adding layers and textures transforms flat paper into dynamic, eye-catching crafts. You can achieve this by stacking different paper pieces, varying their sizes and shapes to create visual interest. Use foam pads or double-sided tape to lift certain elements, giving your project a three-dimensional effect. Incorporate textured papers like embossed or patterned sheets to add tactile variety. Ripping edges or fraying paper can introduce a rustic feel, while smooth, crisp cuts lend a polished look. Combining these techniques helps your craft stand out, adding depth and complexity. To ensure your layered elements stay securely in place, consider using adhesive choices that provide strong, lasting bonds without damaging delicate papers. Experiment with layering colors, patterns, and textures to make your design more vibrant and engaging. Remember, the key is to balance your layers so they complement each other without overwhelming the overall piece. Utilizing virtual collaboration platforms can also help you get feedback and new ideas during the creative process. Additionally, exploring material selection can further enhance the visual and tactile appeal of your projects.
Using Adhesives Creatively
Have you considered how different adhesives can elevate your paper crafts beyond basic sticking? Using adhesives creatively can add texture, dimension, and unique finishes. Here are four ideas to get started:
- Double-sided tape for clean, crisp edges and quick assembly.
- Foam adhesive dots to create raised, three-dimensional elements.
- Glue pens for precise application on small or intricate areas.
- Decorative adhesive sprays to add shimmer or a textured background.
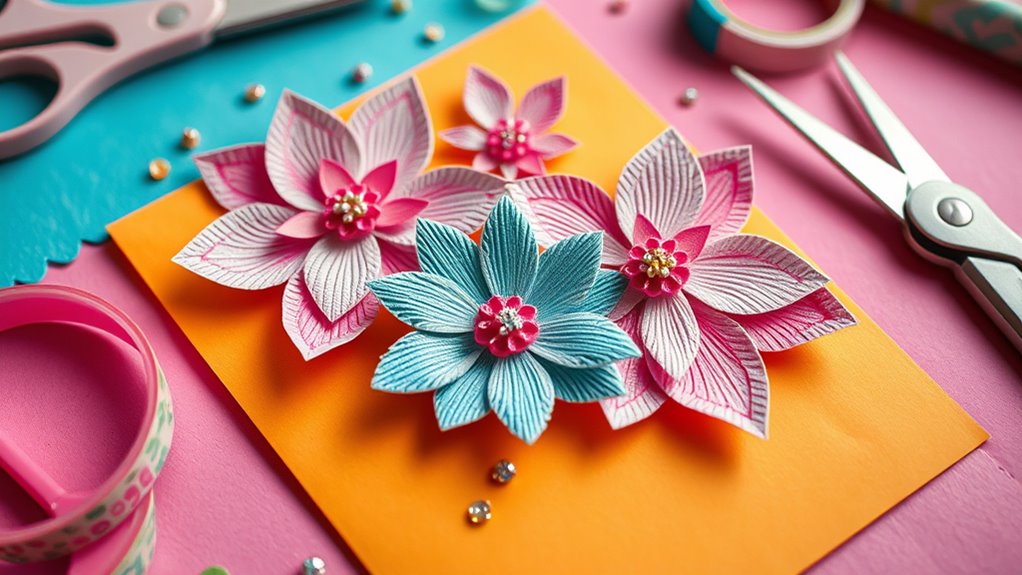
Incorporating Embellishments and Details

Once you’ve mastered the use of adhesives to create texture and dimension, the next step is to enhance your paper crafts with embellishments and intricate details. Adding small elements like rhinestones, sequins, or washi tape can instantly elevate your project. Use fine-tipped tools or tweezers to place embellishments precisely where you want them. Incorporate emotional connection by choosing embellishments that resonate with your theme or message.
Consider layering paper cutouts, stamping designs, or drawing delicate patterns to add depth and visual interest. Incorporate elements like ribbons, charms, or stickers for variety. Be mindful not to overcrowd your design—balance is key. Focus on highlighting focal points with bold accents while keeping other areas more subtle. Thoughtful embellishments will make your DIY paper crafts more personalized, professional-looking, and enthralling. Utilizing embellishments and details effectively can also help showcase your creativity and make your projects stand out. Additionally, understanding regional trends and preferences can inspire unique design choices that resonate with your audience.
Frequently Asked Questions
What Types of Paper Are Best for DIY Crafts?
When choosing paper for your DIY crafts, consider the project’s purpose and desired finish. You’ll want sturdy cardstock for cards or scrapbook pages, as it holds up well.
For delicate details, tissue paper or vellum works beautifully. If you aim for vibrant colors, opt for patterned or colored paper.
Always check the thickness and texture to verify it complements your craft, making your creation both beautiful and durable.
How Can I Prevent Tearing When Cutting Delicate Paper?
Imagine you’re walking on thin ice, careful with each step. To prevent tearing delicate paper, use a sharp craft knife or fine scissors for clean cuts.
Support the paper with a cutting mat or a piece of scrap underneath to add stability. Keep your hand steady, and don’t rush.
Patience and precision are your best allies, helping you create beautiful, tear-free designs with ease.
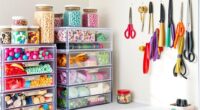
What’s the Best Way to Store Finished Paper Crafts?
When storing finished paper crafts, you want to keep them safe from damage and dust. You should use acid-free storage boxes or folders to prevent yellowing and deterioration.
Keep your crafts flat in a cool, dry place away from direct sunlight. If they’re fragile, consider wrapping them in tissue paper or placing them between sheets of cardboard.
This way, your beautiful creations stay pristine and ready to display or enjoy later.
Can I Use Digital Designs for Creating Paper Templates?
Did you know that over 60% of paper crafters now use digital designs for templates?
You absolutely can use digital designs to create paper templates. Simply download or create your design, then print it out on quality paper.
You can customize sizes and shapes easily, making your projects more precise and personalized.
Digital templates save time and inspire creativity, helping you craft beautiful, professional-looking paper projects with ease.
How Do I Fix Mistakes Without Damaging the Craft?
When you make a mistake, don’t panic. Gently lift or peel away the unwanted paper if possible. Use a craft knife or tweezers for precision.
For small errors, try lightly erasing pencil marks or covering imperfections with a pen or paint.
If glue smudges, carefully wipe with a damp cloth. Patience helps; take your time to fix mistakes without tearing or damaging your craft.
Conclusion
Now that you know these techniques, you can create stunning paper crafts that impress. Imagine making a layered greeting card with textured elements and creative embellishments—like a friend’s birthday surprise. With practice, your skills will grow, turning simple paper into beautiful art. So, grab your supplies and start experimenting today. Before you know it, you’ll be proud of your own gorgeous DIY projects, just like a professional paper artist.