
Celebrate National Pumpkin Day by creating personalized decoupage pumpkins that showcase your creativity. Start by choosing a smooth, sturdy pumpkin and gather decorative papers, glue, scissors, and brushes. Carefully apply the decoupage glue, then place your paper designs, smoothing out air bubbles. Add personal touches like glitter or tiny embellishments, seal your work for durability, and find the perfect spot to display your masterpiece. If you keep exploring, you’ll discover fun ideas and expert tips for stunning results.
Key Takeaways
- Celebrate National Pumpkin Day by creating personalized decoupage pumpkins as festive, handcrafted decorations.
- Choose smooth, blemish-free pumpkins and vibrant decorative papers for best decoupage results.
- Incorporate themed or mechanical-inspired patterns to make your pumpkin designs unique and eye-catching.
- Use decoupage glue and embellishments like glitter or charms to enhance the pumpkin’s visual appeal.
- Seal and display your decoupage pumpkins in a protected area to preserve their beauty throughout the season.
Gathering Your Supplies for Decoupage Pumpkin Art
Before you begin your decoupage pumpkin project, it’s important to gather all the necessary supplies. Start with a clean, sturdy pumpkin that’s suitable for seasonal decorating. You’ll need decoupage glue or Mod Podge, along with a variety of decorative papers or tissue paper to create your design. Scissors are essential for cutting the paper into desired shapes or patterns, and a foam brush will help you apply the glue smoothly. To protect your work surface, grab some newspaper or a craft mat. You might also want a pencil for sketching outlines or designs beforehand. While pumpkin carving is popular for fall, decoupage allows you to add intricate details and textures, making your pumpkin a unique seasonal decoration that stands out. Additionally, understanding your keto diet goals can help you choose suitable materials and colors that complement your overall autumn decor theme. Incorporating vibrational energy principles can also enhance your creativity and enjoyment of the craft. For best results, consider using adhesive techniques that ensure your paper adheres smoothly and lasts through the season. To further personalize your project, experimenting with various color schemes can make your pumpkin truly one-of-a-kind.
Choosing the Perfect Pumpkin for Your Project
When selecting a pumpkin, you’ll want to think about the size that fits your design and space best. Check the surface for smoothness and texture, as these affect how well the decoupage adheres. Additionally, choosing pumpkins with vibrant colors can make your artwork stand out. Considering the pumpkin’s surface can also help you determine how well it will respond to different painting or decorating techniques, similar to how Angel Number Soulmate signifies spiritual connections and love, guiding your creative intentions. Be mindful of the pumpkin’s environmental impact, as selecting sustainably sourced pumpkins supports eco-friendly practices and reduces environmental harm. Exploring decorating techniques can enhance your project’s visual appeal and creativity, making your decoupage pumpkins truly unique. Being aware of the pinball machine weight can also inspire creative ideas for decorating with themed elements or incorporating mechanical details into your design.
Selecting the Ideal Size
Choosing the right pumpkin size is crucial to guarantee your decoupage project turns out beautifully. Consider your pumpkin size considerations carefully, as the size influences the overall look and ease of decorating. Smaller pumpkins are ideal for detailed designs or display pieces, while larger pumpkins provide ample surface area for bold, eye-catching patterns. Think about your decorative scale choices—if your project involves intricate details, a medium-sized pumpkin offers the perfect balance. For more minimalist or statement pieces, a larger pumpkin can serve as a striking canvas. Remember to select a size that complements your design vision and fits your workspace. Proper sizing ensures your decoupage adheres smoothly and looks polished, making your craft both manageable and stunning.
Examining Surface Texture
The surface texture of your pumpkin plays a crucial role in how well your decoupage project turns out, so it’s necessary to examine it carefully before you start. The surface feel can vary greatly, affecting how adhesive and paper adhere. Pay attention to tactile variation, which influences your working process. Look for:
- Smooth areas that allow easy application of decoupage glue
- Rough patches that might need sanding or smoothing first
- Bumpy or ridged sections for added visual interest
- Deep grooves or indentations that could trap air or glue
Picking Vibrant Colors
Have you ever noticed how certain pumpkins instantly catch your eye with their bright hues? When choosing the perfect pumpkin, consider color theory—opposite or analogous colors can make your project pop. Bright oranges, deep reds, or even striking whites can serve as bold backgrounds or accents. Think about how paint blending can enhance your design; mixing shades seamlessly creates depth and visual interest. Selecting a vibrant pumpkin ensures your decoupage project stands out, so look for pumpkins with rich, even color and minimal blemishes. Remember, the right hue sets the tone for your design, making your artwork more cohesive and eye-catching. By understanding color theory and mastering paint blending, you’ll pick a pumpkin that not only looks stunning but also complements your creative vision.
Selecting Decoupage Paper and Decorative Elements
When choosing decoupage paper, pick vibrant patterns that will make your pumpkin stand out. Consider adding textures and accents to give your design more depth and interest. Combining different elements will help you create a unique, eye-catching finished piece. Incorporating vintage decor can also add a charming, rustic touch to your project and enhance the farmhouse aesthetic. Additionally, using self watering planters can also ensure your decorative project remains secure and well-managed throughout the process. Staying informed about decorative trends can inspire fresh ideas and elevate your craft. Exploring customized finishes can further personalize your decoupage pumpkins for a truly one-of-a-kind look.
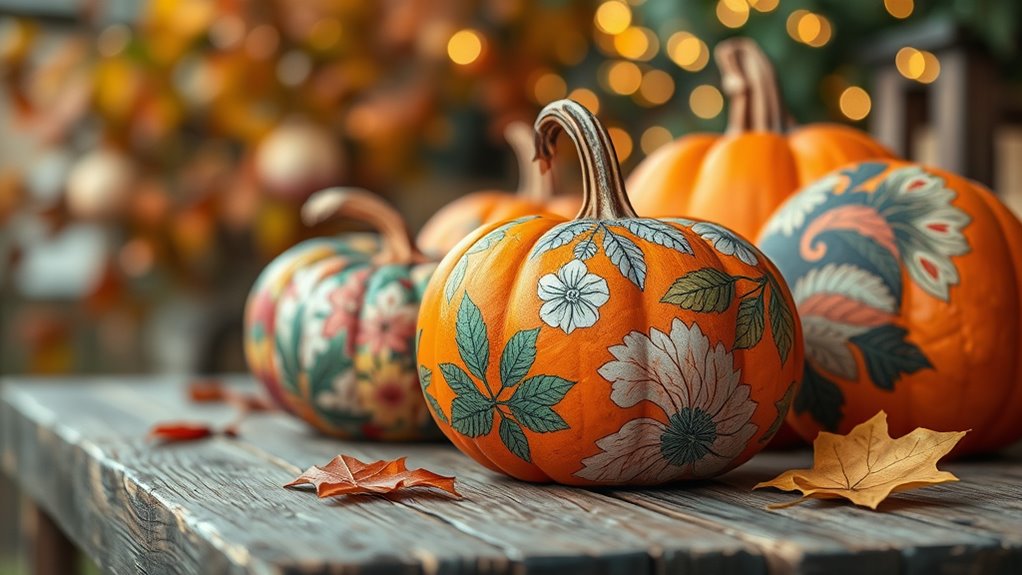
Choosing Vibrant Patterns
Are you ready to make your pumpkins stand out? Choosing vibrant patterns is key to creating eye-catching decoupage pumpkins. Start by considering pattern coordination—select patterns that complement each other without clashing. Think about color contrast: bold reds and blacks or bright oranges and blues will pop against the pumpkin’s surface. Visualize these options:
- A lively floral pattern with contrasting leaves
- Geometric shapes in bold, complementary colors
- Whimsical polka dots with vibrant hues
- Intricate paisley designs that stand out
Pick patterns that draw attention and enhance your overall design. Be mindful of pattern size; large, bold patterns work well on larger pumpkins, while smaller, detailed designs suit smaller ones. Vibrant patterns will turn your pumpkins into festive works of art.
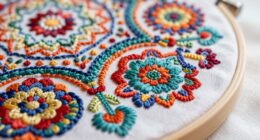
Incorporating Textures and Accents
To add depth and personality to your decoupage pumpkins, selecting the right textures and decorative accents is essential. Texture contrast creates visual interest, so combine smooth papers with rougher materials like burlap or twine. Accent embellishments, such as beads, buttons, or metal charms, add unique focal points. Choosing decoupage paper with varied textures enhances the overall look, making your pumpkin stand out. Use the table below to explore options:
| Texture Type | Example Materials | Ideal Use |
|---|---|---|
| Smooth | Glossy paper, tissue paper | Base layers, backgrounds |
| Textured | Burlap, linen, embossed paper | Accent areas, borders |
| Shiny/Reflective | Metallic foil, sequins | Embellishments for sparkle |
| Natural | Twine, dried leaves | Rustic accents |
Mixing these elements creates a dynamic, eye-catching design perfect for your festive pumpkin.
Preparing Your Pumpkin for Decoupage
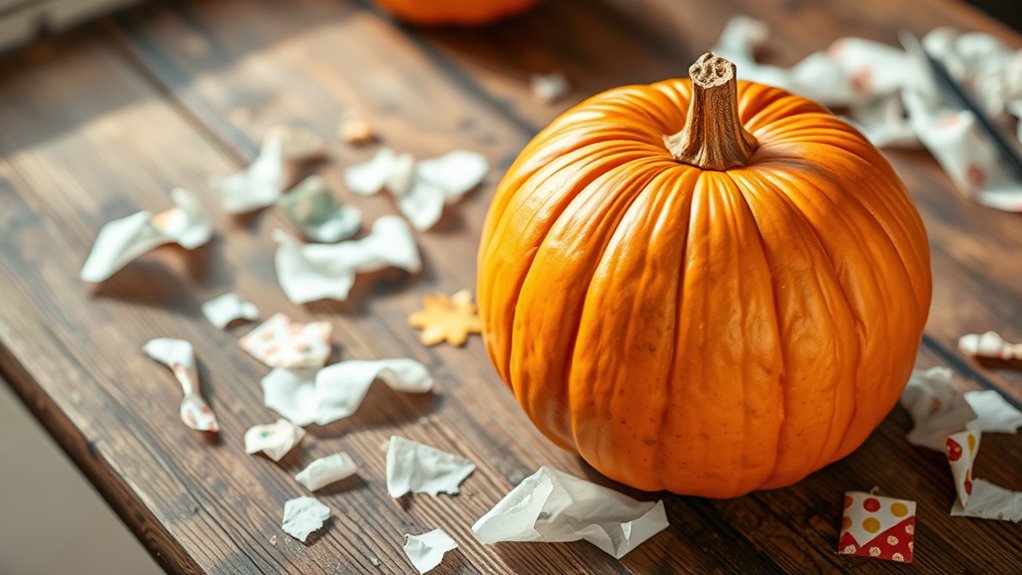
Before you start decoupage, it’s essential to prepare your pumpkin properly to guarantee the design adheres smoothly and lasts. First, choose a firm pumpkin with smooth, unblemished skin for easier application. Second, clean the surface thoroughly with a damp cloth to remove dirt and dust, ensuring paint and paper stick well. Third, carve a small opening or remove the lid to access the inside, allowing you to clean out seeds and pulp, which prevents mold during Halloween decorating. Fourth, lightly sand the surface with fine-grit sandpaper to create a slightly rough texture, helping the decoupage glue adhere better. Proper preparation ensures your decoupage masterpiece stays vibrant, and your pumpkin remains sturdy for safe pumpkin carving and festive decorating. Additionally, considering the effectiveness of glycolic acid in exfoliating dead skin can inspire you to prepare your pumpkin’s surface for a smoother finish, similar to how surface treatments improve surface adhesion in other projects. Using appropriate adhesive types that are compatible with your chosen materials can also enhance the longevity of your design. Furthermore, selecting adhesive types that offer strong bonding can make a significant difference, especially when incorporating elements that benefit from energetic alignment to boost their durability.
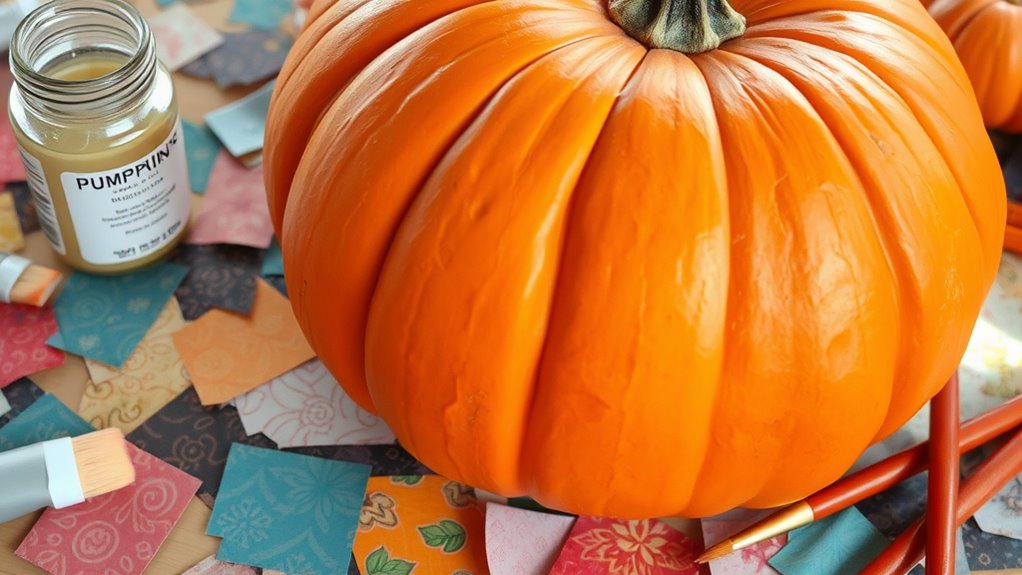
Applying the Decoupage Adhesive and Paper
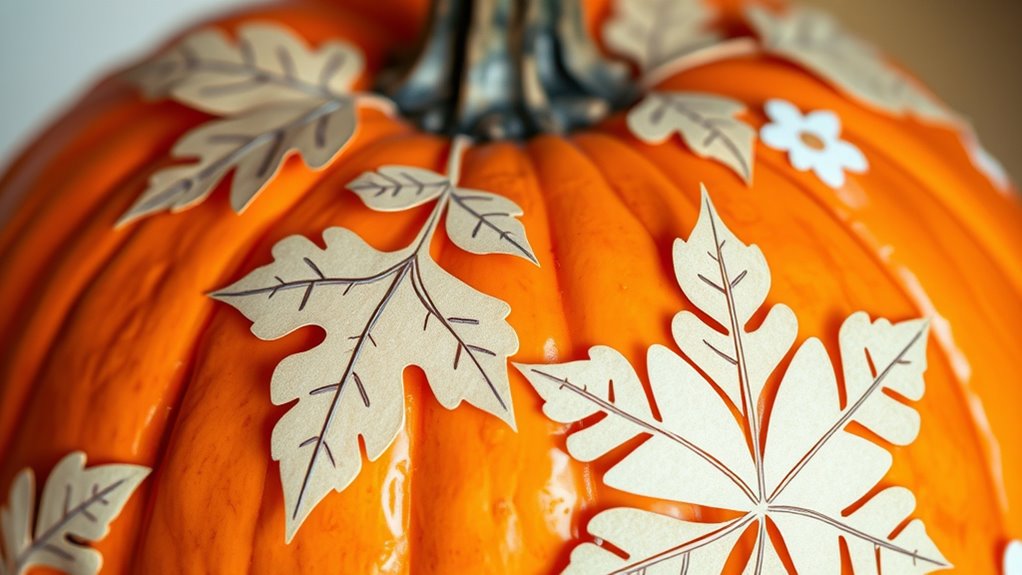
Start by applying a thin, even layer of decoupage adhesive, such as Mod Podge, directly onto the prepared pumpkin surface using a foam brush or a soft paintbrush. Be sure to cover the area completely but avoid excess, which can cause wrinkles or bubbles. Once the adhesive is applied, carefully place your decorative paper onto the surface, smoothing out any air bubbles or wrinkles with your fingers or a soft cloth. Press gently to ensure the paper adheres evenly and securely. Allow the decoupage adhesive to dry slightly before adding additional layers or trimming the excess paper. Using a quality decoupage adhesive helps seal the decorative paper smoothly onto the pumpkin, creating a durable, professional-looking finish that will last throughout the season. Recognizing the importance of safe sleep practices can also help in maintaining patience and confidence during your craft project.
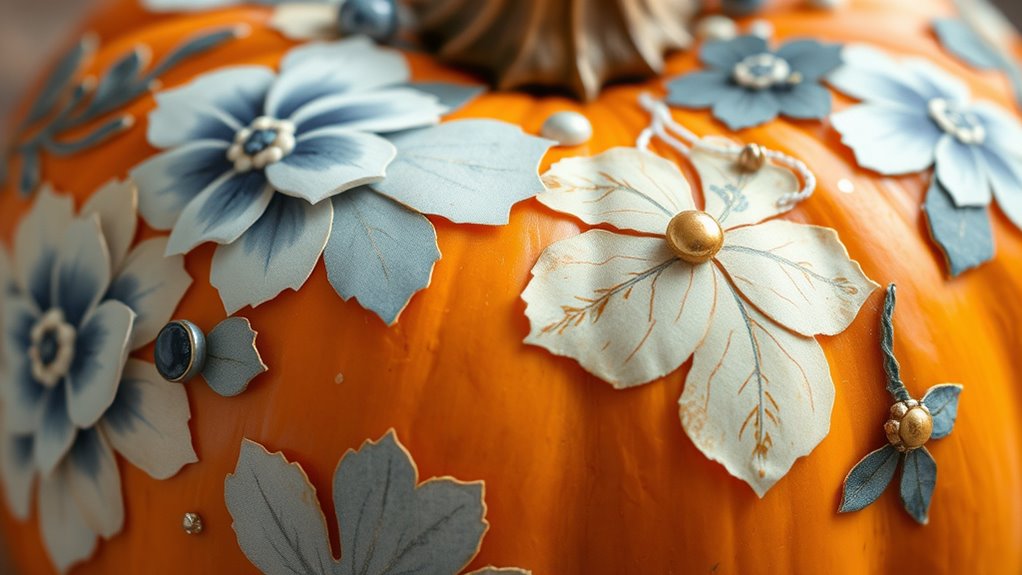
Adding Personal Touches and Details
Once the decoupage layer is dry, you can begin adding your personal touches and details to make your pumpkin unique. Focus on enhancing its seasonal theme and refining color coordination. To do this, try:
- Adding small embellishments like glitter or faux leaves that match your theme.
- Using fine-tip brushes to paint delicate patterns or accents that complement the decoupage design.
- Attaching tiny charms or ribbons in colors that harmonize with your paper choice.
- Drawing or stenciling subtle details, such as vines or words, to give depth and personal meaning.
These touches bring your pumpkin to life, making it a one-of-a-kind piece that reflects your style and seasonal spirit.
Sealing and Finishing Your Decoupage Pumpkin
After you’ve added all your personal touches and details to your decoupage pumpkin, sealing it guarantees your designs stay vibrant and protected. Start with a clean, dry surface before applying your sealant. Use a brush or sponge to evenly spread a thin layer of sealant over the entire pumpkin, ensuring all decoupage elements are covered. This sealant application helps protect your artwork from moisture and fading. Once the first coat dries, consider applying a finish coating for added durability and shine. Multiple thin layers work better than one thick coat, so wait between coats as recommended. The finish coating not only enhances the look but also provides a smooth, protective barrier that keeps your decoupage pumpkin looking fresh for longer.
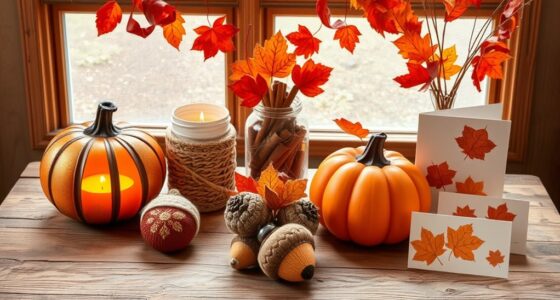
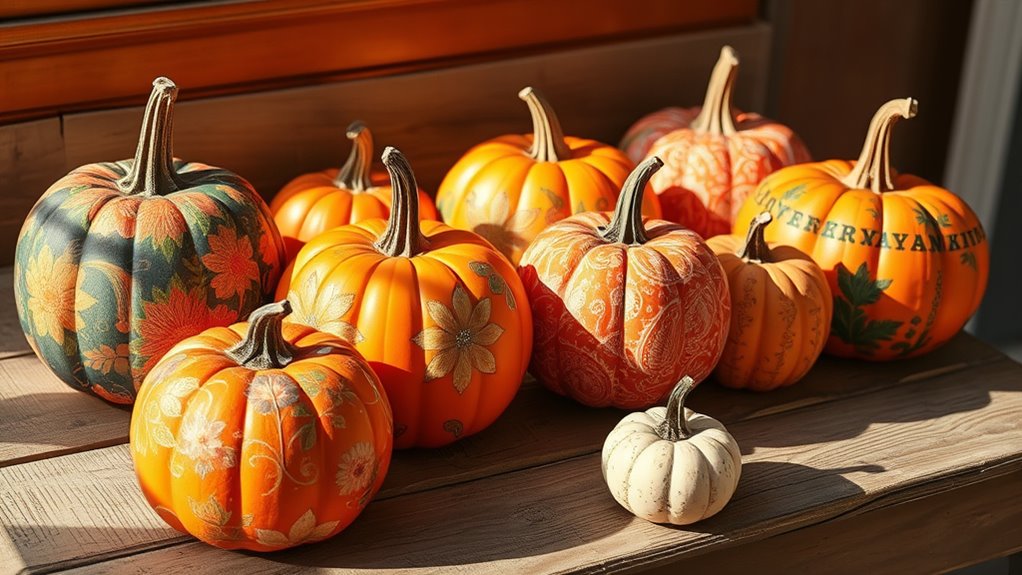
Creative Inspiration and Design Ideas
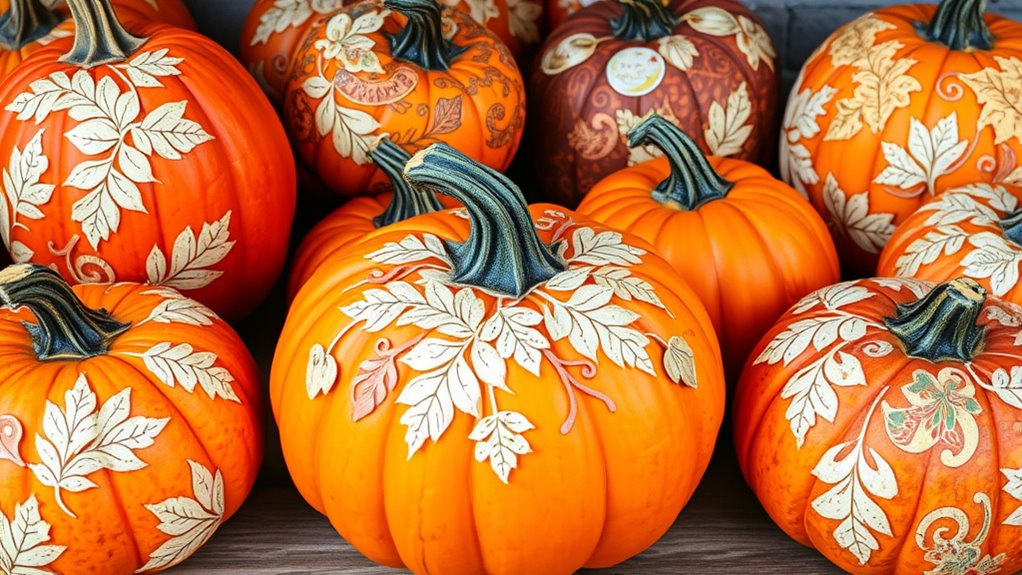
Finding inspiration for your decoupage pumpkin can be as simple as browsing seasonal themes, nature motifs, or your favorite colors. Think about how you want your pumpkin to stand out during autumn decorating or as a unique twist on traditional pumpkin carving. To spark ideas, imagine:
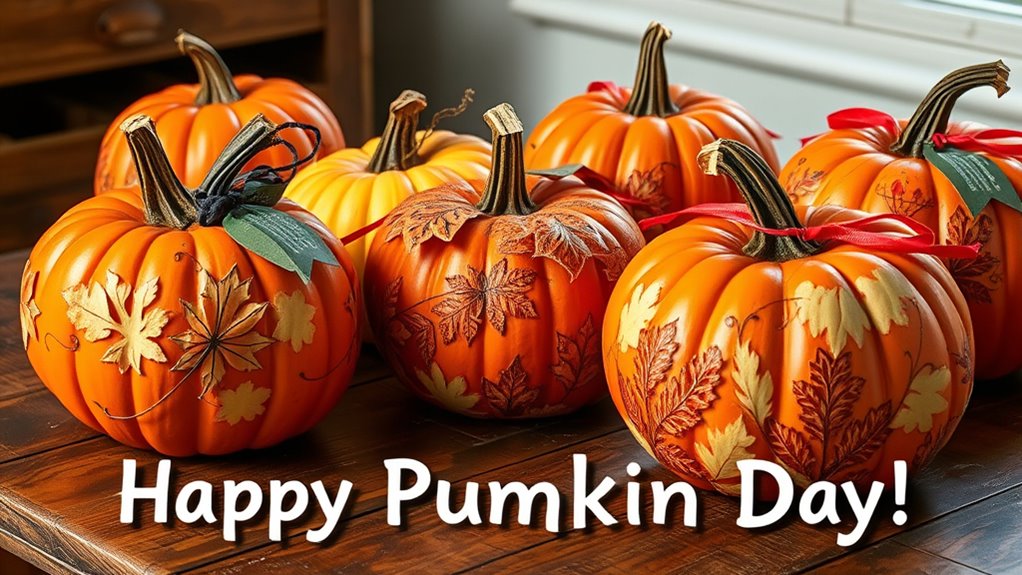
- Bright orange pumpkins adorned with delicate leaf patterns and gold accents.
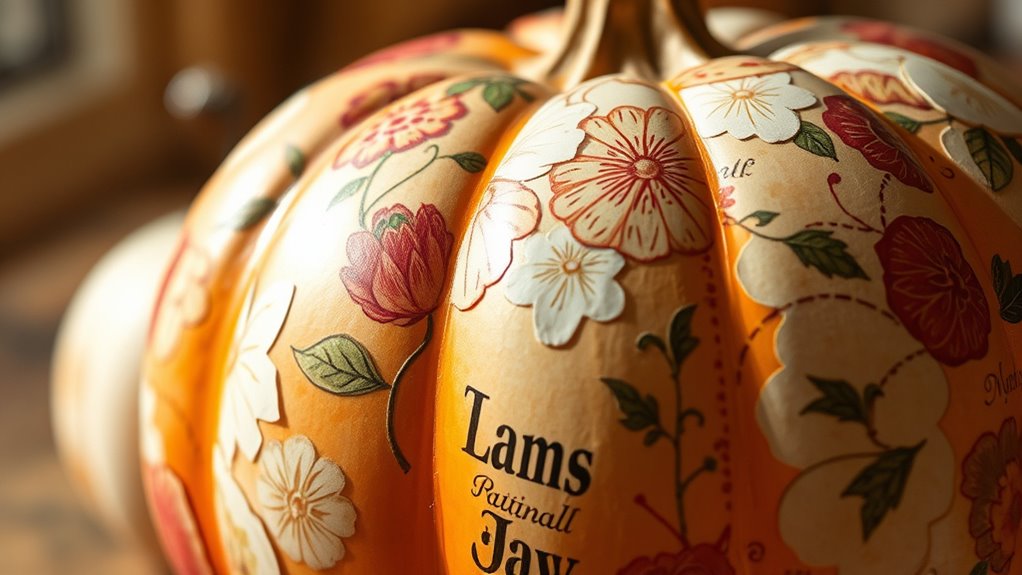
- Soft pastel hues with vintage floral designs for a subtle, elegant look.
- Bold geometric shapes combined with metallic foil for a modern vibe.
- Rustic scenes of harvest farms and woodland creatures for a cozy feel.
Combine these ideas with your personal style, and you’ll craft a decoupage pumpkin that’s both inspiring and perfect for celebrating National Pumpkin Day. Let your creativity run wild!
Displaying and Caring for Your Decoupage Pumpkins
To guarantee your decoupage pumpkins stay vibrant and intact throughout the season, it’s essential to display them thoughtfully, avoiding harsh elements and rough handling. Place them in a protected spot away from direct sunlight and moisture. Using a sturdy shelf or a decorative display table enhances their appearance in your fall décor and keeps them safe for seasonal crafts. Consider a gentle dusting with a soft cloth regularly to maintain their look. Here’s a quick guide:
| Placement Tips | Care Tips |
|---|---|
| Keep away from direct sunlight | Use a soft brush for dusting |
| Avoid high traffic areas | Store in a cool, dry place |
| Use a stable surface | Apply a clear sealant if needed |
| Display indoors | Handle carefully |
| Rotate for even exposure | Check for damage regularly |
These steps help your decoupage pumpkins stay beautiful longer.
Frequently Asked Questions
Can Decoupage Pumpkins Be Made With Real or Artificial Pumpkins?
You can decoupage pumpkins with both real and artificial ones. When working with a real pumpkin, guarantee the pumpkin surface is clean and dry to make the adhesive types stick well. For artificial pumpkins, you have more flexibility, as the surface is usually smoother. Use a good quality decoupage glue or Mod Podge to attach your paper or fabric, and seal it properly to enjoy your decorated pumpkin longer.
What Are the Best Times of Year to Display Decoupage Pumpkins?
Think of your decoupage pumpkins as symbols of change and celebration. The best times to display them are during fall, when the air turns crisp and leaves fall, matching their earthy tones. They also shine during harvest festivals and Halloween, adding warmth and charm. Use them in your seasonal decor to evoke cozy, festive feelings, making your home inviting and reflective of the year’s shifts through your creative, handcrafted touches.
How Long Do Decoupage Pumpkins Typically Last Outdoors?
Decoupage pumpkins typically last outdoors for about one to two weeks, depending on weather durability and seasonal longevity. If you keep them in a protected spot away from rain, snow, or direct sunlight, they’ll stay intact longer. However, harsh weather accelerates deterioration, so if you want your decorations to last, consider placing them in shady, sheltered areas and bringing them inside during bad weather.
Are There Eco-Friendly or Biodegradable Decoupage Adhesives Available?
Thinking about eco-friendly adhesives is like choosing a gentle hug for the planet. Yes, there are biodegradable glues and eco-friendly adhesives that work well for decoupage pumpkins. These options break down naturally, reducing environmental impact. You can find them at craft stores or online. Using biodegradable glue makes your project greener, so you can enjoy your decorated pumpkins with a clear conscience, knowing you’re kind to Mother Earth.
Can Children Safely Participate in Decoupage Pumpkin Decorating?
You can definitely let children participate in decoupage pumpkin decorating, but make certain you supervise them closely. Use age-appropriate materials, like kid-friendly glue and non-toxic paints, to keep the activity safe. Always check for small parts that could be a choking hazard and guide their use of scissors or other tools. With proper supervision and suitable supplies, kids can enjoy creating beautiful decoupage pumpkins safely.
Conclusion
Now that your pumpkin is beautifully decoupaged, you’ve officially turned a simple gourd into a piece of art—who knew pumpkins could be so fancy? While everyone admires your creativity, just remember, next year’s pumpkin might beg for a redo. But hey, if it doesn’t hold up, you’ve got a perfect excuse to start another masterpiece. After all, what’s better than celebrating National Pumpkin Day with a little art—and a lot of patience?