
Discover fun ways to craft with buttons, from creating unique jewelry like necklaces and bracelets to making decorative photo frames with colorful button patterns. You can personalize greeting cards, design vibrant magnets, or embellish tote bags and home decor for a custom touch. Try making playful pinbacks or artistic mosaics that brighten your walls. Each project lets you showcase your style and creativity. Keep exploring—more inspiring ideas await to help you craft with buttons in new and exciting ways.
Key Takeaways
- Create personalized jewelry like necklaces, bracelets, or brooches using buttons, jewelry wire, and clasps for customization.
- Design decorative button displays or framed mosaics by arranging colorful buttons into patterns with glue or adhesive.
- Craft patterned home décor items such as button-covered picture frames, coasters, or pillows for unique accents.
- Make fun accessories like button wind chimes, badges, or pinbacks with colorful buttons, wire, and embellishments for personal expression.
- Repurpose buttons into handmade bookmarks by attaching them to ribbons or cardstock, adding tassels or loops for functionality.

Creating your own button jewelry is a fun way to craft personalized necklaces and bracelets that showcase your style. Start by selecting buttons that reflect your personality, whether bright colors, vintage designs, or unique shapes. Use jewelry wire, elastic cords, or thin chains to assemble your pieces. Thread the buttons onto your chosen material, experimenting with patterns or mixing different sizes and textures for visual interest. Secure the ends with crimp beads, knots, or clasps to guarantee durability. This project allows you to customize your jewelry for any occasion, making each piece one-of-a-kind. Plus, it’s an easy craft suitable for beginners and experienced crafters alike. With a little creativity, you can turn simple buttons into stylish accessories that truly express who you are. Additionally, incorporating regional knowledge about local craft stores or online resources can help you find the best materials and tools for your project. To ensure your jewelry lasts, consider learning about proper jewelry care, which can extend the life and appearance of your handcrafted pieces.
Decorative Button Frames for Photos and Art

Creating decorative button frames lets you showcase your favorite photos and artwork in a fun way. You can arrange colorful buttons into eye-catching patterns that highlight your memories. These frames turn simple pictures into personalized, charming displays. Incorporating active listening and empathy techniques can enhance your enjoyment of this craft, making the process more engaging and meaningful. Additionally, understanding personal debt forgiveness bills can help you manage your finances better, freeing up resources for creative projects. Exploring textile art techniques can also inspire unique designs and innovative ways to decorate your button frames. Learning about materials needed for craft projects can help you select the best supplies for your creative endeavors. Considering popular knitting patterns for sweaters may inspire fabric choices or complementary accessories for your decor.
Arranging Colorful Patterns
Arranging colorful patterns with buttons transforms simple frames into eye-catching displays for your photos and artwork. Start by selecting buttons in various sizes, shapes, and colors that complement your picture. Plan your design beforehand, whether you want a symmetrical pattern or a fun, random arrangement. Lay out your buttons on the frame without gluing to visualize the final look. Once satisfied, glue each button securely in place, ensuring no overlaps or gaps. Mixing different hues creates vibrant, lively effects, while sticking to a monochrome palette offers a more elegant vibe. Keep symmetry in mind if you prefer a balanced appearance, or go wild with asymmetry for a dynamic look. This creative process personalizes your frame and makes your display truly one-of-a-kind. Considering the horsepower of electric dirt bikes, incorporating energetic and lively designs can reflect their powerful performance. Using color coordination techniques can further enhance the visual appeal of your button arrangements.
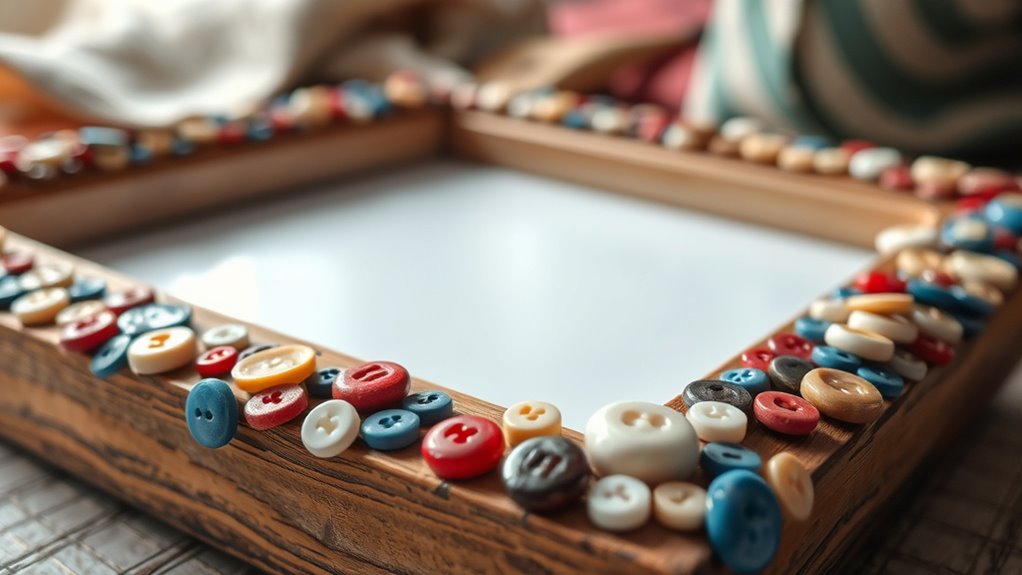
Framing Personal Memories
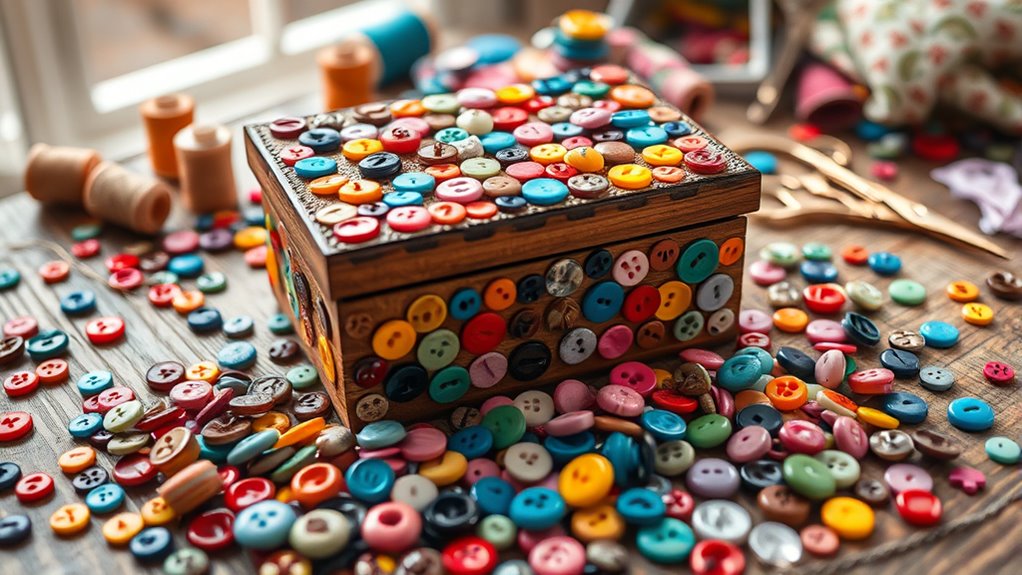
Framing personal memories with decorative button frames adds a charming, handcrafted touch to your photos and artwork. You can customize the frame by selecting buttons that match the colors or themes of your picture. Start by cutting a sturdy backing board and arranging your buttons around the edges. Use hot glue or craft adhesive to secure each button in place, creating a border that enhances your photo or art. Feel free to mix different sizes, shapes, and colors for a unique look. Once the buttons are firmly attached, insert your photo or artwork into a frame or attach it directly to the backing. This project transforms simple buttons into a heartfelt display, making your cherished memories even more special. Incorporating craftsmanship skills can further enhance the aesthetic appeal of your crafted frame.
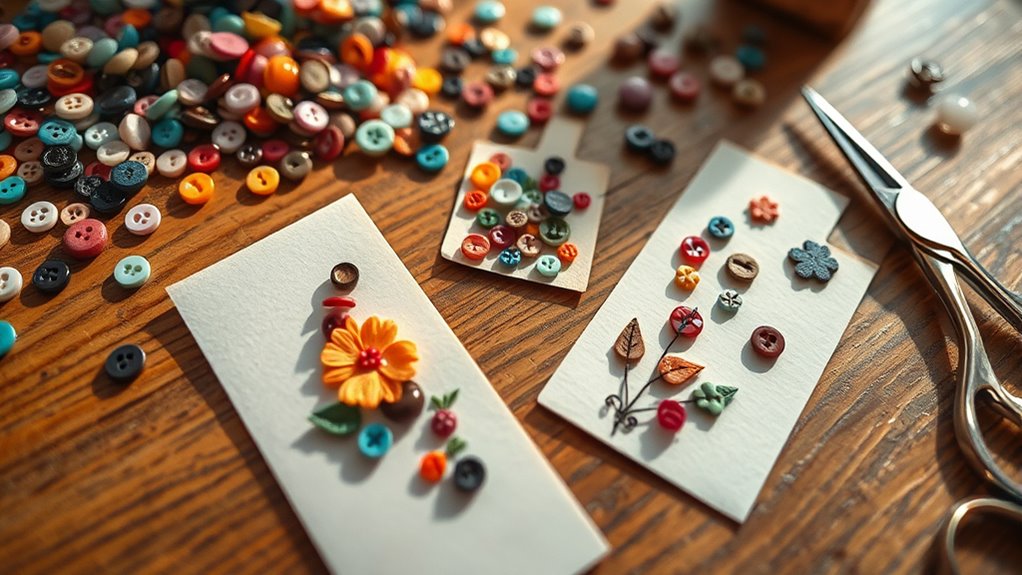
Creating Charming Button Embellished Greeting Cards
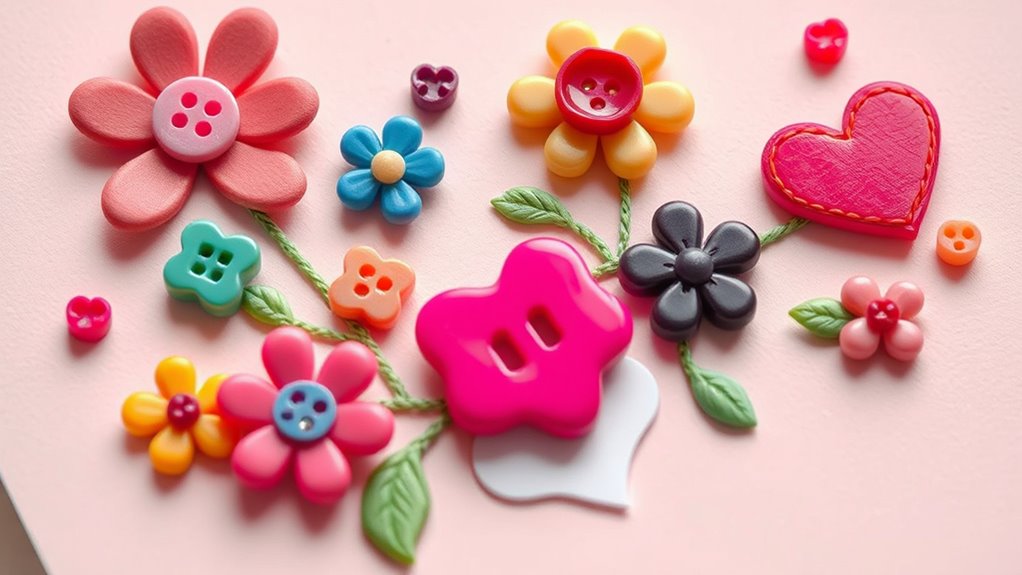
Adding buttons to your greeting cards instantly gives them a charming, personalized touch. Choose buttons in various sizes, shapes, and colors to match the occasion or mood. Start by planning your design—arrange the buttons on the card first without gluing to visualize the layout. Once satisfied, use a hot glue gun or craft glue to secure each button firmly in place. You can create simple patterns, like borders or hearts, or craft more intricate designs, such as flowers or animals. For added flair, combine buttons with other embellishments like ribbons, stickers, or handwritten messages. Keep your design balanced and avoid overcrowding to guarantee your card remains elegant. Incorporating various materials such as ceramic, glass, or metal buttons can also enhance the visual appeal of your creation. Additionally, experimenting with different button styles can help develop unique and eye-catching designs. Remember that sustainable practices in crafting can also be incorporated by repurposing old buttons from worn-out clothing or accessories. Understanding branding and marketing principles can help you create a cohesive look that appeals to recipients and boosts your crafting reputation. Considering the cultural significance of certain button designs can add a meaningful touch to your projects. With a little creativity, your button-embellished greeting cards will stand out and delight recipients.
Making Colorful Button Magnets for Your Fridge
Transforming your button crafts into colorful fridge magnets is a fun way to showcase your creativity and add a personal touch to your kitchen decor. First, select your favorite buttons in various colors and sizes. Next, grab small flat-backed magnets or adhesive magnet strips and attach them securely to the back of each button. You can reinforce the attachment with hot glue for extra durability. Arrange the buttons in fun patterns or designs before gluing to create a vibrant display. Once the glue dries, your homemade magnets are ready to stick on your fridge. These magnets not only hold notes and photos but also serve as cheerful, handcrafted accents. Personalize them further by adding tiny decorative elements or painting the buttons for a unique look.
Designing Personalized Button-Decorated Tote Bags
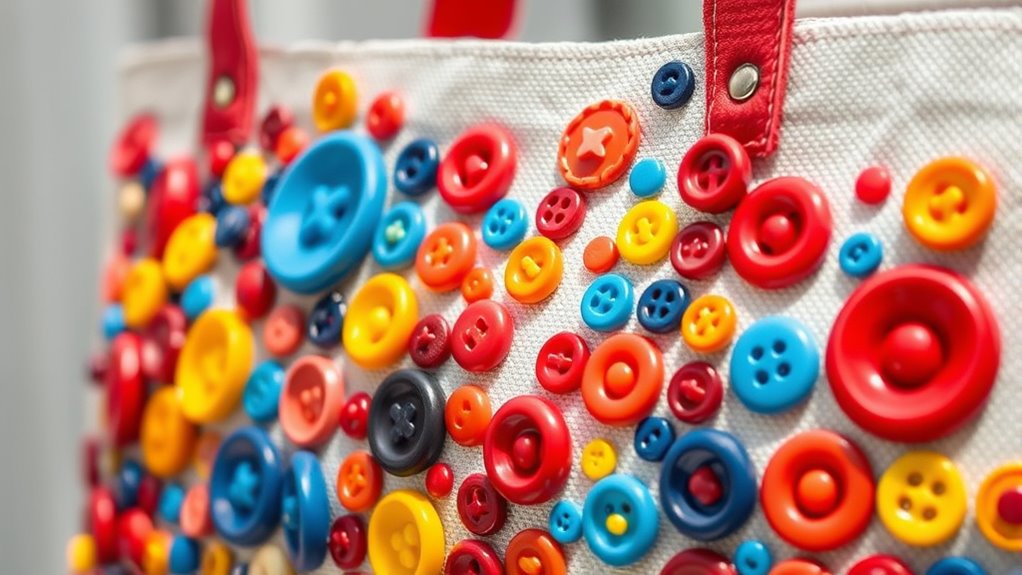
Creating a personalized button-decorated tote bag is a fun way to showcase your style and make a functional accessory uniquely yours. Start by selecting a plain tote that matches your personality, then gather an array of buttons in different colors, shapes, and sizes. Plan your design by arranging the buttons on the bag before gluing or sewing them down, ensuring a balanced and attractive layout. Focus on creating a centerpiece or pattern that reflects your interests.
- Express your personality with meaningful button choices
- Experiment with colors and arrangements for visual impact
- Personalize your tote to make it a conversation starter
Crafting Whimsical Button Wind Chimes
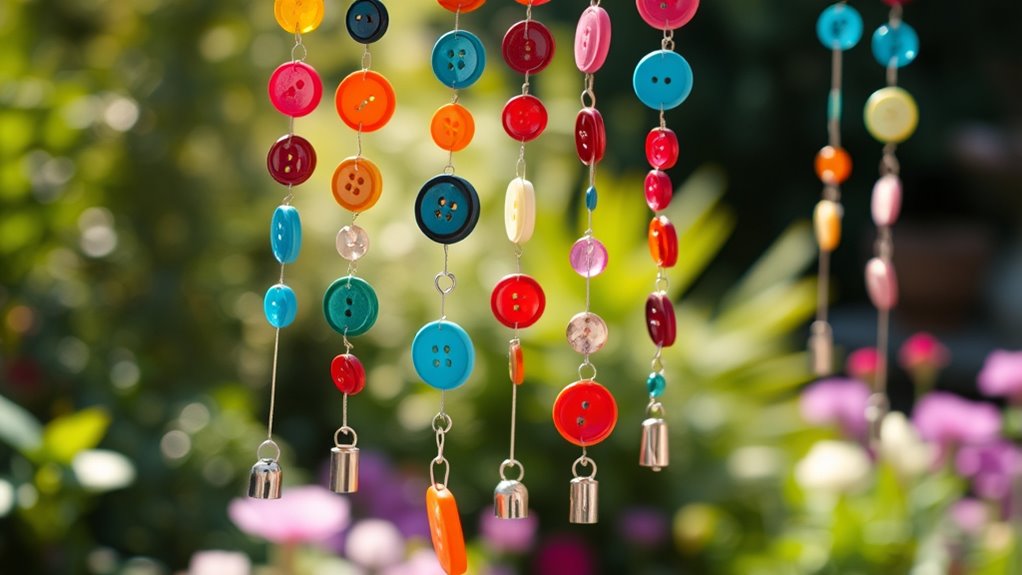
If you want to bring a playful, melodic touch to your garden or porch, crafting whimsical button wind chimes is a perfect project. Start by gathering an assortment of colorful buttons in various sizes and shapes. Choose a sturdy, lightweight base like a metal or wooden ring to hang your chimes. Use strong fishing line or thin wire to attach the buttons, creating a layered, cascading effect. Vary the lengths so the chimes move freely and produce gentle sounds in the breeze. Add small bells or beads for extra charm. Once assembled, hang your wind chime in a breezy spot where it can catch the wind. This simple project transforms ordinary buttons into a delightful, musical decoration that adds charm and whimsy to any outdoor space.
Handmade Button Button Bookmarks
Adding handmade button bookmarks to your collection is an easy and practical craft that brings a personal touch to your reading experience. You can customize each bookmark with your favorite colors, shapes, and button styles for a unique accessory. To create one, simply attach buttons to a sturdy strip of cardstock or ribbon, then add a tassel or ribbon loop for easy placement in your book. These bookmarks aren’t just functional—they also serve as charming, handmade gifts for friends. Engaging in this craft allows you to incorporate creative self-expression and repurpose old buttons, giving them new life and meaning. Incorporating natural materials in your design can further enhance the tactile experience and aesthetic appeal of your bookmarks.
Embellishing Home Decor With Button Accents
Buttons can instantly elevate your home decor by serving as charming accents on various surfaces. You can glue buttons onto picture frames, vases, or mirrors to add a pop of color and texture. Creating button-covered coasters or placemats is another fun way to incorporate them into everyday items. For a more subtle touch, sew or glue buttons onto throw pillows or curtains for a personalized look. Use the following table for quick ideas to embellish your space:
| Decor Item | Button Style | Effect |
|---|---|---|
| Picture Frames | Colorful or metallic | Brightens and personalizes |
| Vases and Jars | Small, shiny buttons | Adds visual interest |
| Throw Pillows | Coordinated shades | Creates a cozy vibe |
| Mirrors | Embellished border | Enhances elegance |
In addition, understanding cookie categories can help tailor your website experience when browsing craft ideas online. Recognizing the family background of notable figures can also inspire personalized decor themes that reflect cultural heritage or personal history.
Making Playful Button Button Pinbacks and Badges
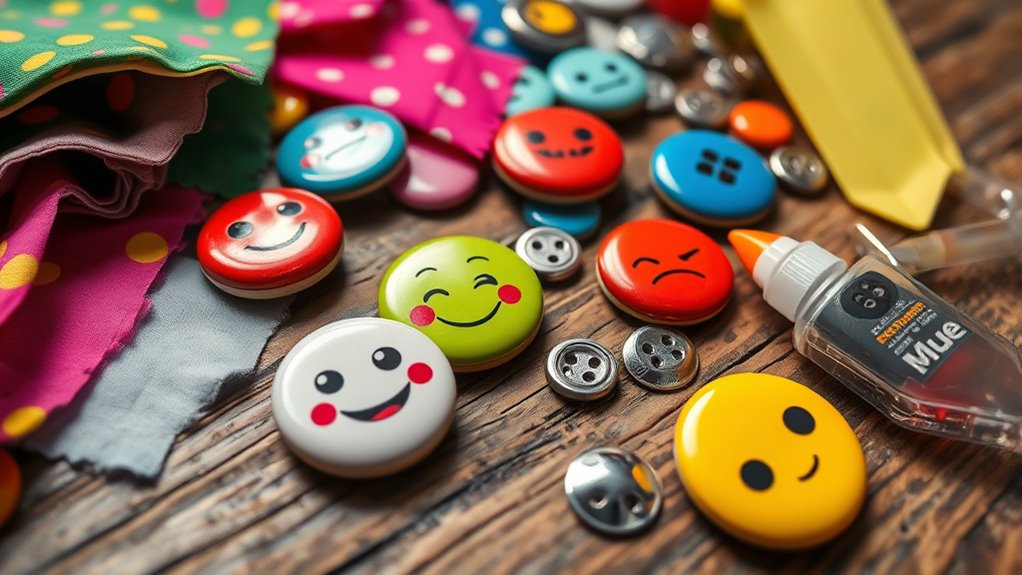
Creating playful button pinbacks and badges is a fun way to showcase your personality and add a whimsical touch to your accessories. By customizing buttons with colorful designs, quirky slogans, or meaningful symbols, you turn ordinary pieces into statements of your individuality. These badges can be worn on jackets, backpacks, or hats, instantly sparking conversations and spreading positivity. When making your own, consider the message you want to convey—whether it’s humor, support, or creativity. Remember, each button is a miniature canvas for self-expression.
- Use bold colors and fun fonts to catch attention.
- Incorporate symbols or quotes that resonate with your values.
- Mix and match different sizes for visual interest.
Creating Artistic Button Mosaics and Wall Art
Have you ever considered transforming a collection of buttons into a stunning piece of wall art? Creating artistic button mosaics allows you to turn ordinary buttons into vibrant, eye-catching designs. Start by selecting a sturdy base, like canvas or wooden board, and sketch your pattern or image lightly. Arrange your buttons by color, size, or texture to build depth and contrast. Use hot glue or craft adhesive to secure each button firmly in place. Play with abstract patterns, landscapes, or even portraits—there’s no limit to your creativity. Once finished, seal your mosaic with a clear spray to protect it. Hang your custom button wall art in your living room or hallway, and enjoy a unique, handcrafted masterpiece that showcases your artistic flair.
Frequently Asked Questions
What Types of Buttons Are Best Suited for Different Projects?
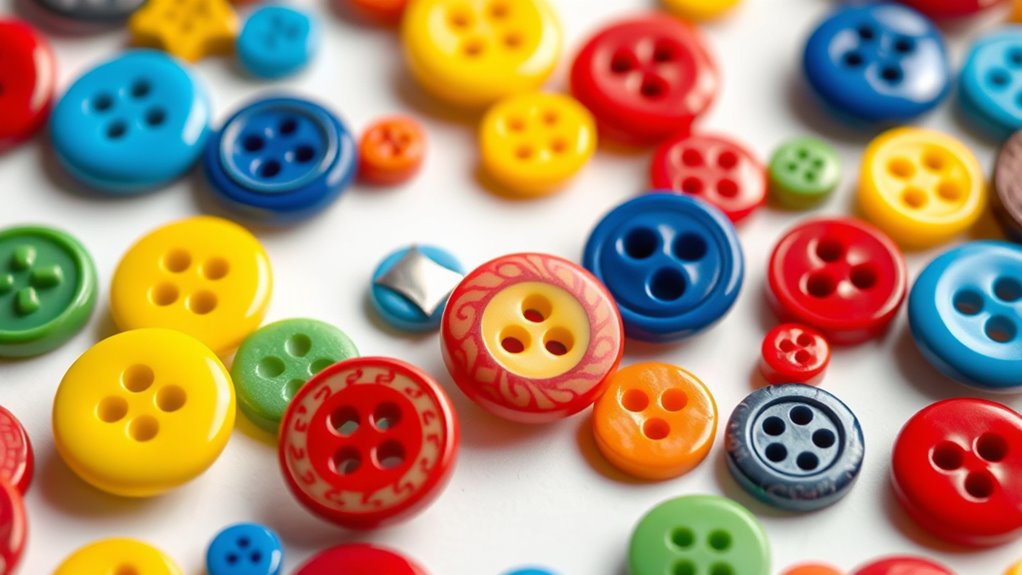
When choosing buttons for your projects, consider their size, shape, and material. Large, flat buttons work well for clothing accents, while smaller, colorful ones add detail to crafts. Shiny or decorative buttons suit embellishments, and sturdy, functional buttons are ideal for closures. You’ll want to match button types to your project’s needs, ensuring they’re easy to sew and complement your design, making your craft both beautiful and functional.
How Do I Securely Attach Buttons to Various Surfaces?
Did you know that over 80% of crafters say securing buttons firmly is their biggest challenge? To attach buttons securely, choose the right adhesive or thread based on your surface. For fabric, sew with a strong, tight stitch, and knot the thread firmly. For non-porous surfaces, use a strong craft glue or hot glue, holding the button in place until it sets. Always test first to guarantee durability.
Are There Eco-Friendly or Recycled Button Options Available?
You’re wondering if eco-friendly or recycled buttons exist. Yes, they do! You can find buttons made from recycled plastics, wood, or natural materials like coconut shells and bamboo. These options help reduce waste and environmental impact. When shopping, look for brands that prioritize sustainable sourcing. Using recycled or eco-friendly buttons not only enhances your craft projects but also supports eco-conscious practices, making your creations more sustainable and unique.
What Safety Precautions Should I Take When Working With Small Buttons?
Think of small buttons as tiny treasures that need your careful watch. You should always keep them out of reach of children and pets, as they can be a choking hazard. Use a pair of tweezers or a pin to handle them instead of your fingers to avoid accidental pricks. Work in a well-lit area, and keep a container nearby for safe storage. These precautions keep your crafting safe and enjoyable.
How Can I Customize Buttons for a More Personal Touch?
To add a personal touch to buttons, you can customize them with your own designs. Use fabric paint or permanent markers to draw or write on the surface. You might also glue small images, stickers, or even tiny photos onto the buttons. For a more durable finish, seal your designs with a clear varnish. These simple steps let you create unique, personalized buttons that reflect your style.
Conclusion
With these DIY button projects, you can turn simple accessories into vibrant works of art, like a garden blooming with creativity. Each project is a chance to add your personal touch and bring new life to everyday items. So grab your buttons and let your imagination run wild—your craft room will soon transform into a colorful canvas. Remember, the only limit is the sky, and your buttons are the stars guiding your artistic voyage.