You can transform a plain mug into a personalized masterpiece using simple techniques like hand-painting floral designs, applying vinyl stickers or monograms, doodling with Sharpies, or creating stenciled quotes and patterns. Add colorful borders with washi tape, create marbled effects with nail polish, or decorate with metallic accents for a touch of elegance. For endless inspiration, explore these creative ideas further and make your coffee mug truly unique.
Key Takeaways
- Use ceramic paints and brushes to create personalized designs, then bake for durability and dishwasher safety.
- Apply vinyl stickers or monograms with letter stampers for quick, professional-looking personalization.
- Create doodle art or Sharpie designs with waterproof markers, sealing with a clear coat for longevity.
- Add decorative borders or accents using washi tape, gold leaf, or metallic paints for elegant details.
- Experiment with marbling, pattern layering, or unique effects like watercolor or glitter for a creative touch.
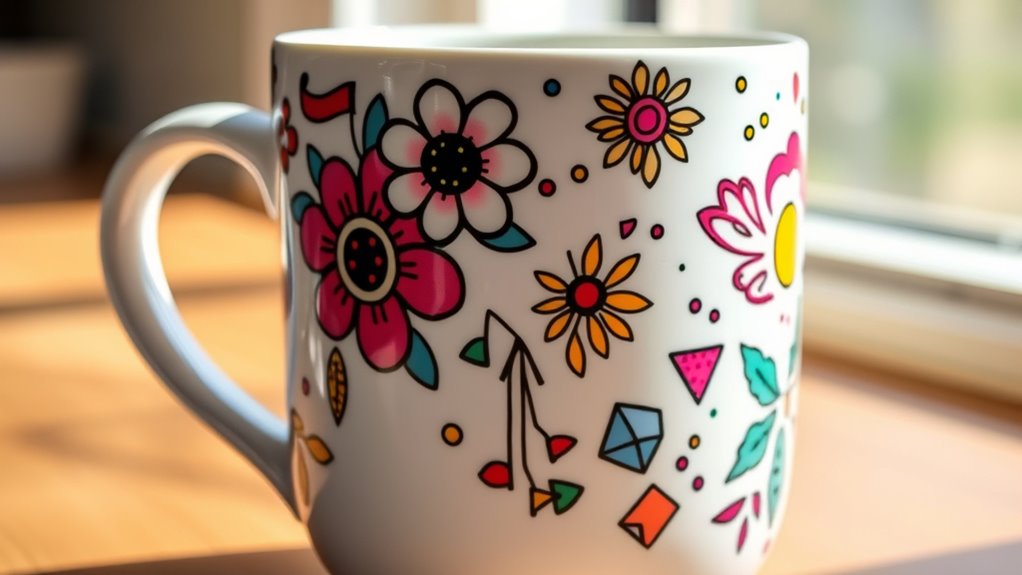
Hand-Painted Floral Designs
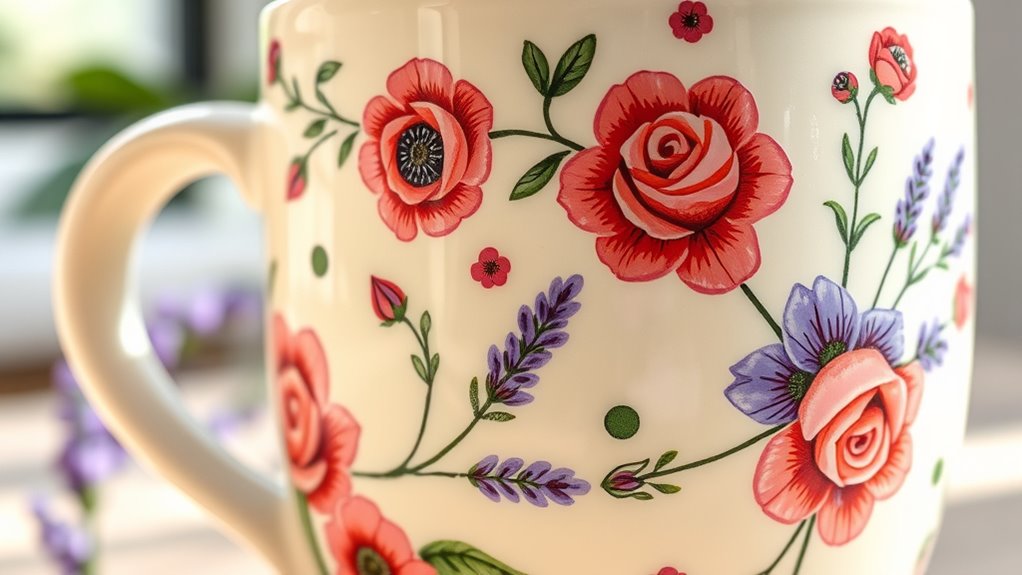
Hand-painted floral designs are a popular and charming way to personalize your coffee mug. You can create beautiful, one-of-a-kind patterns using simple brushes and vibrant ceramic paints. Start by choosing your favorite flowers or botanical motifs, then sketch lightly with a pencil as a guide. Use fine-tipped brushes to add details and shading, bringing your flowers to life. Remember, you don’t need to be an artist—imperfect strokes add character and charm. Once you finish painting, let the mug dry completely before baking it in the oven according to your paint’s instructions. This step guarantees your design is durable and dishwasher safe. Incorporating expert voiceover techniques can also inspire creative presentation ideas for your decorated mug. Additionally, understanding contrast ratio can help you select paint colors that stand out vividly against the mug’s surface. Knowing support hours can be useful if you need assistance with your ceramic paints or techniques. When selecting paints, considering the city dynamics of your environment can help you choose colors that resonate with your personal or local aesthetic. To ensure long-lasting results, researching the best grocery savings strategies can help you invest in quality supplies without overspending. Hand-painted floral mugs make wonderful, personalized gifts or a lovely treat for yourself.
Personalized Name Mugs With Vinyl Stickers

Personalized name mugs with vinyl stickers offer a quick and easy way to customize your coffee cup. You can turn a plain mug into a personal keepsake in minutes. First, choose a vinyl sticker with your name or a fun phrase that reflects your personality. Second, clean your mug thoroughly to guarantee the surface is smooth and free of dust or grease. Third, carefully peel and apply the sticker, smoothing out any air bubbles with a credit card or scraper. This method is perfect for creating a gift or adding a personal touch to your daily routine. Vinyl stickers are durable, dishwasher safe, and removable if you want to change designs later. Ensuring the surface is smooth and clean helps the sticker adhere better and last longer. Additionally, applying a protective sealant can help extend the lifespan of your design. For added durability, consider using a quality adhesive or sealant designed for ceramic surfaces. Being mindful of the adhesion process and the importance of proper surface preparation can significantly impact the durability of your design, especially in relation to astrology and personal traits that influence how well a design sticks over time.
Doodle Art With Sharpies
Start by selecting the right Sharpies to guarantee your doodles stay vibrant and won’t smudge. Then, have fun designing playful or intricate doodles that reflect your style. To ensure your design remains safe and durable, seal your artwork with a clear coating to keep your design protected and dishwasher-safe. Additionally, understanding AI security vulnerabilities can help you stay informed about potential risks associated with digital art tools and online sharing platforms. Being aware of material compatibility ensures your designs won’t fade or peel over time when exposed to washing or handling. Considering regulations affecting art can help you create designs that comply with safety standards and avoid issues with copyright or trademark infringement. Knowing about gold IRA options can inspire themed designs related to investment or wealth.
Choosing the Right Sharpies
Have you ever wondered how to choose the best Sharpies for your doodle art on mugs? Picking the right marker can make all the difference in your design’s durability and vibrancy. Here are three tips to help you select the perfect Sharpie:
- Opt for oil-based Sharpies: They’re waterproof and fade-resistant, ideal for mugs that see daily use and washing.
- Choose fine or ultra-fine tips: These give you better control for detailed doodles and crisp lines.
- Look for permanent markers labeled for ceramic or glass: These are specially formulated to adhere to non-porous surfaces and withstand baking or sealing.
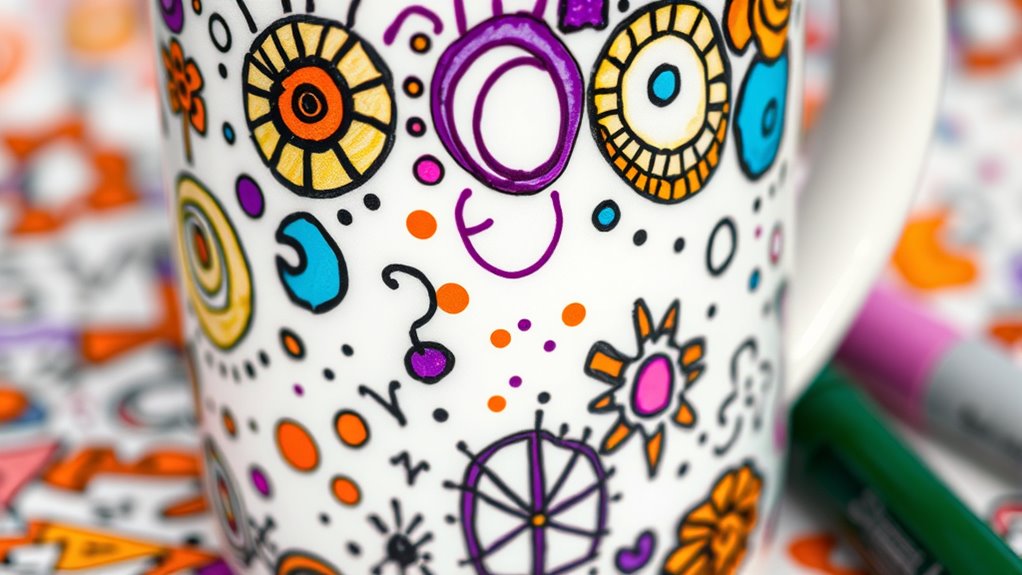
Designing Fun Doodles
Once you’ve selected the right Sharpies, it’s time to get creative with your doodles. Start by sketching simple shapes like stars, hearts, or swirls to build a playful base. Mix bold, thick lines with delicate, thin strokes to add contrast and interest. Don’t be afraid to combine patterns—dots, stripes, zigzags—to create a lively design. Fill empty spaces with smaller details, like tiny flowers or geometric patterns, to make your mug more vibrant. Remember, doodling is about having fun, so let your imagination run wild. Feel free to experiment with different styles and motifs until you’re happy with your design. Keep a steady hand, stay relaxed, and enjoy the process of turning your mug into a personalized piece of art. Planning your design can also help minimize overall mistakes and ensure a cohesive look. Incorporating rustic decor elements can further personalize your design and give it a charming farmhouse touch. Developing a clear plan can also boost your entrepreneurial mindset by fostering creativity and confidence in your artistic skills. Additionally, understanding design principles can help you create more balanced and visually appealing artwork on your mug. Using proper color selection techniques can further enhance the visual harmony of your design.
Sealing the Artwork
After you’ve finished your doodle design, it’s important to protect your artwork so it doesn’t fade or smudge over time. Sealing your mug ensures your design stays vibrant and intact through washes and daily use. Here are three ways to seal your artwork effectively:
- Bake the Mug: Place it in a cold oven, then heat to 350°F (175°C) for 30 minutes. Let it cool completely before handling.
- Use a Clear Sealant: Apply a dishwasher-safe acrylic spray or sealant designed for ceramics, following the instructions carefully.
- Hand-Wash Only: Even after sealing, always wash gently by hand to prolong your design’s lifespan.
- To ensure durability, choose sulfate-free options that help reduce color fading over time.
These steps will help your doodles stay bright and protected, making your mug a lasting piece of art.
Stenciled Quotes and Patterns
Stenciled quotes and patterns let you add a personal touch to your mug with ease. You can choose meaningful words or fun designs that reflect your style. Experiment with different fonts and motifs to make your mug truly unique.
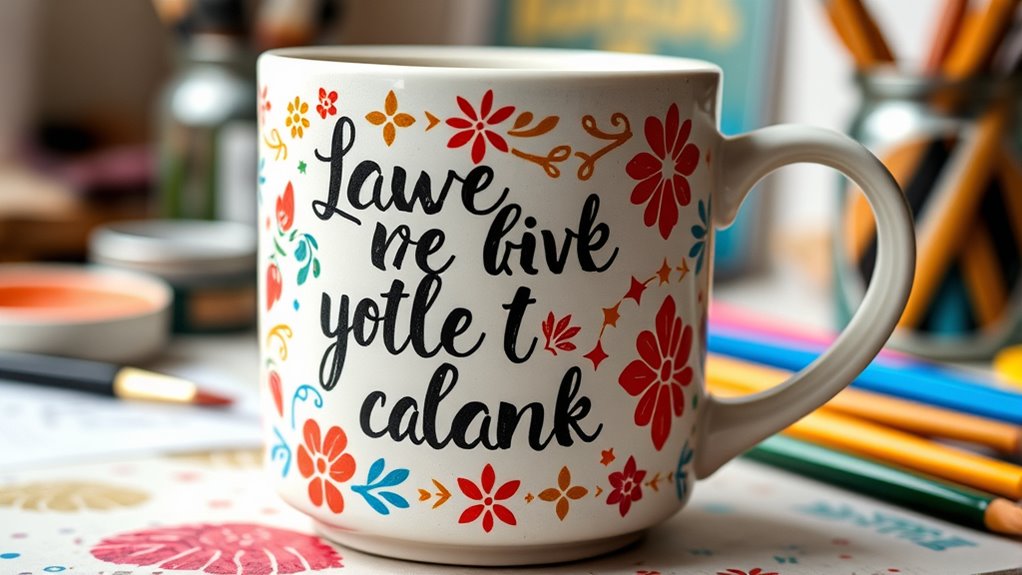
Personalized Quotes
Personalized quotes with stenciled designs are a popular way to add a meaningful touch to your coffee mug. They let you showcase your personality, humor, or inspiration every morning. To make your mug stand out, consider these ideas:
- Choose a quote that resonates with you or motivates you daily.
- Use stencils or create your own for a unique, professional look.
- Pair the quote with simple doodles or patterns to enhance its visual appeal.
Start by selecting your favorite phrase or saying. Apply stenciled letters carefully using ceramic paint or markers. Once dry, bake the mug to set the design. With a little creativity, your personalized quote mug becomes a daily reminder of what matters most.
Creative Pattern Ideas
Adding creative patterns to your stenciled quotes can transform a simple mug into a work of art. Think beyond just words—incorporate geometric shapes, floral designs, or playful doodles around your quote to make it stand out. Use contrasting colors to create visual interest or try metallic paints for a touch of elegance. You can also experiment with repeating patterns, like polka dots or stripes, that complement your message. If you prefer a more whimsical look, add small illustrations or icons alongside your text. Remember, mixing different patterns can give your mug a unique, personalized vibe. Keep your stencils steady and work in layers for crisp, clean lines. With a bit of creativity, your mug will become a true reflection of your style.
Using Washi Tape for Colorful Borders
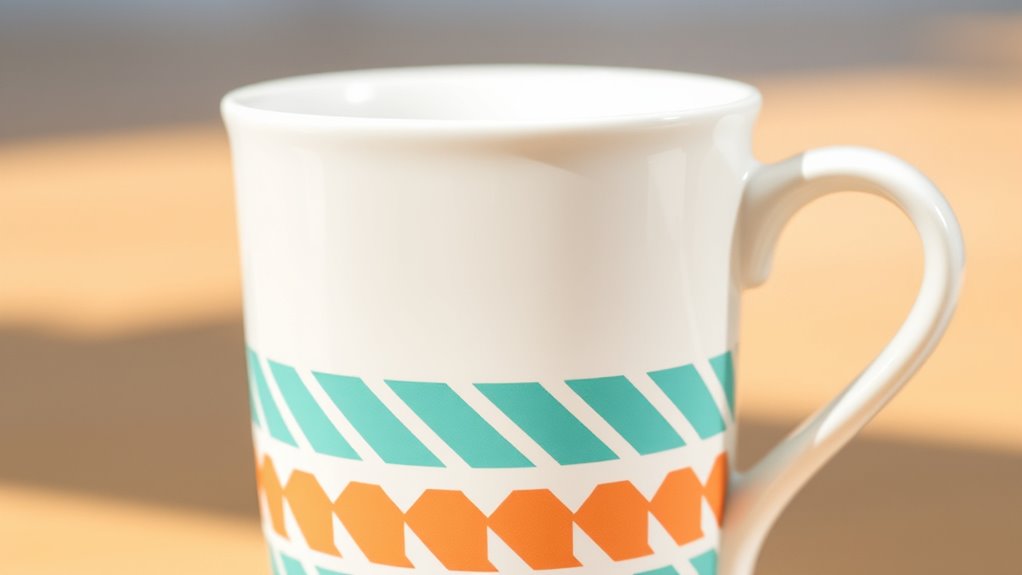
Washi tape is a versatile and easy way to add vibrant borders to your coffee mug. It allows you to customize your design without mess or permanent commitment. To start, choose colorful or patterned washi tapes that match your style.
Here are three creative ideas to try:
- Create a striped border by applying strips of washi tape around the rim or base of your mug.
- Design a chevron or zigzag pattern for a bold, modern look.
- Add accents along the handle for a subtle pop of color and visual interest.
Make sure to press the tape firmly to prevent peeling and seal the edges with a clear sealant if you plan to wash the mug regularly. Enjoy your personalized touch!
Adding Metallic Accents With Gold Leaf or Paint
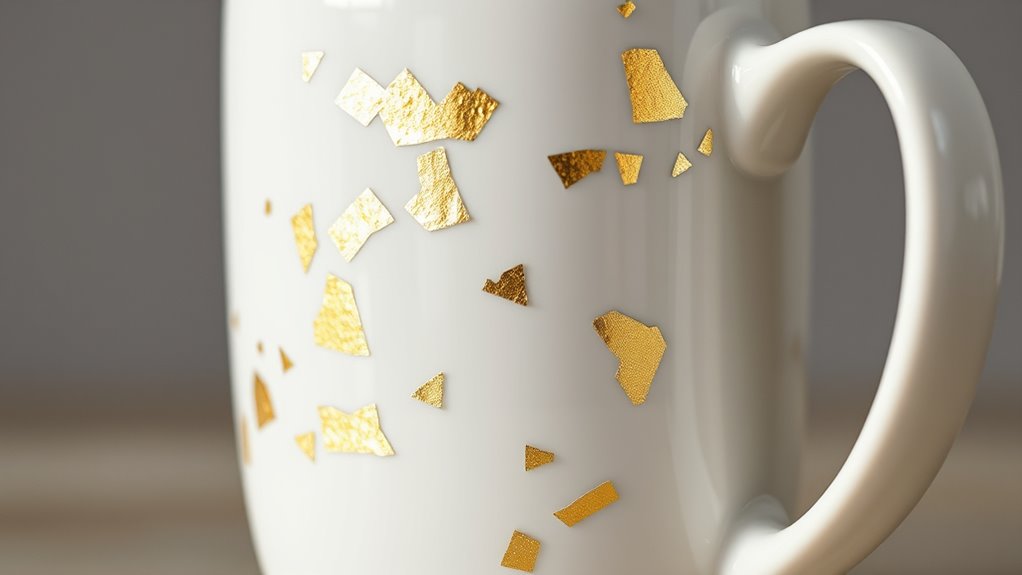
Adding metallic accents with gold leaf or paint instantly elevates your mug’s look. You can create an elegant touch with shimmering gold leaf or add vivid gold details for a bold statement. These methods make your design stand out and look professionally crafted.
Elegant Touch With Gold Leaf
To achieve an elegant and eye-catching look on your coffee mug, incorporating gold leaf or metallic paint is an excellent choice. Gold accents instantly elevate your mug’s appearance, making it look sophisticated and stylish. Here are three ways to add that luxurious touch:
- Apply Gold Leaf Borders: Carefully place gold leaf along the rim or handle for a refined finish.
- Create Gold Geometric Patterns: Use stencils or freehand designs with metallic paint for a modern look.
- Add Gold Accents to Text or Graphics: Highlight specific words or images with gold detailing to make them pop.
These methods are simple yet impactful, giving your mug an elegant, personalized vibe that stands out in any collection.
Vivid Gold Paint Details
Vivid gold paint details can instantly transform a plain mug into a striking piece of art. Using metallic gold paint, you can add bold accents or intricate designs that catch the eye. Whether you choose a simple line or detailed patterns, gold paint elevates your mug’s style. To help you plan, here’s a quick overview:
| Technique | Effect |
|---|---|
| Gold Brush Strokes | Creates a textured, artistic look |
| Gold Dots or Patterns | Adds playful, modern accents |
| Gold Details on Edges | Enhances shape and structure |
| Gold Accents with Stencils | Achieves precise, professional results |
Creating Monogram Mugs With Stampers
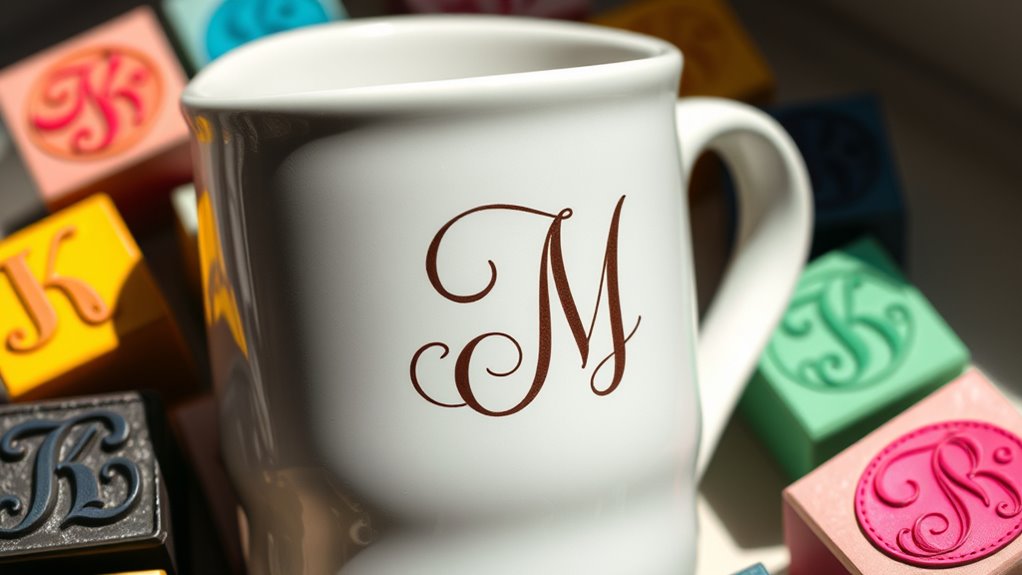
Creating monogram mugs with stampers is a simple yet stylish way to personalize your drinkware. With just a few steps, you can create a unique mug that reflects your personality. First, choose a set of letter stampers that match your style. Second, use a ceramic or porcelain ink pad to coat the stamper evenly. Third, press the stamper firmly onto your mug’s surface, holding it steady for a few seconds. This process guarantees a clean, crisp monogram. For best results, let the ink dry completely and bake the mug in the oven according to the ink’s instructions to set the design. This technique adds a sophisticated touch and makes your mug a perfect gift or personal keepsake.
Marbled Effect With Nail Polish

If you want to add a stunning, one-of-a-kind look to your mug, try creating a marbled effect with nail polish. Start by filling a shallow container with warm water. Drop small amounts of different nail polish colors onto the water’s surface, letting them spread and blend naturally. Use a toothpick or skewer to gently swirl the colors, forming a marbled pattern. Carefully dip your mug into the water, submerging it just enough to transfer the design. Lift it out and let the excess water drip off. Allow the mug to dry completely before handling. This method creates vibrant, swirling patterns that are completely unique each time. It’s an easy, inexpensive way to turn a plain mug into a work of art.
Decorating With Temporary Tattoos
Decorating your mug with temporary tattoos is a quick and versatile way to add personalized flair. Simply choose your favorite design, peel off the backing, and press it onto a clean, dry mug. Use a damp cloth to smooth out air bubbles and guarantee the tattoo adheres well. Once dry, seal the tattoo with a clear dishwasher-safe sealant for durability. Here are three tips to make the process easier:
Decorate your mug easily with temporary tattoos using a damp cloth and sealing for lasting fun.
- Select waterproof tattoos for long-lasting decoration.
- Position the design carefully before pressing to avoid misalignment.
- Apply a sealant to protect the tattoo from water and wear.
With these steps, you can enjoy a fun, custom mug that’s perfect for everyday use or gifting.
Using Chalkboard Paint for Custom Messages

Have you ever wanted to personalize your coffee mug with a message that’s easy to change? Chalkboard paint makes this possible. Simply paint a section of your mug with non-toxic chalkboard paint, letting it dry completely. Once dry, you can write messages, doodles, or quotes with chalk, giving your mug a fun, customizable touch. When you want to update your message, just erase it with a damp cloth and write something new. This method is perfect for adding motivational phrases, funny sayings, or daily reminders. To guarantee longevity, avoid using abrasive scrubbers on the painted area. With a little creativity, your mug becomes a unique canvas for ever-changing messages that brighten your day.
Frequently Asked Questions
What Types of Ceramic Mugs Are Best for DIY Decorating?
When choosing ceramic mugs for decorating, you want ones with a smooth, non-porous surface that’s easy to work on. Look for plain, white mugs or those with a glossy finish, as they provide a perfect canvas for your designs. Avoid textured or patterned mugs, which can make decorating tricky. Ensuring the mug is microwave and dishwasher safe will also help your artwork last longer.
How Do I Prevent My Designs From Smudging or Fading?
Oh, the thrill of a perfect design—until it smudges or fades, ruining your masterpiece. To prevent this tragedy, let your artwork dry completely, then bake your mug in the oven according to your paint’s instructions. Avoid scrubbing or dishwasher use immediately after. You’re basically playing ceramic art roulette—so patience and proper sealing are your best friends. Keep calm, and craft on!
Can I Dishwasher-Safe Seal My Decorated Mugs?
You can make your decorated mugs dishwasher-safe by sealing your designs properly. Use a high-quality, dishwasher-safe sealant or dishwasher-safe Mod Podge to protect your artwork. Make sure to let the sealant cure completely before washing. Handwashing is still the safest option to prolong the design’s life, but with the right sealant and curing process, your mug can withstand dishwasher cycles and stay vibrant longer.
What Tools Are Essential for Detailed Mug Artwork?
When creating detailed mug artwork, you need the right tools to bring your vision to life. Start with fine-tipped paintbrushes or permanent markers for precision. Use stencils or masking tape to achieve sharp edges. A heat gun or oven is essential for setting your designs. Also, consider waterproof or ceramic paints for durability. These tools help you craft intricate, professional-looking designs that last.
How Long Do DIY Decorated Mugs Typically Last?
Think of your decorated mug as a cherished memory that needs protecting. Usually, your DIY mug lasts about 1 to 2 years if you hand wash it gently and avoid microwaving. The longevity depends on the type of paint or marker you use, and how well you seal your design. With proper care, your mug keeps its vibrant personality, making every sip feel like a small celebration.
Conclusion
With these DIY mug ideas, you can turn a simple cup into a personal masterpiece. Whether you’re doodling with Sharpies or adding washi tape, remember that practice makes perfect. Don’t be afraid to experiment and let your creativity shine. As the saying goes, “A journey of a thousand miles begins with a single step.” So, grab your supplies and start decorating—your unique mug is just a craft away!