If you’re looking for inspiring DIY clay craft ideas, you’ll find plenty to get creative with. From colorful planters and personalized jewelry to adorable animal figurines, fun keychains, elegant candle holders, rustic bowls, playful badges, miniature food sculptures, and custom photo frames, there’s something for every skill level and style. These projects allow you to add personal touches to your home and accessories. Keep exploring to discover detailed tips and tricks that will help you craft with confidence.
Key Takeaways
- Explore colorful clay projects like planters, magnets, photo frames, and jewelry for functional and decorative home accents.
- Incorporate personalized touches with initials, symbols, or themes to create unique, meaningful clay crafts.
- Use various techniques such as shaping, texturing, and painting to add depth and detail to your clay artworks.
- Combine different materials like beads, charms, or textured patterns to enhance visual interest and dimension.
- Follow step-by-step guides for crafting durable items like keychains, candle holders, and wall art to inspire your creativity.
Colorful Clay Planters
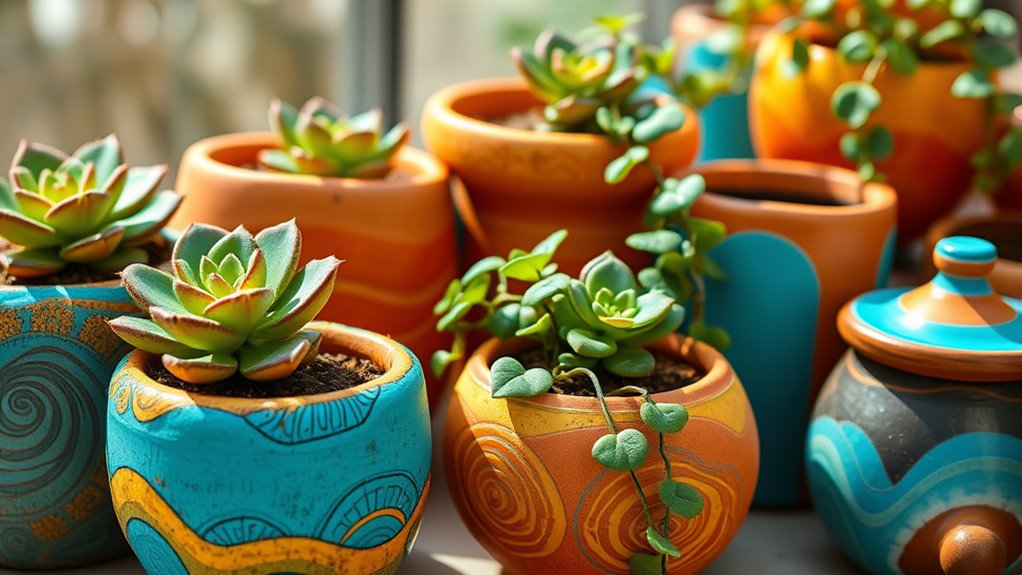
Creating your own colorful clay planters is a fun and easy way to add a personal touch to your home decor. Start by kneading colorful clay until it’s soft and pliable. Shape it into small bowls or containers, customizing the size for your plants. Use simple tools or your fingers to add designs or textures, like grooves or patterns.
Once shaped, let the clay dry completely, following the manufacturer’s instructions. To prevent leaks, consider lining the inside with a plastic liner or sealing the surface with a clear sealant. You can also paint or embellish your planters with additional colors or decorations after drying.
These vibrant, handcrafted planters will brighten up any space while showcasing your creativity. Plus, they make perfect personalized gifts for friends and family.
Personalized Clay Jewelry

Designing personalized clay jewelry offers a rewarding way to express your style and creativity. You can craft unique necklaces, earrings, and bracelets that reflect your personality or hold special meaning. Start by choosing your favorite colors and shaping the clay into meaningful charms or elegant pendants. Use simple tools like toothpicks or cookie cutters to add details or initials. Once shaped, bake your creations according to the clay’s instructions to set their form. You can also add finishing touches such as paint, gloss, or small beads to enhance your jewelry. Incorporating active listening and empathy into your crafting process can deepen your connection to the pieces you create. Engaging in indoor gardening techniques can inspire new design ideas and motivate your creativity further. Practicing space and organization skills, such as keeping your crafting area tidy, can make your creative process more enjoyable. Wearing pieces you made yourself not only boosts your confidence but also creates meaningful accessories you’ll cherish. Personalized clay jewelry makes fantastic gifts, allowing you to share your creativity with friends and loved ones.
Adorable Clay Animal Figurines
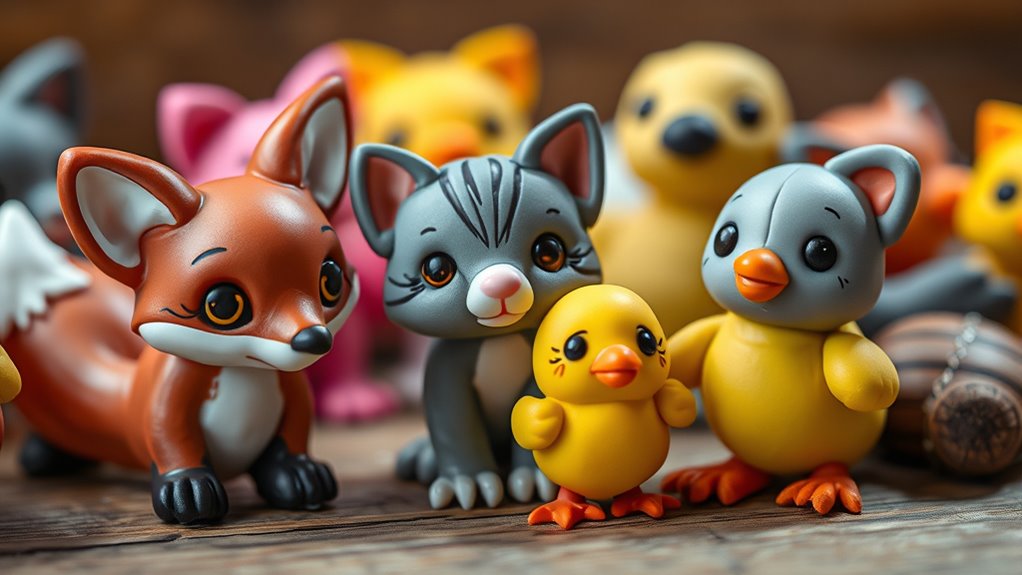
Have you ever wanted to bring cute animals to life with your own hands? Creating adorable clay animal figurines is a fun, satisfying project that lets you do just that. Start by choosing your favorite animals, like cats, dogs, or bunnies, and gather quality clay in various colors. Shape and mold each piece carefully, adding tiny details like eyes, noses, and fur textures to give them personality. Use simple tools to carve and refine features, making your figurines expressive and charming. These mini sculptures are perfect for decorating your space or giving as personalized gifts. With patience and creativity, you’ll craft delightful animals that showcase your unique style. Plus, they serve as a whimsical reminder of your artistic talent and love for animals. Incorporating clay craft techniques can help improve your skills and add more intricate details to your figurines. Exploring creative techniques can also elevate the realism and charm of your finished pieces. Paying attention to detailed craftsmanship ensures your figurines look polished and professional. Additionally, understanding material safety tips can help you create with confidence and avoid common pitfalls. Enhancing your knowledge of clay properties can further refine your sculpting process and outcome.
Custom Clay Keychains
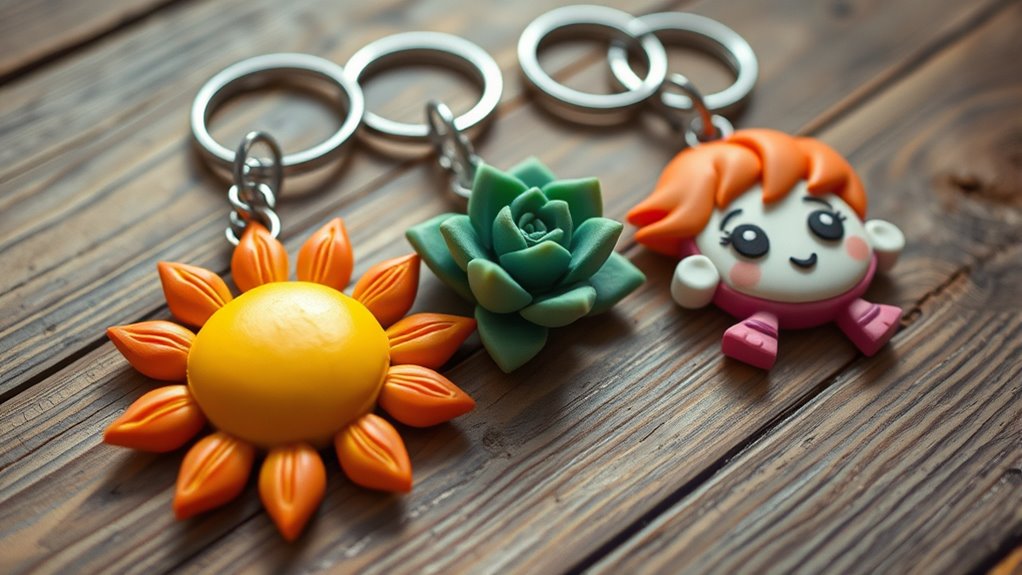
Creating custom clay keychains lets you showcase your personality with personalized designs. You can easily attach charms or decorations using simple techniques, making the process smooth and fun. Incorporating affiliate links to supplies can help you find quality materials easily. With just a few tools, you’ll have unique accessories that reflect your style. Many couples, like Clara May and Paul, find that crafting together strengthens their relationship dynamics, making this activity a meaningful way to bond. Using clay patch techniques can also help in creating more detailed and durable designs.
Personalized Designs
Personalized clay keychains are a fun way to express your individuality and make thoughtful gifts. You can customize them with initials, names, or meaningful symbols that reflect your personality or the recipient’s interests. Legal requirements like proper shaping and drying are important to ensure your keychain lasts. Start by shaping your clay into a small, flat piece, then add details with tools or tiny accessories. Use vibrant colors or keep it simple with monochrome tones—whatever matches your style. Once you’ve added your design, let the clay dry thoroughly. Proper clay drying techniques are essential to prevent cracks and ensure durability. Personal touches like tiny charms, painted details, or embossed patterns make each keychain unique. These customized accessories are perfect for birthdays, holidays, or just because. They’re easy to create, meaningful, and add a personal flair to everyday essentials.
Easy Attachment Techniques
Attaching a keyring or chain to your clay keychain is simple with a few easy techniques. First, add a small hole at the top of your clay piece using a toothpick or pin before baking. Once cooled, choose your preferred attachment method:
| Technique | Description |
|---|---|
| Jump Rings | Insert a jump ring through the hole, then connect to chain or keyring. |
| Bail Pins | Use a bail pin, threading it through the hole, and attach to chain. |
Both methods are quick and secure, letting you customize your keychain’s look. Make sure to gently open and close jump rings or bail pins to avoid deforming them. Proper attachment techniques are essential for creating durable and stylish keychains. Additionally, selecting appropriate materials for your attachments can enhance durability and appearance. Using high-quality connectors ensures your keychain remains functional over time. Incorporating proper handling methods can further extend the lifespan of your crafted accessories. With these simple techniques, your personalized clay keychain is ready to carry your style everywhere!
Elegant Clay Candle Holders

Elegant clay candle holders can instantly elevate any space with their understated charm. You can craft these with simple shapes and smooth finishes, making them perfect for adding a sophisticated touch. Focus on clean lines or subtle textures to match your décor style.
Personalize your holders by adding metallic accents or painted details for extra flair. When creating your candle holders, keep these tips in mind:
- Use quality clay for a polished look
- Ensure the base is wide enough for stability
- Incorporate decorative elements like carved patterns or grooves
- Smooth out any rough edges before firing or drying
These small touches make a big difference in creating elegant, functional pieces. With a bit of effort, your handmade clay candle holders will become beautiful focal points in any room.
Unique Clay Magnets

Unique clay magnets let you create custom designs that reflect your personality or interests. They’re both decorative and functional, adding a personal touch to your fridge or whiteboard. Using inspiration from popular dog names, you can craft magnets that showcase your favorite breeds or unique monikers. Dog names can serve as fun and personalized themes for your clay creations. Incorporating emotional expression into your designs can also enhance their sentimental value and make your magnets even more meaningful. Paying attention to unique grooming needs of different breeds can inspire creative and accurate representations in your clay art. Additionally, exploring dog quotes for reflection and humor can provide clever ideas or captions to complement your designs.
Custom Designs
Have you ever wanted to create clay magnets that truly stand out? Custom designs give you the chance to personalize your magnets with unique shapes, colors, and details.
To make your magnets eye-catching, consider using these ideas:
- Incorporate miniature figurines or symbols that reflect your interests
- Use vibrant, contrasting colors to make your design pop
- Add tiny textured elements for a tactile feel
- Personalize with initials, dates, or meaningful images
- Explore texture techniques to add depth and dimension to your creations
Functional Decor
Custom designs can make your clay magnets truly stand out, but why stop at just aesthetics? Functional decor adds practicality to your space while showcasing your creativity. Unique clay magnets can hold notes, photos, or reminders on your fridge or magnetic boards, making everyday tasks easier. Personalize them with shapes, colors, or mini motifs that match your style. To inspire your projects, here’s a quick guide to popular magnet themes:
| Theme | Materials | Use |
|---|---|---|
| Nature | Leaves, flowers | Decor & reminders |
| Abstract | Swirls, geometric | Artistic accents |
| Food | Fruits, baked goods | Fun, playful touches |
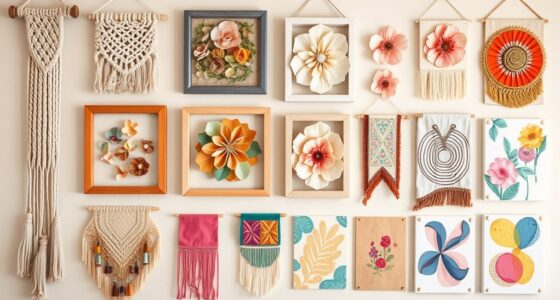
Decorative Clay Wall Art
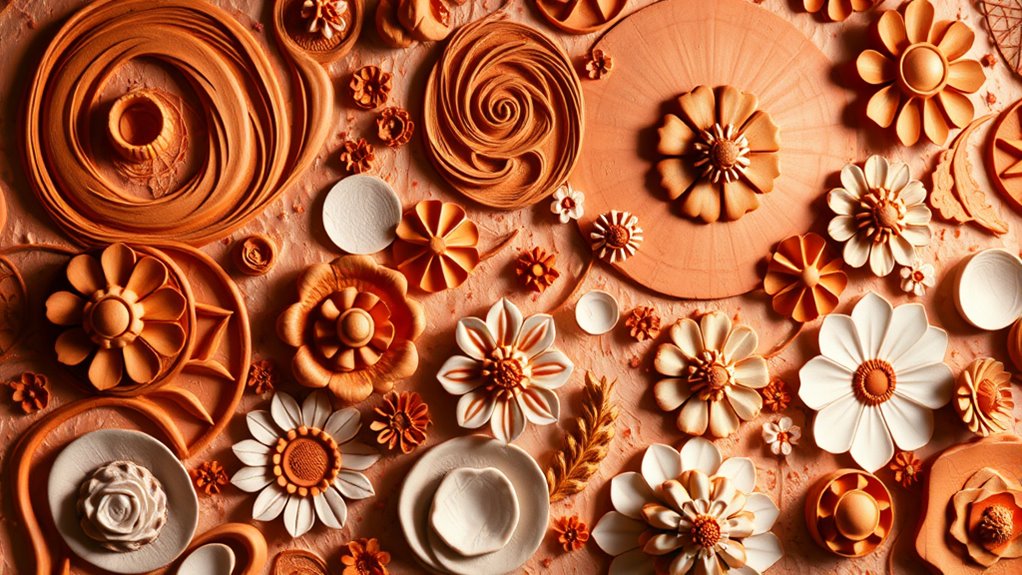
Creating decorative clay wall art is a rewarding way to add a personal touch to your space. You can craft unique pieces that reflect your style and brighten any room.
Creating personalized clay wall art adds charm and character to any room.
Start by shaping clay into simple geometric shapes or abstract designs, then smooth and texture them as desired. Once dry, you can paint or seal your creations for a polished look.
To make your wall art stand out, consider these tips:
- Mix different shapes and sizes for visual interest
- Use bold or metallic paints to enhance textures
- Arrange pieces in a dynamic, asymmetrical layout
- Incorporate other materials like string or beads for added dimension
With creativity and patience, your clay wall art will become an enthralling focal point that showcases your DIY skills and personal aesthetic.
Whimsical Clay Ornaments
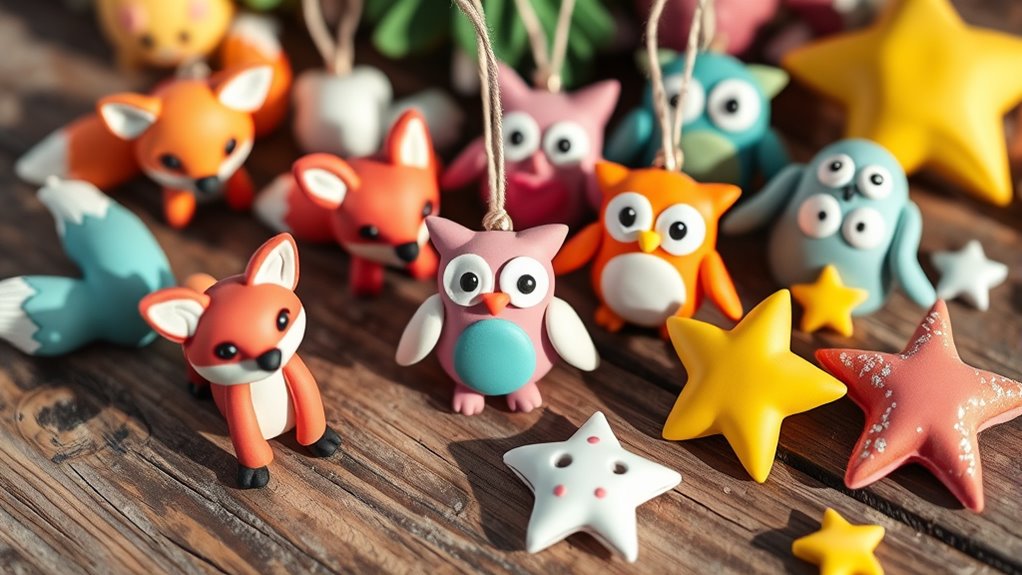
Whimsical clay ornaments are a fun way to add personality to your space. Choosing vibrant color combinations makes each piece stand out.
You can experiment with bold hues or soft pastels to match your style. Creating unique shapes gives your ornaments a playful, one-of-a-kind charm.
Vibrant Color Combinations
Vibrant color combinations can truly make your clay ornaments stand out and evoke a playful, lively vibe. When choosing bold hues, think about contrasting shades or complementary colors to create eye-catching designs.
Mixing bright reds, yellows, blues, and greens can give your ornaments a cheerful, energetic look. To enhance your creations, consider these tips:
- Use color blocking for striking visual impact
- Incorporate metallic or iridescent accents for shimmer
- Layer different shades for depth and dimension
- Balance bold colors with neutral tones to avoid overwhelming
Unique Shape Creations
Ever wondered how to make your clay ornaments truly stand out? The secret is in creating unique shapes that catch the eye. Instead of sticking to basic circles or squares, experiment with whimsical forms like tiny animals, abstract figures, or fantastical objects.
Use your fingers, tools, and even household items to mold your clay into playful and unexpected designs. Mix in some details with textured patterns or exaggerated features to add personality. Don’t be afraid to combine multiple shapes or layer elements for a more dynamic look.
Whimsical ornaments are all about fun and imagination, so let your creativity run free. These distinctive shapes will make your decorations truly one-of-a-kind and memorable.
Rustic Clay Bowls and Dishes
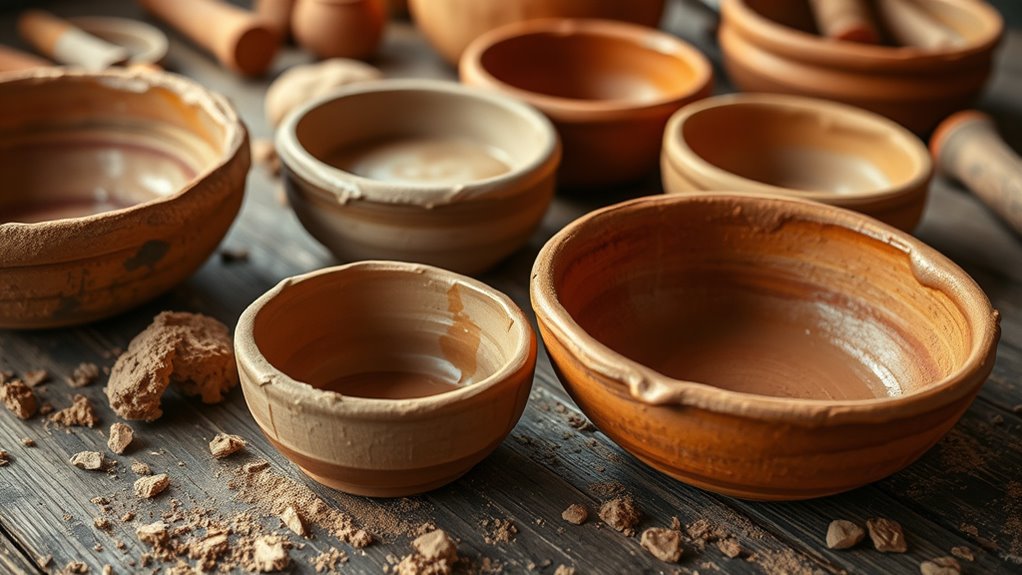
Rustic clay bowls and dishes bring a warm, handcrafted touch to your home decor. They add a cozy, natural vibe that instantly elevates your space.
To create them, start with simple shaping techniques, focusing on uneven edges and textured surfaces for authenticity. You can personalize your pieces by adding natural elements like twine or moss.
When firing, choose a matte or earthy glaze to enhance the rustic look. Keep in mind:
- Use textured tools to add unique patterns
- Emphasize imperfect, organic shapes
- Incorporate natural colors like browns and greens
- Finish with a matte sealant for durability
These elements ensure your bowls and dishes look charming and genuine, perfect for serving snacks or displaying decor items.
Crafting rustic clay pieces is an enjoyable way to bring handmade warmth into your home.
Playful Clay Pin Badges

Building on the charm of handcrafted clay pieces, playful clay pin badges offer a fun way to personalize your accessories and clothing. You can create unique shapes, characters, or symbols that reflect your personality. These badges are easy to make and perfect for adding a pop of color to jackets, backpacks, or hats. Custom designs let you showcase your creativity and make thoughtful gifts for friends. To elevate your craft, consider experimenting with different textures and finishes, like matte or glossy. Here’s a quick overview of popular badge ideas to inspire your projects:
| Badge Style | Description |
|---|---|
| Cartoon Characters | Bright, playful, and expressive shapes |
| Nature Motifs | Flowers, leaves, or animals |
| Abstract Shapes | Geometric or freeform designs |
| Quote Badges | Short, inspiring words |
| Themed Icons | Hearts, stars, or emojis |
Miniature Clay Food Sculptures
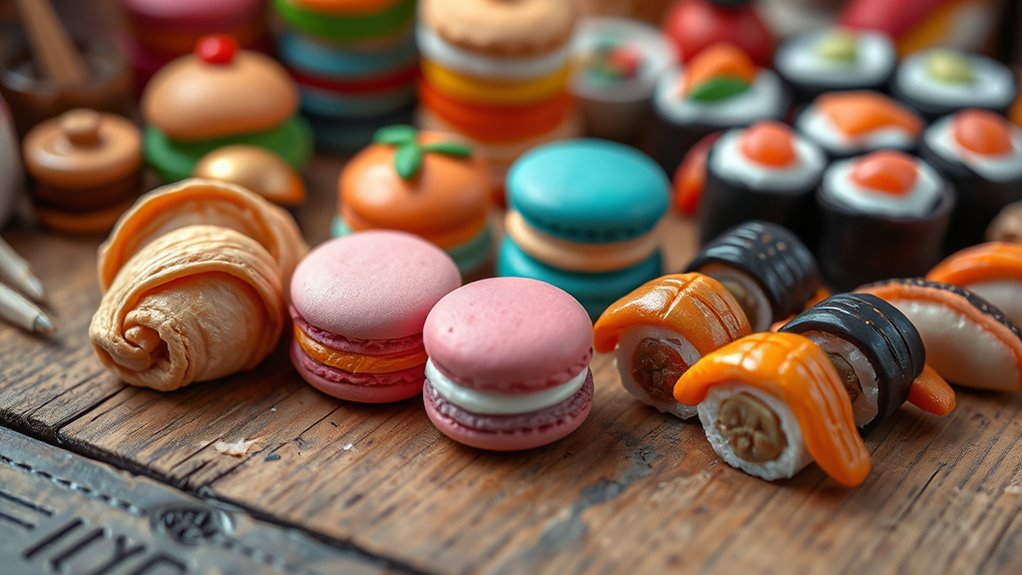
Miniature clay food sculptures are a delightful way to showcase your creativity and attention to detail. With a bit of patience, you can craft tiny versions of your favorite treats that look almost real. These sculptures make cute decorations, keychains, or gifts for friends.
Focus on:
- Using vibrant colors to mimic real food
- Paying close attention to textures and shapes
- Adding tiny details like sprinkles or drizzles for realism
- Experimenting with different types of food to diversify your collection
Getting started is simple: choose your favorite food items, gather your clay, and let your imagination run wild.
As you practice, your skills will improve, and your sculptures will become more impressive and intricate. Enjoy the process and the tasty-looking results!
Crafting Clay Photo Frames
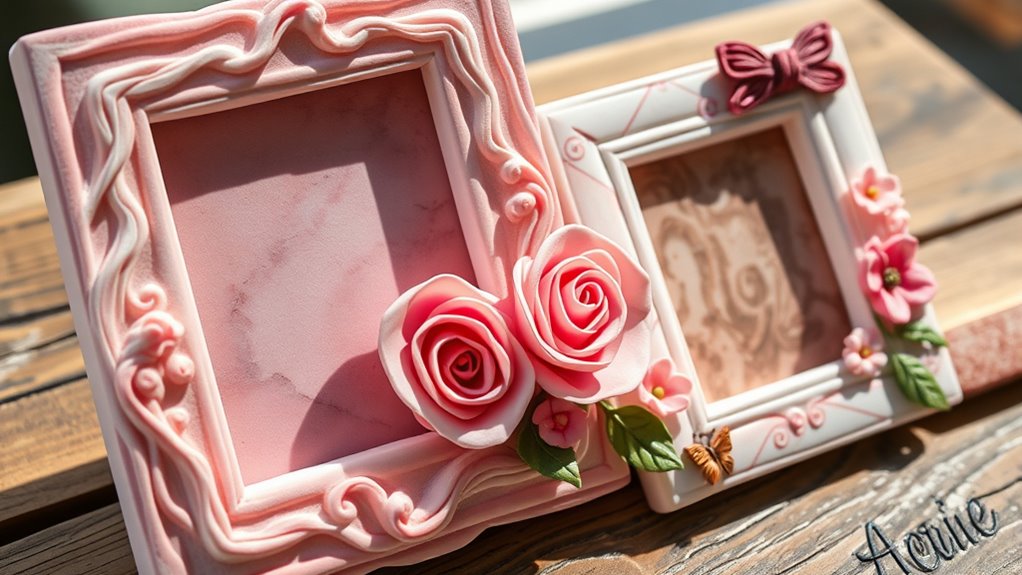
Have you ever thought about turning a simple photo into a personalized piece of art? Crafting clay photo frames allows you to do just that. Start by shaping clay into a basic frame shape, then add decorative elements like tiny flowers, patterns, or fun textures to match your style.
You can personalize it further by embedding small charms or painting details with acrylics once the clay dries. Make sure to create a sturdy backing so your photo stays securely in place. This project is perfect for customizing your space or giving a heartfelt gift.
With a little creativity, your clay frame will become a charming showcase for your favorite memories. It’s a simple, fun way to add a handmade touch to any photo display.
Frequently Asked Questions
What Types of Clay Are Best for Beginners?
When you’re starting with clay, stick to air-dry or polymer clay, as they’re user-friendly and don’t require special tools or baking.
Air-dry clay is perfect for quick projects since it hardens naturally.
Polymer clay offers durability and flexibility.
Both are affordable and widely available, making them ideal choices for beginners.
You’ll find that practicing with these types helps you learn techniques and build confidence in your craft.
How Long Does It Take for Clay Projects to Dry?
When you ask how long clay projects take to dry, it depends on the type of clay and project size.
Generally, air-dry clay needs about 24 to 72 hours to fully dry.
Kiln-fired clay can take several hours in the kiln.
You should keep your project in a well-ventilated space, and avoid touching it until it’s completely dry to prevent cracks or damage.
Can Clay Crafts Be Painted or Decorated Further?
Yes, you can definitely paint or decorate your clay crafts further after they dry. Once your project has fully dried and hardened, you can use acrylic paints, markers, or even add embellishments like glitter or stickers.
Make sure the clay is completely dry before decorating to prevent smudging or damage. This step allows you to personalize your creations and add extra details, making your crafts uniquely yours.
What Tools Are Essential for Clay Crafting?
Imagine you’re a modern-day artisan, and the right tools are your trusty sidekicks. For clay crafting, you’ll need a rolling pin to flatten your clay, various shaping tools for detail work, and a cutting blade for precise cuts.
You’ll also want a sponge for smoothing surfaces and a needle tool for fine details. Don’t forget to keep some water nearby—you’ll need it to keep your clay moist and workable.
How Do I Prevent My Clay Items From Cracking?
To prevent your clay items from cracking, you should keep the clay at a consistent moisture level and avoid overworking it. Make sure to knead the clay thoroughly before shaping.
Don’t rush the drying process—air-dry slowly in a covered area. Adding a little water during shaping can help; also, avoid exposing your pieces to sudden temperature changes.
These steps will help keep your creations smooth and crack-free.
Conclusion
Now that you’ve explored these inspiring DIY clay craft ideas, it’s time to unleash your creativity and bring your visions to life. Think of clay as a blank canvas, ready to be molded into your personal masterpiece. Whether you’re making jewelry, decor, or miniature food, each project is a chance to add your unique touch. Immerse yourself, experiment, and watch your imagination flourish like a vibrant garden in full bloom.