
If you’re looking for fun DIY paper craft projects for all ages, there are plenty to try! You can create colorful origami animals, beautiful paper flower bouquets, or decorative lanterns perfect for any occasion. Making handmade greeting cards, paper chain garlands, or customized bookmarks adds a personal touch. You might also enjoy crafting paper masks, miniature books, or artistic collages. Keep exploring to discover simple steps that make each project enjoyable and unique for everyone.
Key Takeaways
- Explore a variety of projects like origami animals, pop-up cards, and paper flowers suitable for all skill levels.
- Incorporate colorful layers, textures, and creative folding techniques to make engaging and visually striking crafts.
- Use recycled or textured papers to add eco-friendly and tactile elements to your projects.
- Personalize crafts with drawings, stickers, or embellishments for unique, family-friendly creations.
- Build skills progressively with simple projects before advancing to more intricate designs for all ages.

Ooly DIY Paper Kit, 24 Animal Origami Designs & Stickers, Kit Includes 12 Completed, 6 Blank and 6 Color-in Folding Pet Origami Designs
- Includes 24 Origami Pet Designs: Pre-designed, blank, and color-in options
- Ideal for Kids' Crafts and Gifts: Great for parties and birthday favors
- Complete with Stickers for Customization: Two pages of decorative stickers included
As an affiliate, we earn on qualifying purchases.
As an affiliate, we earn on qualifying purchases.
Colorful Origami Animals
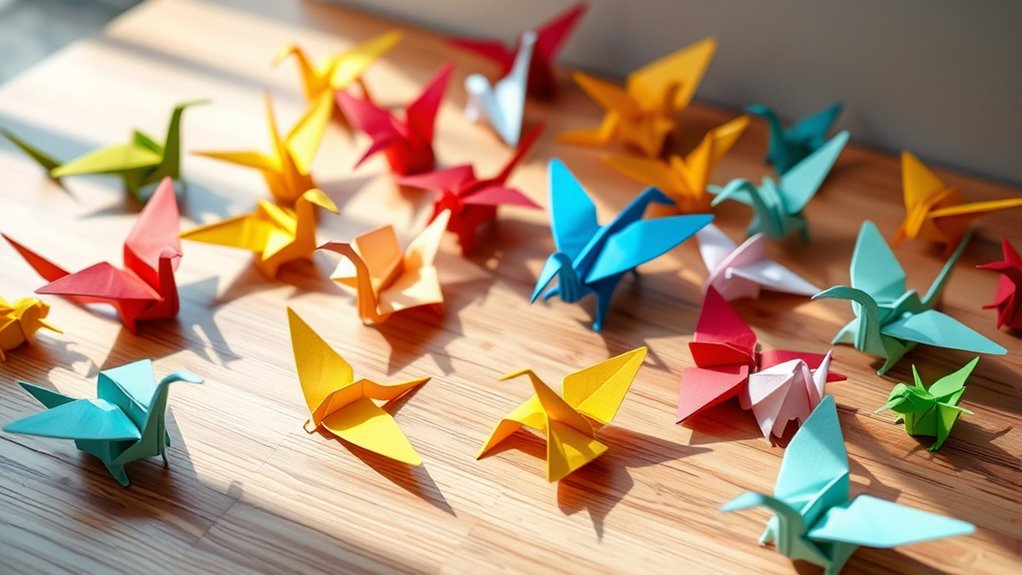
Have you ever wanted to bring a splash of color and creativity to your paper crafts? Colorful origami animals make that possible. Using simple folding techniques, you can transform plain sheets of paper into vibrant creatures like foxes, cranes, or frogs. Incorporating colorful fabric decorating markers can further enhance your designs by adding details or patterns with precision and flair. Pick bright, patterned, or textured paper to make your animals stand out. Start with basic folds, then add details like tiny ears or tails to bring your animal to life. These projects are perfect for beginners and fun for all ages, offering a satisfying sense of accomplishment. Engaging in creative crafting like this can also support early developmental skills and foster a love for arts and crafts among children and adults alike. Additionally, exploring origami techniques can improve your fine motor skills and patience as you practice different folds and designs. Developing visual-spatial skills through these activities can enhance overall cognitive abilities and problem-solving. Moreover, learning about local art resources can provide inspiration and additional guidance for your craft projects.
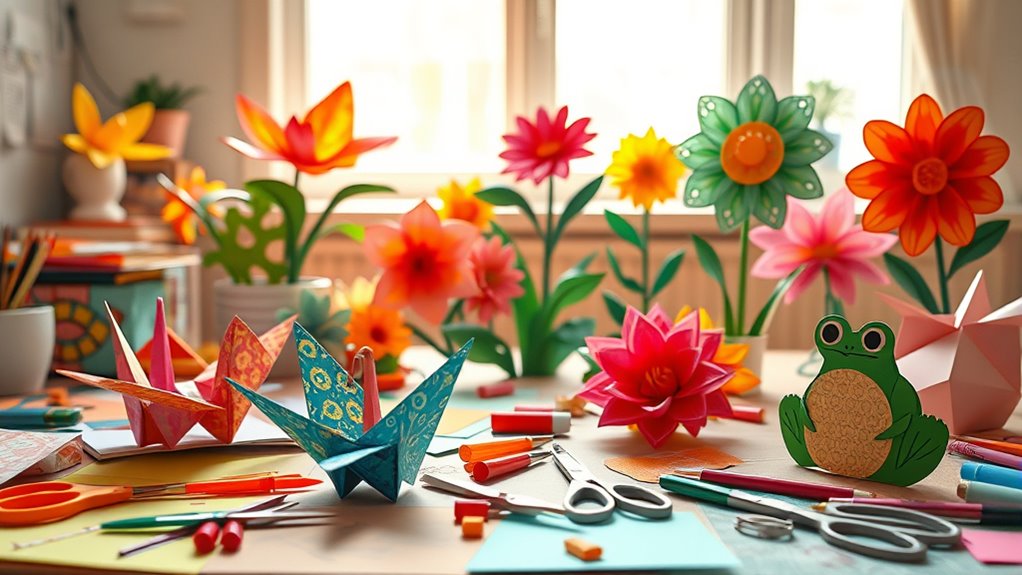
Paper Flower Bouquets
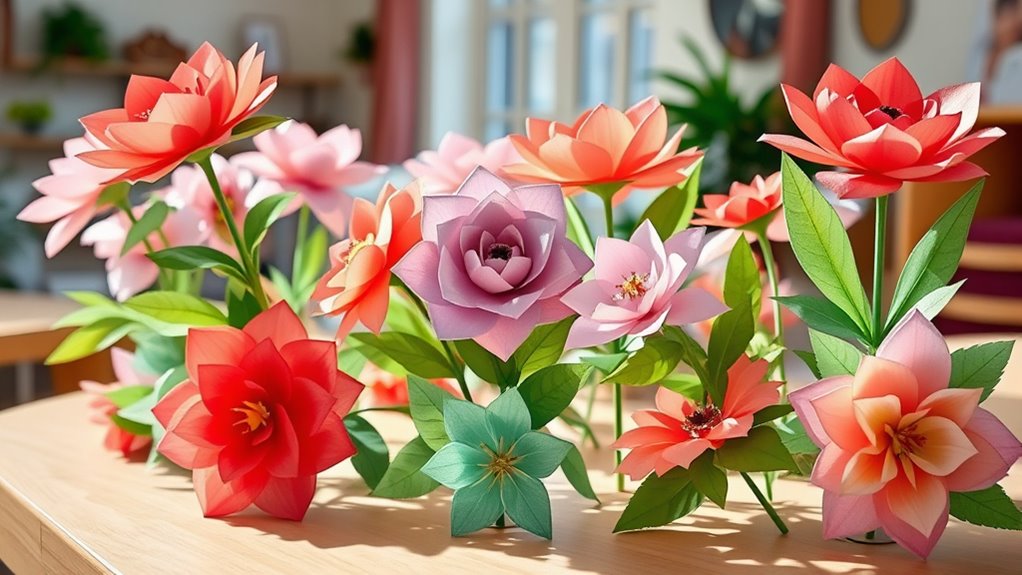
Building on your experience with colorful origami animals, creating paper flower bouquets offers a delightful way to extend your craft skills. You can use various paper types like tissue, craft, or even recycled paper to craft vibrant flowers. Experiment with different folding techniques to make roses, daisies, tulips, and more. Developing a growth mindset can help you embrace challenges and learn new techniques more effectively. Incorporating fiber-rich materials such as textured or layered papers can add depth and realism to your floral creations. Exploring popular craft materials can inspire new designs and enhance your projects. Utilizing appropriate watering techniques can inspire you to experiment with different ways of adding texture and dimension to your paper flowers. Incorporating creative assembly techniques can help you arrange your blooms in a handmade vase or tied bundle for a charming display. Personalize your bouquet with added leaves or decorative accents such as glitter or beads. These bouquets make thoughtful gifts or beautiful home décor. With some creativity, you can craft a stunning, long-lasting floral arrangement.
Decorative Paper Lanterns
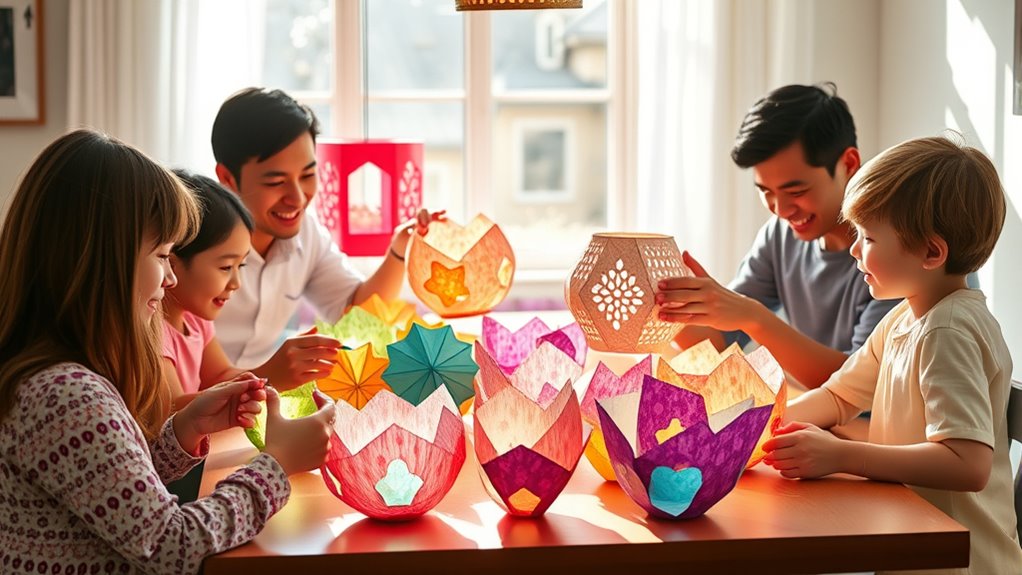
Decorative paper lanterns add a warm, inviting glow to any space and are easy to craft with just a few supplies. You’ll need colored or patterned paper, scissors, glue or tape, and a string or wire for hanging.
Start by cutting your paper into strips or shapes, depending on the design you want. Fold or roll the paper to form a lantern shape, then secure the edges with glue or tape.
You can add embellishments like cut-out patterns, tassels, or bows for extra flair. Once assembled, attach a string or wire at the top for hanging.
These lanterns work beautifully for parties, outdoor gatherings, or cozy home decor. With a little creativity, you’ll create charming, personalized lanterns that brighten any occasion.
Handmade Greeting Cards
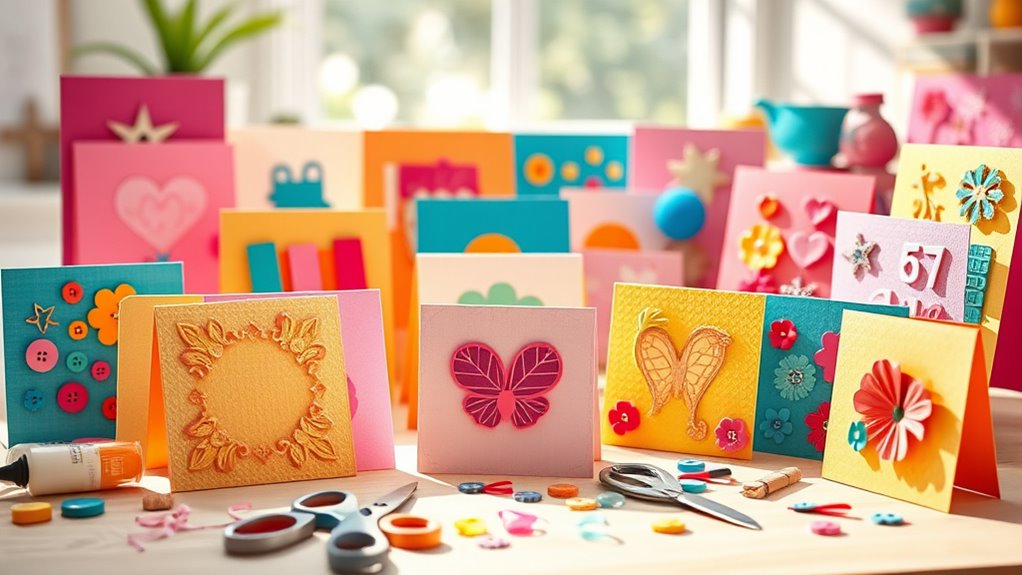
Creating handmade greeting cards allows you to personalize your messages with unique designs and themes that match any occasion. You can elevate your cards using creative folding techniques and adding special embellishments with different materials. This approach makes each card truly one-of-a-kind and meaningful for your recipients. Regular use of skincare patches can also help maintain a clear and healthy skin surface, enhancing the overall appearance of your handmade creations. Incorporating effective use of pimple patches into your skincare routine can ensure your skin stays blemish-free, providing a smooth canvas for your craft projects. Additionally, understanding cookie categories helps in designing personalized and functional cards that reflect the recipient’s preferences, especially when considering necessary cookies that enable basic site functionalities. Being aware of emergency preparedness essentials can inspire you to include thoughtful elements or messages that emphasize safety and resilience for your loved ones.
Personalized Designs and Themes
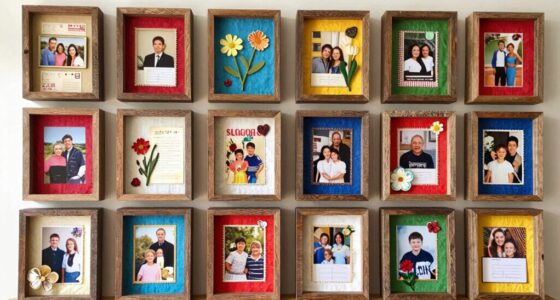
Have you ever wondered how personalized designs can make your greeting cards truly special? When you add your own touch, the recipient feels the extra effort and thoughtfulness. You can incorporate themes that reflect their hobbies, favorite colors, or special memories. Using photos, handwritten messages, or meaningful symbols makes your card one-of-a-kind. Consider customizing with:
- Hand-drawn illustrations or doodles
- Themed stickers or cutouts
- Personal quotes or inside jokes
- Specific color schemes
- Custom messages or poetry
These personalized elements create a heartfelt connection, transforming a simple card into a treasured keepsake. Recognizing patterns in numbers can also inspire unique design ideas that resonate with the recipient’s personality or life experiences, especially when integrating meaningful symbols that hold significance for them.
Unique Embellishments and Materials
Adding unique embellishments and materials can elevate your handmade greeting cards from simple to extraordinary. Think beyond standard paper—try adding textured elements like fabric scraps, lace, or even dried flowers for a tactile feel.
Metallic accents such as foil, glitter, or metallic pens can make your designs pop with shimmer. Use stickers, stamped images, or hand-drawn doodles to add personality.
Embossing powders create raised patterns that add dimension, while vellum or transparency sheets lend an elegant touch. Incorporate buttons, sequins, or small charms to add visual interest and surprise.
Mixing different materials and textures keeps your cards lively and engaging. Experimenting with these unique embellishments allows you to craft truly one-of-a-kind greeting cards that reflect your style and creativity. Secure payment processing can also help you manage sales if you’re selling your cards online.
Creative Folding Techniques
Creative folding techniques can transform a simple greeting card into an interactive and eye-catching masterpiece. By experimenting with different folds, you add dimension and surprise to your designs. You can create pop-up elements, accordion panels, or folded flaps that reveal hidden messages. These techniques make your cards more personal and memorable. Incorporating organized craft supplies can help keep your projects tidy and accessible, encouraging more frequent creativity. Additionally, developing attention in your craft practice can help ensure your folds are precise and professional-looking. Practicing these techniques regularly can also improve your manual dexterity, leading to more intricate and refined designs.
Start with basic folds like the tri-fold or Z-fold, then progress to more intricate styles like the waterfall or hexagon fold. Combining folds with embellishments like stickers or drawings enhances their appeal. Mastering these techniques boosts your creativity and allows you to craft unique cards for every occasion.
Whether for birthdays, holidays, or just because, creative folding elevates your DIY greeting cards to the next level. Understanding techniques for achieving a clean, professional look can help ensure your folded designs are polished and durable.
Paper Chain Garlands
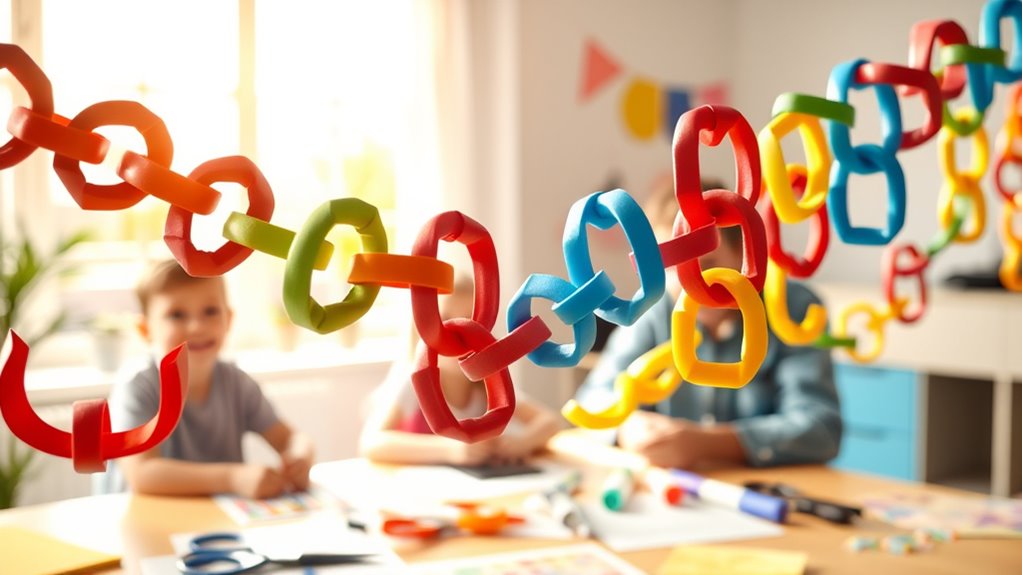
Making paper chain garlands is a simple and fun way to add a festive touch to any space. Start by choosing colorful or patterned paper that matches your theme. Cut the paper into strips about 1 inch wide and 6 inches long.
Loop each strip into a circle and secure it with glue or tape. Thread the next strip through the previous loop, then make a new circle and secure it. Repeat the process until your garland reaches the desired length.
You can make it as long or short as you like, and vary colors for a vibrant look. Hang your garland across walls, mantels, or doorways for instant cheer.
This project is quick, easy, and perfect for all ages to enjoy.
3D Paper Snowflakes

Have you ever wondered how to create delicate, intricate snowflakes from paper? Making paper snowflakes is simple and fun, perfect for winter decorations or classroom projects.
Start with folding a square piece of paper multiple times, then cut out shapes along the edges. When you unfold, you’ll reveal a unique, symmetrical snowflake.
Experiment with different fold patterns and cut designs to create variety. You can also add glitter or color for extra flair.
These snowflakes are excellent for decorating windows, walls, or holiday cards. The process encourages creativity and patience, making it enjoyable for all ages.
With a few tools and some imagination, you can craft beautiful winter-themed decorations that capture the magic of the season. Folding techniques are essential for achieving perfect symmetry in your snowflakes.
Custom Bookmark Creations
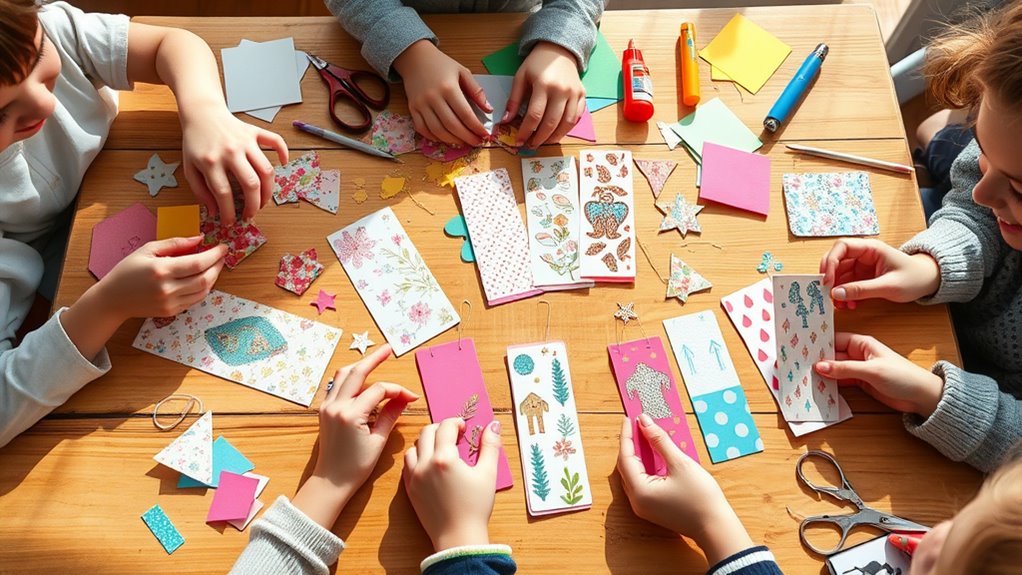
Creating your own bookmarks is a fun way to showcase your style with unique designs. You can choose simple materials like cardstock or magazine pages and add personal touches.
With some easy tips, you’ll craft bookmarks that are both functional and one-of-a-kind.
Unique Design Ideas
If you want your bookmarks to stand out, exploring unique design ideas can make a big difference. Think beyond basic shapes—try incorporating fun themes, layered textures, or mini 3D elements. Use vibrant colors or metallic accents to catch the eye, or add tiny embellishments like stickers or pressed flowers.
Personalize your creations with hand-drawn doodles or inspirational quotes. You can also experiment with cut-outs, like intricate lace patterns or silhouette designs, for a striking effect.
Incorporating different paper types, such as textured or patterned paper, adds dimension and interest. The key is to mix and match elements that reflect your style and creativity.
These ideas will help your bookmarks become not just functional but a visual treat for anyone who receives them.
Easy Material Choices
Choosing the right materials is the first step to making eye-catching, personalized bookmarks without needing a lot of supplies. You can keep it simple by using sturdy cardstock or thick paper for the base, which holds up well over time. Decorative elements like colored paper, washi tape, or patterned scrapbooking paper add flair without extra cost.
Scissors and glue are essential for cutting shapes and sticking pieces securely. You might also consider using markers, pens, or stickers to add details or designs. If you want a glossy finish, a clear adhesive laminate or stickers can give your bookmark a polished look.
The key is to pick versatile, readily available materials that are easy to work with, making your DIY project enjoyable and accessible for all skill levels.
Personalization Tips
Adding personal touches transforms a simple bookmark into a meaningful keepsake. To make your creation uniquely yours, consider adding meaningful quotes, your favorite colors, or personal photos. You can also decorate with stickers, doodles, or washi tape to give it flair. Handwrite a special message or the book’s title for an extra layer of customization. Incorporate small charms or embellishments for a tactile touch that stands out.
Remember, the key is to reflect your personality or the recipient’s preferences. Personalization makes your bookmark memorable and special, whether for yourself or as a gift. Use these ideas to turn a simple craft into a treasured keepsake that adds a personal touch every time you open your book.
- Add meaningful quotes or messages
- Use favorite colors or themes
- Incorporate personal photos
- Decorate with stickers or washi tape
- Attach small charms or embellishments
Paper Mask Art
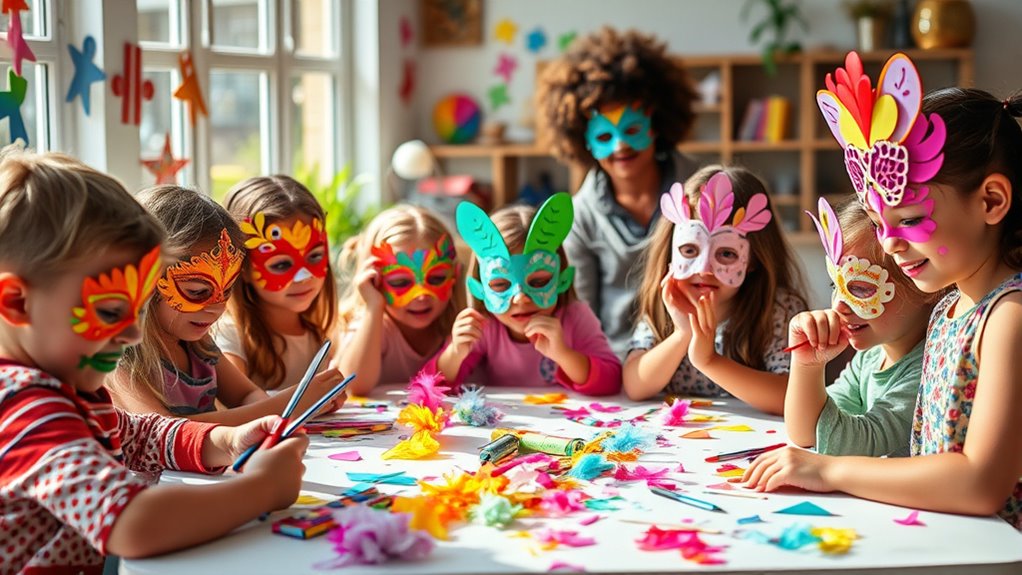
Have you ever wanted to transform simple paper into a striking mask? It’s easier than you think! Start with sturdy cardstock or thick paper, and sketch out your design. Cut out the mask shape, then add details like eyes, nose, and mouth.
Create vibrant, personalized masks from paper with simple sketches and colorful decorations.
Use markers, paint, or colored pencils to bring it to life with vibrant colors and patterns. Enhance your mask by gluing on decorative elements like feathers, glitter, or fabric scraps for texture.
To make it wearable, attach a string or elastic band on the sides. Paper mask art allows you to get creative with themes—fantasy characters, animals, or masks inspired by cultures.
With a little effort, you’ll craft a unique piece perfect for costumes, parties, or just fun display!
Miniature Paper Books
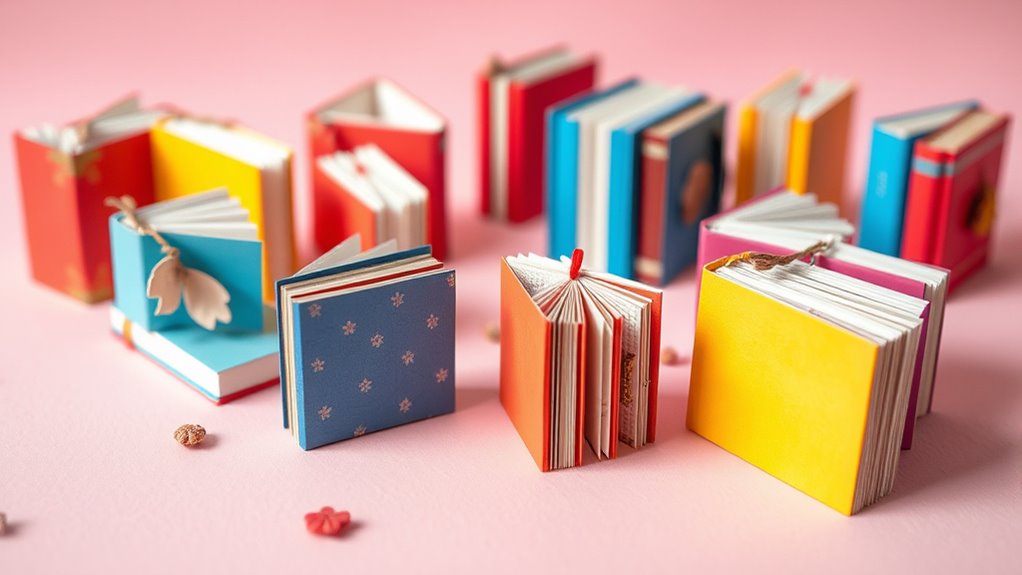
Creating miniature paper books is a fun way to combine crafting and storytelling. You can design tiny volumes as gifts, decorations, or personalized keepsakes. Use colorful paper for covers and thin sheets for pages. Fold and glue carefully to keep the books sturdy, and add details like tiny titles or illustrations for extra charm.
These mini books can also serve as creative prompts or souvenirs from special events.
Here are some ideas to inspire your project:
- Craft tiny storybooks for dolls or toys
- Create mini journals for journaling or sketching
- Design small recipe or gift books
- Make personalized travel journals
- Assemble miniature fairy tale books for decor
Artistic Paper Collages

Artistic paper collages let you experiment with different textures and materials to add depth to your artwork. You can layer papers in creative ways and explore bold or subtle color combinations to make your piece stand out.
This technique encourages you to combine elements uniquely, making each collage truly your own.
Mixer of Textures
Ever wondered how mixing different textures can elevate your paper collage? Combining various surface qualities adds depth and visual interest, making your artwork stand out. You can incorporate smooth, glossy magazine cutouts alongside rough, textured fabric scraps. Using crinkled tissue paper with sturdy cardboard creates contrast.
Layering soft felt with coarse burlap introduces tactile variety. Incorporate shiny metallic foil with matte paper for striking effects. This mixture of textures invites viewers to explore your piece both visually and through touch.
- Glossy magazine cutouts
- Crinkled tissue paper
- Soft felt
- Coarse burlap
- Metallic foil
Layering Techniques Used
Have you considered how layering different paper elements can transform a simple collage into a dynamic artwork? Using various techniques, you can add depth and interest to your project.
Start by arranging larger pieces as a base, then build up with smaller, detailed layers. Overlapping papers at different angles creates a sense of movement, while varying the distance between layers adds a three-dimensional effect. Use foam adhesive or double-sided tape to lift certain elements, making them stand out.
To enhance realism, slightly curl or bend paper edges before attaching. Experiment with transparency by layering semi-transparent papers over opaque ones.
Unique Color Combinations
Why do some paper collages immediately draw your eye while others fall flat? It all comes down to color choices. Bold, contrasting hues make your artwork pop, while subdued palettes can create a calming effect.
Experimenting with unexpected combinations adds visual interest and depth. Don’t be afraid to mix warm and cool tones or vibrant and pastel shades. Balance is key—use one or two dominant colors and support them with accent shades.
You can also play with color gradients or monochromatic schemes for a cohesive look. Remember, your color choices reflect your mood and style, so trust your instincts.
- Bright reds with cool blues
- Pastels with vivid accents
- Complementary colors like purple and yellow
- Monochrome shades for elegance
- Earth tones with pops of metallic
Frequently Asked Questions
What Are the Best Types of Paper for Durability?
When choosing paper for durability, you want options that withstand wear and tear. You should consider heavyweight cardstock or watercolor paper, as they’re thicker and stronger than standard paper.
Archival or acid-free paper also lasts longer without yellowing or deteriorating. For projects needing flexibility with durability, laminated paper or plastic-coated sheets are great.
These materials guarantee your crafts stay intact longer, making them ideal for items like cards, decorations, or keepsakes.
How Can I Make My Paper Crafts Waterproof?
To make your paper crafts waterproof, you can apply a clear sealant or waterproof spray, which creates a protective barrier. Make sure the paper is clean and dry before spraying, and hold the can at a distance to avoid drips.
You might also consider laminating your project or using waterproof adhesive. These methods help prevent water damage, so your crafts stay intact even when exposed to moisture.
Which Tools Are Essential for Beginner Paper Crafters?
You might think you need fancy tools to start, but essential tools for beginners are simple and affordable. A sharp scissors or craft knife helps you cut cleanly, while glue or double-sided tape secures pieces.
Ruler and pencil guide precise measurements, and colored markers or pens add detail. Don’t worry about perfection—these basics build your skills.
As you progress, you can add more tools, but start simple and enjoy creating!
How Do I Prevent My Paper From Tearing Easily?
To prevent your paper from tearing easily, you should handle it gently and use sharp, clean scissors or craft knives for precise cuts.
Opt for thicker or higher-quality paper when possible, as it’s more durable.
Applying a light coating of adhesive or sealant can also reinforce thinner paper.
Remember to support delicate areas while working, and avoid over-stretching or pulling the paper to keep it intact.
Are There Eco-Friendly Options for Paper Crafting?
You’re wondering if eco-friendly options exist for paper crafting. Luckily, you can choose recycled paper, plant-based inks, and biodegradable glues to reduce environmental impact.
Consider using materials like hemp, bamboo, or handmade paper from sustainable sources. By selecting these eco-friendly supplies, you not only create beautiful crafts but also help protect the planet.
It’s easy to enjoy your projects while making environmentally conscious choices.
Conclusion
Don’t worry if you’re new to paper crafts—you’ll pick up these projects quickly and have fun along the way. Whether you’re crafting solo or with friends and family, these ideas are perfect for all ages and skill levels. Plus, creating your own paper art is a rewarding way to add a personal touch to your space or give thoughtful gifts. So grab some paper and start crafting—your next masterpiece is just a fold away!