
Explore a variety of handmade projects perfect for unique photo props, from crafting paper flowers and custom chalkboard signs to fabric banners and miniature food displays. You can personalize items with colors, themes, and cultural influences, making each shot memorable. Incorporate seasonal and upcycled items for eco-friendly charm, and employ simple techniques like painting, layering, and assembling. If you want tips on creating and customizing these props for standout photos, keep going—you’ll find plenty of inspiring ideas and expert advice.
Key Takeaways
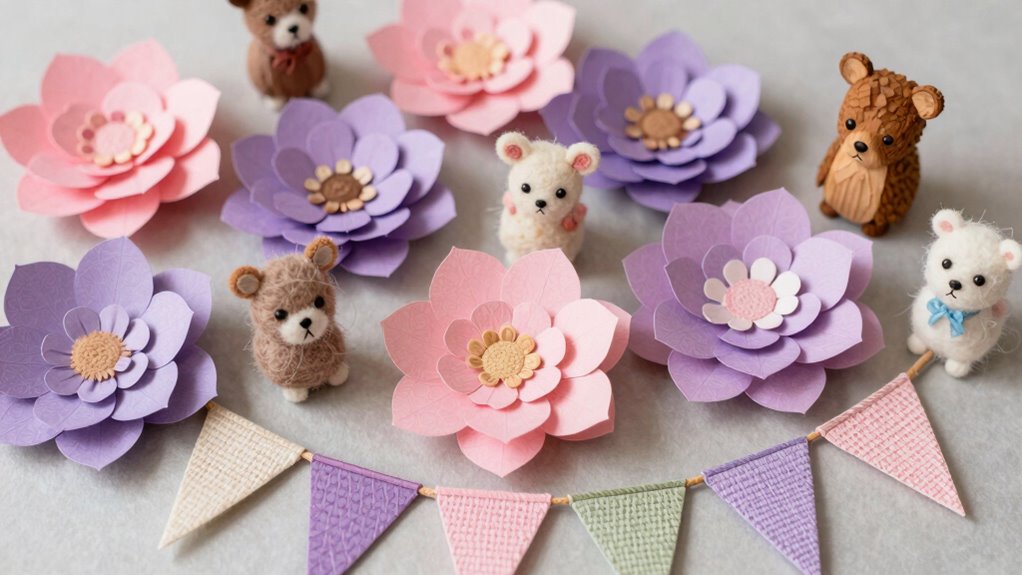
- Handmade paper flowers and whimsical banners create vibrant, customizable photo backdrops with a personal touch.
- Craft personalized chalkboard signs and accessories to add meaningful, vintage-inspired props to photo scenes.
- Use lightweight clay and fabric to make miniature food and fun-shaped props that enhance themed photos.
- Create rustic wooden frames and natural elements like pinecones for charming, textured photo accents.
- Assemble playful balloon arrangements and vintage motifs for colorful, eye-catching photo props.

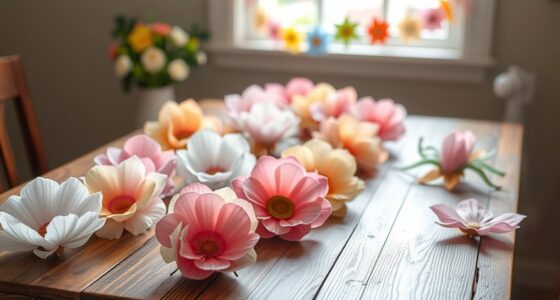
BEISHIDA 6 Pieces Paper Flower Decoration Supplies for Valentine's Day Anniversary Wedding Bridal Shower Birthday Party Decoration Background Wall Home Room Decoration (Red)
Description: This is a handmade paper flower that does not require assembly and can be used directly.
As an affiliate, we earn on qualifying purchases.
As an affiliate, we earn on qualifying purchases.
Why Handmade Photo Props Make Your Shots Stand Out

Handmade photo props instantly add a unique touch to your images because they are personalized and one-of-a-kind. They bring a vintage inspiration, giving your photos a timeless, nostalgic feel that mass-produced props can’t match. Cultural influences also play a significant role, allowing you to incorporate meaningful symbols, patterns, or colors that reflect your heritage or interests. These handmade elements add authenticity and depth, making your shots stand out from the crowd. When you craft your own props, you control every detail, ensuring they perfectly complement your theme. The effort and thought put into creating these items translate into richer, more personal photos. Additionally, choosing sustainable materials aligns with biodiversity and promotes environmentally conscious practices. Incorporating eco-friendly materials can further enhance the sustainability of your projects and reflect your commitment to the environment. Considering the environmental impact of your choices ensures your projects remain eco-friendly and responsible. Handmade projects also allow you to infuse your personal story into every element, creating a deeper connection with your audience. As a result, your images become more memorable, capturing not just a moment but also your unique style and cultural story.

NEWNEWSHOW 8.7×12 Inch Chalkboard Signs, Erasable Message Blackboard Sign with Wood Base for Shop Wedding Kitchen Home Party Decoration (1 Pack 8.7×12)
High quality wooden chalkboard, easy to erase and write clearly.the chalkboard thickness is 0.2 inch.
As an affiliate, we earn on qualifying purchases.
As an affiliate, we earn on qualifying purchases.
How to Choose Colors and Themes for Your Photo Props

To create cohesive photos, you need to pick colors and themes that match your overall concept. Using complementary color schemes can make your props pop and enhance visual harmony. Keep your theme in mind to guarantee every element works together seamlessly.
Harmonize With Overall Theme
Choosing colors and themes that complement your overall photo concept is essential for creating cohesive and visually appealing props. To achieve this, focus on aligning your props with your theme. Consider color psychology to evoke the right emotions and mood. Maintain theme consistency by selecting colors and styles that match your setting and story. Here are three tips:
- Pick a color palette that reflects the mood you want to convey.
- Use props with patterns or motifs that support your theme.
- Avoid mixing too many contrasting colors to keep a unified look.
Use Complementary Color Schemes
Complementary color schemes can profoundly enhance the visual harmony of your photo props, making your overall theme more striking and memorable. Using color theory, you’ll select pairs of complementary colors—those opposite each other on the color wheel—like blue and orange or red and green. These combinations create vibrant contrast that draws the eye and adds energy to your photos. When designing props, think about how these colors interact and balance each other. Keep in mind that using too much of one color can overpower the scene, so aim for a harmonious blend. By intentionally choosing complementary colors, you’ll craft props that stand out, complement your theme, and make your photos more engaging.

Exasinine 42 Pcs Miniature Food Mini Vegetables Figurines Miniature Baskets for Miniatures Food Kitchen Mini House Store
Material: Resin
As an affiliate, we earn on qualifying purchases.
As an affiliate, we earn on qualifying purchases.
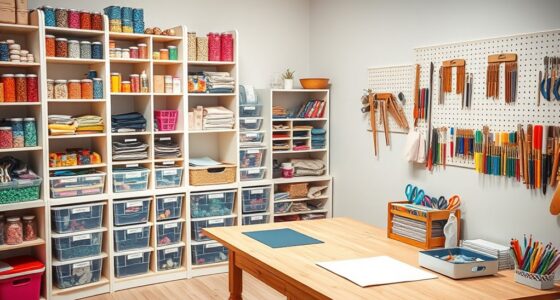
Essential Supplies for Crafting DIY Photo Props

Creating DIY photo props requires gathering the right supplies to guarantee your projects turn out both fun and professional-looking. Start with essential items that allow for creativity and detail. First, get a variety of crafting tools like scissors, glue, and paint for precise prop customization. Second, stock up on fabric, paper, and foam to create versatile backgrounds and accessories. Third, consider vintage cameras or miniature versions to add a nostalgic touch and authentic vibe to your photos. These supplies help you craft unique props that elevate your photoshoot. With the right materials, you can easily customize props to match themes and styles, making every shot special. Additionally, incorporating durable materials ensures your props last through multiple uses and photoshoots. Understanding the importance of crafting techniques can significantly improve the final appearance of your props. Utilizing quality supplies plays a crucial role in achieving a polished look. Focusing on versatility in materials allows you to adapt your projects for various themes and aesthetics, ensuring your props remain useful for different shoots. Exploring innovative crafting methods can also help you develop more unique and eye-catching props.

LWR CRAFTS Wooden DIY Photo Frame 4" x 6" Pack of 2
Fits 4" x 6" photos; outer size 5-2/3" x 7-2/3"; frame thickness 5 mm (approx. 0.2 in)
As an affiliate, we earn on qualifying purchases.
As an affiliate, we earn on qualifying purchases.
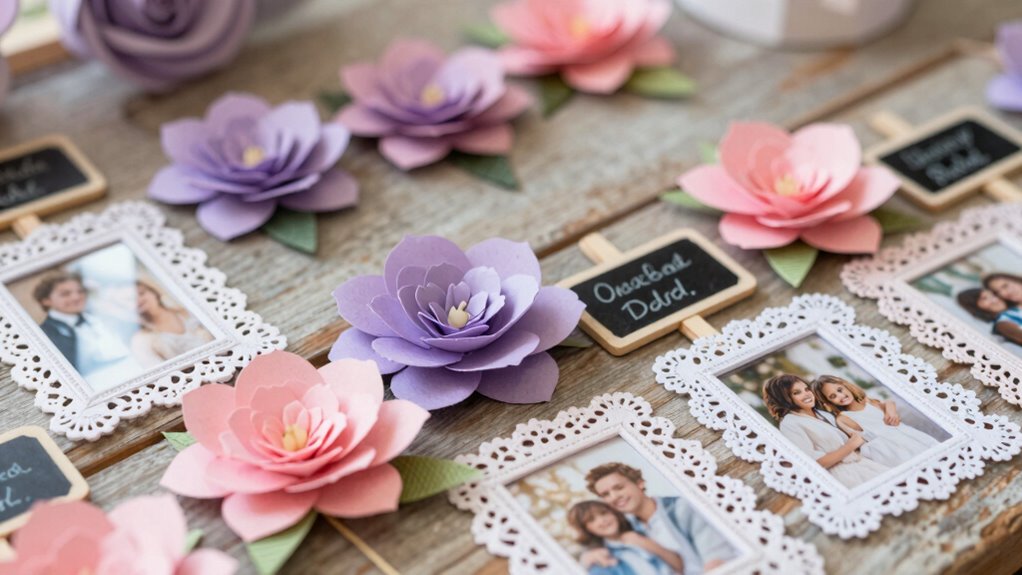
How to Make Paper Flower Backdrops for Photos

Ever wondered how to craft a stunning paper flower backdrop that instantly elevates your photos? Start by selecting colored paper or cardstock in your favorite shades. Cut out various flower shapes using scissors or a craft punch for uniformity. Layer and glue paper flowers onto a sturdy backing like cardboard or foam board, arranging them in a lush, overlapping pattern. To add dimension, include different sizes and types of paper flowers, and consider inserting wire stems for a more natural look. Secure the finished arrangement to a wall or frame it with a simple wooden or metal frame for support. Incorporating smart home technology insights can help you set up automated lighting to enhance your photo sessions. This DIY paper flower backdrop creates a vibrant, customizable setting perfect for photos, making your space feel fresh and inviting.
Create Personalized Chalkboard Signs for Unique Messages

To create personalized chalkboard signs, gather basic materials like a sturdy board, chalk, and sealing spray for durability. Think of fun and meaningful messages that will make your photo props stand out, from witty quotes to special dates. Keep in mind tips for choosing durable chalkboards so your signs stay looking great through many photo sessions. Incorporating home robotics can also help automate the process of creating or displaying your signs for even more creative options. Additionally, selecting the right materials can ensure your signs remain resilient and visually appealing over time. Using proper cleaning techniques can also help maintain the clarity and attractiveness of your signs between uses. Paying attention to material selection can further enhance the longevity and overall appearance of your chalkboard signs.
Materials Needed for Signage
Making personalized chalkboard signs is simple when you have the right materials on hand. To guarantee your signage stands out, focus on essential supplies that support crafting techniques and material sourcing. First, you’ll need a smooth, sturdy chalkboard or chalkboard surface—this is the foundation of your sign. Second, gather high-quality chalk or chalk markers for precise, vibrant writing. Third, keep a cloth or eraser nearby for quick corrections and clean lines. Additional supplies like painter’s tape or stencils can help with lettering and designs. Using the right materials makes crafting techniques easier and helps your signs look professional. Having the right materials is especially important in small spaces, where efficiency and organization can make all the difference. Proper material sourcing ensures you have reliable supplies that last through multiple projects. Incorporating durable surfaces can enhance the longevity of your signs, particularly for outdoor or frequently used displays. Selecting quality tools can also improve the overall finish of your signs, making your projects more successful. Paying attention to material durability can further ensure your signs remain attractive over time, even with regular handling or exposure.
Creative Message Ideas
Once you’ve gathered your materials and mastered the basics of signage, it’s time to get creative with the messages you display. Use vintage patterns to give your chalkboard signs a nostalgic, charming feel that suits rustic or retro-themed photos. Pair these with modern textures—like sleek lettering or minimalist designs—to create a fresh, contemporary look. Play with witty phrases, heartfelt quotes, or personalized messages that match the event’s mood. Incorporate colors and styles that highlight the photo setup, making sure your message stands out. Keep the wording simple yet impactful, and consider decorating around the text with doodles or borders that complement your theme. These personalized chalkboard signs will add a unique touch, making your photos truly memorable. Including cross-cultural elements can also enhance the message and make your photos more meaningful. Additionally, understanding basic maintenance tips can help you keep your signs in top condition for repeated use. To ensure your signs remain vibrant and legible, regularly clean and store them properly after each use.
Tips for Durable Chalkboards
Ensuring your chalkboards are durable starts with selecting the right materials. Choose a sturdy surface like high-quality chalkboard paint on wood or metal for longevity. To create personalized signs with vintage patterns or seasonal motifs, use weather-resistant chalk markers that won’t smudge or fade over time. Here are three tips to boost durability:
- Seal your chalkboard with a clear protective coat to prevent scratches and moisture damage.
- Opt for a smooth, primed surface that’s easy to clean and resistant to chipping.
- Use high-quality chalk markers designed for detailed designs, ensuring your vintage patterns stay crisp and vibrant.
- Incorporate moisture-resistant fixtures that resist moisture and humidity to keep your signs looking fresh longer. Additionally, selecting weatherproof materials can greatly enhance the overall lifespan of your handmade chalkboard signs.
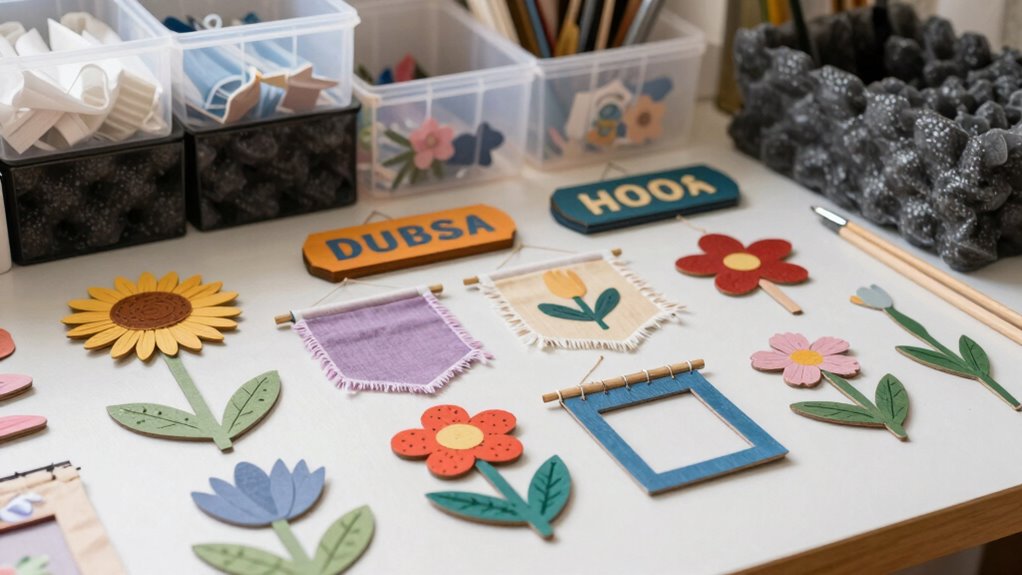
Make Whimsical Fabric Banners for Celebrations
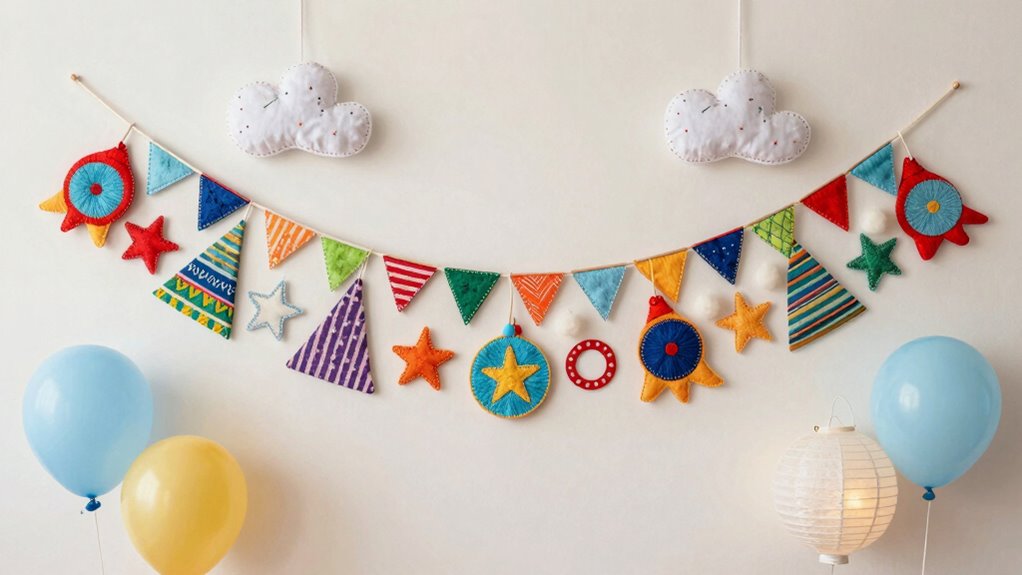
Creating whimsical fabric banners is a fun and versatile way to add charm to any celebration. Use vintage fabrics to give your banners a nostalgic, charming touch. Choose bright or pastel colors to match your theme, and cut triangles, circles, or rectangles for variety. Sew or glue the shapes onto twine or ribbon, creating a layered, playful look. Whimsical banners look great hanging across tables, walls, or outdoor spaces.
| Ideas | Colors & Fabrics |
|---|---|
| Triangle banners | Vintage floral fabrics |
| Circle garlands | Pastel cottons |
| Letter banners | Bright, bold hues |
| Fringe accents | Glittery or metallic fabrics |
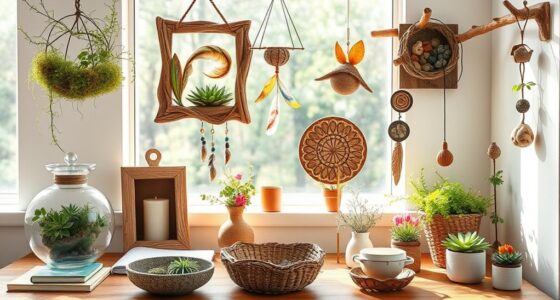
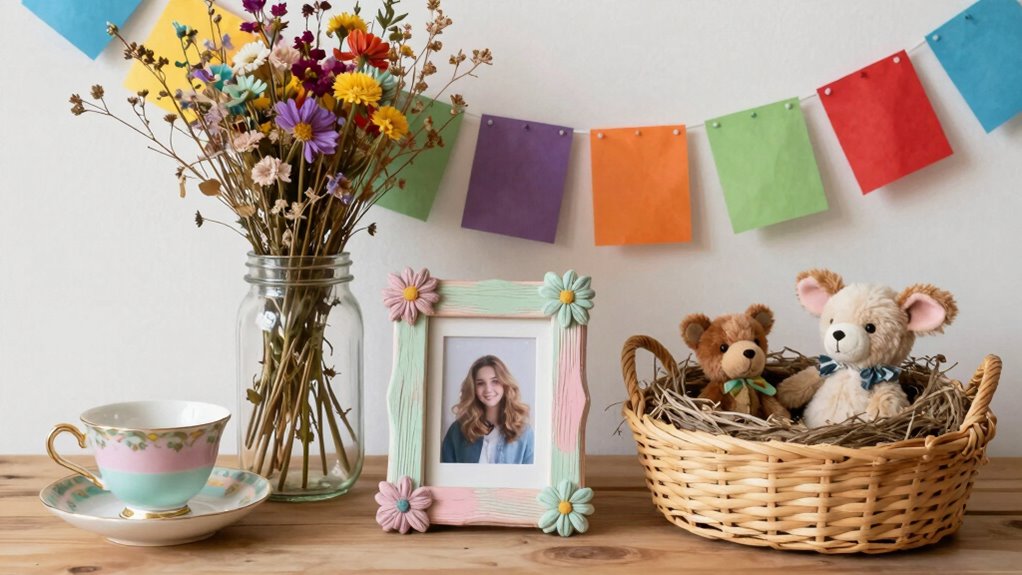
Build Rustic Wooden Frames for Natural Vibe Photos
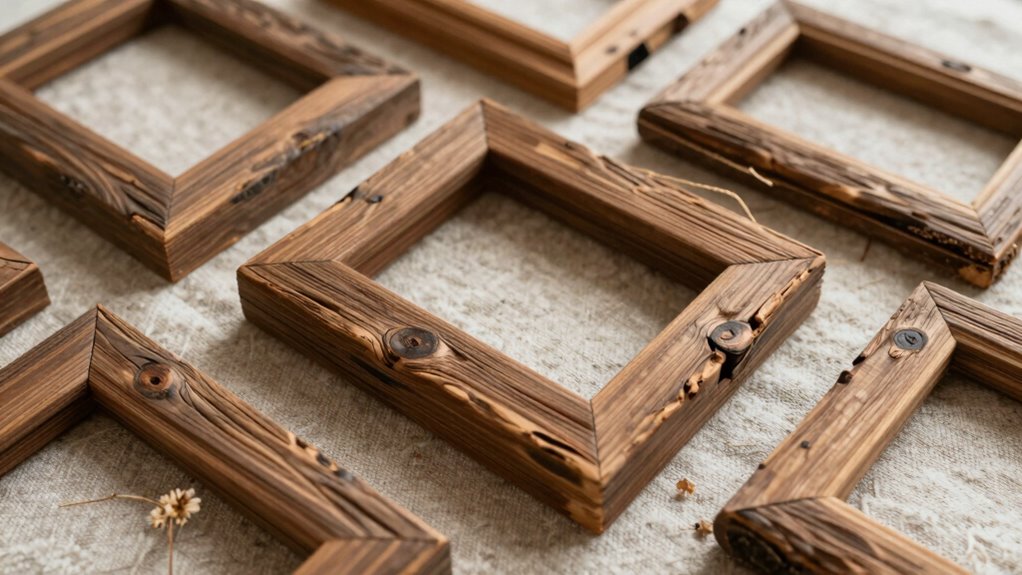
Building rustic wooden frames is a straightforward way to add a natural, earthy touch to your photos. These frames enhance your rustic decor theme and highlight wooden accents, creating a cozy, organic vibe. To make your own, start by selecting reclaimed wood or pallets for authentic charm. Sand the edges for a smooth finish, then cut to your desired size. Assemble using nails or wood glue for a sturdy frame. Consider adding a distressed paint or stain for extra character. Here are some ideas to elevate your project:
Create rustic wooden frames with reclaimed wood, sanded edges, and charming distressed finishes for a cozy, organic touch.
- Incorporate natural elements like twine or jute for a textured border.
- Decorate with small pinecones, leaves, or flowers for a woodland feel.
- Personalize with handwritten signs or quotes on the frame for added flair.
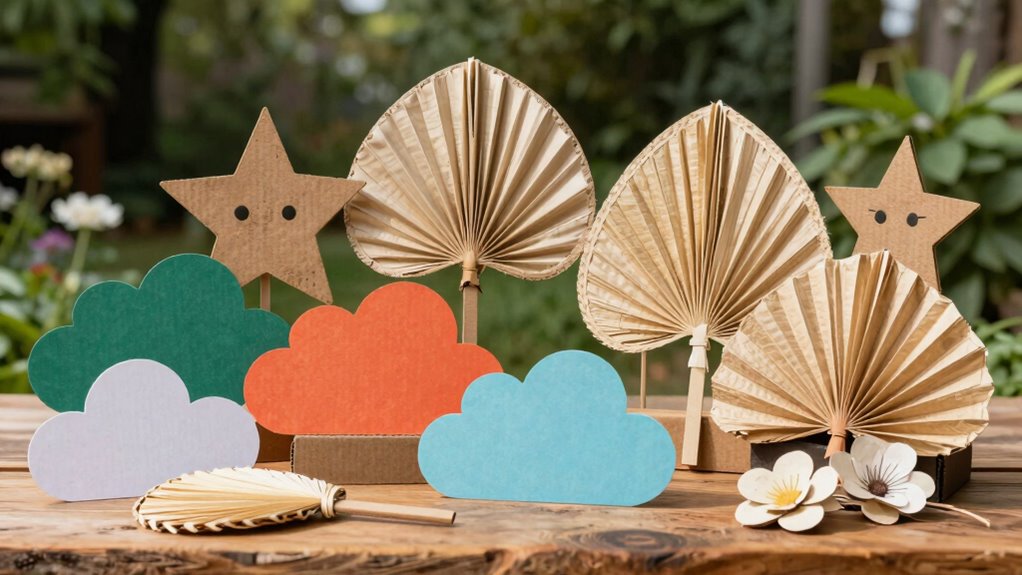
How to Design Fun DIY Photo Booth Frames
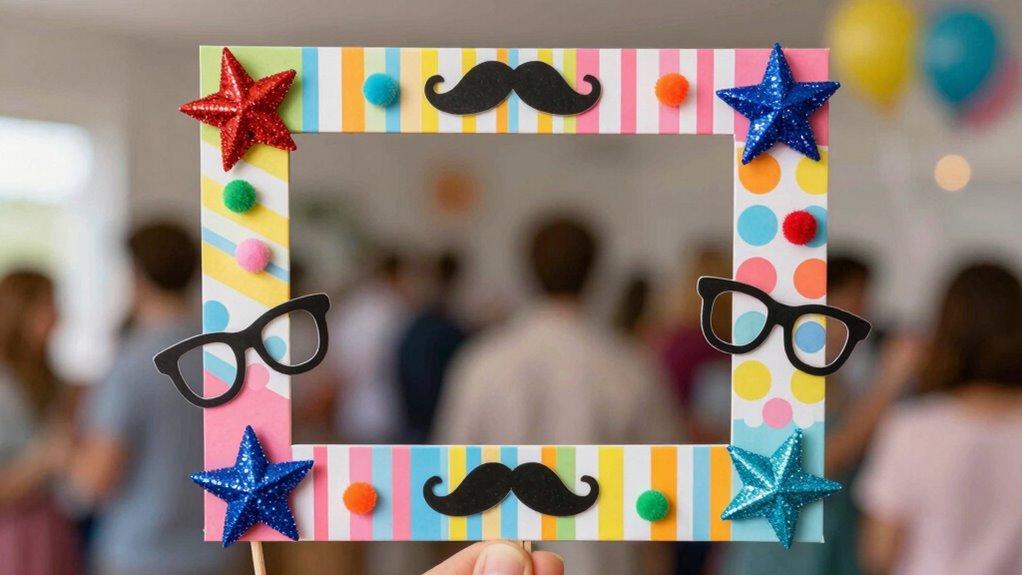
To create eye-catching DIY photo booth frames, start by choosing fun and creative shapes that match your event’s theme. Don’t be afraid to use bold, bright colors to make your frames stand out and add energy to your photos. Experiment with different designs to make your photo booth truly memorable and playful.
Choosing Creative Frame Shapes
Choosing the right shape for your photo booth frame can instantly add personality and fun to your photos. Unique frame shapes help set the mood and make your photos memorable. Consider using vintage frames for a nostalgic touch or experiment with playful, unconventional shapes. Here are some ideas to inspire you:
- Vintage Frames – Incorporate ornate or distressed designs to evoke classic charm.
- Fun & Quirky Shapes – Think stars, hearts, or cloud outlines for a whimsical vibe.
- Themed Frame Shapes – Match your event, like camera shapes for a photography party or speech bubbles for a fun conversation look.
Using Bold, Bright Colors
Bright colors can instantly energize your photo booth frames and make your photos pop. Using bold, bright hues taps into color psychology, evoking feelings of excitement and fun. To create a cohesive look, consider color harmony—pair colors that complement each other, like blue and orange or pink and green. Avoid clashing shades that distract from the photo’s focus. Bright reds, yellows, and blues are eye-catching choices that draw attention and set a lively tone. When designing, keep balance in mind; don’t overdo it with too many bold colors, or your frame might feel chaotic. Instead, pick a few vibrant shades that work well together and let them be the star of your design. This approach guarantees your DIY photo booth frame is both fun and visually appealing.
How to Assemble Playful Balloon Arrangements

Creating playful balloon arrangements is a fun way to add personality and excitement to your photo props. To make eye-catching balloon art, start by choosing vibrant colors that match your theme. Inflate balloons to varying sizes for a dynamic look. Use clear fishing line or string to tie balloons together, creating clusters or arches for party decorations.
Create vibrant, dynamic balloon arrangements with varied sizes and secure ties for fun, eye-catching party decor.
Here are three tips to assemble your arrangements:
- Mix different-sized balloons for depth and dimension.
- Secure balloons with balloon ties or double knots to guarantee stability.
- Attach clusters to a sturdy base or frame for easy display.
Craft Custom Photo Props With Felt and Foam
Felt and foam are versatile materials that make crafting custom photo props simple and fun. With basic tools and straightforward techniques, even beginners can create eye-catching designs. These materials let you experiment freely and personalize your props for any occasion.
Versatile Materials for Crafting
When choosing materials for crafting photo props, felt and foam stand out as versatile options that offer both flexibility and durability. They’re perfect for creating eye-catching designs with seasonal patterns or vintage textures that add depth and charm. You can easily cut and shape these materials to match any theme or style. Here are three reasons to use felt and foam:
- They hold shapes well, making them ideal for detailed, layered props.
- Felt’s soft texture enhances vintage-inspired designs and seasonal motifs.
- Foam’s lightweight nature simplifies handling and transport for outdoor shoots.
Both materials are easy to work with, allowing you to craft custom props that elevate your photos with unique textures and timeless patterns.
Easy Techniques for Beginners
Starting with simple techniques makes crafting your own photo props approachable and fun, especially for beginners. Using basic artistic techniques like cutting, layering, and gluing felt and foam helps you create charming designs without advanced skills. You can draw inspiration from historical influences, such as vintage patterns or classic motifs, to add unique touches to your props. Focus on clean lines and bold colors for a polished look, and don’t be afraid to experiment with shapes and textures. Felt and foam are forgiving materials, making it easy to make adjustments as you go. As you gain confidence, you can explore more complex techniques like fabric painting or adding embellishments. These simple methods will help you craft memorable, personalized props with ease.
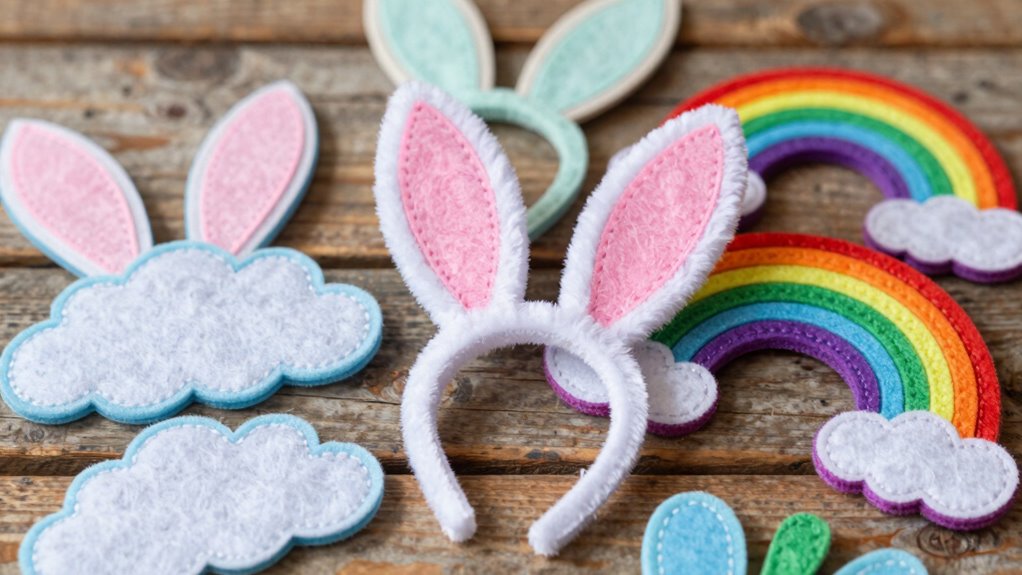
Make Themed Hats and Headbands for Kids and Adults
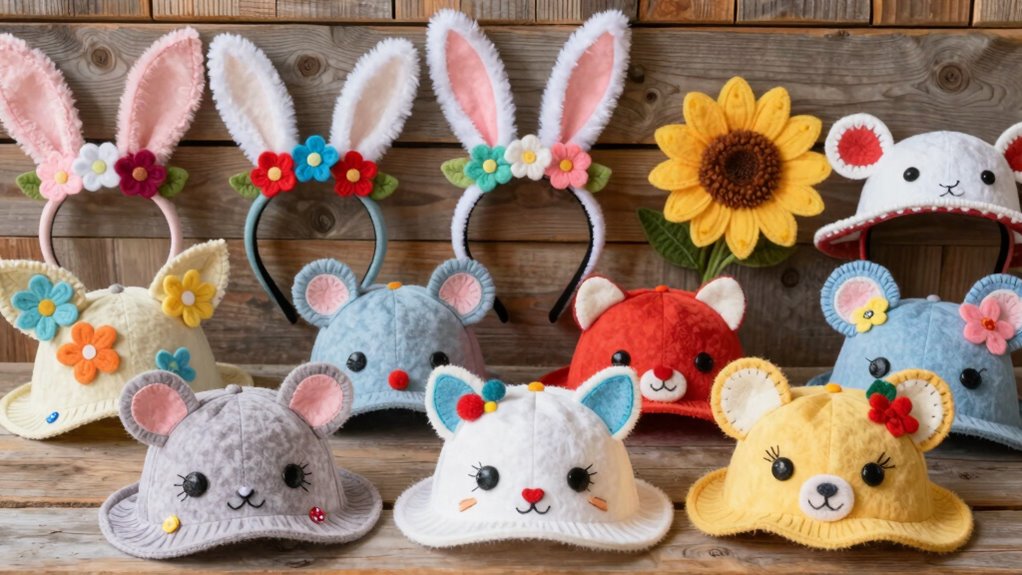
Creating themed hats and headbands is a fun way to add a personalized touch to any photoshoot, whether for kids or adults. You can craft unique accessories using vintage patterns or seasonal themes, making your props stand out. To get started:
- Use vintage fabric patterns to create timeless, stylish headbands perfect for classic photos.
- Incorporate seasonal themes like flowers for spring or pumpkins for fall into your hat designs.
- Experiment with fun embellishments such as bows, buttons, or faux fur to add texture and personality.
These handmade items are easy to customize, and they add a charming, personal touch to your photos. Whether for a holiday shoot or a casual family session, themed hats and headbands make your photos more memorable and adorable.
How to Hand-Paint Signs and Quotes for Photos

Hand-painting signs and quotes for photos is a simple yet impactful way to personalize your images and convey meaningful messages. You can create charming, vintage typography using basic brushes and paints, giving your signs a nostalgic feel. Start by choosing a sturdy surface, like wood or thick poster board, and sketch out your design lightly with pencil. Use hand lettered signs to add a handcrafted touch, emphasizing style and personality. When painting, vary your brush strokes to mimic vintage lettering styles, such as bold or cursive fonts. Keep your quotes concise and impactful, making sure they’re easy to read. Finish with a clear sealant if needed, to protect your work. This approach adds warmth and character, perfect for capturing memorable photos.
Create Miniature Food Props for Foodie Shots

Creating miniature food props is a fun way to enhance your foodie photos, and mastering the perfect techniques makes all the difference. You can experiment with materials and textures to make realistic-looking items that catch the eye. With creative display ideas, your tiny treats will become the highlight of any shot.
Perfect Miniature Food Techniques
To craft convincing miniature food props for your foodie shots, mastering the right techniques is essential. Focus on realistic details and durable materials to make your miniature desserts stand out. Here are three key techniques:
- Use lightweight, flexible clay for shaping tiny desserts, allowing easy manipulation and detail work.
- Incorporate food styling tricks like gloss varnishes or paint to mimic realistic textures, such as shiny glaze or frosted surfaces.
- Pay attention to color accuracy and layering to enhance authenticity, making each miniature look appetizing and true-to-life.
These methods help you create miniature desserts that not only look tasty but also elevate your food styling skills, making your photos more engaging and professional.
Creative Display Ideas
Ever wondered how to make your food photos pop with eye-catching displays? Creating miniature food props allows you to craft scenes that capture attention. For example, you can incorporate weather patterns like tiny umbrellas or snowflakes to evoke a rainy or wintery mood. Using cultural symbolism, such as miniature chopsticks or traditional serving dishes, adds depth and context to your shots. Arrange these tiny props thoughtfully to tell a story or highlight a specific theme. Combining weather elements with cultural symbols creates a rich, layered visual experience that draws viewers in. Experiment with different textures, colors, and arrangements to make your foodie shots stand out. These creative display ideas transform simple food photography into mesmerizing, culturally resonant art.
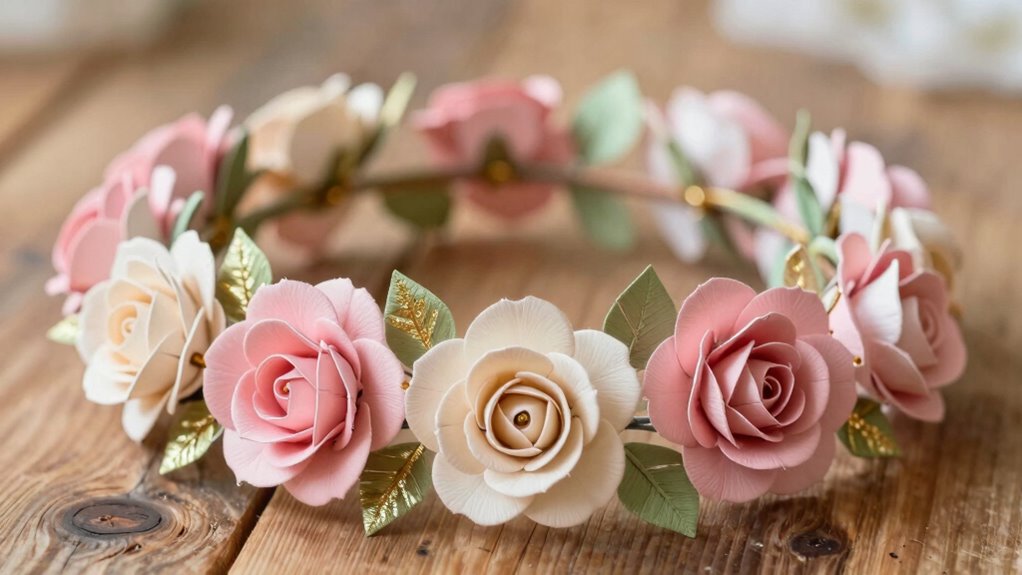
Design Elegant Floral Crowns and Accessories

Designing elegant floral crowns and accessories allows you to add a touch of natural beauty and sophistication to any photo shoot. You can incorporate vintage motifs, such as lace or pearl accents, to give your creations timeless charm. Cultural influences, like bohemian or Mediterranean styles, inspire unique combinations of flowers and materials. To make your crowns stand out, consider these ideas:
Create elegant floral crowns with vintage accents and cultural influences for timeless beauty and unique charm.
- Mix fresh flowers with faux elements for durability and variety.
- Use delicate wire and floral tape for a secure, comfortable fit.
- Add vintage charms or beads to enhance the cultural or nostalgic appeal.
Make Simple DIY Polaroid Frames for Instant Photos
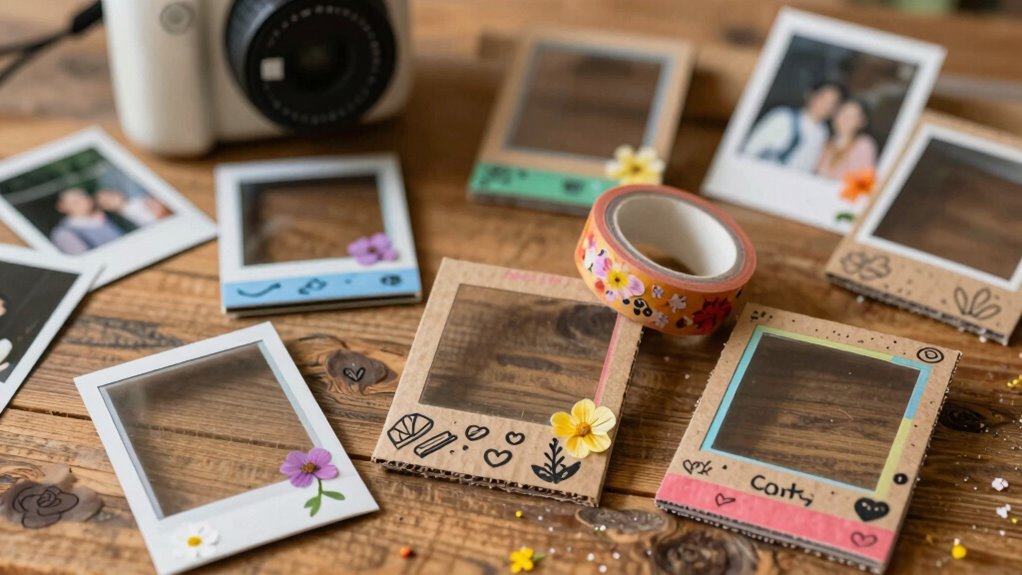
To make your own DIY Polaroid frames, you’ll need basic materials like cardboard, scissors, and glue. Follow simple steps to assemble the frame, then personalize it with creative decoration tips like painting or adding embellishments. With just a few supplies, you can create charming, custom frames that perfectly showcase your instant photos.
Materials Needed
Creating simple DIY Polaroid frames requires just a few basic materials. First, you’ll need sturdy cardstock or foam board to guarantee material durability, so your frames last through multiple uses. Next, select your preferred color palettes—classic white, vintage pastel, or bold hues—to match your photo theme. Finally, gather a craft knife or scissors for clean cuts, along with a ruler and pencil for precise measurements. These materials allow you to customize your frames easily while maintaining durability for handling and display. Focus on choosing quality supplies that support your design choices and make your photo props stand out. With these essentials, you’ll craft stylish, resilient Polaroid frames that enhance your instant photos effortlessly.
Step-by-Step Assembly
Start by measuring and marking your chosen cardstock or foam board according to the size of your desired Polaroid frame. Use a ruler and pencil for precise lines. Cut out the frame shape, then add artistic techniques like shading or decorative borders to enhance its visual appeal. To create a realistic look, consider layering different textures or colors. When attaching your instant photo, experiment with lighting effects such as placing a light source behind the frame to cast shadows or highlight edges. This enhances depth and adds a professional touch. Keep your assembly simple but deliberate, ensuring the frame fits snugly around the photo. Carefully smooth any edges and double-check alignment. With these steps, you’ll craft a stylish, eye-catching DIY Polaroid frame perfect for memorable photo props.
Creative Decoration Tips
Adding creative touches to your DIY Polaroid frames can truly make them stand out and reflect your personal style. To enhance their look, consider these decoration tips:
- Use vintage patterns like floral or art deco prints to give your frames a nostalgic feel.
- Incorporate rustic textures such as burlap, twine, or distressed wood accents for a charming, farmhouse vibe.
- Add small embellishments like buttons, dried flowers, or washi tape to create unique, eye-catching details.
These ideas help your frames become more than just photo holders—they turn into stylish decor pieces. Mixing vintage patterns with rustic textures gives your frames a warm, timeless appeal. Keep it simple, and let your creativity shine through in every detail.
Upcycle Household Items Into Creative Photo Props
Turning everyday household items into creative photo props is a fun and eco-friendly way to add personality to your photos. You can transform vintage textiles into charming backdrops or costumes, giving your photos a nostalgic touch. Use eco-friendly paints to decorate jars, bottles, or picture frames, making them stand out. Old kitchenware, such as pots or utensils, can become quirky accents. For example, a vintage fabric bunting or painted wooden spoons add visual interest. Here’s a quick look at ideas:
| Household Items | Creative Upcycling Ideas |
|---|---|
| Vintage textiles | Make a textured backdrop or wrap items |
| Glass jars | Paint with eco-friendly paints for colorful accents |
| Kitchenware | Use as props or display pieces |
Add Seasonal and Holiday Props for Festive Photos
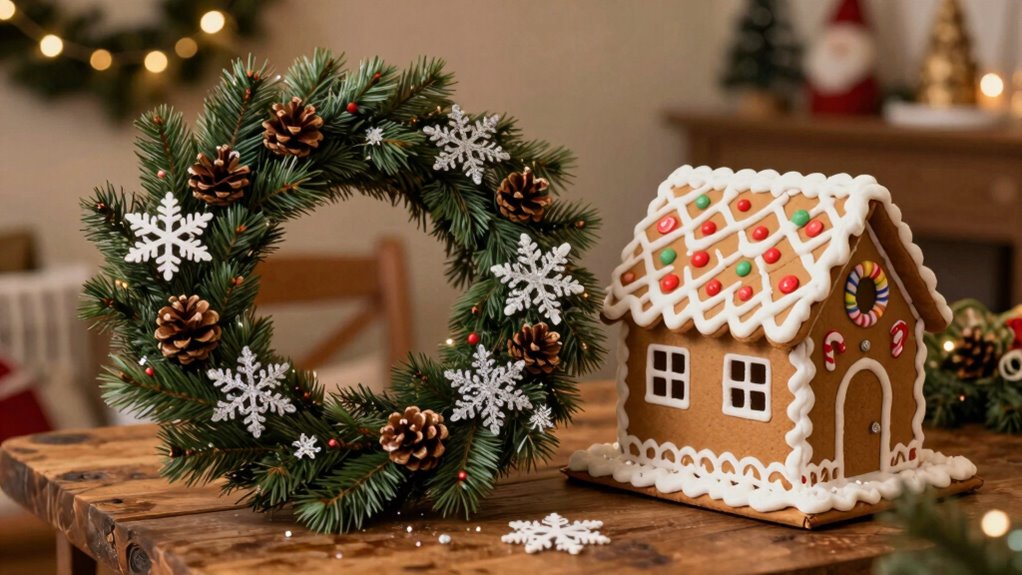
Incorporating seasonal and holiday props into your photos instantly boosts their festive appeal and creates a joyful atmosphere. You can easily enhance your images with handmade items that reflect holiday themes and festive colors. To make your photos stand out, consider these simple ideas:
Adding seasonal props instantly makes your photos more festive and joyful.
- Create paper snowflakes or wreaths in traditional holiday colors like red, green, and gold.
- Craft mini pumpkins or acorns for autumn-themed shoots, emphasizing warm, earthy tones.
- Make festive banners or signs with cheerful holiday messages using colorful paper and string.
These handmade props add a personal touch and help convey the spirit of each season or holiday, making your photos more lively and memorable.
How to Incorporate Interactive Props to Encourage Poses

Interactive props are a fantastic way to make your photos more engaging and help your subjects naturally pose with enthusiasm. They encourage storytelling, allowing you to explore abstract concepts like love, friendship, or hope through tangible items. Incorporating cultural influences adds depth, connecting subjects to traditions or shared histories. To maximize impact, choose props that invite participation, such as signs or objects with meaningful symbols. Use the following table to inspire ideas:
| Abstract Concepts | Cultural Influences |
|---|---|
| Love | Traditional garments |
| Hope | Regional crafts |
| Friendship | Cultural flags |
| Celebration | Local folklore artifacts |
Eco-Friendly Photo Props: Recyclable Material Ideas
Have you considered using recyclable materials to create eco-friendly photo props that are both stylish and sustainable? Recyclable packaging offers a versatile base for crafting unique props, reducing waste, and giving new life to materials. To add vibrant color without harming the environment, use eco-friendly dyes that are safe and sustainable. Here are three ideas:
- Recyclable cardboard cutouts painted with eco-friendly dyes for custom shapes and designs.
- Upcycled plastic bottles transformed into fun, colorful props or decorative elements.
- Recycled paper or cardstock for banners, signs, or masks, decorated with eco friendly dyes for striking visuals.
These options help you create stunning, environmentally conscious props while minimizing your carbon footprint.
Tips for Securing, Storing, and Transporting Your Props
Properly securing, storing, and transporting your photo props guarantees they stay in great condition and are ready for every shoot. Use sturdy containers for vintage lighting and fragile studio backgrounds to prevent damage. Wrap delicate items in bubble wrap or soft cloths, especially for travel. Label everything clearly to avoid confusion and make setup easier. For transportation, consider padded cases or boxes with compartments to keep props organized and protected. Keep vintage lighting components upright and secure to prevent breakage. Store props in a climate-controlled space, avoiding humidity that can warp or degrade materials.
| Tip | Benefit |
|---|---|
| Use padded cases | Protects fragile items during transport |
| Label all props | Saves time and prevents damage |
| Wrap delicate items | Prevents scratches and breakage |
| Store in climate-controlled space | Maintains condition over time |
Using Handmade Props in Professional Photoshoots
- Use vintage-inspired handmade props to evoke nostalgia and charm, perfect for storytelling.
- Incorporate simple, minimalist props that highlight craftsmanship without overwhelming the scene.
- Mix and match textures and materials for depth, creating visually interesting compositions.
Handmade props bring character and personality to your photos, whether you’re aiming for a timeless vintage look or a sleek, minimalist aesthetic. They help create a more genuine connection with viewers and add a personal touch that digital or mass-produced items can’t replicate. Your creativity with handmade elements can truly elevate professional shoots.
How to Customize Props for Different Photo Styles
Customizing props to match different photo styles requires understanding the mood and message you want to convey. For vintage-inspired photos, incorporate vintage patterns like lace, floral prints, or distressed finishes to evoke nostalgia and timeless elegance. Seasonal motifs help create themed scenes—think pumpkins and leaves for autumn or snowflakes and holly for winter. Use colors and textures that align with the season or style you’re aiming for, and add details like aged wood or antique accents for a vintage look. Adjust the size and shape of props to suit your subject and setting, ensuring they complement the overall aesthetic. By tailoring your props with these themes in mind, you create a cohesive visual story that resonates with your desired photo style.
Troubleshooting Common DIY Crafting Challenges

When creating DIY photo props, you’re likely to encounter common challenges that can disrupt your project’s flow or final look. Crafting mistakes happen, but they’re easy to fix with the right approach. Material selection is vital to guarantee durability and aesthetic appeal. Here are three tips to troubleshoot:
- Double-check your measurements before cutting or gluing to avoid errors.
- Use appropriate materials suited for your project—lightweight foam for easy shaping or sturdy cardboard for stability.
- If glue isn’t sticking well, make sure surfaces are clean and dry, or switch to a stronger adhesive.
Personalize Your Photo Props for Unique Creative Touches

Adding personal touches to your photo props instantly makes your images more memorable and unique. You can achieve this by incorporating vintage patterns that evoke nostalgia or adding seasonal motifs to match holidays and celebrations. Use fabric with retro prints or stencil vintage designs onto cardboard for a charming, personalized look. Seasonal motifs, like snowflakes, pumpkins, or flowers, help tie your props to specific times of the year, making your photos more relevant and fun. Customizing your props with these elements allows you to showcase your style and creativity. Whether you’re crafting for a holiday shoot or adding a touch of nostalgia, personalization elevates simple props into meaningful details that enhance your photos.
Frequently Asked Questions
How Long Do Handmade Photo Props Typically Last?
Handmade photo props usually last several months to a year, depending on durability factors and material longevity. If you use sturdy materials like foam, fabric, or wood, your props will hold up longer. Proper storage and gentle handling also extend their lifespan. Keep in mind that delicate items or those exposed to weather or frequent use may wear out sooner. Regularly inspect your props to maintain their quality and appearance.
Can I Customize Props for Specific Themes or Occasions?
Customizing props is like painting a unique masterpiece for your special event. You can easily tailor themed decoration or personalized designs to match specific themes or occasions. Whether it’s adding names, dates, or unique colors, customization makes your photo props stand out. With a little creativity, you make each prop a perfect fit, ensuring your photos are memorable and truly reflective of your celebration’s vibe.
Are There Beginner-Friendly Handmade Photo Prop Ideas?
Yes, there are plenty of beginner-friendly handmade photo prop ideas. You can start with simple DIY techniques like cutting shapes from foam or cardstock, gluing on decorations, and using basic materials like felt, paper, or sticks. Opt for easy-to-manage material choices and basic tools. These projects boost your confidence, allow customization, and create adorable props perfect for capturing memorable moments without needing advanced crafting skills.
What Safety Tips Should I Follow When Crafting Props?
Safety first, as the saying goes! When crafting props, always wear safety equipment like gloves and goggles to protect yourself from hazards. Keep a keen hazard awareness—watch out for sharp tools or hot glue. Work in a well-ventilated area and keep your workspace tidy. By following these tips, you can enjoy creating beautiful props without risking injury. Remember, safety makes the craft more fun!
How Can I Make My Props Look More Professional?
To make your props look more professional, focus on enhancing prop durability and refining your crafting techniques. Use high-quality materials that withstand handling, and pay attention to detail during assembly for a polished look. Smooth out edges, add finishing touches like paint or fabric, and guarantee stability. Practicing precise cutting, gluing, and painting will elevate your projects, giving them a more refined and professional appearance that stands out in photos.
Conclusion
With your hands, you bring life to vibrant paper flowers and charming chalkboard signs, transforming simple setups into enthralling scenes. Picture yourself arranging colorful props against a backdrop of soft sunlight, each detail telling a story. As you craft and personalize, your photos will radiate warmth and personality, making every shot a treasured moment. Keep experimenting, and watch your creative vision come alive, turning ordinary photos into extraordinary keepsakes filled with your unique touch.