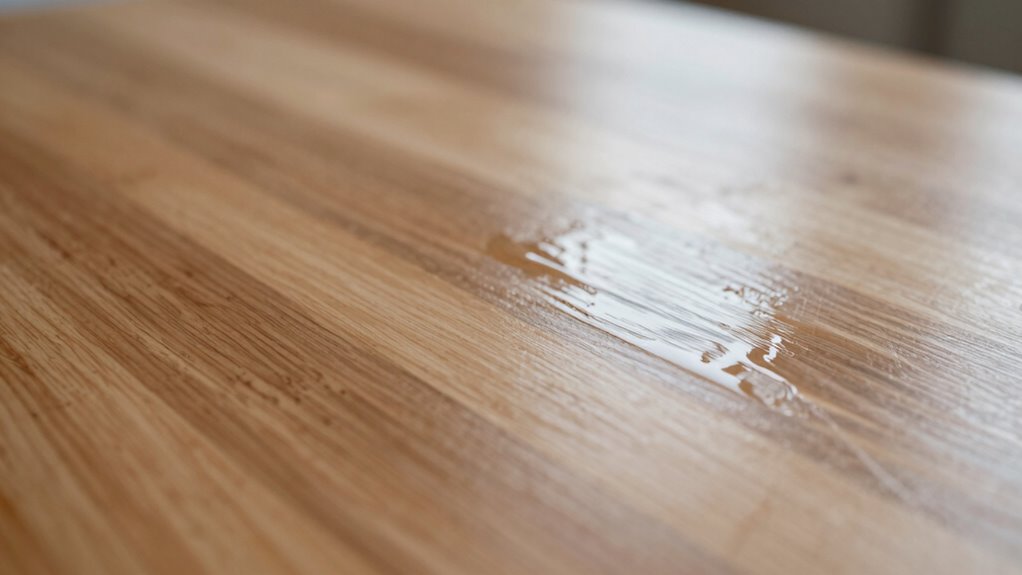

To get a cleaner Mod Podge finish without brush marks, use high-quality synthetic brushes and thin the product slightly with water or additives. Apply in thin, even coats with smooth, sweeping strokes, avoiding over-brushing. Sand lightly between layers to smooth any imperfections. Working in a controlled environment with proper surface prep also helps. Follow these tips consistently, and you’ll achieve a flawless, professional look—if you want to learn more, keep exploring these techniques.
Key Takeaways
- Thin Mod Podge with water or additives to improve spreadability and reduce brush marks.
- Use high-quality synthetic brushes for smoother, more even application.
- Apply in thin, even layers with light strokes, allowing proper drying between coats.
- Work in a dust-free environment to prevent particles from settling into the finish.
- Consider using a clear acrylic spray for a flawless, streak-free seal over the dried Mod Podge.
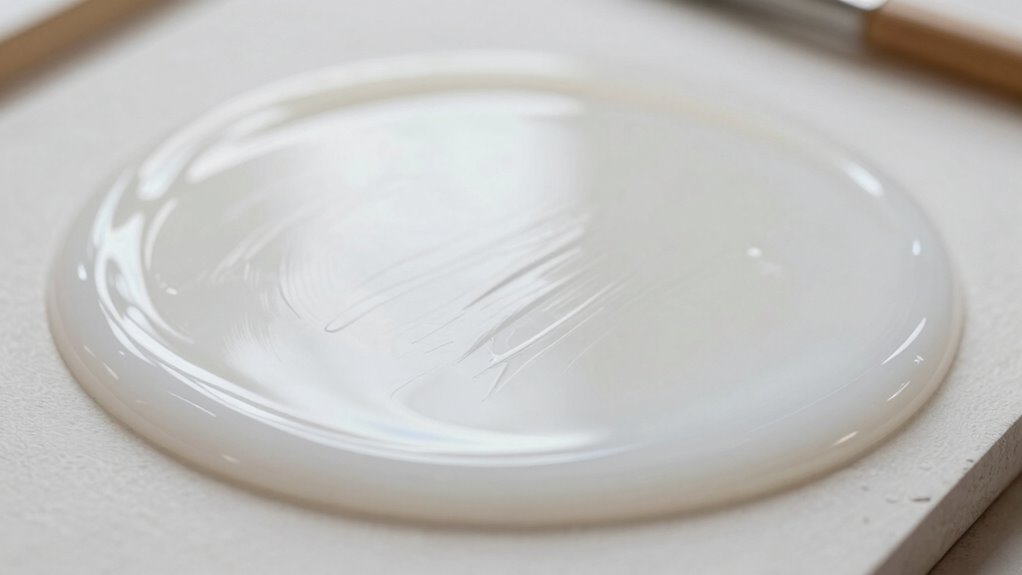
If you’ve ever struggled with streaks or uneven coats when applying Mod Podge, you’re not alone. Many crafters face this challenge, especially when trying to achieve a smooth, professional finish. The secret lies in understanding how to work with vintage techniques and exploring sealant alternatives that help you avoid brush marks and achieve a flawless surface.
Vintage techniques can be surprisingly effective for a cleaner Mod Podge finish. For example, using a foam brush instead of a traditional bristle brush can make a big difference. Foam brushes distribute the product more evenly and are less likely to leave streaks or brush marks. When applying, use light, sweeping strokes and avoid pressing too hard—gentle, consistent pressure ensures a smoother coat. Additionally, working in thin layers allows each coat to dry evenly, reducing the risk of uneven textures or drips. Once the first layer is dry, lightly sand the surface with fine-grit sandpaper to smooth out any imperfections before applying the next coat. This vintage approach of layering and sanding can give your project a more polished look, much like techniques used in antique restorations. Incorporating proper application techniques can further enhance your results and help you achieve a flawless finish. Also, understanding how application tools influence the final look can help you select the best equipment for your project. To ensure the best results, consider experimenting with different application methods to find what works best for your specific project and materials. Using techniques from antique restoration can sometimes provide alternative strategies for achieving a smooth surface. Additionally, environmental conditions such as humidity and temperature can impact drying times and finish quality, so working in optimal conditions is recommended.
If you want to go beyond traditional methods, consider using sealant alternatives that offer a smoother finish. Clear acrylic sprays or varnishes are excellent choices—they apply quickly and dry to a hard, even surface. These options are especially useful for sealing delicate or intricate designs that might be difficult to smooth out with a brush. When using spray sealants, hold the can at a consistent distance and spray in a steady, sweeping motion to prevent uneven buildup. This technique helps you avoid drips and streaks, giving your project a professional appearance.
Another tip is to thin your Mod Podge slightly with water or a commercial additive designed for smoother application. Thinning reduces the thickness of the product, allowing it to spread more evenly. Be cautious not to over-dilute, as this can weaken the adhesive strength, but a little goes a long way toward eliminating brush marks. Using a high-quality, synthetic brush can also improve application, as these brushes are designed to hold less product and distribute it more evenly.

Mister Rui 1 Inch Foam Paint Brushes, 12 Pack – High Density Poly Sponge Brushes for Painting, Mod Podge, Decoupage, Crafts & Cleaning
- Complete 12-Piece Set: Versatile foam brushes for various tasks
- Universal Compatibility: Suitable for water and oil-based paints
- Ideal for Crafts: Perfect for decoupage and glue projects
As an affiliate, we earn on qualifying purchases.
As an affiliate, we earn on qualifying purchases.
Frequently Asked Questions
Can I Use a Foam Roller Instead of a Brush?
Yes, you can use a foam roller as a brush replacement for applying Mod Podge. A foam roller helps achieve a smooth, even finish and minimizes brush marks, making your project look professional. Just make sure to use a light, even pressure and avoid overloading the roller with product. Clean it thoroughly after use to prevent buildup, ensuring it remains effective for future projects.
Does Temperature Affect Mod Podge Application?
Think of temperature as the steady heartbeat of your project—when it fluctuates, it can throw off your Mod Podge application. Cooler temperatures slow drying, making it harder to achieve smooth, even coats, while heat speeds up drying, risking uneven finishes. To keep application consistent, work in a stable environment, ideally between 65-75°F. This way, your Mod Podge flows smoothly, and your finish stays flawless.
How Long Should I Wait Between Coats?
You should wait about 15-20 minutes between coats of Mod Podge, depending on the drying time and coat thickness. Thinner coats dry faster, so you might wait closer to 15 minutes, while thicker coats could need up to 20 minutes. Make certain the previous coat feels tacky but isn’t sticky before applying the next to prevent brush marks and guarantee a smooth finish.
Is There a Preferred Type of Surface for Best Results?
Think of your surface as a blank canvas waiting to come alive. For best results, choose a smooth, non-porous surface like glass or sealed wood, which acts like a mirror, reflecting a flawless finish. Proper surface preparation guarantees compatibility with Mod Podge, preventing bubbles and streaks. Avoid textured or absorbent surfaces that can trap air or cause uneven coats, making your project look less polished.
Can I Add Color or Glitter Without Affecting Finish Quality?
Yes, you can add color mixing and glitter addition without compromising the finish quality. Mix your desired paint or pigment thoroughly into the Mod Podge before applying to guarantee even color distribution. For glitter, gently fold it into the mixture, avoiding excess stirring to prevent bubbles. This way, you achieve vibrant, sparkling results with a smooth, professional look that won’t affect the finish’s clarity or durability.
Conclusion
Now that you know the secret to achieving a flawless Mod Podge finish, your projects will shine brighter than a thousand suns. Just remember, patience and a steady hand are your best allies in avoiding those pesky brush marks. With a little practice, you’ll create surfaces so smooth, they might as if they were touched by magic. Say goodbye to uneven finishes and hello to professional-looking results—you’re now equipped to conquer any craft challenge that comes your way!