To achieve wrinkle-free decoupage, start by thoroughly cleaning and lightly sanding your surface to make certain of good adhesive grip. Apply a thin, even layer of decoupage medium with a soft brush, then gently position the paper, smoothing from the center outward with a rubber brayer or plastic tool to eliminate bubbles. Allow proper drying between layers and handle carefully during application. For more tips on perfecting your finish, keep exploring detailed techniques.
Key Takeaways
- Thoroughly clean and lightly sand the surface before applying decoupage paper for optimal adhesion.
- Use a thin, even layer of clear-drying adhesive with a foam brush to prevent excess moisture.
- Gently position the paper, then press from the center outward with a soft tool to eliminate air bubbles.
- Allow each coat to dry completely before adding more layers, avoiding wrinkles and bubbles.
- Carefully reapply and press the paper if wrinkles or bubbles appear, ensuring a smooth, bubble-free finish.

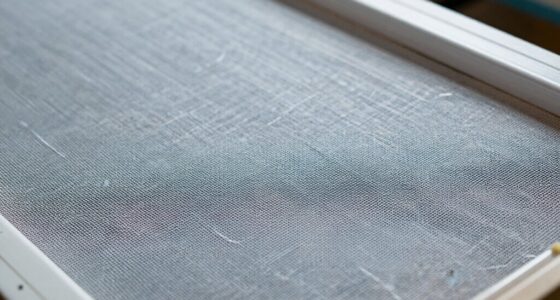
Decoupage is a versatile craft that can transform ordinary items into stunning works of art, but doing it right makes all the difference. The key to achieving a smooth, wrinkle-free finish lies in mastering adhesive techniques and surface preparation. Before you start, you need to guarantee the surface you’re working on is properly prepared. Clean it thoroughly to remove dust, grease, or any residue that could prevent the paper from adhering smoothly. If the surface is glossy or slick, lightly sand it to create a better grip for the adhesive. This step is vital because a well-prepared surface provides a stable foundation, reducing the chances of bubbles or wrinkles forming under the paper.
Proper surface preparation ensures a smooth, bubble-free decoupage finish.
When it comes to adhesive techniques, choosing the right glue is essential. A decoupage medium like Mod Podge is popular because it’s easy to work with and dries clear. However, you can also use diluted white craft glue or specialty decoupage adhesives. Apply the adhesive evenly using a foam brush or a soft paintbrush, making sure to cover the entire area where the paper will be placed. Don’t overload the surface with glue, as excess moisture can cause the paper to wrinkle or warp. Your goal is to create a thin, even layer that allows the paper to adhere smoothly without slipping or bubbling.
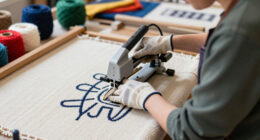
As you carefully position your paper, do so gently to avoid trapping air bubbles. Use a soft, flat tool like a rubber brayer or a plastic spatula to press the paper down smoothly from the center outward. This technique helps push out air pockets and excess adhesive, ensuring a flat surface. If you notice any wrinkles or bubbles, gently lift the paper and reapply, being cautious not to tear it. After placing the paper, lightly go over it with the brayer again to seal it securely.
Once the paper is applied, allow sufficient drying time before adding additional coats of adhesive or sealant. When applying top coats, use thin, even layers to prevent disturbing the paper’s placement. Sand lightly between coats if needed, but always guarantee each layer is dry before proceeding. Patience is key—rushing the process can lead to wrinkles or uneven finishes. By paying close attention to surface preparation and using proper adhesive techniques, you’ll create a decoupage project that’s smooth, professional, and free of unwanted wrinkles.
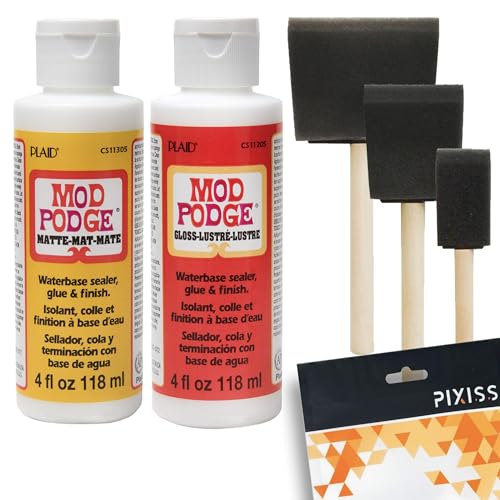
Mod Podge Decoupage Starter Kit, Gloss and Matte Medium with 3 Pixiss Foam Brushes, Waterproof for Puzzles, Wood and More
Mod Podge Gloss – Add a radiant sheen to your projects with this premium gloss finish, making your…
As an affiliate, we earn on qualifying purchases.
As an affiliate, we earn on qualifying purchases.
Frequently Asked Questions
What Are the Best Types of Paper for Decoupage?
You should choose decorative papers like rice paper, tissue paper, or thin napkins for decoupage, as they’re easy to work with and adhere smoothly. Waterproof materials, such as laminated or coated papers, also work well, especially for items exposed to moisture. These types help you avoid wrinkles and tears, ensuring a clean, professional finish. Always select lightweight, flexible papers that conform easily to your surface for the best results.
How Do I Fix Wrinkles After Applying Decoupage?
You can fix wrinkles by gently smoothing them out with a soft cloth or a rubber brush, starting from the center and working outward. To prevent future wrinkles, guarantee your paper is properly prepped and use light, even coats of glue. Employ smoothing techniques during application, like applying pressure with a brayer or a clean sponge, to achieve a wrinkle-free finish. Taking these steps helps you enjoy a flawless decoupage project.
Can Decoupage Be Done on Curved Surfaces?
Yes, you can decoupage on curved surfaces using curved surface techniques. To do this effectively, choose flexible paper options like rice paper or tissue paper that bend easily. Apply the paper carefully, smoothing it with a brush to prevent wrinkles. Use thin coats of decoupage glue, working slowly around curves. With patience and the right materials, you’ll achieve a smooth, professional finish even on challenging, rounded surfaces.
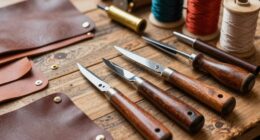
What Tools Are Essential for Smooth Paper Application?
Think of your tools as the orchestra that makes your decoupage sing. To guarantee smooth paper application, you need a good quality brush, a rubber brayer, and a craft knife. These tools help you master decoupage techniques and achieve seamless results. Before starting, prepare your surface by cleaning and sanding it. With these essential tools and proper surface prep, you’ll glide through your project with confidence and create a flawless finish.
How Long Does Decoupage Glue Take to Dry Completely?
Decoupage glue typically takes about 1 to 2 hours to dry to the touch, but full curing can take 24 to 72 hours. You should avoid handling the piece during the initial drying time to prevent wrinkles or smudges. Keep in mind that environmental factors like humidity and temperature can affect drying time. For the best results, allow ample time for the glue to cure completely before using or displaying your project.
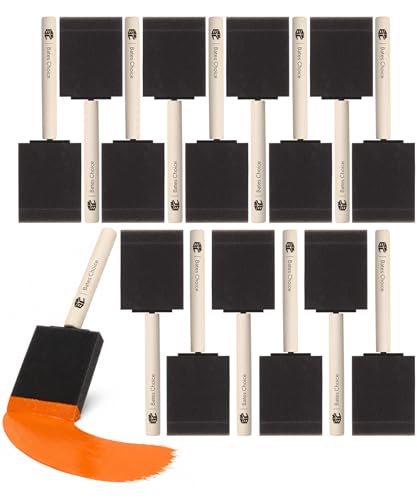
Bates- Foam Paint Brushes, 2 Inch, 16 Pack, Wooden Handle, Sponge Brushes for Painting, Staining, Varnishes, Gluing and DIY Craft Projects on Wood, Metal & More
Bates foam brushes 16 pieces with 2 inch brush size
As an affiliate, we earn on qualifying purchases.
As an affiliate, we earn on qualifying purchases.
Conclusion
So, there you have it—your foolproof guide to wrinkle-free decoupage. With a little patience and a dash of finesse, you’ll turn ordinary objects into masterpieces that scream “professional.” Who knew that smoothing out paper could feel so revolutionary? Now, go forth and conquer those surfaces with confidence, knowing you’ve mastered the art of decoupage done right. After all, perfection is just a perfectly smoothed corner away from reality.
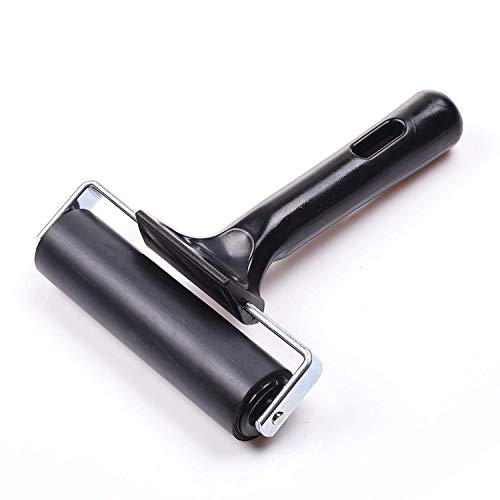
4-Inch Rubber Brayer Roller for Printmaking, Great for Gluing Application Also. (Original Version)
FEATURES: The drum is made of high quality rubber. It is durable and elastic. It can be well…
As an affiliate, we earn on qualifying purchases.
As an affiliate, we earn on qualifying purchases.

Flortlias Large Decoupage Paper for Furniture, Floral Printed Tissue Paper for Furniture, DIY Crafts Rice Papers, Vintgae Watercolor Rose,Letter 16.54" x19.69"
Versatile Art Paper for DIY & Décor: Transform furniture, home décor, and crafts with Flortlias large decoupage paper….
As an affiliate, we earn on qualifying purchases.
As an affiliate, we earn on qualifying purchases.