
When working with embroidery floss, start by properly stranding your thread—separate the number of strands needed for your project to control thickness and detail. Maintain consistent tension by pulling gently to avoid puckering or loose stitches, and choose the right needle size—usually a sharp, small needle for fine work or a larger one for thicker stitches. Proper technique guarantees vibrant, durable embroidery; keep exploring to master each step and elevate your craft.
Key Takeaways
- Stranding involves separating the floss into individual threads, typically 2-6, to match project detail and desired thickness.
- Proper tension ensures even stitches; too tight causes puckering, too loose results in uneven stitching.
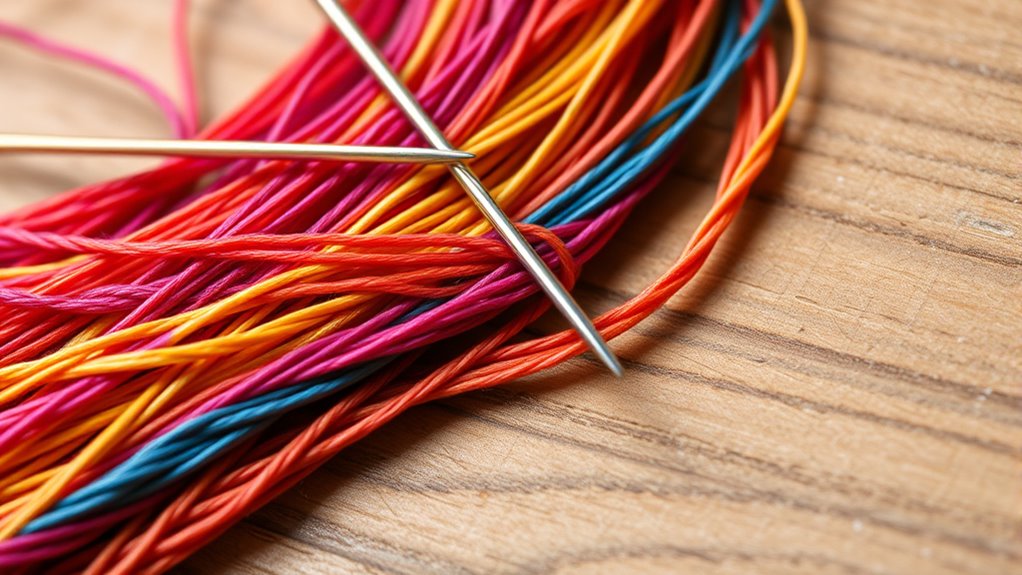
- Use sharp, appropriate needles (e.g., embroidery or crewel needles) to easily pass through fabric without fraying.
- Thread length should be manageable (about 18-24 inches) to prevent tangling and fraying during stitching.
- Consistent tension and correct needle size improve stitch quality and overall embroidery appearance.
Are you overwhelmed by the variety of embroidery floss options available? With so many choices, it’s easy to feel lost before you even start stitching. To help you navigate, understanding the basics of embroidery floss, including its history overview and material comparisons, is essential. Embroidery floss has a rich history dating back centuries, originally crafted from natural fibers like silk, cotton, and linen. Silk was prized for its smooth texture and sheen, making it a luxurious choice for high-end embroidery. Over time, as textile production evolved, cotton became more popular due to its affordability, durability, and ease of dyeing. Today, many embroidery flosses are made from cotton, offering a wide range of colors and finishes suitable for various projects. Material comparisons reveal that silk, while still favored for special projects, tends to be more delicate and expensive, whereas cotton is sturdy, versatile, and more accessible to hobbyists. Polyester blends also entered the scene, combining the sheen of silk with the strength of synthetic fibers, making them a practical choice for everyday use.
When choosing your embroidery floss, consider the material’s properties. Cotton floss, for example, is easy to split for finer detailing and has a natural matte finish that works well for traditional embroidery styles. Silk, on the other hand, provides a luxurious shine and smoothness but requires more delicate handling. Polyester blends tend to be more resistant to fraying and fading, making them ideal for projects intended to last. The history overview helps you appreciate the evolution of these materials and their significance in different cultures and time periods, giving you a deeper connection to your craft. Modern embroidery floss often comes pre-stranded into six easily separable strands, allowing you to adjust thickness based on your design needs. Knowing the differences in material properties helps you select the right floss for your project, whether you want a soft sheen, durability, or affordability. Additionally, understanding the fiber composition of embroidery floss can influence its response to washing, wear, and environmental factors, ensuring your finished work maintains its beauty over time.
Furthermore, understanding material comparisons can influence your choice of thread brand and quality. Some brands offer high-quality cotton with a soft, silky finish, while others provide budget-friendly options that still perform well. It’s worth experimenting with different fibers to see which ones suit your style and project requirements best. Being mindful of the history overview and material comparisons enables you to make informed decisions, ensuring your stitching is both beautiful and durable. With this knowledge, you’ll feel more confident selecting the right embroidery floss, whether you’re working on delicate silk designs or sturdy cotton projects, ultimately enhancing your overall embroidery experience.
Frequently Asked Questions
What Are the Best Storage Methods for Embroidery Floss?
You should prioritize floss organization by using clear storage containers with individual compartments or small zip-top bags for each color. This keeps your embroidery floss tangle-free and easy to find. Label the containers or bags for quick access, and store them in a cool, dry place away from sunlight. Proper storage guarantees your floss stays neat, untangled, and ready for your next project, saving you time and frustration.
How Do I Prevent Color Bleeding During Washing?
Think of your embroidery floss like delicate watercolor paints—you want the colors to stay vibrant. To prevent color bleeding during washing, use colorfastness techniques like soaking finished pieces in cold water with a gentle, color-safe detergent first. When washing, always opt for gentle washing tips, avoid harsh agitation, and air dry instead of machine drying. This careful approach keeps your colors bright and your project looking fresh.
Can Embroidery Floss Be Reused After Finishing a Project?
Yes, you can reuse embroidery floss after finishing a project. To do so, carefully remove the floss, making sure not to fray or damage the strands. Store it properly by winding it neatly and keeping it in a dry, clean place. Good floss maintenance guarantees your reusable floss stays in good condition for future projects. Just check for any signs of wear or fading before reusing to achieve the best results.
What Are Eco-Friendly Alternatives to Traditional Embroidery Floss?
Think of eco-friendly embroidery threads as the gentle rain nourishing your creative garden. You can switch to biodegradable threads and recycled materials, which break down naturally and reduce waste. These alternatives are just as vibrant and strong as traditional floss, making your projects greener without sacrificing quality. By choosing these sustainable options, you help protect the environment while still enjoying the art of embroidery.
How Do I Choose the Right Needle Size for Different Fabrics?
You should choose the right needle size based on fabric compatibility and needle selection tips. For delicate fabrics like silk or fine linen, go for smaller needles, such as size 9 or 10, to avoid damage. For thicker fabrics like denim or burlap, opt for larger needles, like size 16 or 18, to easily pass through. Always match needle size to your fabric’s weight for smooth stitching and minimal puckering.
Conclusion
Now that you know how to manage stranding, tension, and needles, you’re ready to elevate your embroidery projects. Remember, using the right techniques can improve your stitches and make your work more enjoyable. Did you know that embroidery floss comes in over 600 colors? That means endless possibilities to express your creativity. Keep experimenting with different methods, and you’ll master embroidery in no time. Happy stitching!