
To achieve perfect polymer clay results, you should thoroughly condition your clay by kneading until it’s soft, pliable, and well-mixed to prevent air bubbles. Bake your pieces at the correct temperature, around 265-275°F, on a ceramic tile or parchment, avoiding overbaking. Finish with gentle sanding or buffing for a smooth surface and sharp edges. If you keep these tips in mind, you’ll master the art of flawless polymer clay craftsmanship—more tips await to help you elevate your projects.
Key Takeaways
- Properly knead and condition clay until soft, pliable, and free of air bubbles for consistent coloring and texture.
- Use a dedicated oven thermometer to bake at 265-275°F, ensuring full curing without overbaking.
- Smooth surfaces by gentle sanding, buffing, and polishing to achieve a flawless, professional finish.
- Store clay in airtight containers to prevent drying and maintain optimal workability.
- Enhance projects with textures, color blending, and detailed carving before baking for added dimension.
Preparing and Conditioning Your Polymer Clay
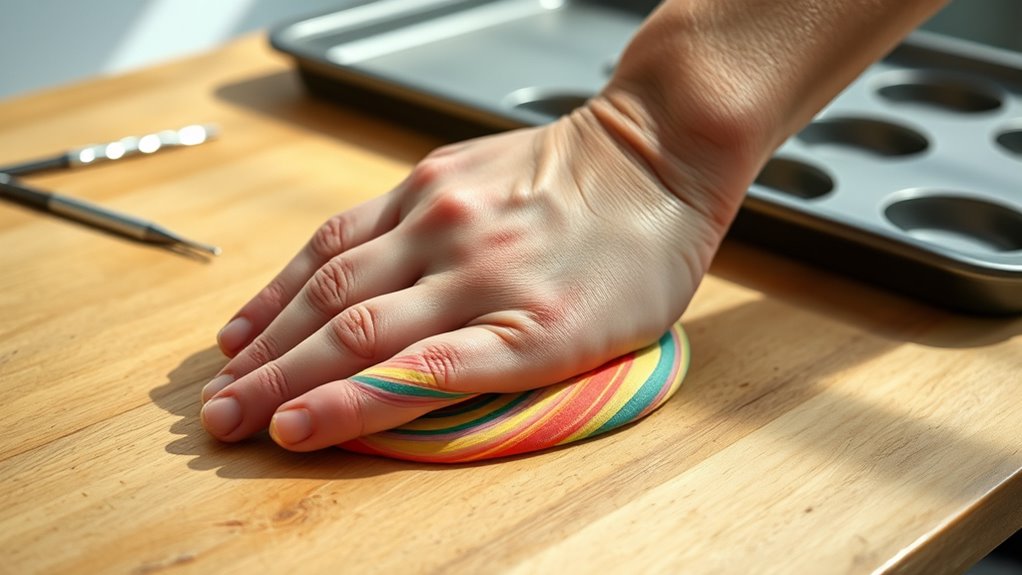
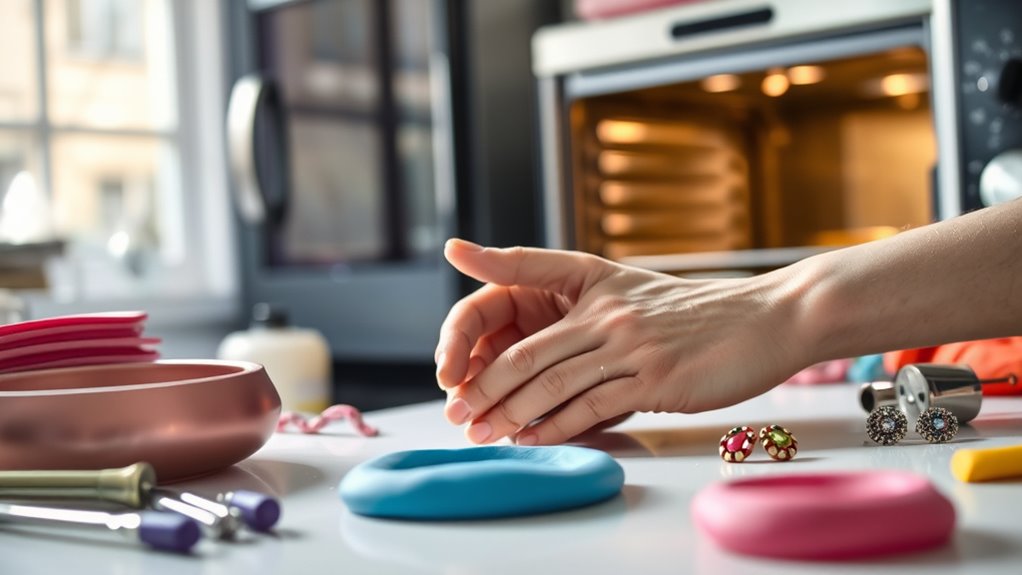
Before you start shaping your polymer clay, it’s vital to properly prepare and condition it. Conditioning involves kneading the clay until it becomes soft, pliable, and easy to work with, which improves color mixing and guarantees consistent results. This process helps eliminate air bubbles and enhances the clay’s texture. When mixing colors, make sure you blend thoroughly to achieve smooth, even shades. Proper storage tips are also essential—keep your clay wrapped tightly in plastic or stored in airtight containers to prevent it from drying out or becoming hard. Freshly conditioned clay is more responsive and easier to manipulate, making your crafting process smoother. Taking time to condition and store your clay correctly sets a solid foundation for beautiful, professional-looking creations.
Proper Techniques for Baking Your Creations
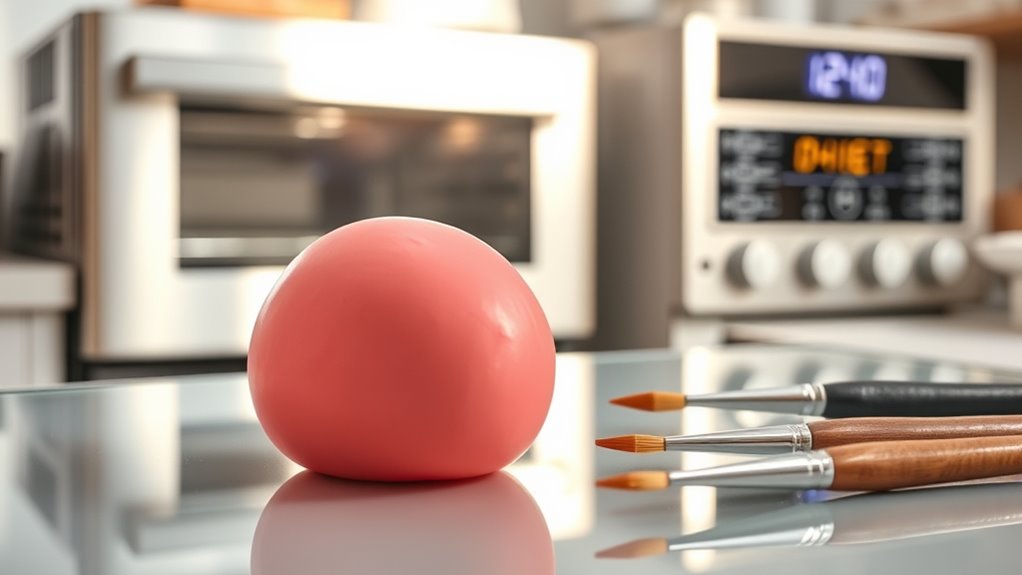
Baking your polymer clay correctly is essential to achieve durable, professional-looking results, so it’s important to follow proper techniques. First, preheat your oven to the recommended temperature, usually around 265-275°F (130-135°C). Use a dedicated oven thermometer to ensure accuracy, as temperature fluctuations can affect color blending and surface texturing. When baking, place your piece on a ceramic tile or a baking sheet covered with parchment paper to prevent sticking. Avoid overbaking, which can cause discoloration or brittleness. For surface texturing, bake the piece fully to set the design but avoid sudden temperature changes. Proper baking guarantees that the colors stay vibrant and textures remain crisp, giving your finished piece a polished, professional appearance.
Achieving a Smooth and Flawless Finish

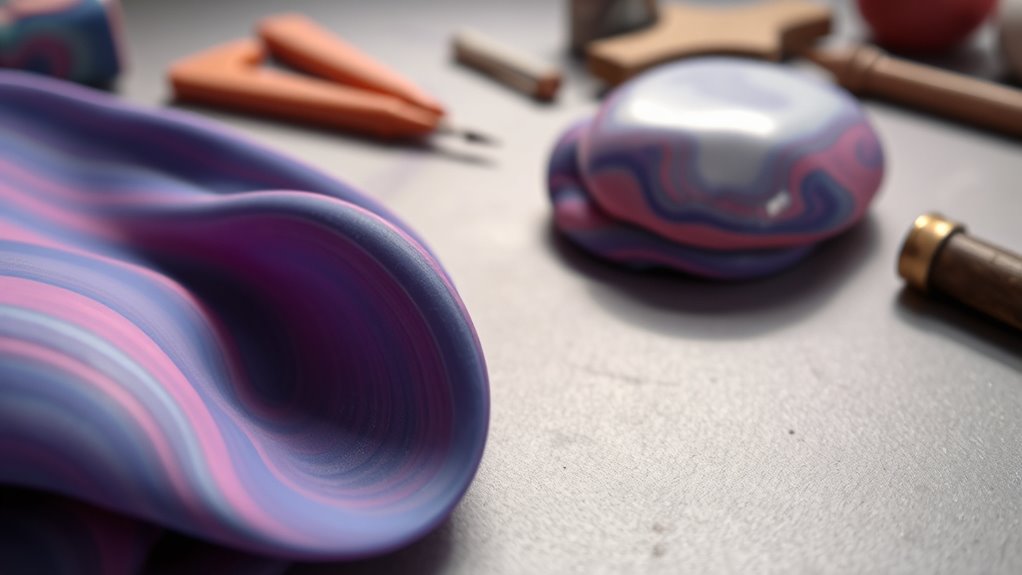
After ensuring your polymer clay piece is properly baked and cooled, focus on creating a smooth, flawless finish. Start by gently sanding any surface imperfections, then use a soft cloth to remove dust. To achieve seamless color blending, incorporate subtle shifts in hue or shading with tools or your fingers, ensuring smooth progressions. Surface texturing can add depth, but it’s essential to refine these textures for a flawless look by lightly sanding or buffing. If needed, use a fine polishing cloth to enhance shine and smoothness. Pay attention to the edges, smoothing them carefully for clean, crisp lines. Additionally, understanding the regulatory environment surrounding various investments can help you make more informed decisions about your crafting supplies or investment tools. This knowledge can be particularly useful if you decide to diversify your assets or explore new financial avenues. Being aware of market trends can also inspire innovative techniques and finishes in your polymer clay projects. Recognizing global influences and diverse cultural aesthetics can expand your creative horizons and lead to more unique designs. Embracing sustainable practices in your crafting process can promote eco-friendly projects and contribute to environmental conservation. With patience and precision, these steps will help you attain a polished, professional finish that highlights your craftsmanship.
Troubleshooting Common Issues in Polymer Clay Work
Even with careful preparation, issues can still arise during your polymer clay projects. One common problem is clay drying out or becoming too soft, which often relates to improper clay storage. Store your clay in airtight containers to maintain its moisture and pliability. Proper storage not only preserves the clay’s texture but also prevents it from environmental fluctuations that can affect its workability. In addition, using a conditioning process such as kneading the clay thoroughly helps maintain consistent texture and ease of use. Another issue is inconsistent color mixing, leading to streaks or uneven hues. To fix this, knead the clay thoroughly and use proper blending techniques before shaping. If colors aren’t blending smoothly, consider warming the clay slightly to improve malleability. Additionally, monitor your workspace temperature and humidity, as these factors influence clay behavior. The color accuracy of your clay can also fluctuate due to environmental conditions, affecting the final appearance of your projects. Being aware of storage conditions can help mitigate these issues and ensure consistent results. Maintaining optimal workspace environment is essential for achieving professional-looking results. Troubleshooting these common issues guarantees your projects stay smooth, uniform, and manageable, helping you achieve professional results every time.
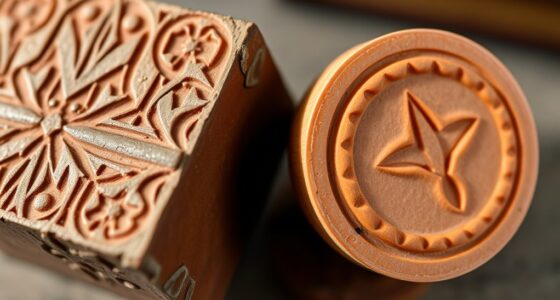
Creative Tips for Enhancing Your Polymer Clay Projects
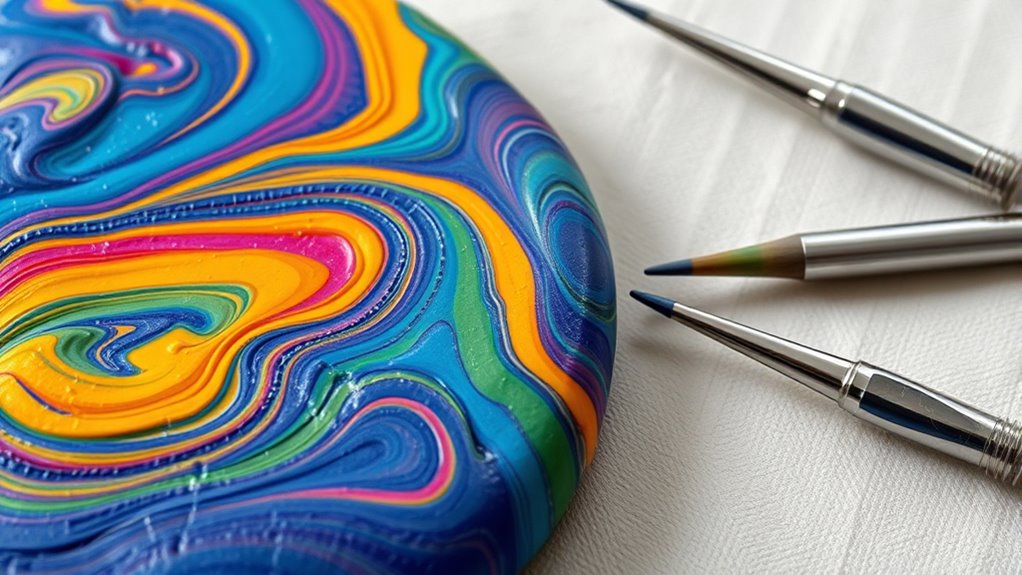
To truly elevate your polymer clay projects, incorporating creative techniques can make a significant difference. Using a variety of polymer clay tools allows you to add intricate details and textures that bring your designs to life. Experiment with color blending to create seamless gradients and unique color combinations, giving your pieces depth and vibrancy. Try marbling or layering different colors, then manipulating them with tools to produce complex patterns. Incorporate metallic or translucent clays for special effects, or embed tiny objects for added dimension. Don’t be afraid to push boundaries—try stamping, imprinting, or carving into the clay before baking. These techniques, combined with your tools and skill, will help transform simple projects into eye-catching masterpieces. Additionally, understanding clay conditioning ensures your material remains soft, pliable, and easy to work with for optimal results. Proper conditioning not only makes the clay more manageable but also helps prevent cracks and imperfections during baking. Developing consistent conditioning techniques can also improve your overall craftsmanship and finish. Furthermore, paying attention to baking temperatures guarantees your pieces maintain their shape and durability over time. Incorporating sound healing science concepts, such as tuning your workspace with specific frequencies, can further enhance your creative flow and focus during crafting.
Frequently Asked Questions
How Long Does Polymer Clay Last Before It Deteriorates?
Polymer clay can last for years if you practice proper clay preservation. Typically, it stays usable for 1-2 years, but this depends on storage methods. Keep your clay in an airtight container, away from direct sunlight and extreme temperatures to prevent it from drying out or deteriorating. Regularly check for signs of hardening or cracking, and always reseal it tightly to extend its lifespan.
Can Polymer Clay Be Recycled or Reused After Baking?
You can’t really recycle or reuse polymer clay after baking because it hardens permanently. However, you can incorporate scrap clay into new projects through clay recycling and reuse techniques. For instance, soften leftover scraps with a bit of fresh clay, knead them together, and then reshape. While baked clay isn’t reusable, these methods help reduce waste and make the most of your supplies.
What Safety Precautions Should I Take During Baking?
Baking polymer clay is like releasing a fiery dragon in your kitchen, so safety’s vital! Always guarantee proper oven safety by using a dedicated, well-ventilated oven away from food, pets, and children. Keep the area well-ventilated with open windows or an exhaust fan to avoid inhaling fumes. Never leave the oven unattended, and use oven mitts to prevent burns. These tips keep you safe while creating stunning clay masterpieces!
How Do Different Brands of Polymer Clay Compare in Quality?
You’ll notice that different brands of polymer clay vary in quality, affecting your projects’ outcome. Some offer better brand consistency, ensuring uniform results each time, while others have texture differences that can impact ease of use and final finish. It’s best to experiment with a few brands to find one that matches your needs and provides reliable consistency, so your creative process stays smooth and predictable.
Is It Possible to Color Polymer Clay After Baking?
Yes, you can do post baking coloring on polymer clay. Once it’s baked and cooled, you can use surface painting techniques like acrylic paints or colored pencils to add details or colors. Just make sure to seal your work afterward with a suitable varnish to protect the paint. This method lets you enhance your project without risking damage to the clay during baking, giving you more control over your final look.
Conclusion
Now that you know how to prepare, bake, and finish your polymer clay projects, you’re ready to create with confidence. Embrace proper techniques, troubleshoot issues promptly, and add your personal touch to every piece. Keep experimenting, keep refining, and keep enjoying the process. With patience and practice, you’ll turn simple clay into stunning art. So, shape your ideas, bake your dreams, and finish with pride—your perfect polymer clay creations await!