If you want quick surface bubbles that don’t interfere with your resin art, a pressure pot is your best choice, as it applies high pressure to shrink or dissolve bubbles during curing. For thorough bubble removal before pouring, a vacuum chamber is more effective, pulling air out and preventing new bubbles from forming. To see which method suits your project best and learn tips for flawless finishes, keep exploring the details below.
Key Takeaways
- Use a vacuum chamber for thorough removal of stubborn bubbles before pouring resin.
- Opt for a pressure pot to reduce surface bubbles during curing and achieve a smooth finish.
- Vacuum chambers are better for delicate details and complex molds requiring bubble-free resin.
- Pressure pots are ideal for quick curing and minimal surface imperfections with less equipment monitoring.
- Choose based on project size, complexity, and safety considerations for optimal bubble elimination.
How Do Pressure Pots and Vacuum Chambers Remove Bubbles From Resin?
How do pressure pots and vacuum chambers effectively remove bubbles from resin? When you use a pressure pot, you apply high pressure to the resin, forcing trapped bubbles to shrink or dissolve, which leads to a smoother finish during resin curing. Conversely, a vacuum chamber pulls air out of the resin, causing bubbles to expand and burst, effectively eliminating them. Both methods improve resin quality by reducing surface imperfections. Additionally, understanding projector technology can help you better appreciate the importance of clear, bubble-free resin in creating high-quality finished products. Proper safety precautions are essential; high-pressure systems can be dangerous if mishandled, and vacuum chambers require careful sealing to prevent accidents. Always follow manufacturer instructions and wear proper safety gear. Using these tools correctly ensures your resin cures with fewer bubbles, resulting in a clearer, more professional-looking final piece. For optimal results, consider the type of resin you are using, as some formulations respond better to pressure or vacuum treatment. Knowing the resin’s properties can help you choose the best method for bubble removal and achieve a superior finish.
What Are the Main Advantages and Drawbacks of Using a Pressure Pot?
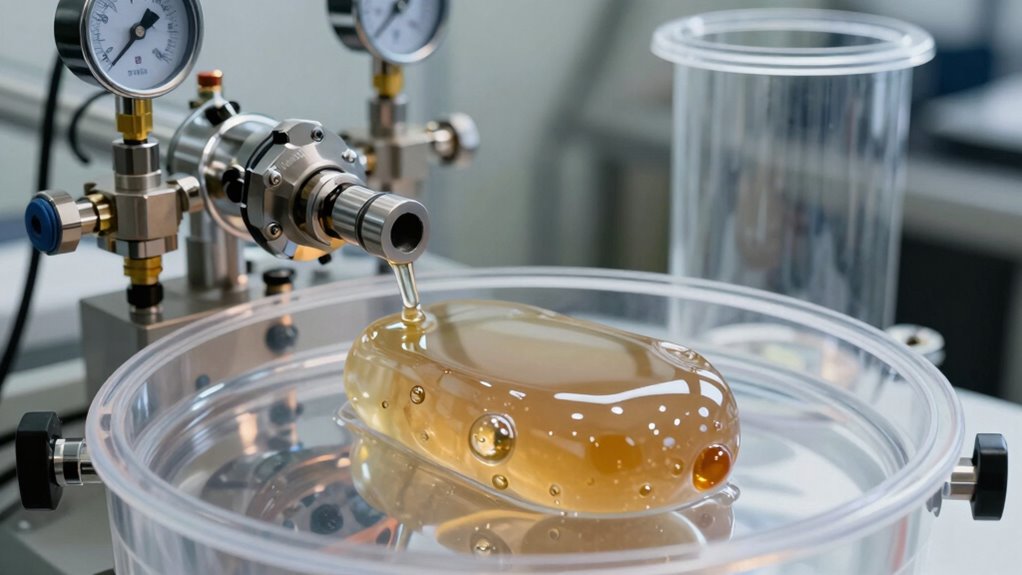
Pressure pots offer a straightforward way to reduce bubbles in resin, making them popular among hobbyists and professionals alike. By applying consistent pressure during resin curing, they compress trapped bubbles, resulting in clearer, smoother casts. One major advantage is their simplicity; once set up, they require minimal monitoring. However, safety precautions are essential, as high-pressure equipment can be dangerous if mishandled. Additionally, pressure pots may not eliminate tiny microbubbles completely, especially if the resin is not properly degassed beforehand. They also add bulk and weight to your workspace, limiting mobility. Despite these drawbacks, pressure pots are a reliable, cost-effective method for bubble prevention, especially when used correctly and with attention to safety during resin curing. Proper pressure regulation is crucial to avoid equipment failure and ensure safe operation. Furthermore, understanding resin degassing techniques can enhance the effectiveness of using a pressure pot. Proper resin preparation can help minimize microbubbles before applying pressure, increasing the clarity of your final cast. Incorporating microbubble prevention methods can further improve the final quality of your resin castings. Additionally, selecting the right pressure level can optimize bubble compression without risking equipment damage.
How Do Vacuum Chambers Eliminate Bubbles Effectively?
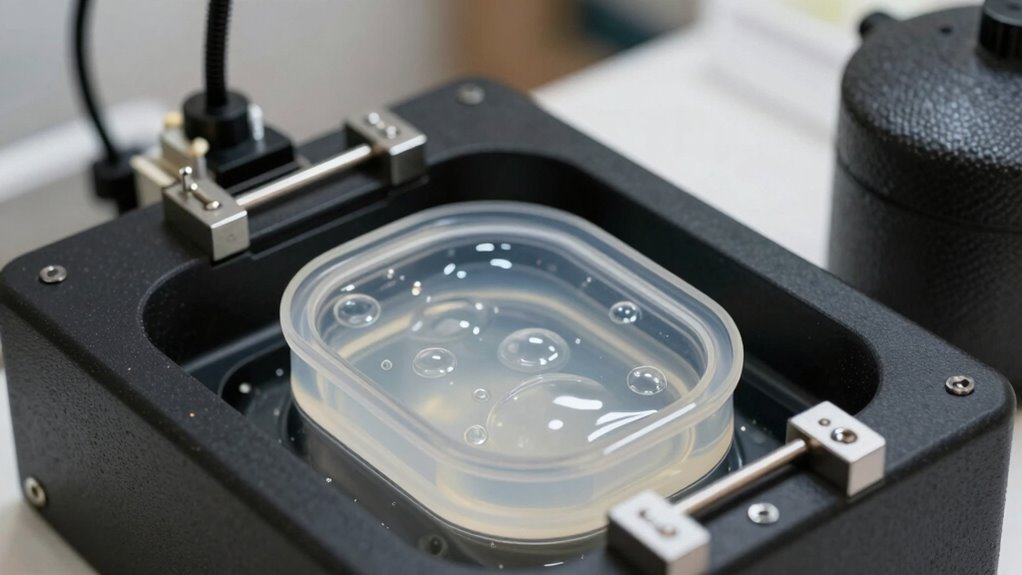
Vacuum chambers eliminate bubbles effectively by removing air from the resin before and during curing. As you place your resin inside, the vacuum reduces the resin’s resin viscosity, making trapped air more likely to escape. This process accelerates bubble removal, leading to a smoother finish. During curing, maintaining the vacuum prevents new bubbles from forming, which is essential for achieving clarity and detail. Additionally, understanding the science behind vacuum technology helps optimize the process for better results. Mastering the pressure and vacuum dynamics can further improve your resin casting outcomes by controlling how bubbles are released and minimized during the curing process. Knowing how air removal techniques function can also enhance your ability to prevent bubbles from reappearing during the process. Exploring vacuum system design can provide insights into optimizing your equipment for more consistent results. Furthermore, paying attention to proper degassing procedures ensures that the resin remains bubble-free throughout the entire casting process.
Which Bubble Fix Method Is Best for Your Resin Art Projects?
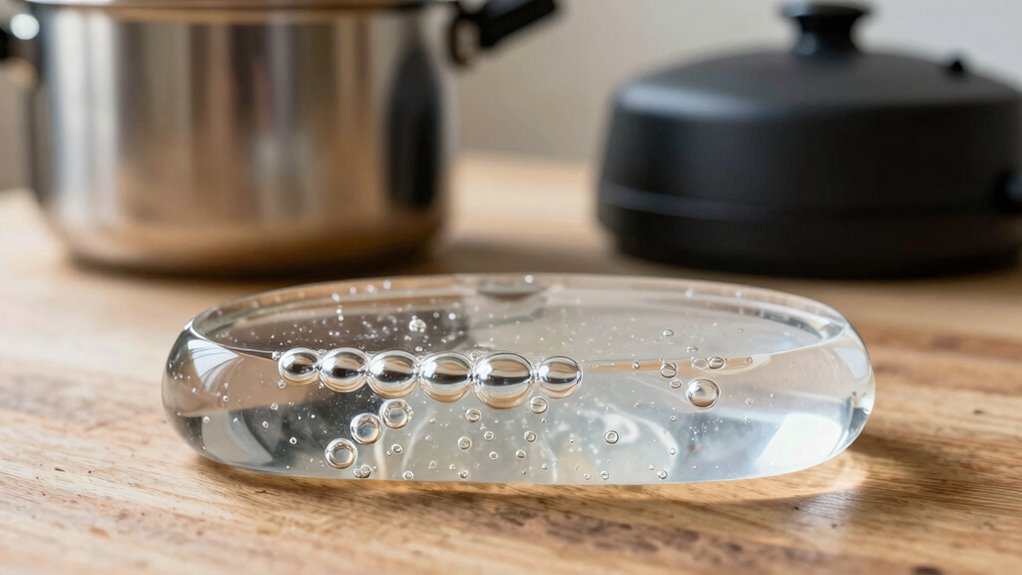
When it comes to fixing bubbles in your resin art, choosing the right method can make all the difference in achieving a smooth, professional finish. If your goal is high resin clarity, bubble prevention is key. A pressure pot is excellent for reducing surface bubbles during curing, helping you achieve a clearer, more polished look. On the other hand, a vacuum chamber excels at removing stubborn bubbles before pouring, preventing trapped air and ensuring ideal clarity from the start. Consider your project’s complexity and your workflow. If you want quick, effective bubble control during curing, a pressure pot is ideal. For thorough bubble prevention before pouring, a vacuum chamber works best. Both methods improve resin clarity, but your choice depends on your specific needs. Additionally, using proper filtration and pump protection can help maintain consistent flow and prevent additional bubbles during the process. Incorporating proper equipment maintenance can also extend the lifespan of your devices and ensure consistent results. Understanding bubble formation and how to address it effectively is essential for achieving professional-quality resin art. Being aware of air entrapment causes can help you develop better techniques for bubble prevention and removal. Moreover, understanding pressure and vacuum dynamics can optimize your approach and improve overall resin clarity.
How to Choose Between a Pressure Pot and a Vacuum Chamber for Your Resin Bubbles?
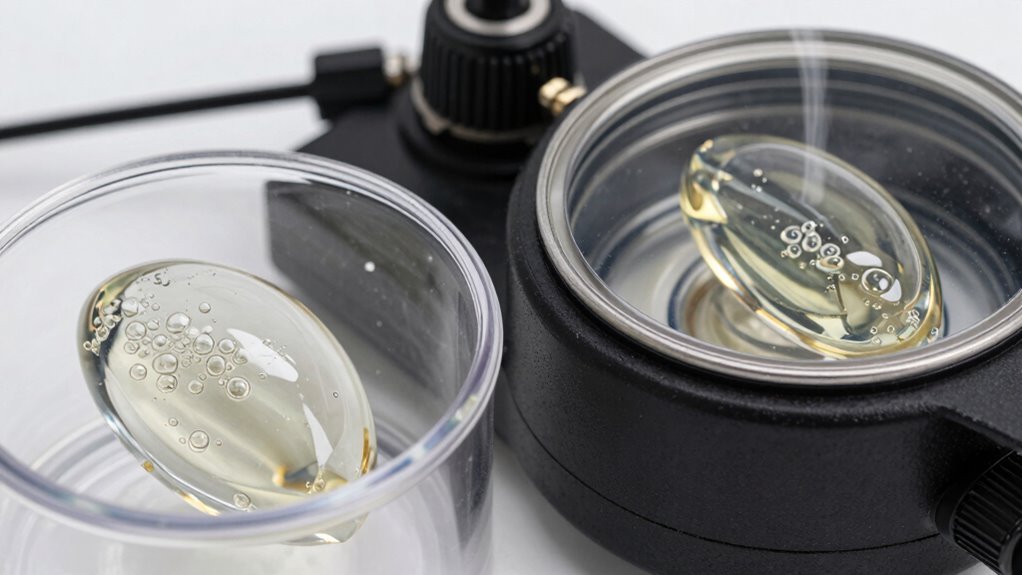
Choosing the right method for managing resin bubbles depends on your specific project needs and workflow. If you prioritize rapid resin curing and minimal surface defects, a pressure pot might be your best option. Conversely, if you want to eliminate bubbles entirely and work with delicate details, a vacuum chamber is more suitable. When deciding, consider these factors:
- The complexity and size of your resin piece
- The safety precautions required for each method
- The type of resin you’re using and its curing properties
- Your experience level with pressure or vacuum systems
- Understanding media literacy can help you interpret online tutorials and safety guidelines more effectively. Additionally, being familiar with nanotechnology applications can provide insights into advanced resin formulations that reduce bubbling issues.
- Developing a good understanding of pressure and vacuum principles can also improve your ability to troubleshoot and optimize your resin curing processes.
Both methods effectively reduce bubbles but require proper handling and safety measures. Remember to follow safety precautions to protect yourself, especially when working with high-pressure equipment or vacuum systems. Choose based on your project’s needs and your comfort with the process.
Frequently Asked Questions
Can Pressure Pots and Vacuum Chambers Be Used Together?
Yes, you can use a pressure pot and vacuum chamber together, but you need to take into account device compatibility first. Combining these devices can improve resin casting by reducing bubbles more effectively. Make sure your equipment is designed for combined use, and follow safety guidelines. When used properly, this combined approach can produce clearer, bubble-free resin pieces, giving you better results than using either device alone.
What Safety Precautions Are Necessary When Using These Devices?
Like a knight preparing for battle, you must gear up with safety gear—gloves, goggles, and masks—before operating these devices. Always check your equipment for cracks or leaks to prevent accidents. Proper device maintenance is essential; inspect seals and valves regularly. Keep a fire extinguisher nearby, work in a well-ventilated area, and never bypass safety protocols. Your vigilance ensures safe and successful resin casting adventures.
How Long Does It Typically Take to Remove Bubbles?
It usually takes about 10 to 30 minutes to remove bubbles, depending on your resin’s viscosity and curing time. Thinner resins allow bubbles to escape faster, while thicker ones might need longer. To speed up the process, gently agitate or use a vacuum chamber, but be patient to guarantee all bubbles rise and pop. Keep an eye on resin viscosity and curing time to get the best results.
Are There Specific Resin Types Better Suited for Each Method?
Certain resins work better with pressure pots, especially those with higher viscosity and better resin compatibility, ensuring fewer bubbles and smoother finishes. For vacuum chambers, low-viscosity resins are ideal because they degas more effectively and reduce curing effects that can cause clouding or cracks. You should choose your method based on your resin’s properties, as this impacts both bubble removal efficiency and the final curing quality.
How Do Environmental Factors Affect Bubble Removal Efficiency?
Environmental influences like temperature and humidity directly impact bubble formation and removal efficiency. Warmer temperatures reduce resin viscosity, making bubbles easier to escape, while high humidity can introduce moisture, causing more bubbles. If you work in a humid or cold environment, expect more bubbles and slower removal. To improve results, control your workspace conditions, maintain proper temperature, and guarantee low humidity, which helps your chosen method work more effectively.
Conclusion
Think of your resin project as a delicate sailboat steering through choppy waters. A pressure pot is like steady winds, pushing bubbles down and keeping your craft afloat. A vacuum chamber is your calm, silent harbor, gently pulling bubbles away. Choosing the right method is about understanding your journey—whether you need the gusty push or the peaceful retreat. Whichever you pick, trust that your patience and care will guide your masterpiece safely to shore.