If your resin looks fine but never cures, chances are you didn’t mix properly or measure the components accurately. Inconsistent stirring, improper ratios, or failing to scrape the sides of your container can cause chemical separation, leaving the resin soft or tacky. Environmental factors like temperature also play a role. To fix this, you’ll need to learn proper techniques, precise measurements, and how to troubleshoot issues — more tips are just a moment away.
Key Takeaways
- Inconsistent color or streaks indicate improper mixing, leading to incomplete curing and soft spots.
- Using uncalibrated tools or incorrect ratios causes chemical imbalance, preventing full cure.
- Insufficient mixing duration or technique introduces air bubbles and uneven chemical reactions.
- Environmental factors like temperature fluctuations affect resin viscosity and curing performance.
- Not monitoring visual cues or temperature changes during curing can result in a “looks fine” batch that never fully hardens.
Why Does Resin Fail to Cure?
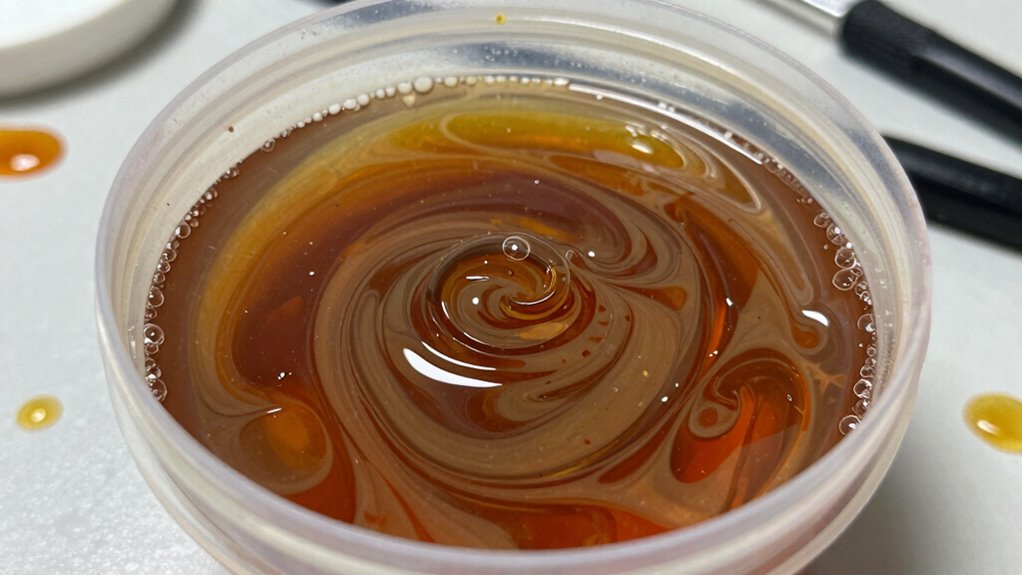
Resin can fail to cure when the mixing process is incorrect or incomplete. One common issue is inconsistent color, which indicates uneven mixing of pigments or additives that can disrupt the curing process. If the resin isn’t thoroughly blended, you might notice color streaks or patches, signaling incomplete mixing. Additionally, resin viscosity plays a vital role; if the resin is too thick or too thin due to improper mixing or temperature, it won’t cure properly. High viscosity can prevent proper chemical reactions, while overly thin resin may trap air or not bond correctly. Ensuring uniform color and proper viscosity during mixing helps facilitate a complete cure, reducing the risk of a sticky or soft finish. Proper mixing techniques are essential to achieve consistent, reliable results, and using Energy-efficient methods can also improve curing consistency and overall quality. Paying attention to temperature control during mixing can further optimize curing success and prevent issues related to improper resin flow. Furthermore, maintaining a consistent environmental humidity level can influence the curing process, especially for certain resin types. Understanding the specific resin formulation you are using can help tailor your mixing process for optimal results.
Common Mistakes That Cause Cure Failures
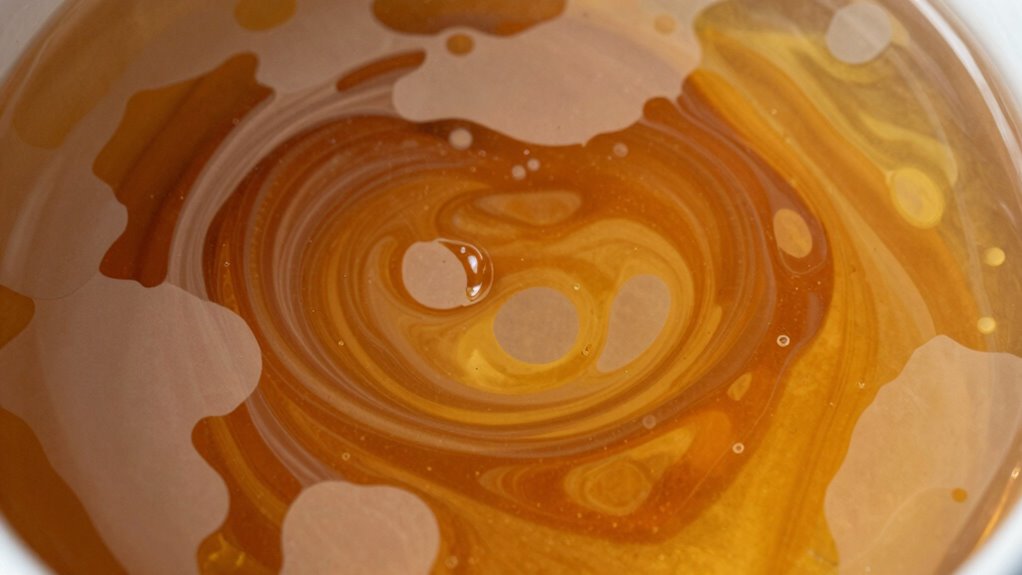
Many common mistakes during mixing can lead to cure failures, even if you follow the basic steps. One mistake is not paying attention to resin color changes, which can indicate improper mixing or compatibility issues. If the resin color shifts unexpectedly, it may suggest uneven mixing or contamination that hampers curing. Additionally, ignoring the curing temperature is a frequent error. Resin requires a specific temperature range to cure properly; too cold or too hot, and the resin may never fully harden. Failing to monitor and maintain the correct temperature can cause a soft, tacky surface or complete failure to cure. Proper temperature control is essential for consistent curing results. Ensuring the resin is mixed thoroughly and evenly is crucial to prevent uneven curing and achieve a durable finish.
How to Measure Resin and Hardener Correctly
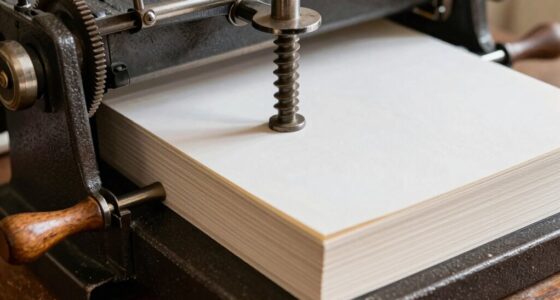
To guarantee your resin cures properly, you need to measure resin and hardener accurately. Use precise tools like graduated cups or digital scales for the best results. Proper measurement techniques make all the difference in achieving a strong, flawless finish. Additionally, understanding the importance of art care can help maintain your finished pieces over time. Correctly measuring these components ensures optimal resin curing, preventing issues like incomplete hardening or sticky surfaces. Employing quality tools designed for resin mixing can significantly improve your results and reduce errors. Using the right vacuum features can also help in troubleshooting and avoiding common mistakes during your project.
Accurate Measurement Techniques
Getting accurate measurements of resin and hardener is essential for a successful mix, and the key to doing this is using the right tools and techniques. First, always use calibrated measuring containers to ensure precision. Second, measure by weight rather than volume, as this improves color uniformity and consistency. Third, verify the viscosity measurement of each component before mixing to detect any changes that could affect curing. Keep your tools clean and dry to prevent contamination that could alter measurements. Accurate measurement minimizes the risk of miscalculations, which often lead to improper curing or color inconsistencies. Additionally, understanding the material properties of your resin and hardener can help you adjust your measurements for optimal results. Using consistent techniques ensures that your measurements remain reliable over multiple batches. Paying close attention to measurement accuracy can also prevent common issues like bubbles or uneven curing. Utilizing proper measurement tools can further enhance precision and reduce errors in your process. By following these techniques, you ensure a reliable, uniform blend that cures properly and maintains the desired appearance. Proper measurement is the foundation of a successful resin project.
Proper Tools for Mixing
Choosing the right tools is essential for measuring resin and hardener accurately. Use dedicated mixing tools, such as silicone spatulas or graduated measuring cups, to guarantee precise measurement. Resin containers with clear measurement marks help you pour the correct amounts without guesswork. Avoid using random cups or containers that aren’t marked, as they can lead to mistakes. Always measure each component separately, using clean, dry tools to prevent contamination. For smaller quantities, syringes or small graduated bottles work well. Consistency is key, so invest in quality mixing tools designed specifically for resin work. Proper tools reduce errors and ensure your resin mixture cures properly, preventing issues like improper hardening or sticky surfaces. Accurate measurement starts with the right tools—don’t skip this step. Additionally, understanding Free Floating principles can help you maintain better control over your mixing process, leading to more reliable results.
Getting the Resin-to-Hardener Ratio Right
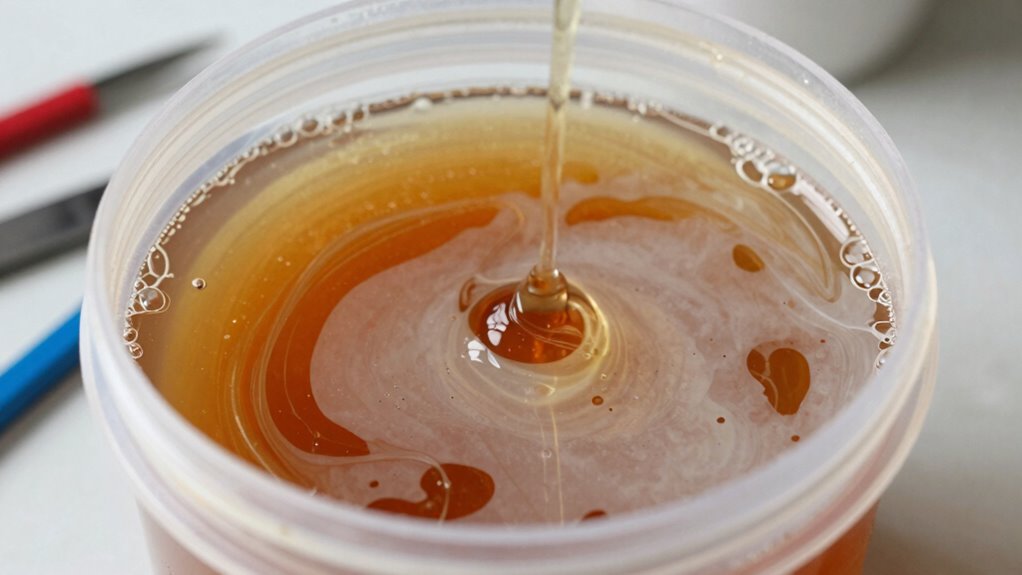
Ensuring the correct resin-to-hardener ratio is crucial for a successful project, as it directly affects the curing process and the final strength of your piece. Too much hardener can cause excessive heat and brittleness, while too little might result in incomplete curing. To get it right: 1. Always follow the manufacturer’s recommended ratio, usually indicated on the label. 2. Measure precisely to maintain resin color consistency and prevent color inconsistencies. 3. Consider curing temperature; higher temperatures may require adjustments in ratio to prevent issues like soft spots or tackiness. Proper mixing techniques are also essential to achieve a uniform mixture and avoid incomplete curing or surface defects. Using the correct paint sprayer tips can improve application consistency and reduce the likelihood of defects caused by uneven coating. Accurate measurement ensures proper curing temperature management and helps you avoid the “looks fine” batch that never hardens fully. Precision in ratio guarantees a durable, visually appealing final product.
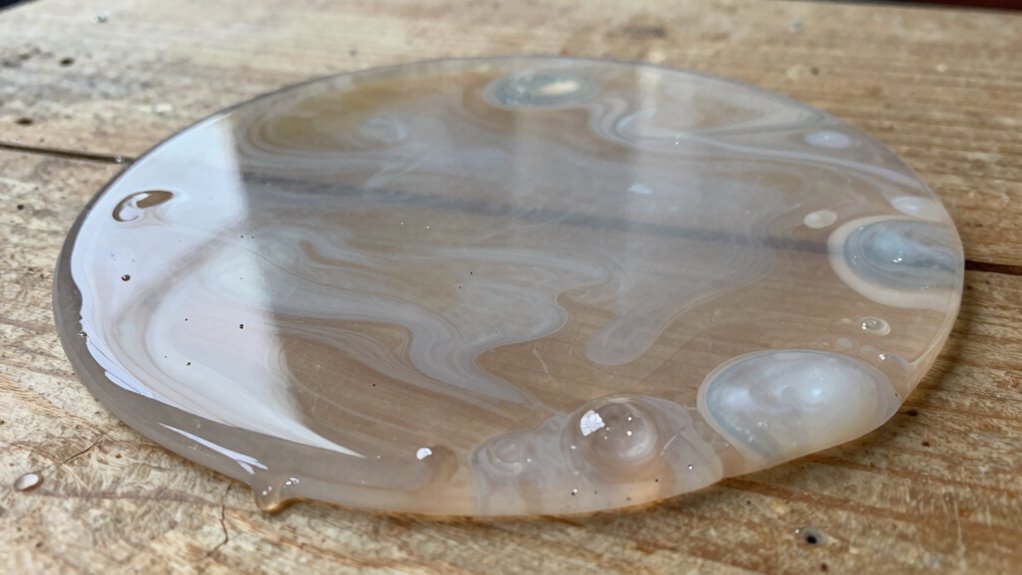
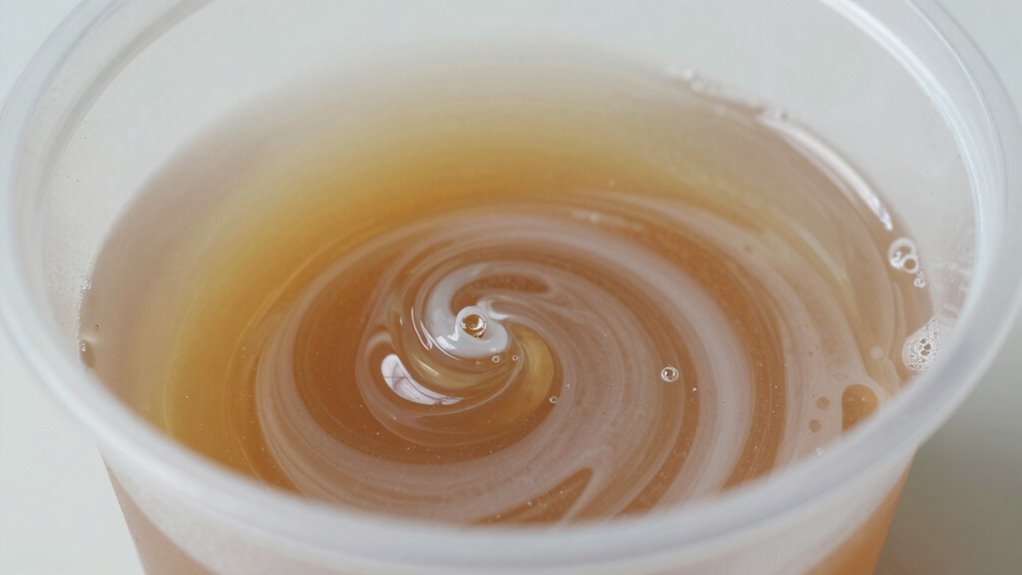
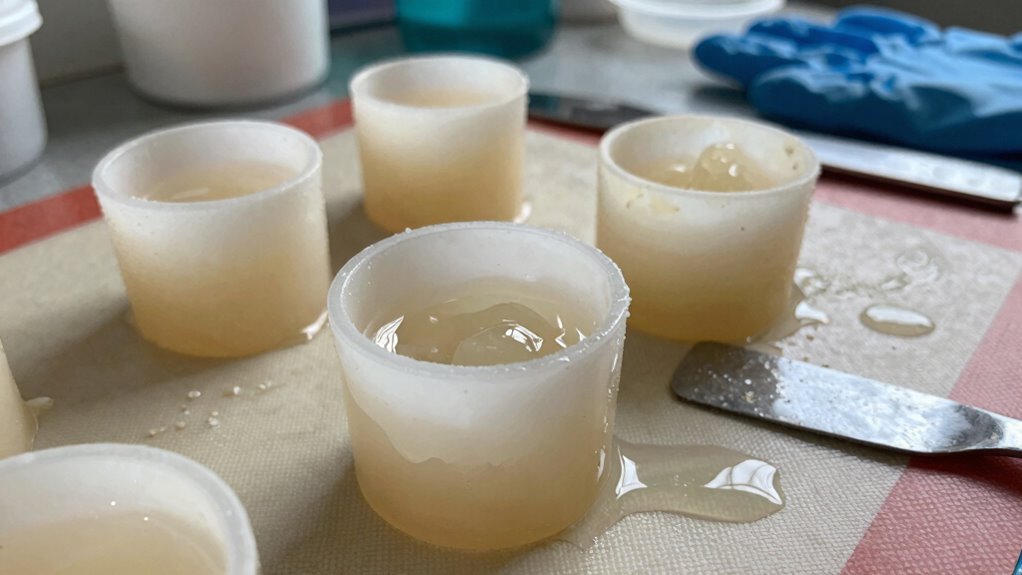
What Happens When You Don’t Mix Resin Properly

When you don’t mix resin properly, you risk uneven distribution of the chemicals, which can weaken your final product. Incomplete reactions may cause sticky spots or cloudy areas, ruining the clarity and strength. Additionally, poor mixing can lead to surface contamination, making your project look unprofessional and potentially causing defects. Proper resin mixing techniques are essential to ensure a consistent and durable finish. For example, failing to incorporate proper stirring methods can introduce air bubbles or inconsistencies that compromise the integrity of your piece. Using appropriate mixing equipment can also help achieve a thorough blend and prevent issues related to inadequate mixing, such as chemical separation or incomplete curing. Mastering the correct mixing process is key to avoiding these common pitfalls and ensuring a high-quality result.
Uneven Resin Distribution
If you don’t mix resin thoroughly, you’ll end up with uneven distribution, which can cause serious problems in your project. This often results in:
- Color variance – areas where pigment is uneven, leading to patches or streaks that disrupt the visual harmony. Proper resin blending helps prevent this issue by ensuring consistent color throughout the piece. Without proper mixing, chemical composition zones can form, affecting curing and appearance. Ensuring thorough mixing also helps prevent the formation of air bubbles, which can compromise the finish.
- Texture inconsistencies – sections with different hardness or surface feel, compromising the final finish.
- Weak spots – pockets of unmixed resin that can weaken the overall structure or cause cracking over time.
These issues occur because unmixed resin creates zones with varying chemical compositions, preventing proper curing. When you skip thorough mixing, you risk a final product that looks uneven, feels inconsistent, and lacks durability. Proper resin blending ensures a uniform appearance and reliable performance.
Incomplete Chemical Reaction
Failing to mix resin properly prevents the necessary chemical reaction from occurring uniformly, which can lead to incomplete curing. When ingredients aren’t thoroughly combined, chemical incompatibility issues may arise, causing parts of the resin to remain unreacted. Sometimes, curing inhibitors present in the resin or contaminants can interfere with the chemical process, especially if the mix isn’t consistent. These inhibitors slow down or stop the polymerization, leaving sections soft or tacky. Without proper mixing, the resin’s components don’t reach the right proportions or form the correct chemical bonds. As a result, the cured product becomes weak, brittle, or sticky, and may never fully harden. Proper mixing ensures a complete, uniform chemical reaction, preventing incomplete curing and ensuring the resin performs as expected.
Surface Contamination Risks
Poor mixing often introduces surface contaminants like dust, dirt, or oils into the resin. These contaminants settle on the curing surface, compromising the finish and durability. When surface contamination occurs, it disrupts the formation of a smooth, uniform coating. This can lead to:
- Uneven curing surface, resulting in weak spots or sticky areas
- Visible imperfections, such as bumps or bubbles, that mar the final look
- Increased risk of delamination or peeling over time due to compromised adhesion
If you don’t thoroughly blend resin, these issues escalate, causing your project to fail prematurely. The contaminants act as barriers, preventing proper curing and bonding. To avoid this, ensure a meticulous mix to keep your surface clean and your curing surface pristine.
Tips for Mixing Resin Thoroughly and Consistently
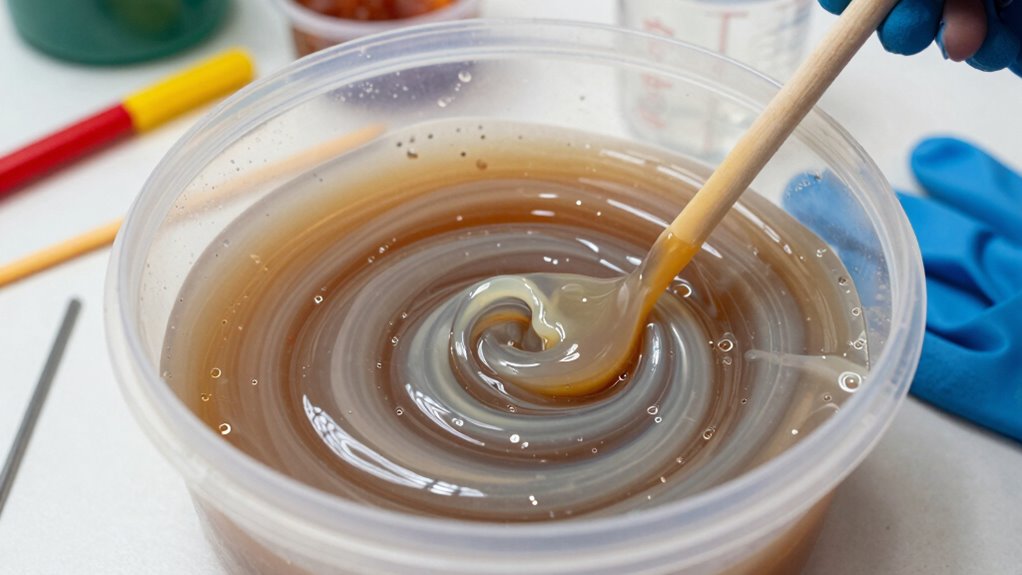
To guarantee your resin cures properly and achieves a smooth finish, it’s essential to mix it thoroughly and consistently. Start by stirring slowly to blend the resin and hardener evenly, avoiding any streaks or unmixed pockets. Pay attention to color consistency; uneven mixing can cause parts of your project to cure improperly. Keep your workspace at stable storage conditions—temperature and humidity can affect how well the resin combines. Use a clean, flat mixing container and a spatula or stir stick, scraping the sides and bottom regularly. Mix for at least two to three minutes, ensuring every part of the mixture is uniform. Proper mixing eliminates inconsistencies that can lead to sticky or uncured spots, saving you time and materials in the long run.
Troubleshooting Resin That Looks Cured but Isn’t
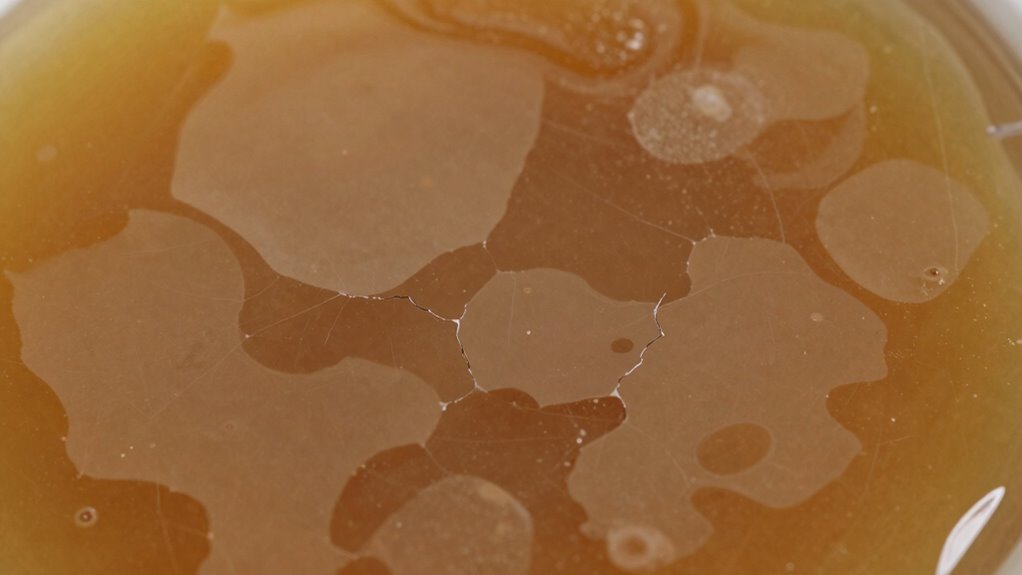
Sometimes resin appears to be fully cured, only to reveal issues later. If your piece shows resin color variation or remains tacky despite looking solid, it’s a sign it didn’t cure properly. First, check your mixing container options; using improper containers can lead to uneven mixing, trapping uncured resin. Second, consider temperature fluctuations during curing, which may cause surface hardening but leave the interior uncured. Third, inspect the resin’s consistency—if it was too thick or thin, it might not cure evenly, creating the illusion of a complete cure. To troubleshoot, perform a small test piece with the same resin and containers, ensuring proper mixing and environment. This approach helps determine if the issue is inherent to your materials or process.
Preventing Mixing Errors in Future Resin Projects
Preventing mixing errors starts with careful preparation and attention to detail before you begin your resin project. First, select clean, appropriately sized mixing containers to guarantee thorough blending. Using the right containers helps prevent contamination and allows for accurate measurements. Next, focus on proper mixing techniques—combine components slowly and steadily, scraping the sides and bottom of the container to ensure complete mixing. Avoid rushing or stirring too vigorously, which can introduce bubbles or uneven curing. Always follow the manufacturer’s instructions precisely, including mixing ratios and curing times. By preparing your workspace, choosing the correct containers, and using consistent mixing techniques, you minimize the risk of mistakes that could compromise your final result. These steps are key to achieving a successful, properly cured resin piece.
Frequently Asked Questions
Can Environmental Factors Affect Resin Curing Success?
Yes, environmental factors like temperature sensitivity and humidity impact resin curing success. If the temperature is too low, the resin may not cure properly, leading to a sticky or soft finish. High humidity can interfere with curing, causing cloudiness or incomplete hardening. You should work in a controlled environment, maintaining stable temperatures and low humidity levels, to guarantee your resin cures correctly and achieves the desired strength and clarity.
How Long Should I Mix Resin for Optimal Results?
You should mix resin for about 2-3 minutes to guarantee ideal results. Studies show that proper mixing time directly impacts curing consistency, preventing issues like incomplete hardening. If you don’t mix long enough, you risk uneven curing, which can compromise your project’s durability. Be thorough but avoid over-mixing, which can incorporate air bubbles. So, stick with the recommended 2-3 minutes for a smooth, reliable cure every time.
Are There Specific Brands of Resin That Cure Better?
Yes, some brands of resin, like ArtResin and West System, are known for better curing consistency. To guarantee resin color stays consistent and cures properly, choose a mixing container material like plastic or silicone, which won’t react with the resin. Always follow the manufacturer’s instructions for mixing and curing times. Proper brands and container choices help prevent issues like uncurled or sticky resin, giving you a smoother finish.
Can Expired Resin Still Be Used Effectively?
Expired resin generally isn’t recommended for projects, as its shelf life decreases over time, affecting curing quality. Using expired resin can lead to issues like incomplete curing, stickiness, or cloudiness. You might think it looks fine, but it often won’t perform as expected. To get the best results, always check the resin’s shelf life and avoid using expired resin, as it can compromise your project’s durability and appearance.
What’s the Best Storage Method for Mixed Resin?
For ideal resin storage, you should use airtight, non-reactive containers like glass or plastic with secure lids. Store your mixed resin in a cool, dark place away from direct sunlight and temperature fluctuations. Make sure the container is properly sealed to prevent exposure to air, which can cause curing or hardening prematurely. Proper resin storage extends its shelf life and ensures your projects turn out perfectly every time.
Conclusion
Remember, mixing resin is like tending a delicate garden—you must nurture it carefully to see it flourish. A small mistake can turn a promising project into a stagnant pond, never reaching its full potential. Stay attentive, measure precisely, and give each step the respect it deserves. With patience and care, your resin creations will bloom into beautiful, lasting works—proof that even the tiniest details hold the power to transform your artistic journey.