
To improve your final finish, follow a proper sanding order by starting with coarse grits to remove imperfections, then gradually move to finer grits, always sanding with the grain. Make sure to inspect the surface and clean between grit changes to avoid scratches. Skipping steps or rushing can cause scratches and uneven textures. Mastering this sequence will give you a smooth, professional look—there’s more to discover to perfect your technique.
Key Takeaways
- Start with coarse grit sanding along the wood grain to remove imperfections effectively.
- Progress gradually through finer grits, always sanding with the grain to prevent scratches.
- Clean the surface thoroughly between grit changes to avoid debris causing surface defects.
- Use appropriate tools for flat surfaces and detailed areas to maintain control and finish quality.
- Follow the correct sanding sequence to ensure a smooth, even final finish free of scratches.

Achieving a flawless final finish depends heavily on following the correct sanding order. When you’re working on wood, understanding how to navigate the wood grain is vital. The grain dictates how the surface responds to sanding, so you want to respect its direction to avoid scratches or uneven textures. Starting with the grain and progressing gradually ensures a smoother surface. If you sand against the wood grain, you risk creating visible scratches that can be difficult to remove later, jeopardizing the final appearance. Always inspect the wood to identify the grain pattern and plan your sanding steps accordingly.
Follow the correct sanding order, always work with the wood grain for a smooth, flawless finish.
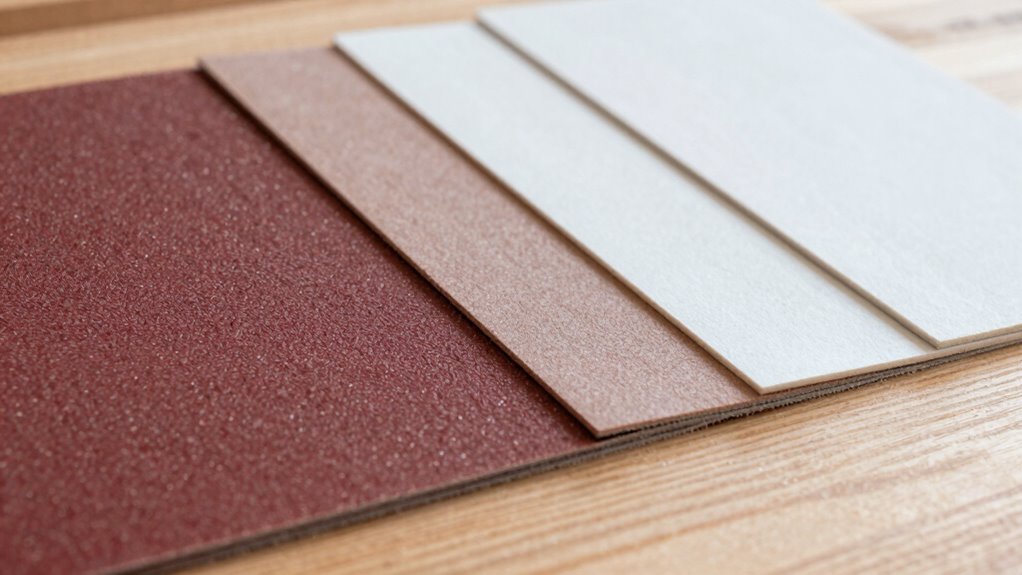
Using the right sanding tools for each stage is essential. Begin with coarse grit sandpaper to remove major imperfections and shape the surface. As you move to finer grits, your goal is to refine the surface further, making it ready for finishing. The progression usually starts with a grit around 80 or 100, then moves to 150, 220, and finally to very fine grits like 320 or higher for a polish-ready surface. Each step must be thorough but gentle, ensuring no scratches or gouges are left behind. Proper use of sanding tools—such as hand blocks, orbital sanders, or detail sanders—helps maintain control and uniformity, especially around curves and intricate areas.
Remember, the order in which you sand greatly influences the quality of your final finish. If you skip grits or jump ahead too quickly, you might trap scratches from the previous step, which will show through the finish. Always work with the wood grain, especially at finer stages, to avoid cross-grain scratches. For flat surfaces, sanding with the grain follows the natural flow of the wood and produces a smoother, more consistent finish. When you’re sanding edges or detailed areas, switch to smaller, more precise tools to maintain control and avoid accidental gouges. Proper technique plays a crucial role in achieving the best results and preventing rework.
Patience is key. Take your time to thoroughly sand each grit before progressing to the next. Clean the surface between grit changes to remove dust and debris that can scratch the surface later. By respecting the wood grain and carefully selecting and using your sanding tools, you’re laying the foundation for a perfect final finish. Properly understanding grain direction and technique helps prevent unnecessary rework and ensures a professional-looking result. When you finish this process, the surface will be smooth, free of scratches, and ready to accept stain, paint, or varnish, making your effort truly worthwhile.

Romeda 8-Pack Sanding Sponge, Four Grits Per Pack 60/80/120/220, Washable and Reusable Handmade Sandpaper Block, Drywall Sandpaper Blocks for Wooden Drywall Sheetrock and Metal Glazing
- Assorted Grits and Colors: 8 sanding blocks with 4 grit sizes
- Durable High-Density Sponge: Flexible, tear-resistant, long-lasting material
- Wide Application Range: Suitable for woodworking, drywall, metal, and more
As an affiliate, we earn on qualifying purchases.
As an affiliate, we earn on qualifying purchases.
Frequently Asked Questions
What Tools Are Best for Each Sanding Step?
For surface preparation and finishing techniques, start with coarse grit sandpaper like 80 or 100 to remove imperfections. Use a sanding block or orbital sander for even pressure. Move to medium grits like 150 or 180 for smoothing, then fine grits like 220 or higher for a polished surface. Sanding sponges are great for contoured areas. Choosing the right tools guarantees a smooth finish and ideal results.
How Do I Prevent Scratches During Sanding?
You don’t want to open a can of worms, so start by properly prepping your surface to avoid scratches during sanding. Use even, gentle pressure and keep the sandpaper clean to prevent gouging. For the best finish polishing, always sand with the grain and progress gradually through finer grits. This careful approach guarantees a smooth, scratch-free surface, giving you a flawless final look without extra hassle.
Can I Skip Any Sanding Stages?
You shouldn’t skip sanding stages, as each step guarantees proper surface preparation and smoothness. Skipping can lead to uneven finishes or visible scratches, compromising your project. Always prioritize sanding safety by using the right grit, protective gear, and proper technique. Each stage builds on the last, creating a flawless final finish. Remember, thorough sanding saves time in the long run and results in a professional, polished look.
How Do I Choose the Right Grit Sequence?
Did you know that using the right grit sequence can reduce sanding time by up to 50%? To choose the best grit sequence, start with coarser grits for initial surface preparation, then gradually move to finer ones for smoothness. For sanding alternatives, consider hand sanding or power tools with variable grit options. This method guarantees ideal surface preparation, giving you a flawless finish without unnecessary steps or materials.
How Long Should Each Sanding Stage Take?
You should spend enough time on each sanding stage for effective surface preparation without overdoing it. Typically, spend about 2-5 minutes per grit, focusing on smooth, even sanding. Your goal is to remove scratches from the previous grit and prepare the surface for finish polishing. Rushing can leave imperfections, so take your time to make certain a clean, refined surface that results in a flawless final finish.
Conclusion
By following the right sanding order, you’ll reveal a surface as smooth and inviting as a calm lake at dawn. It’s a small change that makes a big difference, transforming your project from rough to refined. Think of each grit as a step closer to perfection, guiding your finish to shine just as you imagined. Trust the process, and watch your hard work turn into a stunning, professional-looking masterpiece.