
To sew stretch fabrics without a serger, use a sharp, stretch-appropriate needle and thread, and select stitches like zigzag or stretch stitch that allow flexibility. Prepare your fabric by washing and using stabilizers or lightweight interfacing to prevent puckering and skipping. Keep seam allowances narrow and tension balanced for smooth, durable seams. Finishing edges with binding or hem tape gives a professional look. For more detailed tips, explore additional techniques to perfect your stretch sewing projects.
Key Takeaways
- Use a stretch or zigzag stitch to allow seams to stretch without breaking.
- Choose a sharp, fine needle like a ballpoint or stretch needle to prevent fabric damage.
- Keep seam allowances narrow (3/8 inch or less) for flexibility and reduced puckering.
- Reinforce raw edges with zigzag stitches or bonding techniques like hem tape for durability.
- Test all settings and techniques on scrap fabric to ensure a professional, stretch-friendly finish.
Choosing the Right Needle and Thread for Stretch Fabrics
Have you ever struggled with sewing stretch fabrics without getting skipped stitches or fabric puckering? The key lies in choosing the right needle and thread. Stretch fabrics have high fabric elasticity, so you need a needle that can handle their flexibility. A ballpoint or stretch needle with a sharp tip helps glide through the fabric without damaging the fibers. Opt for a larger needle size, like 75/11 or 90/14, to accommodate the fabric’s stretch and prevent skipped stitches. Use a stretch or polyester thread for added elasticity and durability. This combination ensures your stitches stay intact, and your seams remain smooth and flexible. Picking the right needle size and thread tailored to your stretch fabric makes sewing easier and results in a professional finish. Additionally, understanding the properties of stretch fabrics can help you select the most compatible tools and techniques for a seamless sewing experience, including the use of appropriate sewing machines designed for stretch textiles.
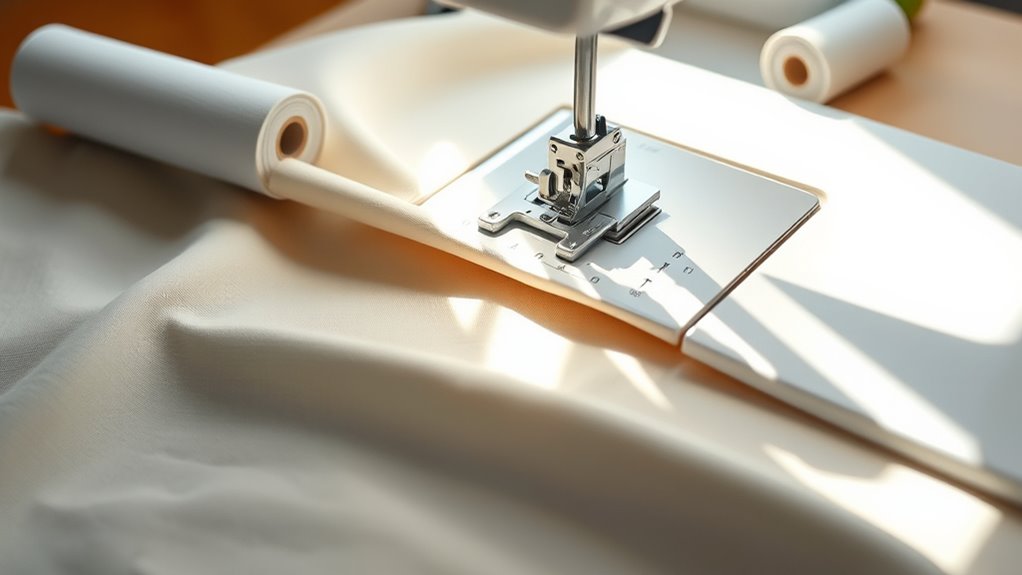
Preparing Your Fabric for Seam Strength and Flexibility

To guarantee your seams are both strong and flexible, start by pre-washing and drying your stretch fabric. This step stabilizes the fabric and removes any sizing or chemicals. Next, carefully cut your fabric, ensuring the fabric cut is precise to prevent puckering. Before sewing, press your seam allowances flat; seam pressing helps release tension and improves pliability. Keep these tips in mind:
- Use sharp scissors or rotary cutters for clean fabric cut.
- Avoid stretching fabric during cutting to maintain shape.
- Press seams immediately after sewing for optimal seam strength.
- Always press with a gentle, even pressure to prevent distortion.
- Incorporate proper seam techniques to prolong your fabric’s elasticity and appearance, which is especially important when working with stretch fabrics.
Following these steps helps create resilient, flexible seams that move with your fabric, ensuring a professional finish without the need for a serger.
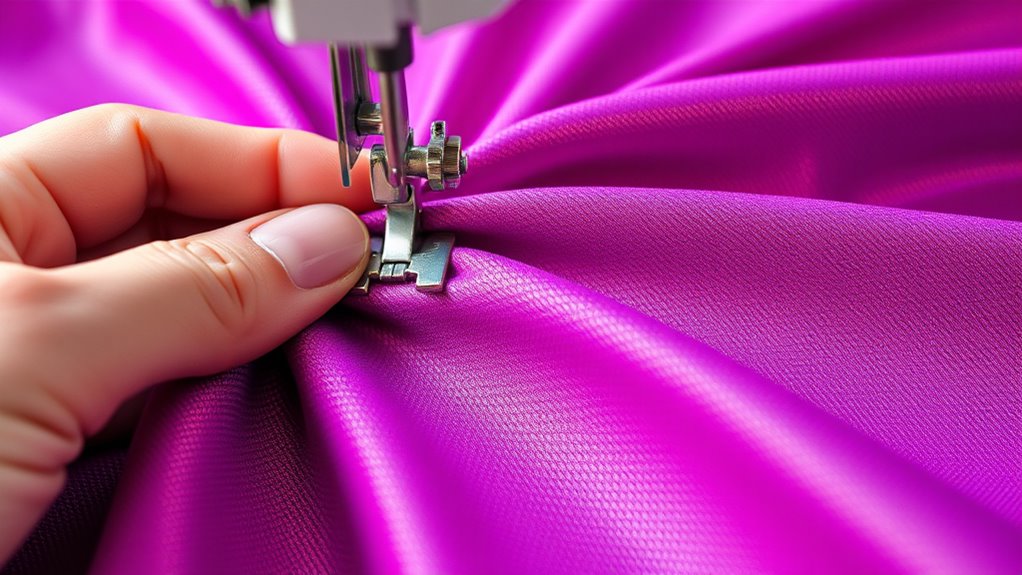
Techniques for Sewing Seam Allowances on Stretch Material
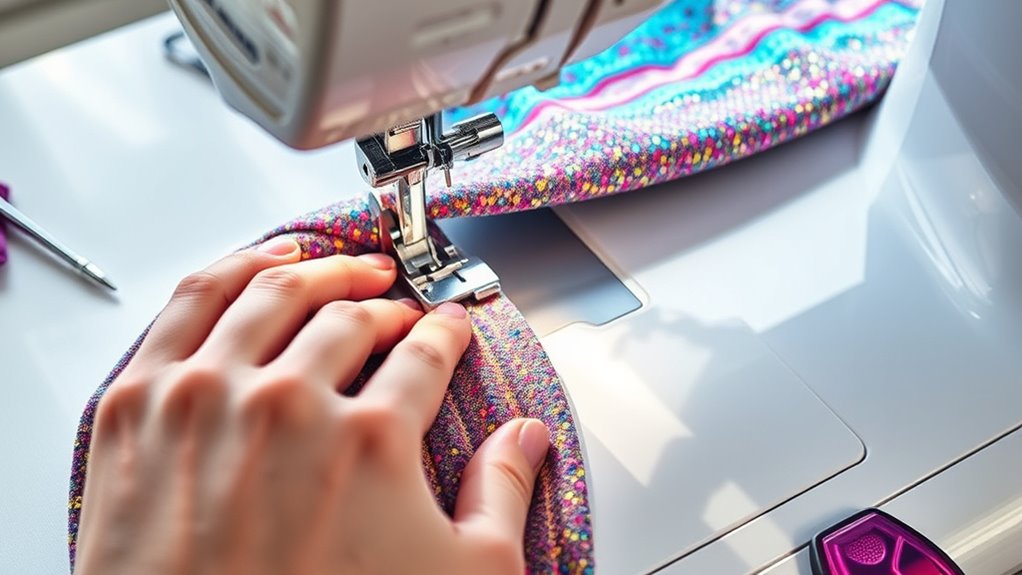
When sewing seam allowances on stretch fabrics, using the right techniques guarantees your seams stay flexible and durable. Start with seam allowance techniques that include using a narrow seam, typically 3/8 inch or less, to prevent excessive bulk. Maintain proper stretch fabric alignment by pinning or basting along the edges, ensuring the fabric doesn’t shift or distort. When sewing, use a stretch stitch or a zigzag stitch to allow for movement without breaking the seam. Keep your stitches slightly shorter than normal to avoid puckering. Also, sew slowly and evenly, paying close attention to the fabric’s natural stretch. Stretch fabric properties are essential to consider when choosing your sewing techniques. Attention to detail during sewing enhances the quality of your stretch projects. These methods help preserve the fabric’s elasticity, resulting in a professional finish that holds up under wear and stretching.
Using Stabilizers and Interfacing to Prevent Skipping and Gapping
Using stabilizers and interfacing is essential for preventing skipping stitches and gapping, especially when working with stretch fabrics that tend to shift or distort. Fabric stabilization provides the support needed to keep your seams smooth and secure. To maximize effectiveness:
- Choose lightweight fusible interfacing to reinforce seams without adding bulk.
- Use tear-away stabilizers to temporarily stabilize fabric during sewing.
- Apply stretch-specific interfacing for extra seam reinforcement.
- Always test on scrap fabric to ensure proper adhesion and stretch compatibility.
- Proper stabilization can also help prevent damage to sensitive fabrics caused by high-pitched noises or improper tension settings during sewing.
- Selecting the appropriate stabilization techniques can also help maintain the fabric’s elasticity and recovery, ensuring a professional finish. Using the correct fabric stabilization methods can also reduce the likelihood of puckering or distortion during sewing.
- Incorporating fabric stabilization techniques can also enhance your confidence when sewing delicate or slippery stretch fabrics.
These techniques help maintain consistent stitch quality and prevent fabric distortion. Stabilizers and interfacing are your allies in achieving professional-looking results, especially when sewing stretch fabrics without a serger. Proper fabric stabilization ensures your seams stay aligned, durable, and beautiful.
Selecting the Best Stitch Types for Durability and Stretch
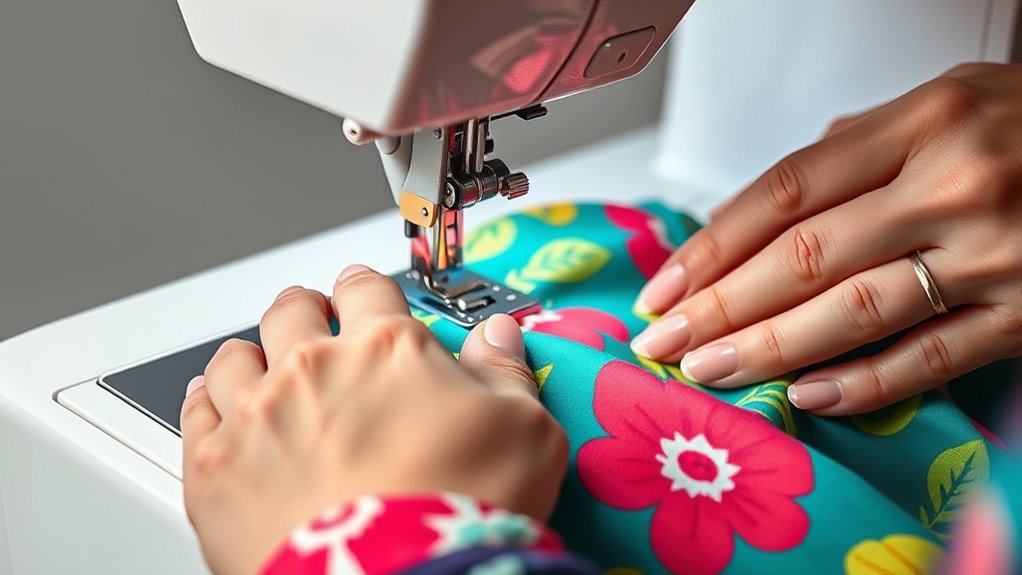
Choosing the right stitch type is essential for ensuring your seams stay strong and flexible when sewing stretch fabrics. A stretch stitch or a zigzag stitch works well because they allow the seam to stretch without breaking. Adjust your thread tension so the stitches lay flat and don’t puckered; too tight can cause puckering, too loose can weaken the seam. Keep your seam allowance slightly wider, around ¼ to 3/8 inch, to give you room for stretching and to prevent seams from popping open. Use a stretch or ballpoint needle to avoid damaging the fabric. These adjustments help maintain durability and flexibility, making sure your finished garment holds up through wear and washing. Selecting the proper stitch type with the right tension and seam allowance is key to successful stretch sewing.
Tips for Finishing Edges and Seams Without a Serger

To finish edges and seams without a serger, choosing the right stitch type is essential for durability and stretch. Using zigzag or stretch stitches helps prevent fraying and maintains flexibility. Seam finishing techniques that are seamless and secure will give your project a professional look and lasting quality. Incorporating appropriate exfoliation methods can also help prepare the fabric surface, ensuring better seam adhesion and longevity. Additionally, being aware of AI security concerns can guide you in selecting tools and techniques that prioritize safety and data integrity during your sewing process.
Use Proper Stitch Types
When finishing edges and seams without a serger, selecting the right stitch type can make all the difference in achieving a professional look. Your sewing machine settings and stitch choices directly impact stretch fabric patterns and durability. To guarantee flexibility and strength, try these stitch types:
- Stretch stitches – ideal for maintaining fabric elasticity.
- Zigzag stitches – provide flexibility and prevent fraying.
- Overlock or serger-style stitches – mimic serging, locking edges neatly.
- Triple stretch stitches – add extra durability for activewear or stretch garments.
Choosing the correct stitch type ensures your seams hold up over time, and your edges stay neat. Adjust your sewing machine settings accordingly, and test stitches on scrap fabric before sewing your final piece. This guarantees a clean, professional finish every time.
Finish Edges Seamlessly
Even without a serger, you can achieve clean, professional-looking edges by using effective finishing techniques. Bonding techniques, such as fusible bias tape or hem tape, prevent fraying and add durability. Edge binding is another great option; it encases raw edges for a neat finish. These methods work well on stretch fabrics, maintaining flexibility without puckering. To choose the right technique, consider the fabric’s stretch and your project’s purpose. Below is a quick comparison:
| Technique | Best For | Pros |
|---|---|---|
| Bonding | Lightweight stretch fabrics | Easy, clean finish |
| Edge Binding | Seams and raw edges | Durable, professional look |
Using these options keeps your edges secure and smooth without a serger.
Troubleshooting Common Issues When Sewing Stretch Fabrics

Sewing stretch fabrics often presents unique challenges that can frustrate even experienced crafters. Common issues include skipped stitches, puckering, or fabric stretching out of shape. To fix these problems, focus on proper fabric care and sewing machine maintenance.
Here are key tips:
- Check your needle—use a stretch or ballpoint needle to prevent skipped stitches.
- Adjust tension settings to accommodate the fabric’s stretchiness.
- Use a stretch or zigzag stitch for flexibility.
- Keep your sewing machine clean and well-oiled to avoid tension problems.
Frequently Asked Questions
Can I Sew Stretch Fabrics With a Regular Sewing Machine?
Yes, you can sew stretch fabrics with a regular sewing machine. Just make certain your machine is well-maintained, especially the needle and tension settings. Use stretch or ballpoint needles to prevent snatching the fabric. Also, select appropriate stitches like zigzag or stretch stitches, and consider fabric selection tips to avoid puckering. Proper sewing machine maintenance and choosing the right techniques help you achieve professional results with stretch fabrics.
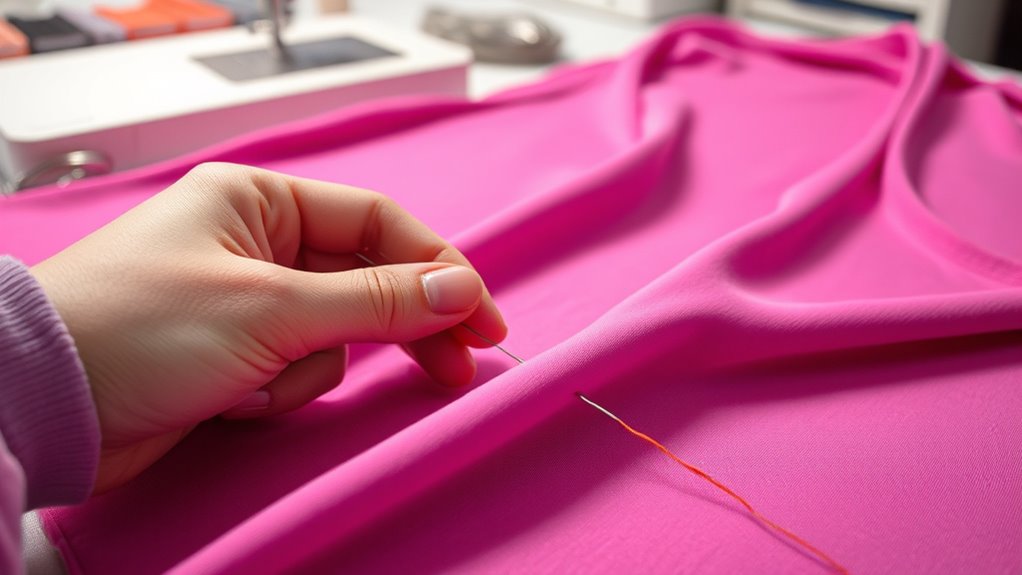
What Are the Best Hand Stitches for Stretch Fabric Seams?
For stretch fabric seams, you should use hand stitches that allow flexibility. While sewing machine settings and stretch stitch options help, hand sewing can give you more control. Use a zigzag stitch or a stretch stitch for added stretchability. When hand sewing, opt for a small, tight backstitch or a lightning stitch to ensure durability and flexibility, making your seams strong without restricting the fabric’s stretch.
How Do I Prevent Puckering When Sewing Without a Serger?
Imagine your fabric as a delicate dance partner—you want it to glide smoothly. To prevent puckering, use fabric stabilizers to hold the stretch in place and choose stretch-friendly seam finishes like zigzag or stretch stitches. Keep your tension balanced and sew slowly, maintaining gentle, consistent pressure. These techniques help your seams stay even and professional, ensuring your fabric moves effortlessly without puckering or distortion.
Are There Specific Presser Foots Recommended for Stretch Fabrics?
To sew stretch fabrics smoothly, use a stretch or ballpoint presser foot, which helps prevent puckering and keeps the fabric moving easily. Focus on stretch fabric care by choosing the right thread, like a polyester or nylon stretch thread, which offers flexibility and durability. This combo guarantees your stitches stay even and your seams stretch with the fabric, reducing puckering and making sewing more comfortable without a serger.
How Do I Maintain Stretch and Recovery After Sewing?
Think of your fabric like a rubber band—if you stretch it too much or sew tightly, it loses its elasticity. To maintain stretch and recovery, use a stretch stitch or narrow zigzag to guarantee seam flexibility, and avoid pulling the fabric as you sew. Properly stabilizing edges and using stretch-friendly needles also help preserve elasticity, keeping your garment comfortable and shape-retentive.
Conclusion
Now that you know the pro tips for sewing stretch fabrics without a serger, you’re ready to tackle your project with confidence. But beware—each stretch fabric behaves differently, and a small mistake can lead to gaping or skipped stitches. Are you prepared to adapt and troubleshoot as you go? The secrets to flawless, flexible seams are within your grasp. Just remember, the key to perfect stretch sewing might surprise you—are you ready to discover it?