To achieve no-fail screen printing with vinyl stencils, start with high-quality materials and prepare your surface thoroughly for maximum adhesion. Use precise cutting tools and transfer tape to guarantee your stencil stays intact during printing. Focus on even ink application and proper curing, and troubleshoot issues promptly. By following these proven steps, you’ll get consistent, professional results each time. Keep exploring details to perfect your technique and boost your success.
Key Takeaways
- Properly prepare and clean surfaces to ensure optimal stencil adhesion and prevent print defects.
- Use high-quality vinyl and precise cutting to create durable, sharp-edged stencils for consistent results.
- Maintain correct ink consistency and apply with steady pressure to avoid bleeding and blurred details.
- Ensure accurate screen alignment and registration to achieve crisp, professional prints.
- Follow recommended drying and curing times to set inks and prolong stencil lifespan for repeated use.
Why Choose Vinyl Stencils for Screen Printing?
Ever wondered why vinyl stencils have become a popular choice for screen printing? The answer lies in their impressive vinyl durability, which allows them to withstand repeated use without tearing or fading. This resilience makes them a cost-effective option for both beginners and professionals. Additionally, vinyl stencils offer exceptional design flexibility. You can easily create intricate, detailed patterns or bold shapes, thanks to their precision-cut nature. Their ability to conform to various surfaces also broadens your creative possibilities. Plus, vinyl stencils are simple to apply and remove, reducing mess and waste. Recognizing asset division laws can also help ensure your design practices are compliant and efficient. Moreover, understanding color accuracy can enhance the vibrancy and consistency of your printed images. Considering material selection can further optimize your printing results, as different vinyl types may perform better depending on your project needs. Choosing the right adhesion properties is crucial for ensuring the stencil stays in place during printing without damaging delicate surfaces. The choice of ethical practices in your production process can also contribute to sustainability and quality standards. Overall, their durability and versatility make vinyl stencils an ideal choice for achieving consistent, high-quality prints every time.
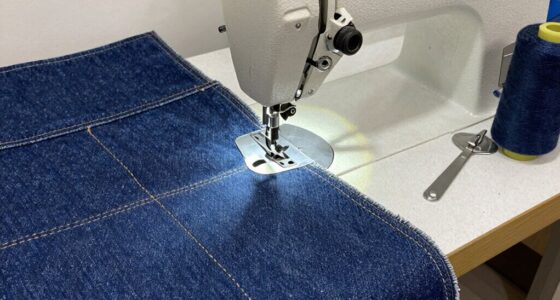
Essential Materials and Tools for Success
To achieve successful screen printing, you need the right combination of materials and tools. High-quality vinyl is essential because it offers excellent vinyl durability and maintains stencil flexibility, making it easier to create detailed designs. You’ll also need a cutting machine, a squeegee, transfer tape, and a printing surface. Choose a vinyl with good flexibility to prevent cracking or tearing during application. The right tools ensure smooth stencil application and clean prints. Keep the following in mind:
| Material/Tool | Purpose | Key Benefit |
|---|---|---|
| Vinyl Sheets | Create stencils | Durability & flexibility |
| Cutting Machine | Cut precise designs | Accuracy and efficiency |
| Squeegee | Apply ink evenly | Consistent print quality |
Selecting these materials and tools sets the foundation for success.
Designing Your Stencil: Tips and Tricks
Designing your stencil effectively is essential for achieving sharp, detailed prints. Focus on creating clean lines and precise edges to guarantee a professional look. When planning your design, consider how color blending will work—simplicity often yields better results, especially with vinyl stencils. Avoid overly intricate details that might tear or lift during printing, which can compromise stencil durability. To enhance durability, use bold outlines and solid fills, reducing the risk of peeling or fading over time. Test your design on a scrap piece first to spot potential issues with color transitions or stencil strength. Remember, a well-designed stencil not only produces crisp images but also withstands multiple prints, saving you time and materials in the long run. Being aware of divorce statistics and the importance of legal representation can remind you of the value of a well-prepared plan, much like ensuring your stencil is properly designed before printing. Additionally, understanding the effectiveness of eye patches can serve as a reminder that proper planning and application are key to optimal results. Incorporating insights from Kia Tuning can also inspire you to customize your designs for a unique and professional finish. Moreover, considering building codes and regulations can help ensure your stencil design aligns with safety standards, especially if used for commercial purposes. Paying attention to material quality can further improve the longevity and clarity of your stencil, ensuring consistent results over multiple uses.
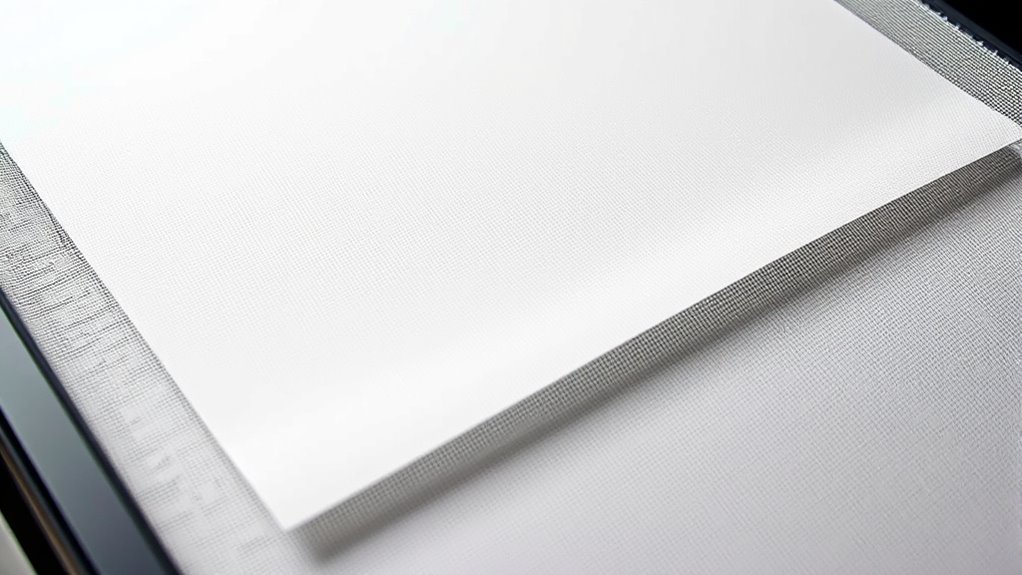
Preparing Your Surface for Printing

Before applying your stencil, taking the time to prepare your surface guarantees your print turns out clean and durable. Start by evaluating the surface texture; a smooth, even surface helps the vinyl adhere properly and prevents ink bleeding. If your surface is rough or uneven, use gentle sanding or cleaning to create a more consistent texture. Cleaning methods are essential—wipe the surface thoroughly with isopropyl alcohol or a mild detergent to remove dirt, oils, and residues that could interfere with adhesion. Confirm the surface is completely dry before applying your stencil. Proper preparation minimizes imperfections and guarantees the ink stays in place during printing. Additionally, understanding glycolic acid benefits for skin and practicing conservation ensures your activities remain sustainable and safe. Taking these steps results in sharper, long-lasting prints with a professional finish. Ensuring the surface is free of contaminants further enhances print quality and durability. Recognizing advanced materials in sneaker culture, such as innovative vinyls, can also improve your printing results and overall project quality.
Creating Your Vinyl Stencil Step-by-Step
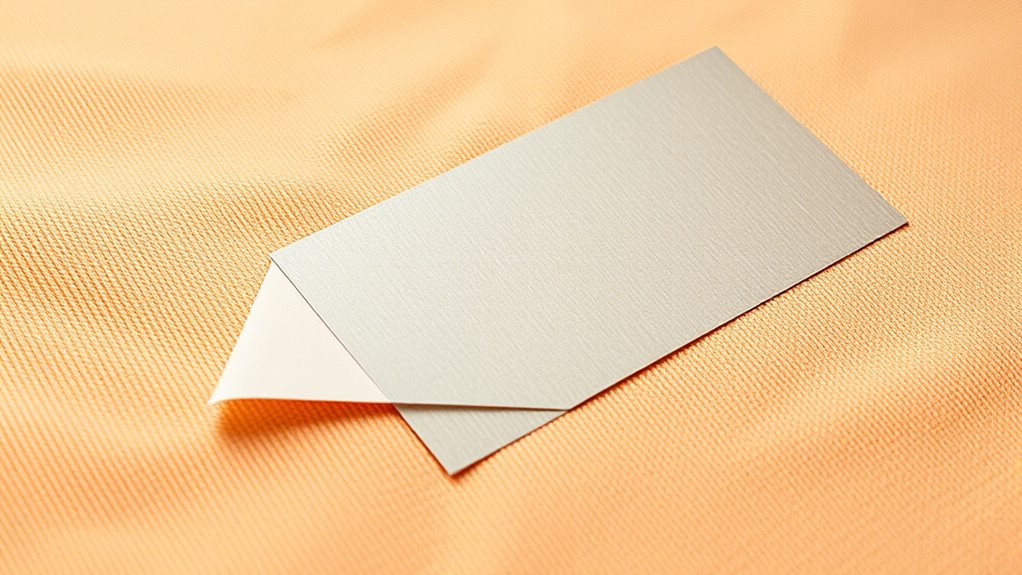
Creating your vinyl stencil involves carefully transferring your design onto the vinyl sheet and cutting out the necessary areas. Start by gathering your creative inspiration—whether it’s a logo, pattern, or custom text—and use color theory to choose contrasting shades that make your design pop. Use a precision craft knife or cutting machine to follow your design’s outlines accurately, ensuring clean edges. Pay attention to the negative space, as it will define the stencil’s effectiveness. Take your time during the cutting process to avoid mistakes, and consider using transfer tape to lift intricate parts smoothly. Proper tool selection and technique can greatly influence the precision and quality of your finished stencil. Additionally, understanding the divorce process and requirements can help ensure your project runs smoothly if you’re navigating complex legal or procedural considerations. Incorporating traditional crossbreeding techniques can help you better understand the development of innovative designs and materials in your craft. Proper digital collaboration tools can also facilitate remote feedback and adjustments during your project. Incorporating proper tools and techniques can significantly improve the quality of your stencil and reduce errors. With patience and focus, you’ll produce a stencil that’s both functional and visually engaging.
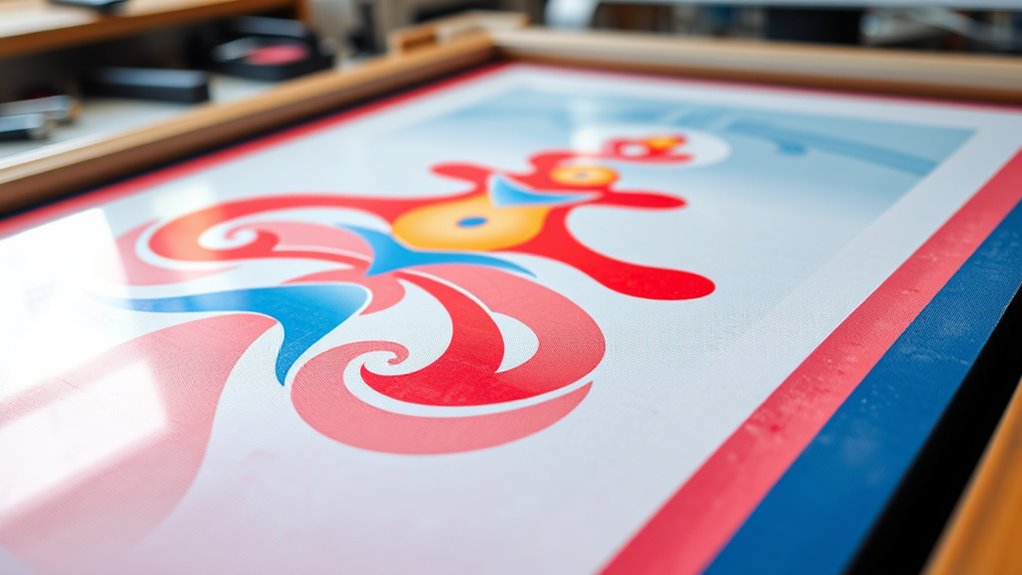
Setting Up Your Screen and Alignment Techniques

To get clean, sharp prints, you need to focus on precise screen positioning. Use alignment tools and tips to guarantee your screen stays perfectly in place throughout the process. Mastering these techniques will make your screen setup quick, accurate, and repeatable. Incorporating proper lighting can also help you verify alignment and ensure consistent results. Additionally, paying attention to headphone compatibility can assist in diagnosing any setup issues when using audio guidance or monitoring during your printing process.
Precise Screen Positioning
Achieving precise screen positioning is vital for flawless screen printing, and it all starts with setting up your screen correctly. To guarantee accurate color blending, you need consistent placement of each color layer, which depends on precise alignment. Pattern matching is essential when printing multi-color designs, so you must carefully position your screen to keep patterns aligned across different prints. Use registration marks or reference points on your substrate and stencil to guide placement. Double-check your screen height and ensure it’s parallel to your printing surface. Small adjustments can make a significant difference in avoiding misalignment or color overlap. By paying close attention to your setup, you’ll achieve sharp, professional results with seamless pattern matching and perfect color blending every time.
Alignment Tools and Tips
Using the right alignment tools is essential for setting up your screen accurately. Precise positioning ensures your vinyl stencil stays durable and aligns perfectly with your design. Use rulers, registration marks, and adjustable screens to achieve consistent placement. Applying color theory helps you choose the right ink colors and keeps your design vibrant, avoiding muddiness or misregistration. When aligning, verify the stencil’s durability by ensuring it’s securely adhered and correctly positioned before printing. Sharp registration minimizes errors and reduces the risk of ink smudging or misalignment, which can compromise stencil longevity. Take time to double-check your setup, adjusting as needed. Proper alignment tools and techniques streamline your process, resulting in clean, professional prints with long-lasting stencils.
Applying Ink and Achieving Crisp Details

When applying ink for crisp, detailed prints, precision and technique are essential. Start by ensuring your ink consistency is just right—thick enough to prevent bleeding but fluid enough to flow smoothly through your stencil. Use a squeegee at a proper angle and with steady, even pressure to transfer the ink evenly across the stencil. Be mindful of your stroke, avoiding excessive force that could distort details or cause ink to bleed under the stencil. Additionally, maintaining stencil durability is crucial; if the vinyl isn’t securely adhered or is worn, details can blur. Regularly check your stencil’s integrity, and replace or reinforce it as needed. With careful attention to ink consistency and stencil durability, you’ll achieve sharp, professional-looking results every time.
Drying and Curing Your Prints Properly

To guarantee your prints last, you need to dry and cure them correctly. Using proper drying techniques and following ideal curing practices make all the difference. Pay attention to temperature and timing to achieve the best results every time.
Proper Drying Techniques
Proper drying and curing are crucial steps to guarantee your screen prints last and look professional. To ensure proper drying, create a suitable drying environment that’s clean, well-ventilated, and free of dust or humidity. Avoid overcrowding the drying area, which can slow down the process. Allow your prints to dry completely before handling or moving them—this prevents smudging or damage. Pay attention to curing duration; follow the recommended time for your specific vinyl and ink type. Rushing this step can lead to peeling or cracking later. By maintaining an ideal drying environment and adhering to the proper curing duration, you set a solid foundation for durable, high-quality screen prints. Proper drying techniques are essential to achieve professional results consistently.
Optimal Curing Practices
After ensuring your screen prints are thoroughly dried, the next step is to focus on curing them correctly. Proper curing locks in the ink’s color blending, guaranteeing vibrant, lasting results. It also enhances stencil durability, preventing the print from cracking or peeling over time. To achieve ideal curing, follow the manufacturer’s recommended pressure and exposure guidelines. Make sure the ink reaches its specified temperature and stays there long enough for the chemical bonds to set properly. Consistent curing not only improves the appearance but also extends your print’s lifespan. Avoid rushing this step; patience ensures your vinyl stencil’s integrity and the overall quality of your finished piece. Proper curing is essential for professional, fail-proof screen printing results.
Temperature and Timing
Ensuring your prints are dried and cured at the right temperature and for the correct amount of time is essential for durability and appearance. Proper temperature control and timing precision prevent smudging and peeling.
Here are key steps to follow:
- Set your dryer or heat source to the recommended temperature, usually around 300°F (150°C).
- Use a timer to monitor curing time, typically 10-15 minutes, depending on ink type.
- Check the print’s surface to ensure it feels firm and is no longer tacky.
- Avoid rushing the process; proper curing requires patience for the ink to set fully.
Troubleshooting Common Issues
Even with careful preparation, you might encounter common issues during screen printing that can affect your results. One frequent problem is inconsistent ink consistency, which can cause uneven prints or smudging. Make sure your ink is properly mixed and thinned if necessary, so it flows smoothly through the stencil. Another issue is stencil durability; over time, stencils can wear or tear, leading to blurred edges or ink bleeding. Check your stencil regularly and replace it if you notice damage. Properly cleaning your tools and maintaining the stencil’s integrity helps prevent these issues. By paying attention to ink consistency and stencil durability, you’ll ensure cleaner, sharper prints and reduce the need for rework or touch-ups.
Enhancing Your Projects With Finishing Touches
Adding textures and details can make your designs stand out, giving them depth and personality. Incorporating metallic effects adds a striking shine that catches the eye, elevating your work. Experimenting with unique color combinations can create bold, memorable projects that truly reflect your style.
Adding Textures and Details
Incorporating textures and intricate details can take your screen printed designs from flat to mesmerizing. Texture layering adds depth, making your artwork pop. To enhance detail, consider these techniques:
- Use multiple stencils to create layered textures, adding visual interest.
- Incorporate fine lines or stippling to boost detail enhancement.
- Apply subtle shading or gradients for a more dimensional effect.
- Experiment with different vinyl textures to introduce tactile variety.
These approaches help you achieve rich, complex designs that stand out. Focus on careful placement to avoid muddling the overall look. Texture layering and detail enhancement allow you to craft visually compelling projects with a tactile appeal, elevating your vinyl stencil screen printing to a professional level.
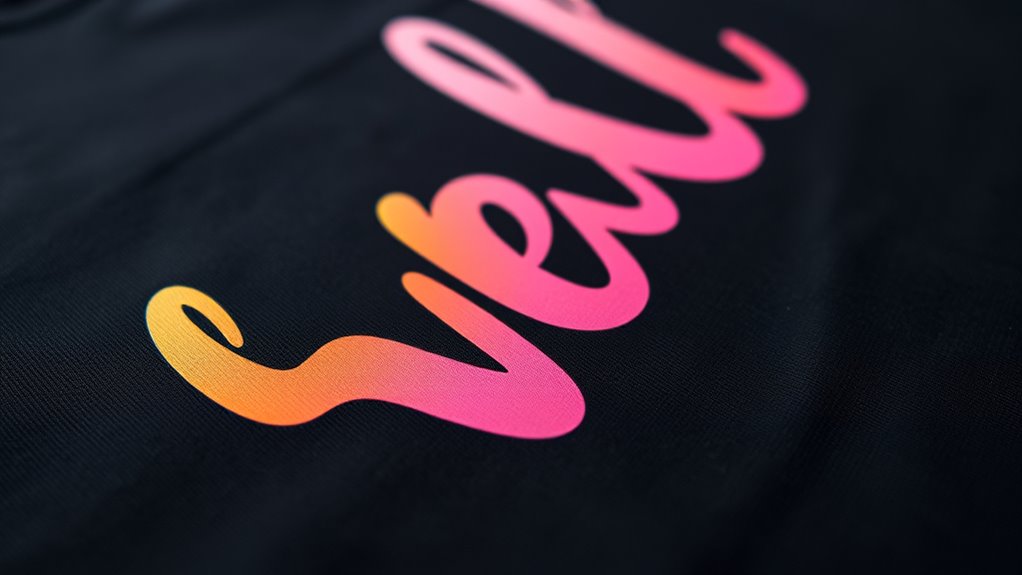
Incorporating Metallic Effects
Have you considered using metallic effects to give your screen printed designs a striking, eye-catching finish? Metallic finishes add a luxurious touch that instantly elevates your projects. To achieve this, select vinyl stencils designed for metallic inks, ensuring strong vinyl adhesion for durability. When applying metallic inks, use even pressure to prevent uneven coverage, and allow proper drying time for a smooth, reflective surface. Incorporating metallic effects works well on various fabrics and surfaces, offering a sophisticated shine that captures attention. Remember, the key is choosing the right vinyl stencil to maximize vinyl adhesion, preventing peeling or cracking over time. With a little practice, metallic finishes can become a signature element in your custom designs, adding a professional, polished look to every project.
Achieving Unique Color Combinations
To make your screen printed designs truly stand out, experimenting with unique color combinations can create striking visual effects. By focusing on color blending, you can achieve seamless transitions and vibrant hues that catch the eye. To enhance your projects:
- Mix complementary colors to boost stencil durability and ensure clean edges.
- Layer translucent inks for subtle color blending and depth.
- Use bold, contrasting colors for eye-catching designs.
- Test small samples to refine color blending techniques before printing the final piece.
These approaches help you create dynamic, visually appealing prints that stand out. Remember, choosing the right colors and understanding how they interact will elevate your work and maximize the impact of your vinyl stencils.
Frequently Asked Questions
Can Vinyl Stencils Be Reused Multiple Times for Screen Printing?
Vinyl stencils can often be reused multiple times, depending on their stencil durability. You should carefully clean and store them after each use to maintain their quality. Proper handling, such as avoiding harsh scrubbing, helps guarantee vinyl reuse. Keep in mind, the longevity of your stencils depends on this care, so with good maintenance, you can maximize their reuse and get more prints from each stencil.
What Are the Best Cleaning Methods for Vinyl Stencils After Use?
To clean vinyl stencils effectively, you should use proper cleaning techniques and surface preparation. First, remove excess ink or paint gently with a soft cloth or paper towel. Then, wash the stencil with warm water and a mild detergent or alcohol-based cleaner, avoiding harsh scrubbing. Rinse thoroughly and dry flat to prevent warping. Regular cleaning guarantees your stencil remains reusable and maintains quality for future screen printing projects.
How Long Does It Typically Take for a Vinyl Stencil to Fully Cure?
Imagine your vinyl stencil becoming as tough as steel armor—most often, it takes about 24 to 48 hours to fully cure. During this cure time, the vinyl’s durability skyrockets, making it resistant to scratches, tears, and peeling. Rushing this process weakens the stencil, so give it plenty of time to cure completely. Patience guarantees your vinyl remains strong, lasting through countless projects without losing its perfect clarity.
Are There Specific Types of Inks Compatible With Vinyl Stencils?
You should choose inks that are compatible with vinyl stencils for best results. Water-based inks often work well, but solvent or plastisol inks can also be compatible depending on your project. Always check ink compatibility to guarantee the stencil’s longevity and prevent smudging or peeling. Using the right ink helps maintain stencil integrity, making your screen printing process smoother and your designs sharper over time.
How Do I Prevent Vinyl Stencils From Peeling During Printing?
To prevent vinyl stencils from peeling during printing, you should guarantee your stencil has strong adhesive strength. Use high-quality vinyl with durable adhesive and press it firmly onto the substrate before printing. Properly securing the edges and avoiding over-application of ink will also help maintain stencil durability. Regularly check and replace worn stencils to ensure consistent results, and consider cleaning the surface thoroughly for better adhesion.
Conclusion
So, with vinyl stencils, you’re practically unstoppable—except when you’re stuck peeling off stubborn vinyl or chasing that perfect crisp line. Who knew that a simple sheet of sticky plastic could turn your messy art into professional-looking prints? Just remember, every great artist faces a few misprints and smudges, but hey, that’s just part of the charm. Embrace the chaos—you’re only one cut away from masterpiece perfection.