To make a DIY chalkboard at home, start by choosing a smooth surface like plywood, a wall, or repurposed furniture, and clean it thoroughly. Lightly sand glossy or painted surfaces to help the paint stick better. Apply several thin coats of chalkboard paint, letting each dry completely. Once dry, condition your chalkboard with chalk and set it ready for use. To learn more about perfect placement and finishing touches, keep exploring the tips ahead.
Key Takeaways
- Choose a smooth, flat surface like wood, metal, or glass suitable for chalkboard paint application.
- Properly clean, sand, and prep the surface to ensure good adhesion and durability.
- Apply multiple thin coats of high-quality chalkboard paint, allowing proper drying time between coats.
- Condition the finished chalkboard with chalk and wipe to prevent ghosting and improve usability.
- Select an accessible, well-lit location that suits your space and ensures easy writing and cleaning.
Gather Your Supplies

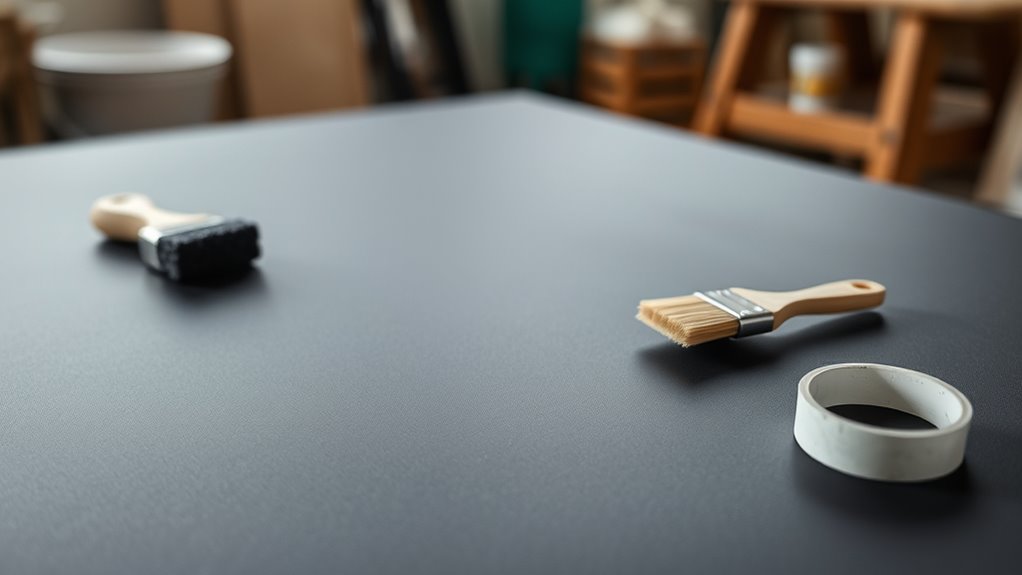
Before you begin your DIY chalkboard project, gather all the necessary supplies to guarantee a smooth process. You’ll need a smooth, flat surface like plywood, MDF, or repurposed wood. Pick up chalkboard paint, which comes in spray or brush-on options, depending on your preference. Don’t forget painter’s tape to protect surrounding areas and a primer if your surface isn’t already suitable for painting. You’ll also need brushes or rollers, preferably with foam for a smooth finish. Have a level handy to ensure your chalkboard stays straight, along with sandpaper for smoothing the surface beforehand. Finally, gather a cloth or sponge for cleaning the surface after painting and some protective gloves to keep your hands clean. Using the proper surface preparation techniques will help ensure your chalkboard adheres well and lasts longer. Additionally, understanding home improvement basics can assist you in achieving a professional-looking finish. Incorporating automation knowledge can also help streamline the process by setting up your workspace efficiently. Being aware of cybersecurity measures, such as securing your tools and workspace, can also prevent accidents or theft during your project. For optimal results, ensure your workspace is well-organized and free of distractions, which is a key aspect of project management. With everything in place, your project will go much more smoothly.
Prepare the Surface for Painting

To guarantee your chalkboard looks smooth and professional, start by preparing the surface thoroughly. First, clean the area with soap and water to remove dust, grease, and dirt. If you’re working with a glossy or painted surface, lightly sand it with fine-grit sandpaper to create a better grip for the paint. Wipe away any sanding dust with a damp cloth and let it dry completely. If there are any holes or cracks, fill them with spackle or wood filler, then sand smooth once dry. Ensure the surface is flat and even, as imperfections will show through the chalkboard paint. Taking these steps ensures your finished chalkboard will be smooth, durable, and easy to write on. Additionally, consider remote hackathons as a way to gather ideas and learn new techniques for your project if you’re collaborating virtually. Remember that understanding Narcissistic traits can help you identify potential manipulative behaviors and maintain healthy boundaries during your project collaboration.
Apply the Chalkboard Paint

Once your surface is prepared, it’s time to apply the chalkboard paint. Stir the paint thoroughly to assure a smooth consistency. Use a high-quality brush or roller to apply the paint in even, overlapping strokes. Start with a thin coat to prevent drips and uneven coverage. Work in sections, keeping a wet edge to avoid lap marks. Be patient and apply multiple coats if needed; most chalkboard paints require at least two for a solid finish. Keep your strokes consistent and avoid overloading your brush or roller. If you notice drips or thick spots, gently smooth them out before they dry. Remember, even coverage is key for a smooth chalkboard surface that’s easy to write on. Additionally, choosing the right paint type can significantly impact the durability and erasability of your chalkboard surface. To ensure the best results, consider selecting a suitable primer designed specifically for chalkboard paint to improve adhesion and longevity. Proper surface preparation and understanding surface compatibility can also enhance the chalkboard’s performance over time.
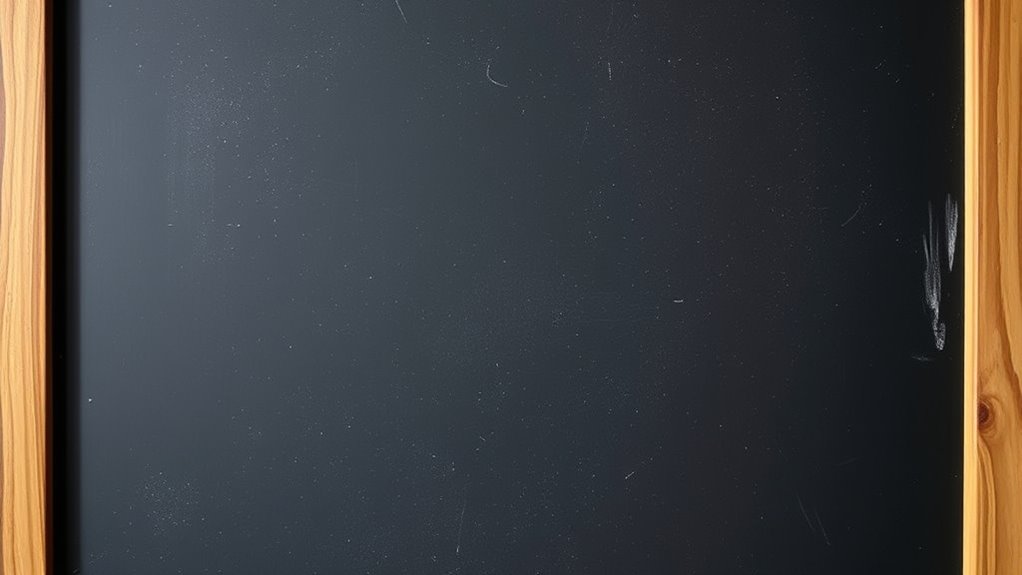
Let the Paint Cure and Dry
After applying the final coat of chalkboard paint, it’s essential to let it cure and dry thoroughly before use. This process guarantees the paint bonds properly to the surface and prevents smudging or peeling later on. Depending on the brand and thickness of your coats, drying can take anywhere from 24 to 72 hours. During this time, avoid touching or disturbing the surface to prevent imperfections. Keep the area well-ventilated to speed up drying and help fumes dissipate. Proper air circulation during drying can also help reduce drying time and improve the overall finish. Incorporating proper drying techniques ensures your chalkboard remains durable and smooth. Additionally, monitoring temperature and humidity levels can optimize the drying process. Being mindful of environmental conditions can make a significant difference in achieving a flawless finish. Resist the temptation to start writing on your chalkboard prematurely, as this can damage the finish. Patience now ensures your chalkboard will be durable, smooth, and ready for use for years to come. Allowing adequate drying time is crucial for optimal adhesion and performance. Once fully dry, you’re ready to condition and enjoy your new DIY chalkboard!
Condition Your Chalkboard
With your chalkboard fully dry, it’s time to condition the surface to guarantee ideal writing and erasing. This step helps prevent ghosting and ensures smooth chalk glide. To do this, take a piece of chalk and cover the entire surface with a light layer. Then, use a damp cloth or sponge to wipe away the excess chalk, leaving a thin, even coating. This process primes the surface for better chalk adherence and erases any residual dust. Here’s a quick guide:
| Step | Action |
|---|---|
| 1 | Cover with chalk |
| 2 | Wipe with damp cloth |
| 3 | Let dry |
| 4 | Repeat if necessary |
| 5 | Start writing comfortably |
Following these steps ensures your chalkboard stays clear and easy to use, preventing ghosting and enhancing your overall experience. Proper surface preparation can also help maintain the chalkboard’s condition over time. Incorporating intentional attention during this process can also promote a more effective creative practice that benefits your overall craft.
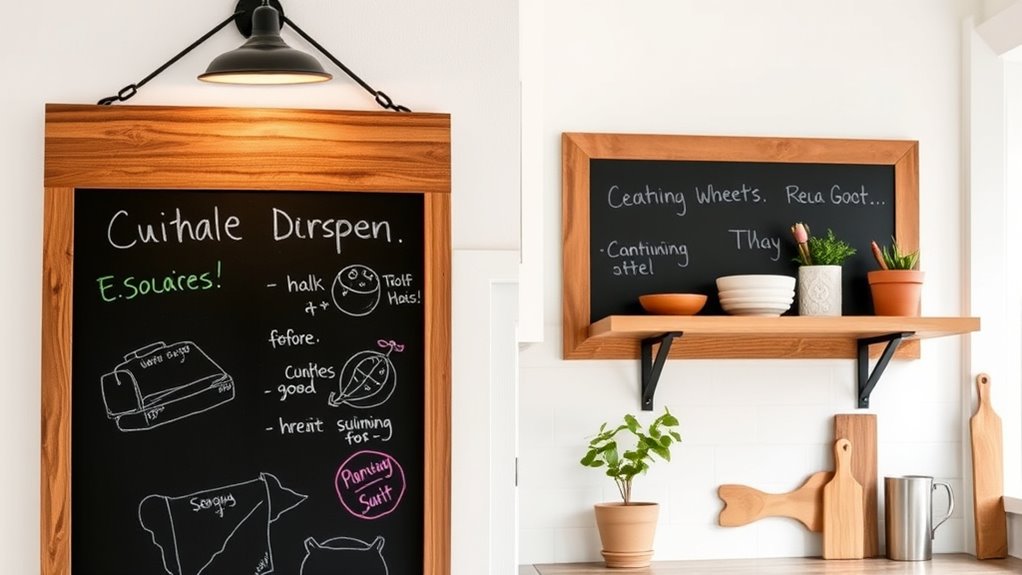
Add Personal Touches and Accessories
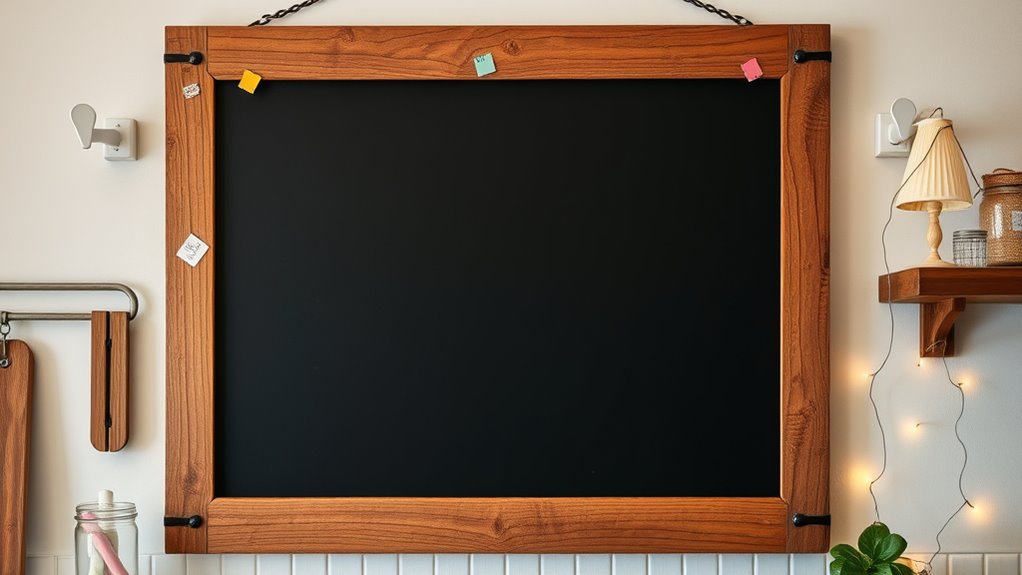
Adding personal touches and accessories can transform your chalkboard into a functional and charming focal point. You can customize it to match your style and needs, making it more inviting and useful. Consider these ideas:
- Hang a small shelf above the chalkboard for chalk, erasers, or decorative items. Incorporating personalization techniques can further enhance its uniqueness.
- Add colorful or themed border trim to frame the board and make it pop.
- Use magnets or clips to display photos, notes, or reminders.
- Incorporate decorative labels or stencils to enhance your writing and organize sections.
- Regularly assess and rotate items to prevent clutter buildup and keep your display fresh.
Find the Perfect Spot to Use Your Chalkboard
Choosing the right spot for your chalkboard makes a big difference. Think about how you’ll use the space, pick a visible location, and make sure it’s well-lit. These factors will help you get the most out of your new chalkboard.
Consider Room Functionality
Since the functionality of a room influences where your chalkboard will be most effective, it’s important to contemplate how you’ll use the space. Think about what activities will happen nearby and what messages you want to display. For example, in a kitchen, you might want a chalkboard for recipes or grocery lists. In a home office, it could serve as a brainstorming or reminder board. Consider these uses when choosing a location:
- Is the space frequently used and easily accessible?
- Will you need to see the chalkboard from different angles?
- Is there enough room for writing and cleaning without clutter?
- Will it be in a spot where everyone can contribute or see important notes?
Matching the room’s purpose with your chalkboard’s placement makes it more functional and enjoyable to use.
Choose Visible Location
Finding the right spot for your chalkboard means selecting a location that’s both practical and easy to see. You want it in a place where you’ll naturally glance often, like near the kitchen or in a family area. Make sure it’s at a comfortable height for all users, whether kids or adults. Avoid areas with heavy foot traffic that could lead to accidental bumps or messes. Consider proximity to supplies like chalk and erasers, so everything stays within reach. Think about how often you’ll need to update your notes or reminders—placing it where you can quickly jot things down makes it more useful. Ultimately, pick a spot that balances visibility with convenience, so your new chalkboard becomes a functional part of your daily routine.
Ensure Good Lighting
Good lighting is essential to make your chalkboard functional and easy to read. Proper lighting helps prevent shadows and glare, making sure your notes are clear. To find the perfect spot, consider these tips:
- Position your chalkboard near a natural light source like a window for daytime visibility.
- Avoid placing it in direct sunlight, which can cause glare and make writing difficult to see.
- Use adjustable lighting, such as a wall-mounted lamp, to brighten the board during evening hours.
- Ensure the light is evenly distributed across the surface to prevent dark spots and shadows.
Frequently Asked Questions
Can I Use Regular Wall Paint Instead of Chalkboard Paint?
Using regular wall paint instead of chalkboard paint isn’t ideal. Regular paint won’t give you the smooth, porous surface needed for chalk to write and erase easily. If you try, your chalk marks will be faint, smudgy, or won’t erase properly. For the best results, stick with chalkboard paint or a specialized DIY chalkboard coating. It guarantees your surface functions like a true chalkboard, making your DIY project successful.
How Do I Remove Chalk Dust From the Chalkboard Surface?
Start with a simple sweep to scrub away stubborn chalk dust, using a soft, dry cloth or a gentle brush. Then, lightly spray or dampen a cloth with water or a mild cleaning solution to wipe the surface, ensuring you don’t soak it. Finish with a dry cloth to dry and revive your chalkboard’s clarity. Regular cleaning keeps your chalkboard charming, clear, and consistently ready for creative communication.
Is It Safe to Use Chalkboard Paint Indoors?
Using chalkboard paint indoors is generally safe, but you should guarantee proper ventilation during application to avoid inhaling fumes. Choose low-VOC or non-toxic paint options for better safety. Keep pets and children away until the paint fully dries and cures. Once dry, it’s safe for regular use. Always follow the manufacturer’s instructions and guidelines to minimize any health risks and enjoy your new chalkboard space safely.
How Long Does a DIY Chalkboard Last Before Repainting?
Think of your DIY chalkboard as a garden that needs tending. Typically, it lasts about 1 to 3 years before you should consider repainting, depending on how often you use it and the quality of your paint. Heavy use or exposure to moisture can wear down the surface faster. To keep it looking fresh, regularly clean it and watch for signs of fading or scratches that signal it’s time for a new coat.
Can I Customize My Chalkboard With Different Colors or Designs?
Absolutely, you can customize your chalkboard with different colors and designs. Use colored chalks or chalk markers to add vibrant accents, borders, or personalized artwork. You can also create stencils for intricate patterns or lettering. Experimenting with various colors and designs makes your chalkboard unique and fun. Just guarantee your designs are dry before writing over them, and enjoy the creative process to make your chalkboard truly your own.
Conclusion
Now that you’ve made your own chalkboard, you’ll enjoy a versatile space for notes, reminders, or artwork. Did you know that chalkboards are making a comeback in interior design, with a 25% increase in popularity over the past five years? With your DIY skills, you can customize it to fit any room and style. So, go ahead—start creating, and transform your space into a functional and fun area everyone will love!