
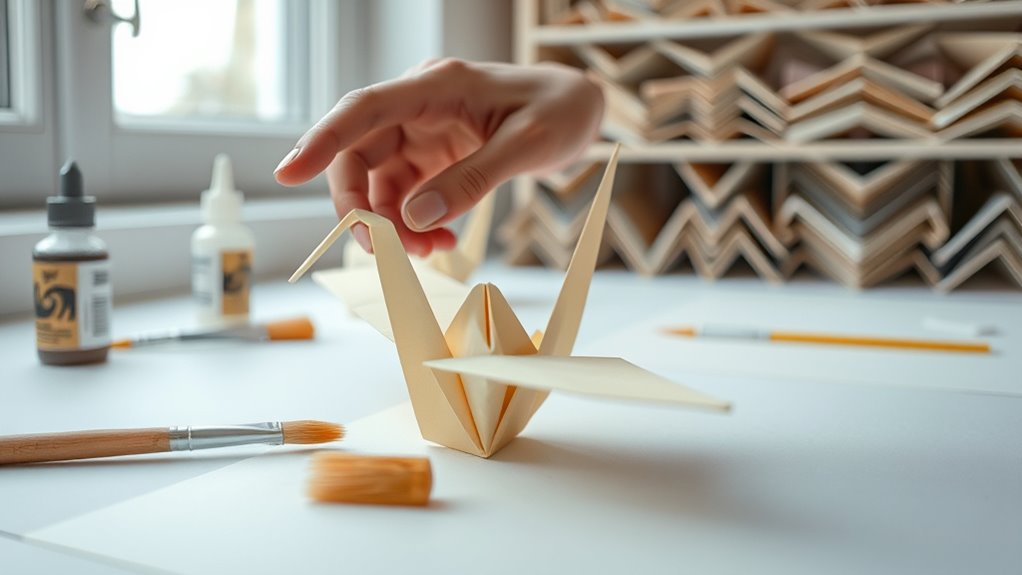
To make DIY origami decorations, start by choosing lightweight, colorful paper that’s easy to fold, like kami or patterned craft paper. Gather essential tools like a bone folder and scissors, and learn basic folds such as valley, mountain, and reverse folds. Begin with simple shapes like cranes or stars, then progress to more intricate designs or modular pieces. Arrange your creations creatively for display, and keep them in good condition to enjoy your beautiful handmade decor for longer.
Key Takeaways
- Select thin, sturdy, and colorful or patterned paper suitable for crisp folds and desired visual effects.
- Learn basic folding techniques like valley, mountain, squash, and reverse folds through step-by-step tutorials.
- Start with simple origami models such as cranes, stars, or boats to build confidence and skill.
- Arrange and display your decorations by grouping similar pieces and using appropriate surfaces or hanging methods.
- Handle and store your origami carefully, using gentle cleaning and protective storage to maintain their appearance over time.
Choosing the Right Paper for Origami Projects
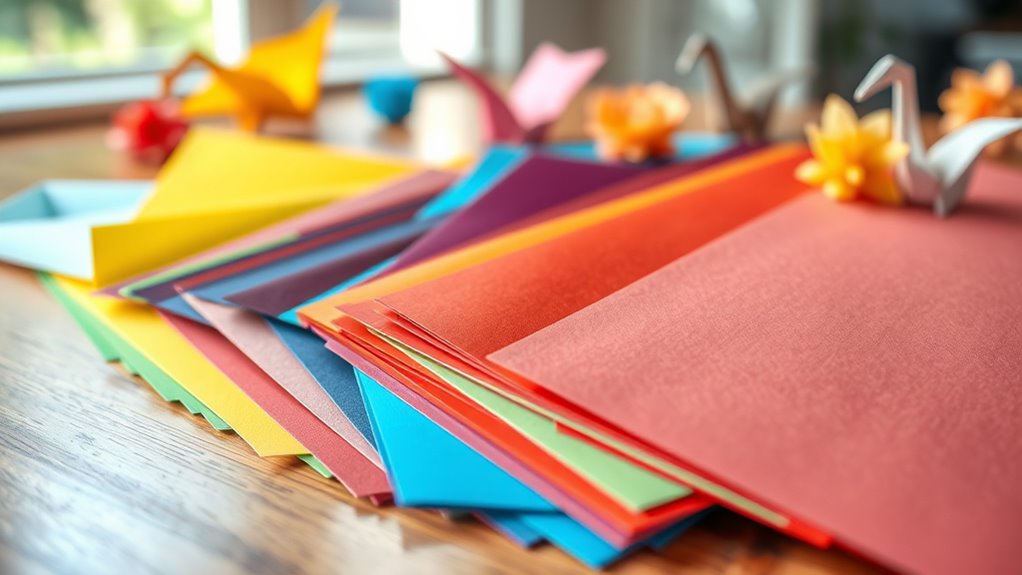
Have you ever wondered why some origami projects turn out more impressive than others? The key often lies in the paper you choose. For stunning results, pick paper that’s thin yet sturdy enough to hold folds sharply. Traditional origami paper, like kami, is lightweight and comes in vibrant colors, making it a popular choice. Avoid thick or textured paper, which can be difficult to fold precisely. Glossy or shiny paper adds a beautiful finish, but can be slippery, so handle it carefully. You can also experiment with patterned paper for unique designs. The right paper makes folding easier and enhances the visual appeal of your decoration. Additionally, understanding the AI processing power behind advanced devices can inspire innovative design ideas for your origami creations. Selecting appropriate paper qualities can further improve your crafting experience and the final appearance of your origami. Furthermore, choosing suitable folding techniques tailored to your paper type can reduce folding difficulties, making your projects more enjoyable and professional-looking. Using the right material properties can ensure your origami stands out with a polished look.
Essential Tools and Supplies Needed

To create beautiful origami decorations, you’ll need a few essential tools and supplies that make folding easier and more precise. First, select high-quality, smooth paper suited for origami. You’ll also want a bone folder or a similar tool to create sharp creases. A pair of small scissors can help with trimming excess paper, if needed. A ruler is useful for measuring and making straight lines, while a cutting mat protects your workspace. Here’s a quick overview:
| Tool/Supply | Purpose |
|---|---|
| Origami Paper | Main folding material |
| Bone Folder | Sharp creases and crisp folds |
| Scissors | Trimming and fine adjustments |
| Ruler | Accurate measurements |
Basic Folding Techniques Every Beginner Should Know
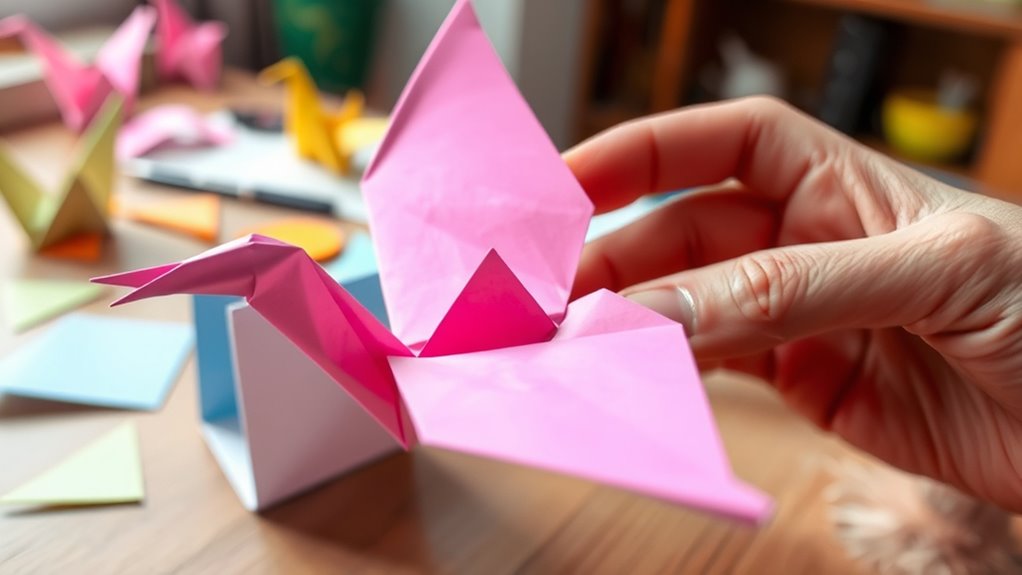
Mastering a few basic folding techniques is essential for creating neat and impressive origami decorations. First, learn the valley fold, where you fold the paper inward to form a “valley,” creating a crease that pops up. Next, master the mountain fold, which is the opposite—folding the paper outward to form a “mountain.” The squash fold helps in shaping complex parts; fold a corner inward and press down to flatten. The petal fold allows you to create pointed shapes, while the reverse fold involves folding a flap inside or outside to refine designs. Practice these techniques repeatedly to build confidence. Smooth, crisp folds will give your origami a professional look. Developing visual and auditory cues can further enhance your understanding and execution of these folds. With these skills, you’ll develop a solid foundation for more intricate designs ahead.
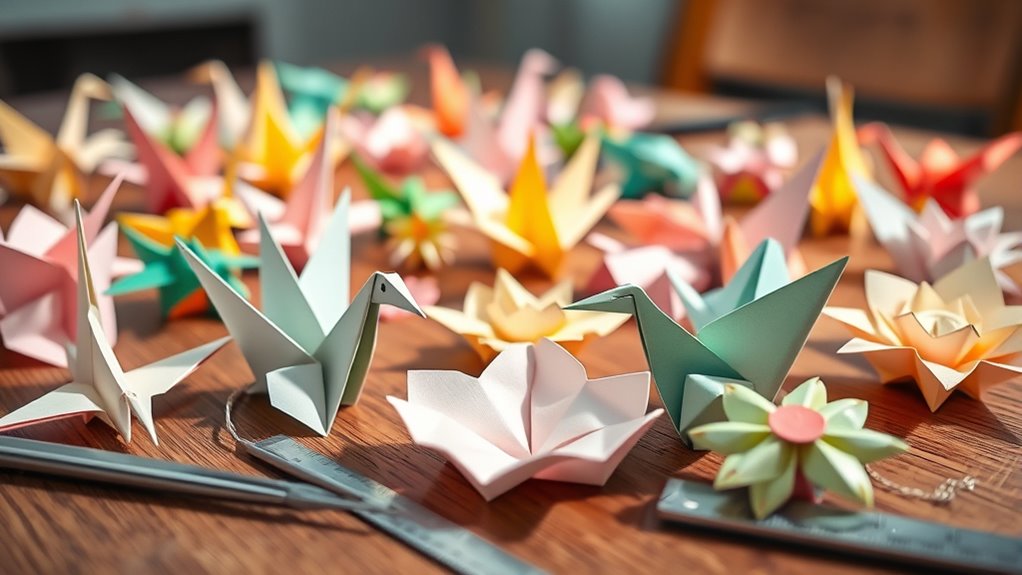
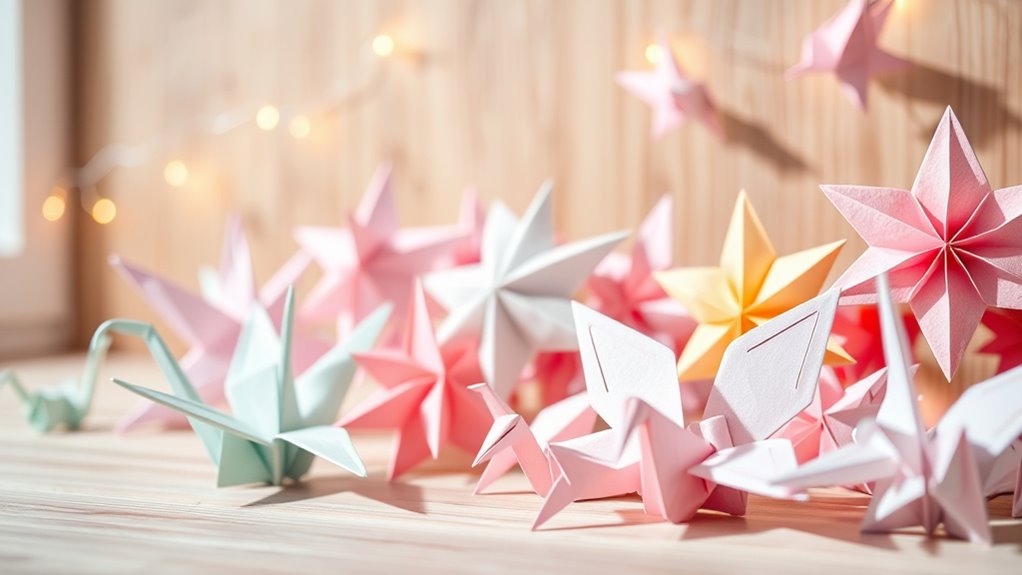
Simple Origami Decorations to Start With

Starting with simple origami decorations is a great way to build confidence and enjoy the craft. Focus on easy designs like paper cranes, boats, or stars. These shapes use basic folds you’ve already learned, making them perfect for beginners. Use colorful, sturdy paper to make your creations stand out. Take your time to follow step-by-step instructions carefully, and don’t rush the process. Once you master these simple forms, you’ll feel more comfortable trying more complex designs later. Simple origami decorations are versatile—they work well as gift tags, ornaments, or table accents. Keep practicing these basic models, and you’ll gradually develop your skills, making the process more fun and rewarding. Remember, patience and practice are key to mastering origami. Additionally, exploring online tutorials and creative techniques can further enhance your origami experience.
Advanced Designs for Creative Decor
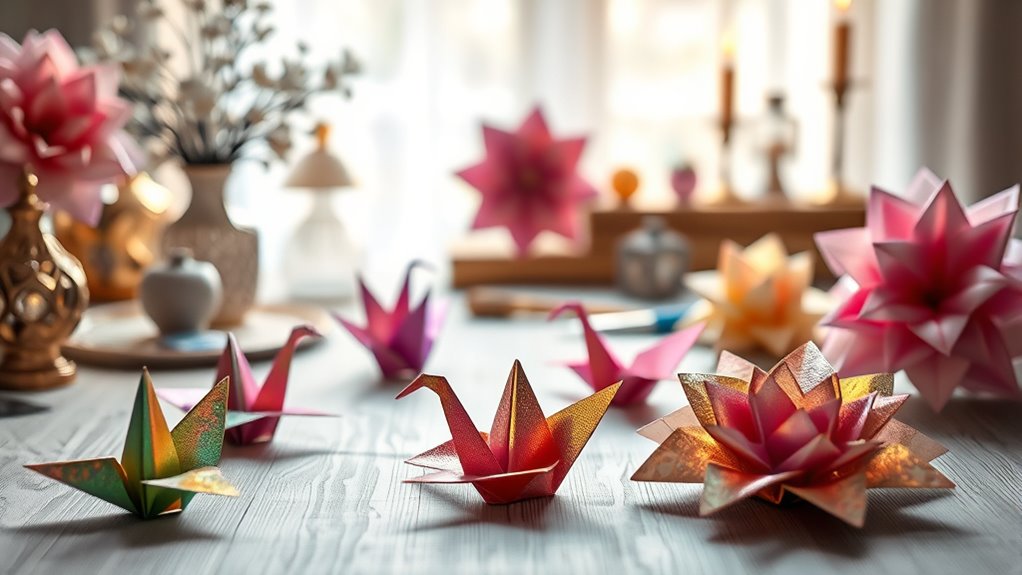
Once you’ve become comfortable with basic origami shapes, you can explore more intricate designs that elevate your decor. Advanced origami techniques include creating complex modular pieces, detailed floral sculptures, and dynamic geometric shapes. These designs often involve precise folding sequences and multiple paper segments, resulting in stunning visual effects. To start, practice folding tessellations or use layered paper to craft three-dimensional objects. Incorporate shimmering or textured paper to add elegance and depth. You can also experiment with combining different folds to produce abstract sculptures or intricate stars. Additionally, understanding tax implications can help you plan your crafting projects more strategically if you’re selling or gifting your creations. Considering sustainable paper choices supports environmentally conscious crafting and helps reduce waste. Exploring eco-friendly materials can further enhance the sustainability of your projects. These advanced creations make impressive focal points for any room, showcasing your skill and creativity. Take your time, follow detailed tutorials, and don’t be afraid to customize designs to match your style.
Tips for Assembling and Displaying Your Creations
Choosing the right spot for your origami decorations makes a big difference in their impact. Adding string lights can highlight your creations and create a cozy atmosphere. Consider arranging your pieces around a theme to make your display more cohesive and eye-catching.
Choosing the Perfect Display Spot
To showcase your origami decorations effectively, it’s important to select a display spot that complements their delicate beauty. Look for areas with good natural light, as this highlights the intricate folds and vibrant colors. Consider spots where your creations won’t be easily disturbed or accidentally damaged, like a high shelf or a wall hook. Avoid cluttered spaces to keep the focus on your art. If hanging, use clear fishing line or thin string to give a floating effect, enhancing their fragile appearance. For tabletop displays, arrange them at different heights to create visual interest. Make sure the surface is stable and free of drafts or direct sunlight, which can cause fading or warping. Proper placement ensures your DIY origami decorations stand out and last longer. Additionally, paying attention to color accuracy in lighting can further enhance the vividness of your folded designs, especially as AI-powered lighting tools can help optimize illumination for display. Using lighting quality considerations can also prevent color distortion and preserve the true vibrancy of your artwork. Ensuring the display area has consistent and well-balanced lighting conditions can make all the difference in showcasing your creations at their best. Incorporating headphone or other electronic accessories nearby can also help in monitoring and adjusting the lighting setup for optimal presentation.
Incorporating String Lights
Have you considered how string lights can transform your origami decorations into enchanting focal points? To do this effectively, follow these tips:
- Choose the right lights—warm white or colorful bulbs add ambiance and complement your paper art.
- Secure the lights properly—use clear tape or clips to attach the string neatly along the edges or behind your origami pieces, avoiding sagging.
- Create depth and dimension—wrap lights around the decorations or hang them at varying heights for a dynamic display.
Ensure the wiring is hidden or well-integrated for a polished look. Test the lights beforehand to confirm they work and don’t overpower your origami’s delicate details. With these steps, your decorations will shine beautifully and captivate your audience.
Creating a Themed Arrangement
Creating a themed arrangement transforms individual origami pieces into a cohesive and eye-catching display. To do this effectively, group your creations by color, size, or shape to enhance the theme. Use a clean, uncluttered surface like a table, wall, or string to showcase your artwork. Consider layering different elements to add depth and visual interest. If you’re hanging the origami, attach them with clear or matching threads to keep the focus on the designs. Incorporate complementary decorations, like flowers or fairy lights, to enhance the theme. Regularly assess and rotate your display items to prevent clutter buildup, ensuring your arrangement remains fresh and engaging. Paying attention to spatial arrangement is essential to creating visual harmony in your display. Additionally, understanding the retail hours can help you plan for purchasing additional supplies if needed. Incorporating wall organization ideas, such as hooks or modular systems, can also make your display more versatile and accessible. Always step back and view your arrangement from a distance to ensure balance and harmony. Remember that visual balance plays a vital role in creating visual harmony in your display. With thoughtful placement, your origami creations will come together beautifully, transforming your space into a captivating showcase.
Maintenance and Care of Your Origami Artworks
Taking good care of your origami pieces keeps them looking their best. You should handle them gently and store them in a safe, dry place to prevent damage. When cleaning or fixing your artwork, use careful techniques to avoid tearing or creasing.
Handling and Storage Tips
To keep your origami decorations looking their best, handle them gently and avoid unnecessary contact that could cause creases or tears. Proper storage is just as important as careful handling. Here are three tips to help preserve your artwork:
- Store flat in a clean, dry space to prevent bending or crushing.
- Use acid-free folders or boxes to avoid discoloration over time.
- Keep your origami away from direct sunlight and moisture to prevent fading and warping.
Cleaning and Repair Methods
Regular cleaning and timely repairs help your origami decorations stay vibrant and intact. To clean your origami, gently dust with a soft brush or a microfiber cloth to remove surface dirt. Avoid using water or liquids, as moisture can damage the paper. If your artwork gets creased or torn, use clear tape for minor repairs or carefully flatten creases with a light press. For more extensive damage, recreate the affected section and replace it. Store your origami in a dry, cool place away from direct sunlight to prevent fading and warping. Handle your decorations carefully to prevent unnecessary tears or bends. Regularly inspecting your pieces allows you to catch issues early, ensuring your origami art remains beautiful and durable over time.
Frequently Asked Questions
Can I Use Recycled Paper for Origami Decorations?
Yes, you can definitely use recycled paper for origami decorations. Recycled paper is eco-friendly and often has unique textures and colors that add character to your creations. Just make sure it’s not too thick or rough, as that can make folding difficult. Use thinner, smooth recycled paper for best results, and you’ll enjoy crafting beautiful ornaments while helping the environment. It’s a sustainable choice that adds charm to your origami projects.
How Long Do DIY Origami Decorations Last?
Your DIY origami decorations can last for weeks or even months if you handle them carefully and keep them in good conditions. Using high-quality, thicker paper helps them stay crisp and intact longer. Keep them away from moisture, direct sunlight, and excessive handling to prevent fading, tearing, or warping. With proper care, your decorations can brighten your space for a significant amount of time, making your effort well worth it.
Are There Eco-Friendly Adhesives Suitable for Origami?
You’re wondering if eco-friendly adhesives work for origami. Yes, they do! Look for natural glues like wheat paste, rice starch, or biodegradable glue options. These adhesives are gentle, non-toxic, and won’t harm the environment. You simply apply a small amount to secure your folds without damaging delicate paper. Eco-friendly adhesives are perfect for sustainable projects, ensuring your origami decorations stay beautiful while being kind to the planet.
What Are Common Mistakes Beginners Make in Origami?
Think of origami as a delicate dance—precision matters. As a beginner, you often press the paper too hard, causing tears or creases that can’t be undone. Rushing through folds leads to misaligned shapes, and using the wrong paper weight makes it harder to achieve crisp creases. Take your time, follow instructions carefully, and practice patience. With each fold, you’ll refine your skills and create beautiful, precise origami art.
How Can I Customize Origami Designs for Special Occasions?
When customizing origami designs for special occasions, you can start by choosing colors and patterns that match the theme. Use markers, stickers, or glitter to add personal touches. Alter traditional folds to create unique shapes or incorporate symbols that represent the event. Your creativity is key—experiment with different papers, sizes, and embellishments to make each piece meaningful and fitting for the celebration.
Conclusion
Don’t let the idea of complexity hold you back—anyone can create beautiful origami decorations with patience and practice. Even if your first few attempts aren’t perfect, each fold is a step toward stunning results. Remember, the joy is in the process, not just the finished piece. So grab your paper, follow the steps, and start transforming simple sheets into eye-catching decorations you’ll be proud of!