
To etch a glass jar for custom storage, start by selecting a clear or frosted jar with a smooth, clean surface. Use painter’s tape to secure your stencil or create your own design. Apply a quality glass etching cream evenly over the areas you want to etch, following the manufacturer’s instructions. Once the time is up, rinse off the cream and reveal your personalized design. Keep exploring to learn more tips for perfecting your etched jar!
Key Takeaways
- Select a clean, smooth glass jar made from clear, frosted, or tinted glass suitable for etching.
- Apply painter’s tape to secure your stencil and ensure precise, seep-proof design application.
- Use a quality, glass-safe etching cream, spreading it evenly over your stencil area, and follow the manufacturer’s instructions.
- Carefully remove the stencil after the recommended time and rinse thoroughly to reveal your custom etched design.
- Personalize your storage jar with simple patterns, monograms, or symbols to create a functional and decorative piece.
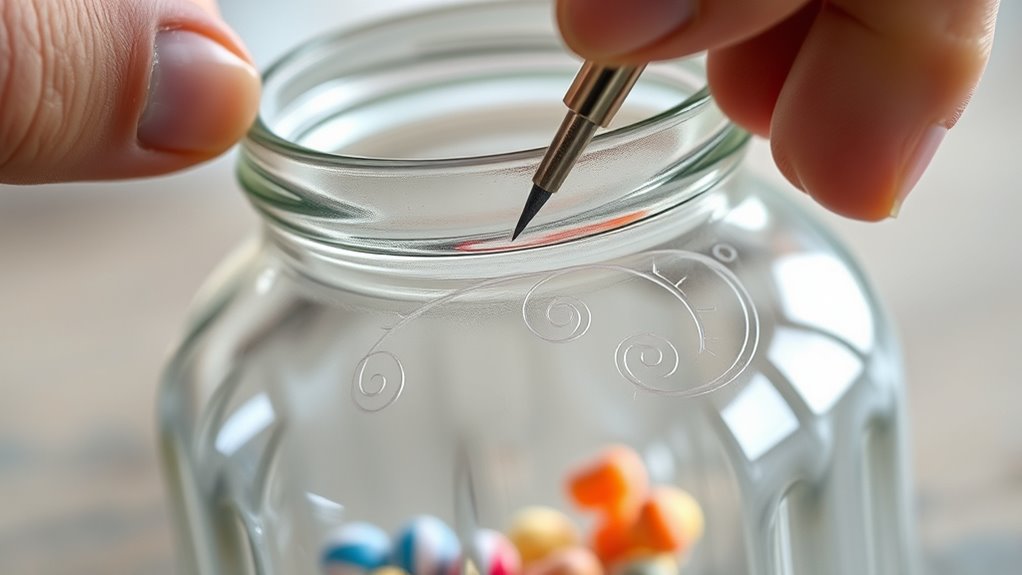
If you’re looking to add a personal touch to your storage solutions, etching a glass jar is a simple and rewarding project. It’s a fantastic way to customize your containers, making them both functional and decorative. When starting your DIY design, consider what you want your etched jars to express—whether it’s a sleek minimal look, playful patterns, or intricate artwork. Your creativity is the limit, and the process lets you craft unique pieces that suit your style and needs.
Add a personal touch to storage with glass jar etching—customize and decorate your containers easily and beautifully.
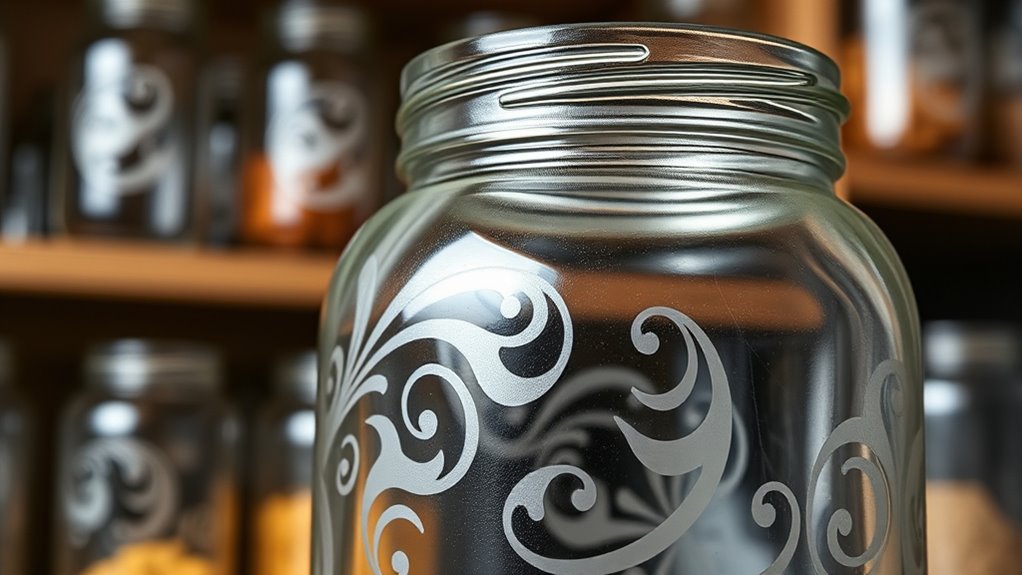
The first step in your project involves choosing the right material choices. Glass jars are ideal because they’re transparent, so your etched design will stand out beautifully. You can opt for clear, frosted, or tinted glass jars depending on your aesthetic preference. Keep in mind that the surface should be smooth and free of dirt or grease; washing the jars thoroughly before starting guarantees proper adhesion of the etching cream and a cleaner final result. When selecting your jars, consider their size and shape to match your storage purpose—small spice jars, larger canisters, or decorative containers all work well.
For your DIY design, you’ll need some basic materials: etching cream, painter’s tape, a craft knife or stencil cutter, and possibly a stencil or design template. Etching cream is a vital material choice—look for a quality product that’s safe to use on glass and provides clear, crisp results. You’ll also want to choose your design carefully. Simple patterns, monograms, or symbols work well for beginners, but if you’re experienced, you can try more complex artwork. Using a stencil can help you achieve precise, consistent lines, especially if you’re new to glass etching. Tape your stencil securely onto the jar, ensuring there are no gaps or bubbles where the cream could seep in.
When applying the etching cream, follow the manufacturer’s instructions closely. Usually, you spread a thick, even layer over the design area and wait the recommended time before rinsing it off. Be patient and careful—rushing can smudge your design or cause uneven etching. Once you remove the stencil and rinse the jar thoroughly, you’ll see your custom design come to life. The beauty of this project is that you can experiment with different patterns, layering techniques, or even combining etching with other decorative elements.
In the end, etching a glass jar allows you to create personalized storage solutions that reflect your style. The process is accessible, and with thoughtful material choices and creative DIY design, you’ll end up with beautiful, custom pieces perfect for organizing or gifting.

Armour Etch Glass Etching Cream – Create Stunning Designs on Glass Surfaces – Etching Cream for Glass by Armour Products – 2.8 oz Net Weight
Versatile Application – Perfect for both beginners and professionals, our etching cream for glass allows you to create…
As an affiliate, we earn on qualifying purchases.
As an affiliate, we earn on qualifying purchases.
Frequently Asked Questions
What Safety Precautions Should I Take When Etching Glass?
When etching glass, you should handle chemicals carefully by wearing protective gear like gloves, goggles, and a mask. Always work in a well-ventilated area to avoid inhaling fumes. Follow the manufacturer’s instructions for handling and disposing of chemicals. Keep your workspace clean and free of clutter to prevent accidents. By taking these precautions, you safeguard yourself from potential hazards and ensure a safe, successful etching process.
Can I Etch Designs on Colored or Painted Glass Jars?
Can you etch designs on colored or painted glass jars? Absolutely! Think of your jar as a blank canvas waiting to be transformed. You can etch on colored glass and painted glass jars, but keep in mind that painted surfaces might resist etching or cause uneven results. Use proper safety precautions, and test a small area first to make sure your design turns out beautifully on your unique jar.
How Long Does the Etching Process Typically Take?
The etching process usually takes about 15 to 30 minutes, depending on your design’s complexity and the etching cream’s strength. You should expect an etching duration of around 10 to 15 minutes, but always follow the product’s instructions. After you remove the cream, allow the jar to dry for at least 10 minutes, ensuring the design is set properly and the surface is dry before handling or further use.
Is It Possible to Remove or Alter Etched Designs Later?
While removing or altering etched designs isn’t impossible, it’s like giving your jar a fresh start. You can try gentle sanding or diamond polishing to soften or obscure the etching, but these methods may not completely erase the design. Keep in mind, altering etched designs can sometimes damage the glass or blur details. For a perfect change, re-etching or replacing the jar might be your best bet.
What Types of Cleaning Products Are Safe for Etched Glass Jars?
You should use gentle cleaning agents like mild dish soap and warm water to clean etched glass jars. Avoid harsh chemicals or abrasive scrubbers, as they can damage the etched design. For glass preservation, steer clear of ammonia-based cleaners and acids, which can dull or erode the etching over time. Regular, soft cleaning helps maintain the clarity and beauty of your etched jars without risking damage.
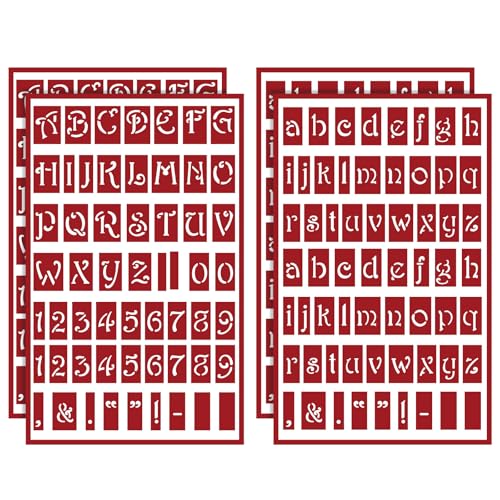
ForraFun 4 Pcs Self-Stick Glass Etching Engraving Stencils for Glass or Stamping Adhesive Stencils, Lowercase Alphabet and Capital Letters with Numerals Etching
Complete Set: get 2 full stencils of capital letters and 2 of lowercase with numerals, in total of…
As an affiliate, we earn on qualifying purchases.
As an affiliate, we earn on qualifying purchases.
Conclusion
Just as a simple jar becomes a canvas for your creativity, your efforts transform ordinary storage into a personal masterpiece. Every etch is like planting a seed of uniqueness, turning everyday objects into treasures that reflect your personality. Remember, the true beauty lies not just in the design, but in the passion you pour into it. With each etched jar, you’re crafting more than storage—you’re shaping a piece of yourself to cherish every day.

Personalization Universe Personalized Date Night Glass Storage Jar with Airtight Lid – Ideal for Candy, Gumballs, Date Night Ideas for Couples, Valentine's Day Gift – 26oz Capacity, 100% Glass
Personalized Design – The Date Night Personalized Glass Storage Jar comes with a colorful heart design and can…
As an affiliate, we earn on qualifying purchases.
As an affiliate, we earn on qualifying purchases.
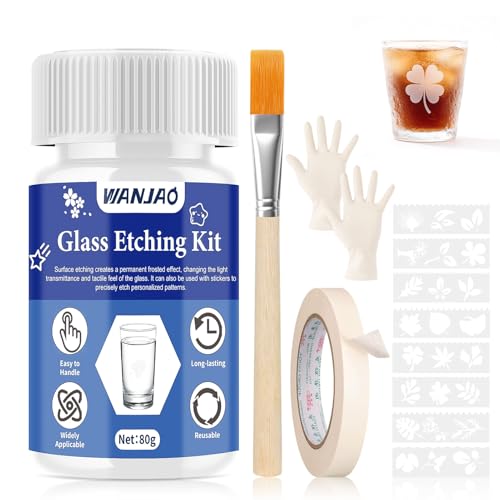
WANJAO 80g Glass Etching Kit, Frosted Glass Etching Kit Long-Lasting Creative Etch Creating Matte Glasses Effect with Stencil Gloves Paper Tape for Glasses Mugs Jars Mirrors Mother Day
Glass Etching Kit: This mother day etching starter kit allows you to frost the surface of glass to…
As an affiliate, we earn on qualifying purchases.
As an affiliate, we earn on qualifying purchases.