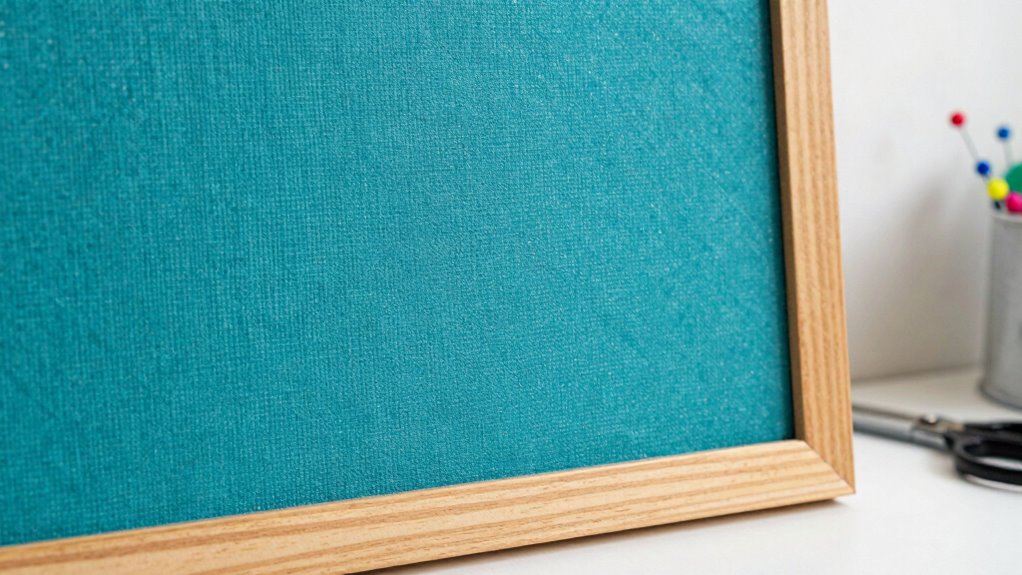

Start by choosing a durable fabric like linen, cotton, or canvas that matches your decor. Cut the fabric with enough extra to wrap around the edges, then secure it to the board with a staple gun, starting from the center and pulling taut. Fold corners neatly, stapling them securely, and trim any excess fabric. Finish with decorative trim if desired, and attach hanging hardware. For detailed steps on perfecting your bulletin board, keep exploring how to get polished, professional results.

Get business pricing on tools and workshop supplies
- Business-only prices and quantity discounts
- Tax-exempt purchasing
- Multiple users, one account, clear invoices
Key Takeaways
- Select durable, attractive fabric like linen or cotton, ensuring enough extra material for wrapping edges.
- Cut fabric with 3-4 inches of extra on all sides, then secure centrally with a staple gun, pulling taut.
- Fold corners neatly, staple securely, and reinforce edges with trim or border for a polished finish.
- Attach hanging hardware such as D-rings or wire for secure, even hanging.
- Trim excess fabric, smooth surface, and add decorative accents for a professional, personalized look.
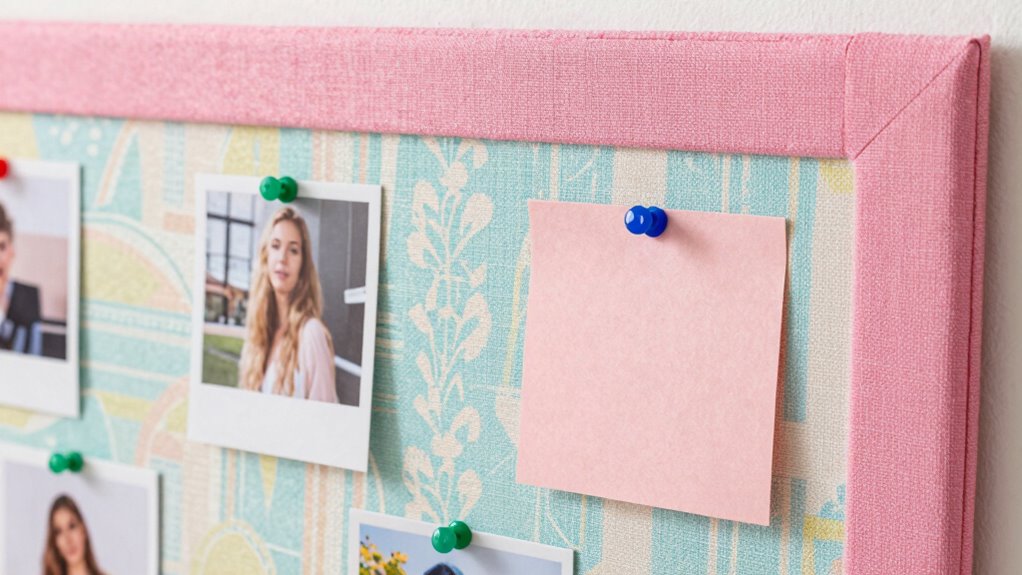
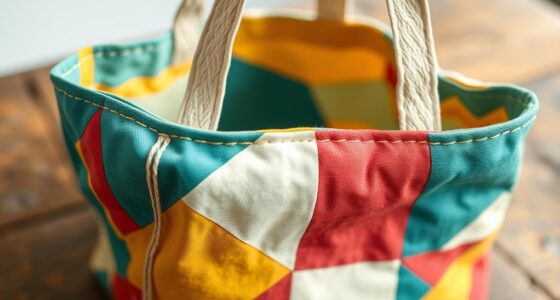
A fabric-covered bulletin board offers a stylish and functional way to display notes, photos, and reminders, adding personality and organization to any space. To start, you’ll want to choose the right fabric and learn some upholstery techniques to achieve a neat, professional look. Your fabric selection is vital because it determines the overall appearance and durability of your bulletin board. Pick a fabric that complements your decor, is sturdy enough to withstand pinning, and has a pleasant texture. Options like linen, cotton, or even canvas work well because they hold pins securely and are easy to work with.
A fabric-covered bulletin board adds style and organization, with durable fabrics like linen, cotton, or canvas for a polished look.
Once you’ve selected your fabric, you need to prepare your board. Cut your fabric, leaving an extra 3 to 4 inches on each side to wrap around the edges. To guarantee a smooth, tight finish, you’ll want to learn some basic upholstery techniques. Start by securing the fabric to the back of the board with a staple gun, working from the center of each side outward. This helps prevent puckering and keeps the fabric taut. As you staple, pull the fabric evenly to maintain a smooth surface. Be careful around the corners—fold them neatly, similar to wrapping a gift, and staple securely to avoid bunching. This method ensures your fabric stays tight and smooth, giving your bulletin board a polished appearance.
When upholstering, pay attention to the corners, because they tend to be tricky. Use a small, neat fold and secure it with extra staples to keep everything flush. For added stability, you might want to reinforce these areas with a few additional staples or fabric glue. Additionally, choosing a proper attachment method can help prolong the life of your bulletin board by keeping the fabric firmly in place over time. Incorporating fabric reinforcement techniques can further enhance durability and ensure your fabric remains tight over the years. After securing the fabric all around, trim any excess, leaving a small margin to avoid bulk at the edges. Fold the fabric neatly over the staples and, if needed, cover the edges with decorative trim or a fabric border for a finished look. Additionally, considering adhesive techniques can help ensure the fabric stays securely in place over time.
Your final step involves attaching a hanging system, such as D-rings or picture wire, to guarantee your bulletin board hangs flat and secure. Now, your fabric-covered bulletin board is ready to serve as a stylish, personalized organizer. Remember, the key to a professional finish lies in your fabric choice and upholstery techniques. With patience and attention to detail, you can create a custom piece that not only keeps you organized but also enhances your space’s aesthetic.
fabric covered bulletin board kit
As an affiliate, we earn on qualifying purchases.
As an affiliate, we earn on qualifying purchases.
Frequently Asked Questions
What Types of Fabric Are Best for Bulletin Boards?
You should choose fabrics with good durability, like linen, cotton, or burlap, as they hold up well over time. Opt for patterns that suit your style and intended use, whether solid colors for a clean look or vibrant patterns for a fun vibe. Avoid delicate fabrics like silk, which may tear easily. Choosing durable fabric with appealing patterns guarantees your bulletin board remains attractive and functional longer.
How Do I Remove the Fabric Without Damaging the Board?
Think of removing fabric adhesive like peeling a stubborn sticker—you want to do it gently. Start by loosening the fabric edges with a hairdryer, then carefully peel it away. Use removal techniques like applying heat or a gentle adhesive remover to loosen the fabric without damaging the board. Patience is key—you’ll save your board for a fresh look without tears or marks.
Can I Reuse the Fabric for Multiple Projects?
Yes, you can reuse fabric for multiple projects if it has good fabric durability. Use reusable materials wisely by carefully removing the fabric without tearing or fraying, which helps preserve its quality. Store it flat or rolled to prevent creases. Reusing fabric is eco-friendly and cost-effective, making it a smart choice for future crafts or decor updates. Just make certain the fabric remains clean and undamaged before reapplying.
What Tools Are Necessary for Assembly?
Think of assembling your fabric-covered bulletin board as setting the stage for a creative performance. You’ll need a hot glue gun or fabric adhesive to secure the fabric smoothly, and a staple remover to peel back staples if you’re reusing or adjusting. A staple gun is essential for affixing the fabric tightly to the frame. These tools help you craft a polished, professional look, transforming your space into an inspiring hub.
How Do I Prevent the Fabric From Sagging Over Time?
To prevent fabric from sagging over time, focus on fabric durability and use sag prevention techniques. Tightly stretch the fabric during assembly, ensuring it’s smooth and secure before stapling. Choose a sturdy, high-quality fabric that resists stretching and sagging. Additionally, attach the fabric firmly to the frame’s edges and consider adding a backing or adhesive spray for extra support. Regularly check and re-tighten if needed to maintain a taut, sag-free surface.
Conclusion
Now that you’ve crafted your fabric-covered bulletin board, remember that, like a blank canvas awaiting the brush of creation, it holds endless possibilities. It’s more than just a surface for notes; it’s your personal gallery, echoing the spirit of the great artists who transformed simple materials into masterpieces. With each pin, you add a stroke of your story, turning everyday functionality into an artful expression—your own quiet ode to creativity, resilience, and the beauty of thoughtful organization.
Halloween Picks
halloween
As an affiliate, we earn on qualifying purchases.