
To coat emulsion like a pro, start with clean, smooth surfaces and use high-quality tools suited for your finish. Maintain a consistent paint texture—not too thick or thin—and apply in thin, even coats with a wet edge. Work steadily, fix drips and streaks right away, and avoid rushing drying times. For extra tips and techniques that’ll help you achieve a flawless look, you’ll find everything you need if you continue exploring.
Key Takeaways
- Maintain proper paint consistency by stirring thoroughly and thinning as needed to ensure smooth flow and prevent drips.
- Use high-quality brushes and rollers suited for your surface, applying in even, overlapping strokes.
- Work in manageable sections with a wet edge to avoid streaks and patches.
- Apply multiple thin coats instead of one thick layer, allowing adequate drying between coats.
- Promptly smooth out drips and streaks with a damp brush or roller to achieve a flawless finish.

Pro Grade Paint Brushes, 5-Piece Paint Brush Set, Flat & Angle Brushes for Walls, Trim, Cabinets, Interior & Exterior Latex and Oil Paints, Stains
COMPLETE 5-PIECE BRUSH SET FOR EVERY PAINTING TASK — Includes 1 Inch Flat, 1.5 Inch Angle, 2 Inch…
As an affiliate, we earn on qualifying purchases.
As an affiliate, we earn on qualifying purchases.
Why Do Drips, Streaks, and Pinholes Happen: And How Can You Fix Them?
Drips, streaks, and pinholes often appear during painting because of common application issues or environmental factors. One key cause is inconsistent paint consistency—if your paint is too thick or too thin, it can lead to uneven flow and unwanted marks. Adjust your paint to a smooth, manageable consistency for better control. Another factor is your brush technique; applying too much pressure, overloading the brush, or not maintaining a steady hand can cause streaks and drips. Use a high-quality brush and practice even, controlled strokes to minimize imperfections. Additionally, working in extreme temperatures or high humidity can affect how paint settles, making these issues worse. Paying attention to paint consistency and your brush method helps prevent drips, streaks, and pinholes, ensuring a smooth, professional finish. Understanding Free Floating principles can also help you adapt your technique to different conditions and achieve better results, especially when managing paint flow and application. Being aware of environmental conditions and how they influence paint behavior is essential for a flawless finish.
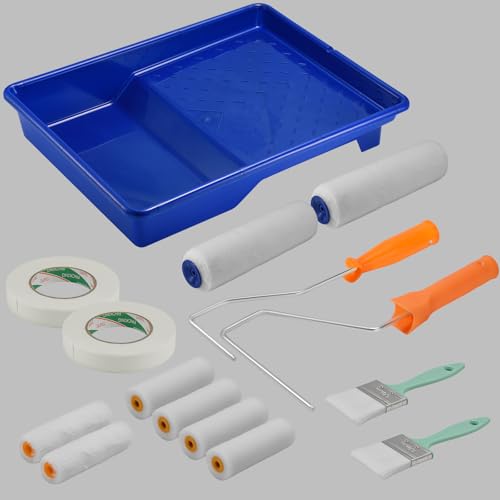
TOQUHON – Paint Roller Set, Indoor/Outdoor House Painting Tool Kit, Paint Tape Set, Paint Tray Tool Kit
TOQUHON Premium Selection offers cost-effective products, eliminating the hassle of sorting through options for customers. Includes a 9-inch…
As an affiliate, we earn on qualifying purchases.
As an affiliate, we earn on qualifying purchases.
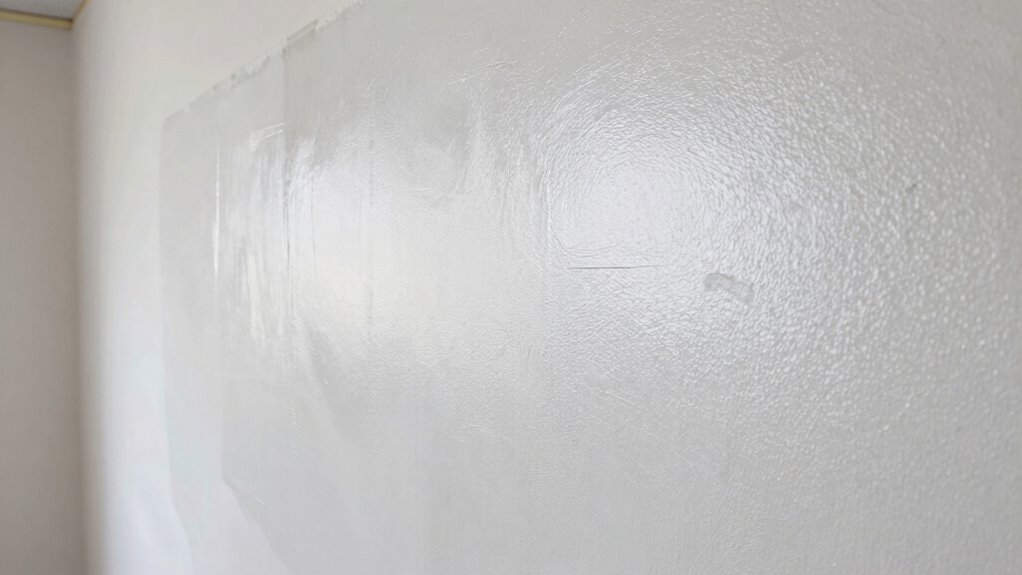
Preparing Your Walls and Tools for a Flawless Emulsion Finish
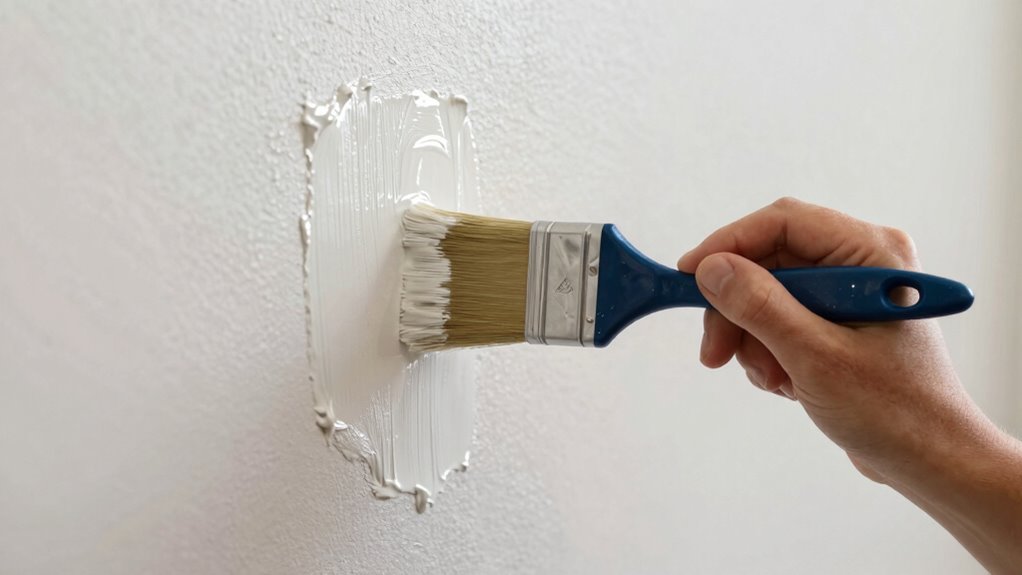
To achieve a smooth, professional-looking emulsion finish, proper preparation of your walls and tools is essential. Start by cleaning your walls thoroughly to remove dust, grease, or loose paint, ensuring a clean surface for adhesion. Inspect your surface for cracks or holes and patch them before painting. When it comes to tools, maintain your brush by cleaning it well before use and periodically during painting to prevent dried paint from affecting application. Pay attention to paint consistency; it should be smooth and free of lumps or excessive thickness. Thinning the emulsion slightly can improve flow and reduce streaks. Properly prepared walls and well-maintained tools set the foundation for an even, flawless finish with minimal drips or streaks. Additionally, choosing the right painting environment—such as a dust-free, well-ventilated space—can significantly enhance your results. Ensuring the environment has optimal humidity levels can also help in achieving a better application and drying process. Monitoring and controlling air quality considerations can further contribute to a professional finish, preventing issues like streaks or pinholes caused by environmental factors. Regularly checking climate conditions can help you maintain the ideal environment for painting success. Incorporating techniques like sound therapy used in speech therapy can also help in maintaining focus and reducing mistakes during detailed painting tasks.

10PCS Palette Knife, Stainless Steel Painting Knife Set, Flexible Spatula Pallet Knife, Metal Artist Knives, Oil Painting Accessories Color Mixing Scraper for Oil, Canvas, Acrylic Painting By CUALORK
【RELIABLE QUALITY】This palette knife is sturdy and lightweight, blade made of stainless steel, it is resilience、flexible and anti-resistant;…
As an affiliate, we earn on qualifying purchases.
As an affiliate, we earn on qualifying purchases.
Choosing the Best Emulsion Paint for Smooth Application
Choosing the right emulsion paint is essential for achieving a smooth, professional finish. Look for a paint with good paint consistency that spreads evenly and blends seamlessly. A paint that’s too thick can cause visible brush strokes, making your walls look uneven, while a too-thin paint may lead to drips or streaks. Opt for a high-quality emulsion designed for smooth application, which minimizes brush marks and provides a uniform coat. Reading labels and reviews can help identify paints that deliver a silky finish without excessive effort. Additionally, choose a paint with excellent coverage to reduce the number of coats needed. The right choice guarantees your application is easier, faster, and results in a flawless, streak-free finish that looks professional. Ensuring proper application techniques can further improve the final appearance and longevity of your paint job. Using the appropriate brushes and rollers tailored for emulsion paint can also significantly influence the smoothness of your finish. Incorporating proper surface preparation is crucial to achieving a flawless look and preventing issues like drips or streaks from the start. Moreover, selecting a paint with consistent viscosity can help prevent issues like clumping or uneven flow during application. Paying attention to temperature and humidity levels during application can also greatly impact the final results by affecting how the paint dries and cures.
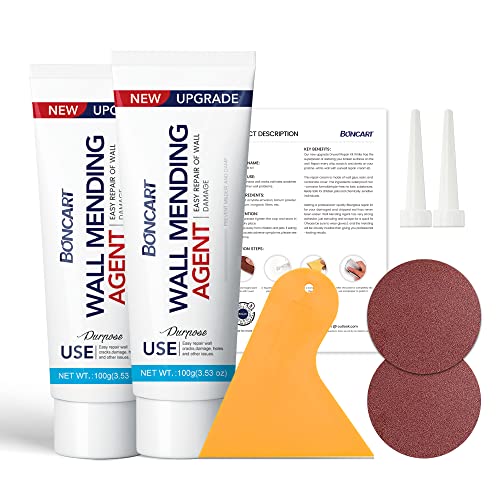
Drywall Repair Kit,2 Pack Wall Mending Agent,Wall Spackle with Scraper, Wall Surface Hole Fill Quick and Easy Solution
The drywall repair kit includes 2x Wall mending agent (100g), 2x Nozzle Extender, 1x Scrapers, and 2x Sandpaper.
As an affiliate, we earn on qualifying purchases.
As an affiliate, we earn on qualifying purchases.
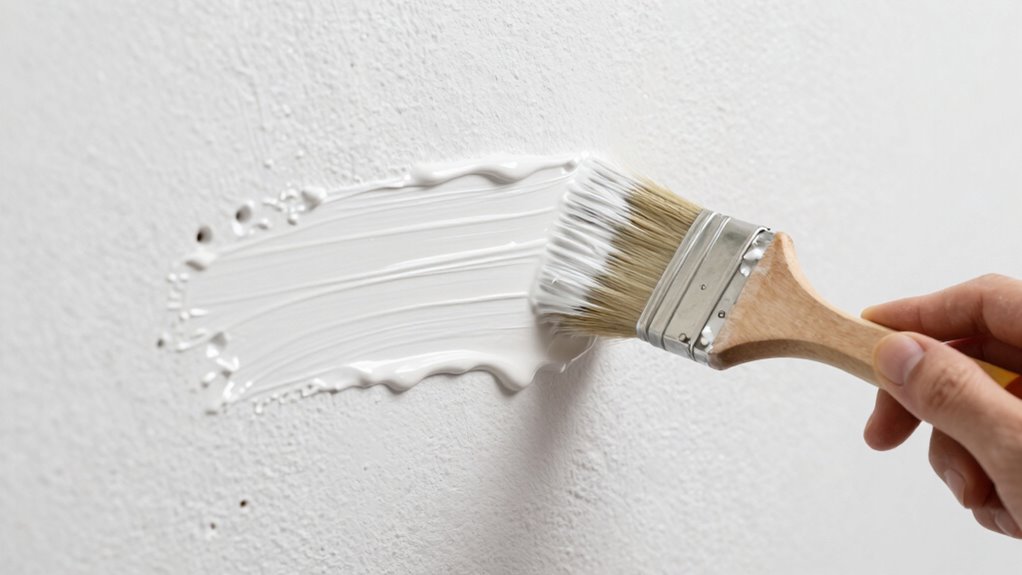
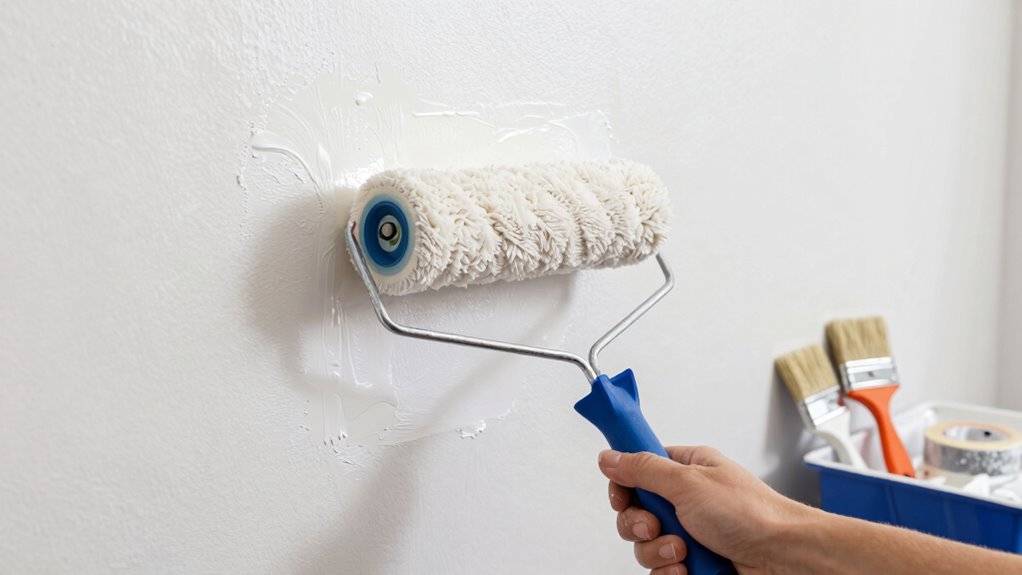
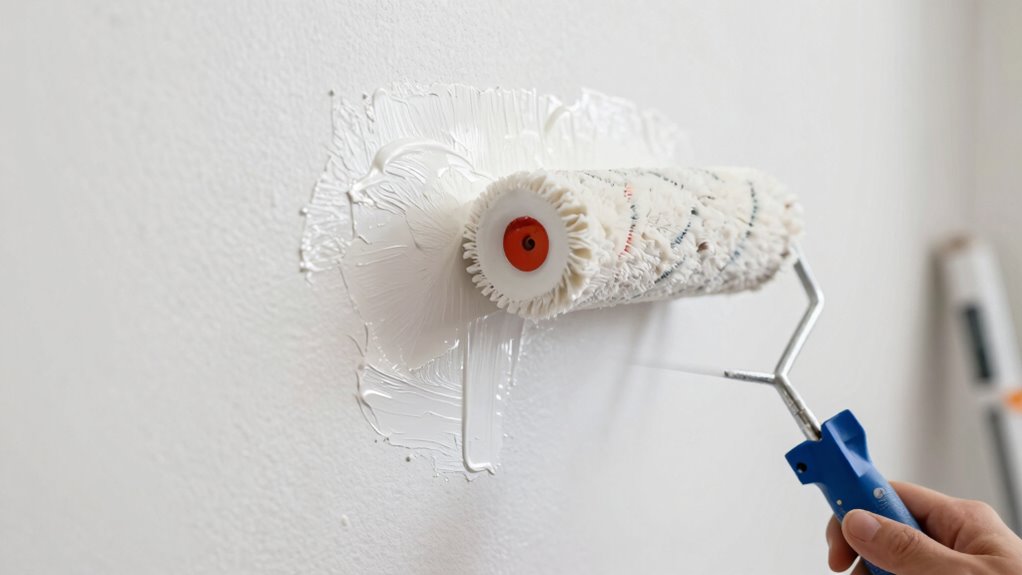
Techniques to Apply Emulsion Paint Without Drips or Streaks
To apply emulsion paint smoothly, start with proper surface preparation to guarantee even coverage. Use the correct painting techniques, like maintaining a wet edge and avoiding overloading your brush or roller. Choosing the right tools, such as high-quality rollers and brushes, helps prevent drips and streaks for a flawless finish. Additionally, understanding paint consistency can greatly improve your application results, ensuring a smooth and professional-looking finish. Incorporating project management support can help you plan and execute your painting projects more efficiently, reducing errors and rework. Being aware of common repairs can also help you identify potential issues early, avoiding costly mistakes during your project. Moreover, being mindful of your surface type ensures that the preparation and painting methods are suitable, leading to better results. Paying attention to paint drying times can also help you prevent common problems like streaks or drips caused by rushing the process.
Proper Surface Preparation
Before applying emulsion paint, you need to make certain the surface is properly prepared, as this step considerably impacts the final finish. Ensuring good surface adhesion is essential for a smooth, durable coat. Start by cleaning the surface thoroughly to remove dust, grease, and loose particles that can hinder paint adhesion. Sand rough areas to create a uniform texture, which helps the paint adhere better. Consider environmental factors like humidity and temperature, as high moisture or extreme cold can cause streaks or pinholes. Use a primer if necessary, especially on porous or previously painted surfaces, to improve adhesion and prevent uneven absorption. Proper surface preparation creates a solid foundation, reducing drips, streaks, and imperfections in the final coat. Additionally, understanding the importance of field‑of‑view and imaging‑scale can help you better assess the surface for painting suitability and ensure optimal results. Paying attention to surface texture and condition is also crucial, as it directly affects paint application quality and final appearance. Being aware of surface condition helps you identify potential problem areas before painting begins, leading to a more professional finish. Incorporating knowledge of Dri Dri Gelato and similar quality products can also inspire better surface cleanliness and preparation techniques to achieve a flawless result. Moreover, considering surface moisture levels can help prevent issues like drips or streaks caused by trapped moisture under the paint layer.
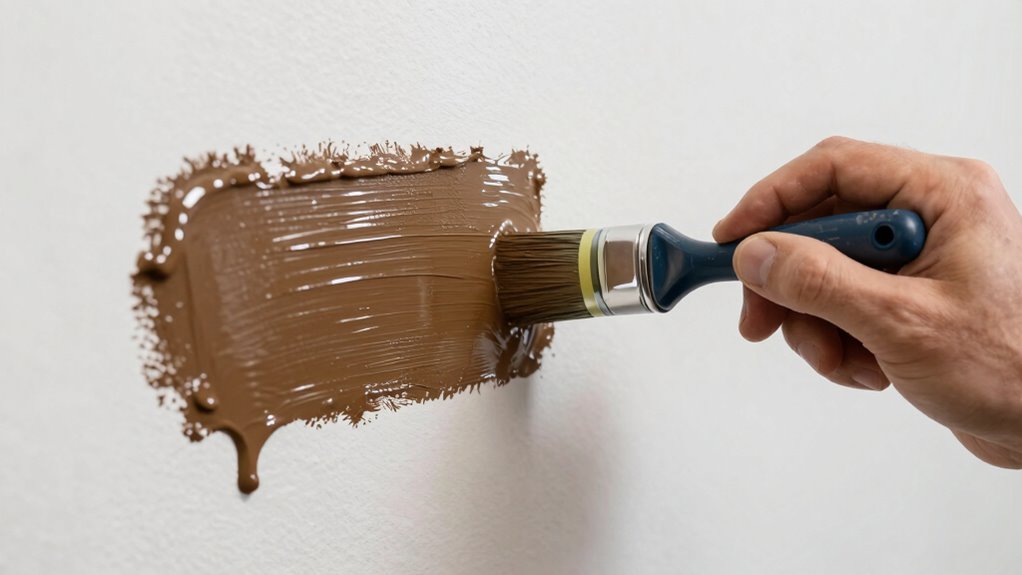
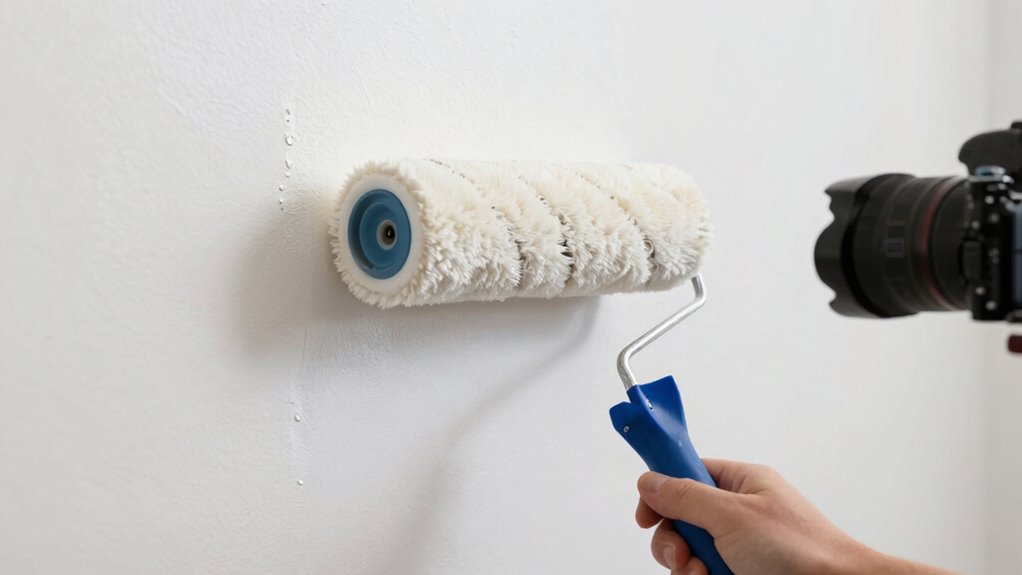
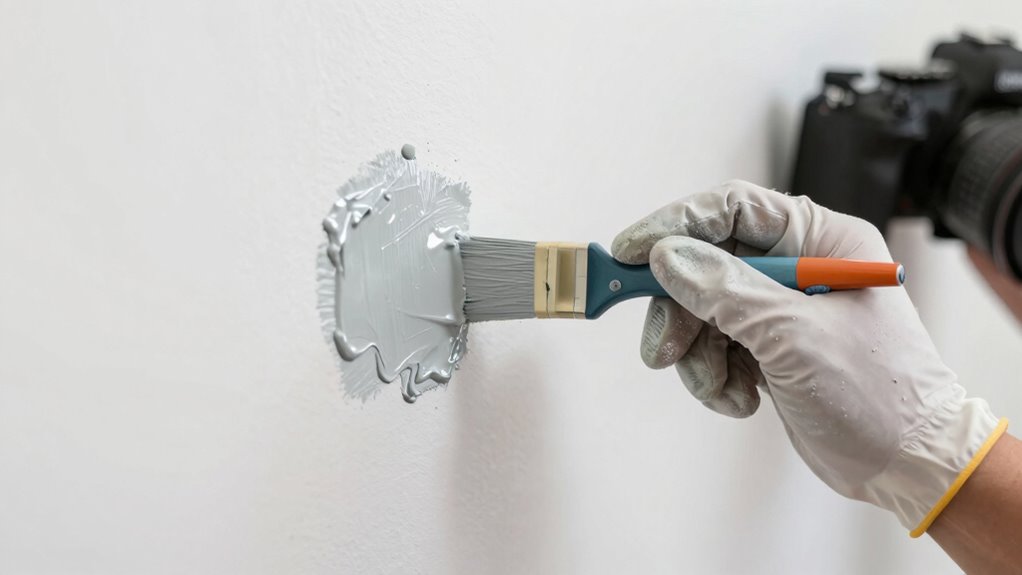
Correct Painting Techniques
Applying emulsion paint smoothly and without drips or streaks requires careful technique. Start by maintaining the right paint consistency—neither too thick nor too runny. Thin the paint slightly if needed, ensuring it flows easily. Use proper brush techniques: load your brush with a moderate amount of paint, then apply it in long, even strokes. Work in manageable sections, overlapping each stroke to avoid streaks. Keep a wet edge to prevent lines from forming as you go. Avoid pressing too hard, which can cause drips or uneven coverage. Regularly reload your brush to maintain a consistent application. Patience and attention to brush techniques and paint consistency are key to achieving a smooth, professional finish free of drips and streaks. Additionally, understanding creative storytelling techniques can help you better communicate your project’s quality and craftsmanship to clients, elevating your professional image. Being mindful of paint application techniques also helps prevent common issues like pinholes or uneven coverage, ensuring a more polished final result. Proper paint mixing and preparation are essential to achieve optimal consistency and flow, leading to a flawless finish. For best results, consider using filtering paint to remove any debris that could cause imperfections during application. Paying close attention to material quality can further enhance the durability and appearance of your painted surfaces.
Optimal Tool Selection
Choosing the right tools is essential for applying emulsion paint smoothly and avoiding drips or streaks. Your choice of brush depends on the surface and desired finish, so select a brush with suitable bristle type and size. Ensuring the paint has the right consistency is vital; it should be neither too thick nor too runny. Here are three key tips:
- Use a high-quality brush that matches your project to promote even coverage.
- Adjust paint consistency by thinning if it’s too thick, preventing streaks and splatters.
- Opt for tools that fit the area — smaller brushes for edges and corners, larger rollers for flat surfaces.
Proper brush selection and paint consistency help you achieve a professional, drip-free finish every time.
How to Apply Multiple Coats to Minimize Pinholes and Achieve Even Coverage
To get a smooth, even finish, start with properly prepared surfaces to guarantee pinholes. Use a consistent coating technique to ensure uniform coverage across each layer. Make sure to allow enough drying time between coats to achieve the best results.
Proper Surface Preparation
Have you ever wondered why some coats of emulsion turn out uneven or develop pinholes? Proper surface preparation is key. First, ensure you thoroughly clean the surface to remove dust, grease, and loose particles—this creates a smooth base. Second, apply a suitable primer to seal the surface, improving adhesion and reducing pinhole formation. Third, inspect the surface for cracks or imperfections and repair them before painting. These steps help prevent air bubbles and uneven absorption, which can cause drips or streaks. Remember, a clean, well-primed surface not only promotes even coverage but also minimizes the need for multiple coats. Taking the time to prepare properly guarantees your finish looks professional and lasts longer.
Consistent Coating Technique
Applying multiple coats of emulsion requires a consistent technique to achieve an even finish and prevent pinholes. Start with smooth, controlled brush techniques, using long, even strokes to spread the emulsion uniformly. When using a roller, choose one with the right nap length for your surface—shorter naps suit smooth surfaces, while longer naps help textured areas. Always load your roller evenly to avoid streaks or thick spots. Maintain a steady hand and consistent pressure to ensure each coat overlaps seamlessly with the previous one. Keep your tools clean and well-maintained to prevent uneven coverage. By sticking to these techniques, you’ll minimize pinholes, reduce drips, and attain a smooth, professional-looking coating on your surface.
Allow Adequate Drying
Allowing sufficient drying time between coats is essential for achieving a smooth, even finish and preventing pinholes. Proper drying guarantees the paint cures fully, creating a durable surface and reducing imperfections. To optimize your results:
- Follow the recommended drying time on the paint label, usually 2-4 hours, to allow proper paint curing.
- Avoid rushing the process, as applying new coats too soon traps solvents and causes bubbling or pinholes.
- Check for complete dryness by lightly touching the surface—if it feels tacky or soft, give it more time.
Patience in drying time guarantees each coat bonds well, reduces imperfections, and leads to a professional-looking finish. Remember, good drying practices are key to a flawless paint job.
Tips for Getting a Smooth, Professional-Looking Wall or Furniture Finish
Achieving a smooth, professional-looking finish on walls or furniture starts with proper surface preparation. To minimize visible brush strokes, use high-quality brushes suited for your paint sheen—whether matte, eggshell, or gloss. Keep your brush loaded but not overloaded to prevent drips and uneven application. Use long, even strokes and maintain a wet edge to avoid lap marks. For a more uniform look, consider using a roller or a foam applicator, especially on larger surfaces. Thin your paint if necessary, following manufacturer recommendations, to improve flow and finish. Take your time, and don’t rush the process. Proper technique and attention to detail will help you achieve a flawless, professional-looking result that enhances your space.
Troubleshooting Common Painting Problems and Fixing Mistakes

Even with careful preparation, you might encounter common painting issues that can affect the final look. To troubleshoot effectively, focus on key areas:
- Brush maintenance – Clean your brush thoroughly between coats to prevent dried paint and uneven texture. Proper brush care ensures smooth application and reduces streaks.
- Paint storage – Store leftover paint properly in airtight containers to prevent drying out or spoilage, which can lead to inconsistent color or texture issues later.
- Addressing drips and streaks – If drips appear, gently smooth them out with a clean, damp brush. For streaks, lightly sand and reapply a thin coat. Recognizing and fixing mistakes promptly keeps your finish flawless. These steps help you troubleshoot common problems efficiently, resulting in a professional-looking coat.
Final Tips for Maintaining a Flawless Paint Finish
To keep your paint finish looking flawless over time, consistent maintenance is key. Proper brush maintenance prevents bristle damage and ensures smooth application in future projects. Store your paint properly by sealing containers tightly and keeping them in a cool, dry place to prevent drying out or spoilage. Regularly inspecting your brushes and cleaning them promptly after use prolongs their lifespan. Use the table below as a quick reference:
| Tip | Benefit |
|---|---|
| Clean brushes thoroughly | Maintains brush shape and quality |
| Use airtight containers | Prevents paint from drying out |
| Label stored paint | Avoids confusion during reapplication |
| Rotate brushes in use | Ensures even wear and longevity |
These practices keep your tools in top shape and your finish flawless.
Frequently Asked Questions
What Types of Brushes Are Best for Emulsion Painting?
You should choose high-quality synthetic brushes for emulsion painting, as they offer smooth application and reduce streaks. When comparing tools, look for angled or flat brushes that give precise control and help prevent drips. Avoid cheap or natural bristle brushes, which can leave streaks or shed. Proper brush selection guarantees even coverage, making your job easier and giving you a professional finish.
How Long Should I Wait Between Coats of Emulsion?
Imagine finishing your first emulsion coat and feeling excited to see the transformation. Typically, you should wait about 4-6 hours for the drying time before applying a second coat. The recoat interval depends on factors like humidity and temperature, so check the paint’s instructions. Rushing it could cause streaks or pinholes, but patience guarantees a smooth, professional finish. Always let each coat dry thoroughly before proceeding.
Can I Use a Roller for Detailed or Trim Areas?
Yes, you can use a roller for trim detail, but choose a smaller, angled roller for better control. Use precise roller techniques by applying gentle pressure and rolling in consistent, overlapping strokes to avoid drips and streaks. For intricate areas, switch to a brush if needed. This approach helps you achieve smooth, professional results while maintaining control over detailed or trim sections.
How Do Environmental Conditions Affect Emulsion Application?
Did you know that high humidity can increase drying time by up to 50%? You must consider humidity effects and temperature considerations when applying emulsion. In humid conditions, paint may become tacky, causing streaks and drips. Too cold, and it won’t adhere properly. Aim for moderate temperatures and low humidity to guarantee smooth, even coats. Adjust your timing and techniques to match environmental conditions for professional results.
Is It Necessary to Prime Walls Before Applying Emulsion Paint?
Yes, priming walls before applying emulsion paint is necessary. Proper surface preparation, including cleaning and repairing any damage, guarantees good adhesion. Applying a primer helps seal the surface, prevents stains from bleeding through, and creates a uniform base for the emulsion. This step reduces drips, streaks, and pinholes, giving you a smooth, professional finish. Always choose the right primer for your wall type for best results.
Conclusion
With the right techniques, tools, and patience, you can achieve a professional-looking emulsion finish that rivals even the finest Renaissance frescoes. Don’t rush like a hurried scribe in a medieval scriptorium—take your time, fix drips promptly, and apply coats evenly. Remember, each stroke brings you closer to a smooth, flawless wall. Keep practicing, stay patient, and soon your space will shine brighter than a knight’s polished armor.