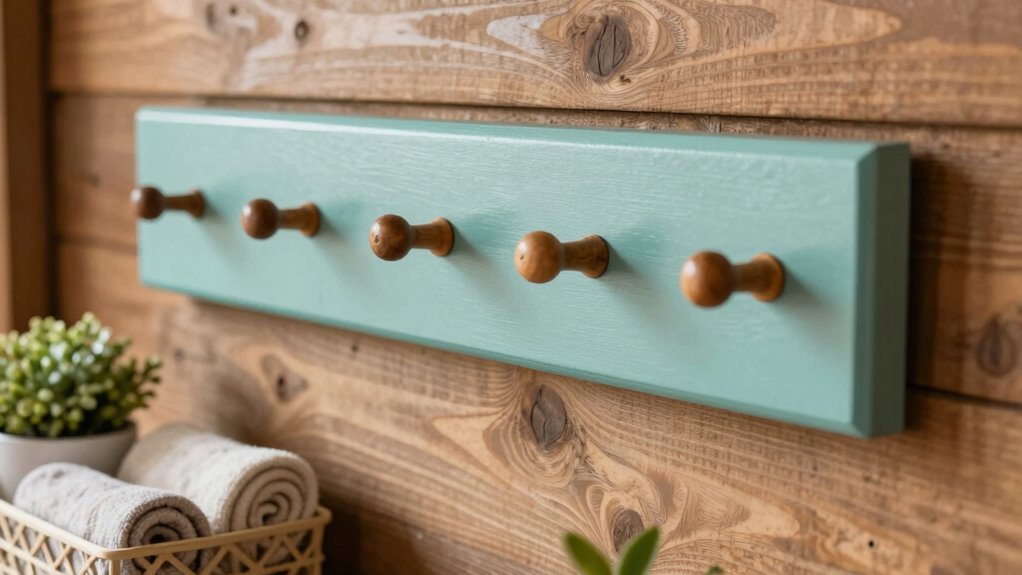

To build a painted peg rail, start by selecting sturdy wood like pine or cedar, measuring and cutting it to your desired length. Sand the edges for a smooth finish, then prime and paint it in soft pastels or muted tones for a vintage look. Drill small pilot holes, install evenly spaced pegs or hooks, and securely mount the rail with wall anchors and level it properly. Following these steps will help you create a charming, functional piece—continue for detailed guidance.
Key Takeaways
- Select and prepare sturdy, sanded wood of desired length, then prime if planning to paint light or bold colors.
- Choose vintage-style paint colors in matte or chalk finishes, and apply evenly with painter’s tape for clarity.
- Drill pilot holes for evenly spaced pegs or hooks, then securely attach them, ensuring a balanced and functional design.
- Mount the painted peg rail onto the wall using appropriate anchors and level for stability and proper alignment.
- Personalize with functional or decorative items to maximize small space utility and enhance vintage-modern aesthetic.
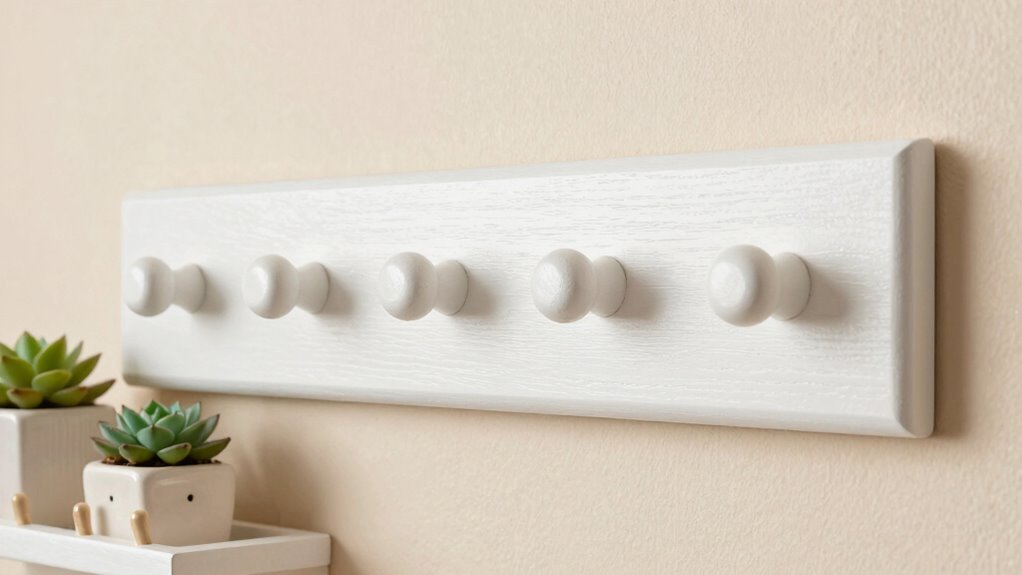
If you’re looking to add a charming and functional touch to your small space, building a painted peg rail is a simple and rewarding project. To capture that vintage inspiration, start by choosing the right materials. You’ll want a sturdy piece of wood, like pine or cedar, which has a classic look and is easy to work with. When selecting your material, consider the thickness—around 1 inch is ideal for durability and ease of mounting. Opt for smooth, knot-free wood to ensure your painted finish looks polished. You can often find reclaimed wood or vintage pieces at salvage yards, which adds an authentic touch and supports the vintage aesthetic you’re aiming for.
Once you’ve selected your material, measure and cut your wood to your desired length—typically between 2 to 4 feet, depending on your space. Sand the edges and surface thoroughly to remove splinters and create a smooth base for painting. This step is crucial, especially if you want a sleek, finished look. After sanding, wipe down the wood to remove dust, then prime it with a stain-blocking primer if you’re planning to paint in a light or bold color. This helps the paint adhere better and prevents any bleed-through from the wood’s natural tannins. Additionally, choosing a safe and eco-friendly paint can contribute to sustainable living practices.
Choosing your paint color is where you can really inject personality into your peg rail. For vintage inspiration, soft pastels, muted tones, or even a distressed finish work beautifully. You might opt for a matte or chalk paint for an authentic, aged appearance. Using painter’s tape, mark where you want to install the pegs, spacing them evenly along the length of your rail. You can choose traditional wooden pegs, or for a more modern twist, metal hooks painted to match or contrast your rail. Drill small pilot holes where your pegs will go to prevent splitting, then screw in your pegs securely. Additionally, selecting the right wood finish can enhance the overall look and durability of your project. Incorporating proper tools and techniques during assembly can make the process smoother and improve the final result. To ensure the stability and longevity of your peg rail, consider adding reinforcement such as brackets or extra mounting screws if needed. It’s also helpful to research mounting tips to guarantee your rail stays secure over time.
Mounting your peg rail is straightforward—use sturdy wall anchors if you’re installing into drywall, and make sure it’s level. Once mounted, you can hang coats, hats, keys, or decorative items, transforming your small space into a functional yet charming area. The beauty of building your own painted peg rail lies in customizing it exactly to your style, blending vintage charm with your personal touch. It’s a small project that delivers big style, adding both character and practicality to your decor.
As an affiliate, we earn on qualifying purchases.
Frequently Asked Questions
What Tools Are Essential for Building a Painted Peg Rail?
You’ll need essential tools like a saw, drill, measuring tape, and level to build your painted peg rail. Start by selecting quality wood suited for your decor, such as pine or cedar. Use the drill for installing hardware options like hooks or brackets. The saw helps cut the wood to size, while the measuring tape and level guarantee precision. These tools make the project straightforward and help create a sturdy, attractive peg rail.
How Do I Choose the Best Paint Finish for Durability?
Did you know that choosing the right paint sheen can extend your peg rail’s lifespan by up to 50%? To guarantee durability, opt for a semi-gloss or satin finish, which resists scratches and cleaning. Proper surface prep is essential—clean, sand, and prime your wood before painting. This foundation helps the paint adhere better, making your painted peg rail more resilient and long-lasting, even with daily use.
Can I Customize the Size of the Peg Rail?
Yes, you can customize the size of your peg rail to fit your space perfectly. Size customization offers great design flexibility, allowing you to create a piece that matches your decor and functional needs. Measure carefully before cutting or assembling, and adjust the length, height, or number of pegs accordingly. This way, you get a tailored, unique peg rail that complements your small decor perfectly.
What Are Common Mistakes to Avoid During Installation?
Did you know improper installation can cause 30% of peg rail failures? To avoid common mistakes, guarantee you measure and mark carefully for proper placement, and use appropriate anchors for decorative accessories. Prioritize installation safety by turning off power if drilling near electrical fixtures. Don’t rush the process—double-check your work, secure the rail firmly, and avoid overloading it. This way, your painted peg rail stays secure and stylish for years.
How Do I Maintain and Clean the Painted Peg Rail?
To maintain and clean your painted peg rail, use gentle cleaning techniques like dusting with a soft cloth or microfiber duster regularly. For spots or stains, lightly wipe with a damp cloth and mild soap, then dry immediately. Follow maintenance tips such as avoiding abrasive cleaners or scrubbing brushes that can damage the paint. Regular cleaning keeps your peg rail looking fresh, and prompt attention prevents dirt buildup or paint chipping.
Conclusion
Now that you’ve built and painted your peg rail, you’re ready to add it to your space. Did you know that peg rails have been used since the 18th century for practical storage? Not only do they keep things organized, but they also add charm. With just a few tools and some paint, you’ve created a functional piece that enhances your decor. Enjoy your new handcrafted peg rail—your small space will thank you!