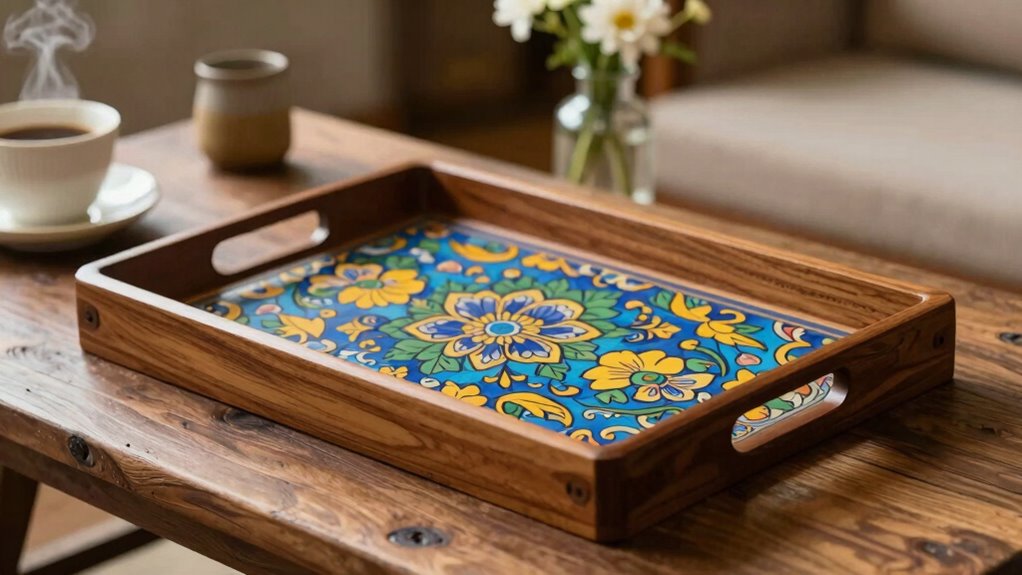

To craft a painted wooden tray for your coffee table, start by selecting and shaping the wood, then sand it smoothly for an even surface. Wipe away dust and apply a primer followed by your chosen base and decorative paints, using stencils or freehand designs for accents. Once dry, add protective finishes like varnish and consider personal touches like painted handles. For a polished, durable piece, focus on layering and detailed finishing touches — you’ll find more tips to perfect your project.
Key Takeaways
- Select and sand a suitable piece of wood, ensuring a smooth, even surface for painting.
- Apply a primer and base coat, then add decorative designs using stencils, painter’s tape, or freehand techniques.
- Incorporate contrasting or metallic paints for visual interest and layer designs, allowing each to dry thoroughly.
- Seal the finished surface with a clear varnish or sealant for protection and durability.
- Add decorative handles or embellishments to personalize and enhance the tray’s overall appearance.
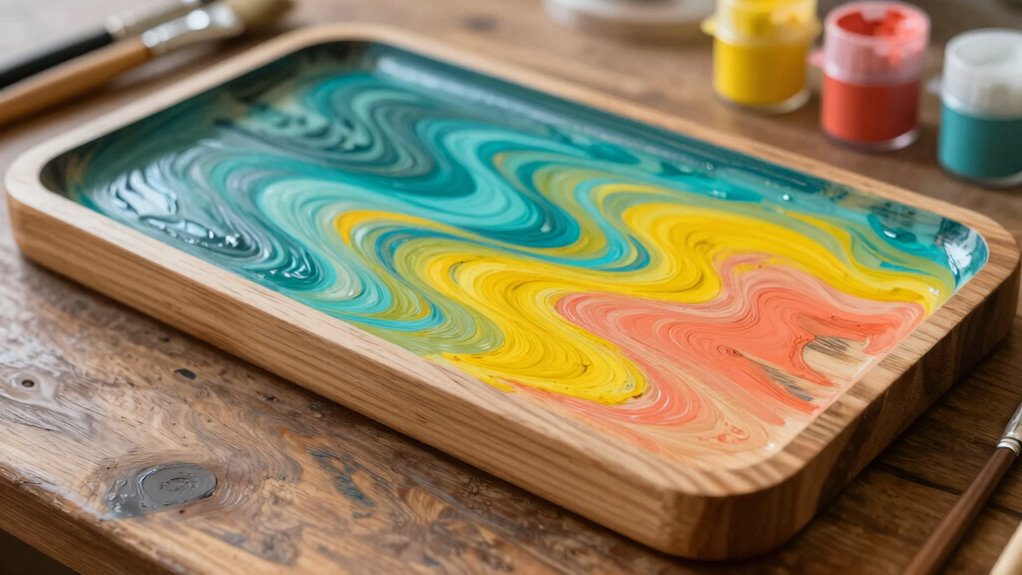
Creating a painted wooden tray is a rewarding project that transforms a simple piece of wood into a functional and decorative item. When designing your tray for coffee tables, you want it to stand out with appealing decorative accents that reflect your personal style. Think about adding patterns, stenciled designs, or even small painted motifs to give it character. These decorative accents can turn an ordinary tray into a statement piece that enhances your living space.
Once you’ve selected the wood, cut it to your desired size and shape, then sand it smooth. This step is essential because a flawless surface guarantees your decorative accents and paint will go on evenly. After sanding, wipe away any dust with a damp cloth and let it dry completely. Now, you’re ready to paint. Choose a base color that complements your decor or adds a pop of color to your coffee table. Applying a primer beforehand can help your paint adhere better and provide a more polished finish.
Select and shape your wood, then sand smoothly for an even, polished surface before painting.
When it comes to creating decorative accents, you can use stencils, painter’s tape, or freehand techniques to add visual interest. Consider using contrasting colors or metallic paints for an eye-catching effect. If you’re feeling adventurous, you can incorporate intricate patterns or motifs that match your decor theme. The key is to layer your designs carefully, allowing each layer to dry thoroughly before adding the next. This prevents smudging and assures sharp, clean lines. Additionally, understanding the different paint application techniques, such as spray painting or brushing, can significantly improve your results and efficiency. It’s also helpful to research finishing techniques to achieve the desired surface texture and durability for your project. Finishing techniques are just as important as the decorative accents in making your tray look professional.
To further enhance your project, experimenting with different paint types can help you find the best finish for your tray’s intended use. Once your paint and designs are dry, apply a clear sealant or varnish to protect your artwork and give the tray a durable, polished look. Choose a matte, satin, or glossy finish based on your preference. Use a brush or spray for an even coat, and remember to follow the manufacturer’s instructions for drying times. Multiple coats may be necessary for a smooth, protective finish.
Finally, consider adding small decorative touches like painted handles or embellishments to enhance the tray’s visual appeal further. These finishing touches tie everything together and give your tray a personalized, finished appearance. With patience and attention to detail, your painted wooden tray will become a stunning centerpiece on your coffee table—functional, decorative, and uniquely yours.
As an affiliate, we earn on qualifying purchases.
Frequently Asked Questions
What Type of Wood Is Best for Painting Trays?
You should choose hardwoods like maple or birch for painting trays, as their smooth wood grain promotes better paint adhesion and a sleek finish. These woods have minimal knots and a fine grain pattern, reducing imperfections that could affect your design. Softer woods, like pine, often have a rougher surface and uneven grain, making painting more challenging. Opt for hardwoods to guarantee your painted tray looks professional and lasts longer.
How Long Does the Paint Take to Fully Cure?
The paint typically takes about 14 to 21 days to fully cure, depending on your environment and the paint type. During this curing time, you should avoid heavy use or cleaning. To guarantee your tray’s color mixing and paint durability stay intact, be patient and let it cure completely. Proper curing enhances the finish, making your painted tray more resistant to scratches, stains, and wear over time.
Can I Customize the Tray With Stencils or Decals?
Absolutely, you can turn your tray into a canvas of creativity with stencil techniques or decal application. Think of stencils as your roadmap to intricate designs, guiding your brush with precision. Decals are like tiny, colorful stickers that bring instant flair. With a steady hand and patience, these methods let you personalize your tray, transforming a simple piece into a showcase of your unique style.
How Do I Prevent Paint From Chipping Over Time?
To prevent paint from chipping over time, you should focus on proper surface prep and sealing. Mix your paint colors thoroughly for a smooth finish, and use the right brush techniques to apply an even coat. Once the paint dries, seal the tray with a clear, durable topcoat to protect your artwork. Regularly check for chips and touch up as needed, ensuring your painted tray stays vibrant and intact longer.
What Safety Precautions Should I Follow During Painting?
Like a shield protecting a warrior, safety gear guards you during painting. You should wear gloves, goggles, and a mask to prevent harmful fumes and splatters. Make certain proper ventilation requirements by working in a well-ventilated space or opening windows, so fumes don’t build up. Always read paint labels for specific safety instructions, and keep your workspace tidy. These precautions keep you safe while creating your beautiful painted tray.
Conclusion
Now that you’ve crafted your painted wooden tray, you’ve turned a simple piece of wood into a canvas of creativity. It’s like giving your coffee table a stylish new outfit—unique and full of personality. With your personal touch, every sip and snack will feel a little more special. Keep experimenting with colors and designs; your DIY masterpiece is just the beginning of many beautiful projects to come. Let your imagination be the guiding star!