
To craft a Moravian paper star, gather colorful paper, scissors, a ruler, and glue. Begin by cutting and folding the paper into geometric star points, making sure to keep everything precise. Assemble the points into a three-dimensional star by connecting the sections carefully. This process creates a stunning, festive decoration that you can hang or display. Keep going, and you’ll discover even more tips to make your star truly unique.
Key Takeaways
- Gather sturdy, colorful paper, scissors, ruler, glue, and templates or draw your own star pattern.
- Cut multiple identical strips and fold them into geometric star points following a precise pattern.
- Glue and assemble the folded strips into a three-dimensional Moravian star shape, ensuring symmetry.
- Decorate by hanging the finished star or combining multiple stars for a festive display.
- Enjoy a rewarding craft that adds charm and personalized style to holiday or everyday decor.
Have you ever wanted to create a beautiful, handmade decoration to brighten up your space? If so, crafting a paper star, especially a Moravian-style star, is a perfect project. Not only does it give you the chance to make something unique, but it also adds a touch of charm to your home. Whether you’re decorating for a special occasion or just want to add some colorful decorations to your everyday environment, this project is both fun and rewarding. It’s also an excellent way to get involved in holiday crafting, creating something that can be treasured for years to come.
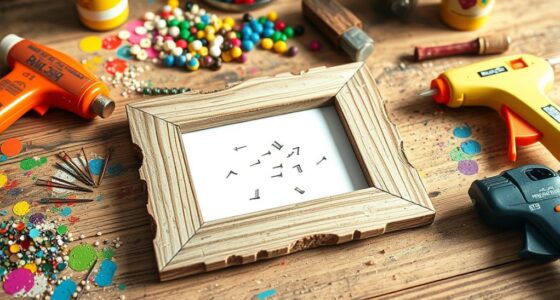
Start by gathering your supplies. You’ll need sturdy paper—colored or patterned works best for vibrant, eye-catching results—scissors, a ruler, glue or double-sided tape, and a pencil. For a traditional Moravian star, you can find templates online or draw your own. The key to a stunning paper star is precision and patience, so take your time to cut and fold accurately. As you work, remember that this craft lends itself well to colorful decorations, so don’t shy away from experimenting with different hues or combining multiple shades for a lively, festive look.
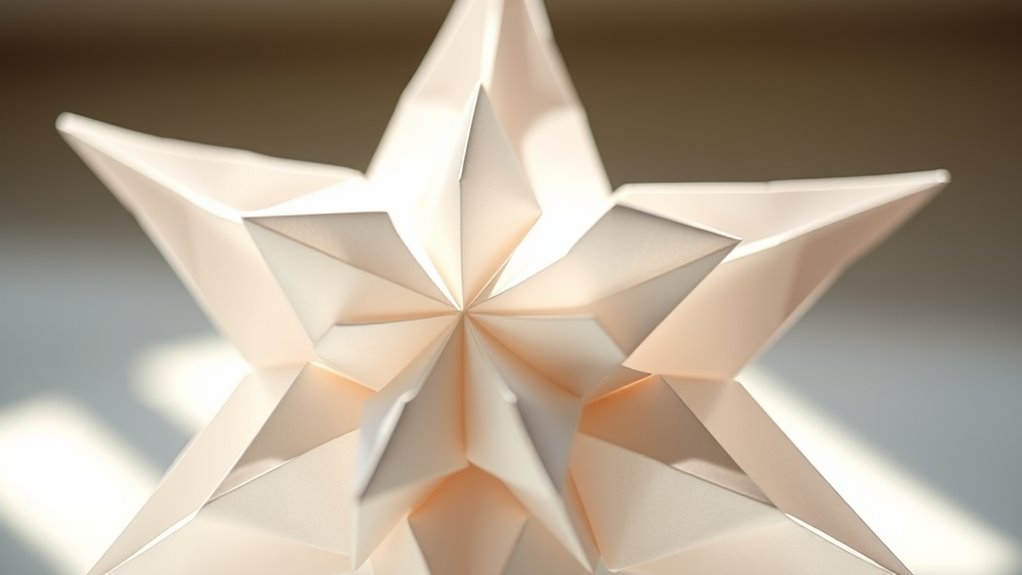
The process begins with creating multiple identical star points. Each point is made from strips of paper, carefully folded and glued into a geometric shape. When assembling the star, you’ll connect these points to form the classic three-dimensional shape. During holiday crafting, this step is especially satisfying because you see the star come to life as the pieces fit together. The symmetry and sharp angles give the star its distinctive appearance, reminiscent of traditional Moravian designs. As you work, think about how these colorful decorations can complement your holiday theme or brighten up a dull corner of your home. Additionally, understanding the IRA tax implications of your income can help you plan your holiday budget more effectively when considering gift-giving or decorative expenses.
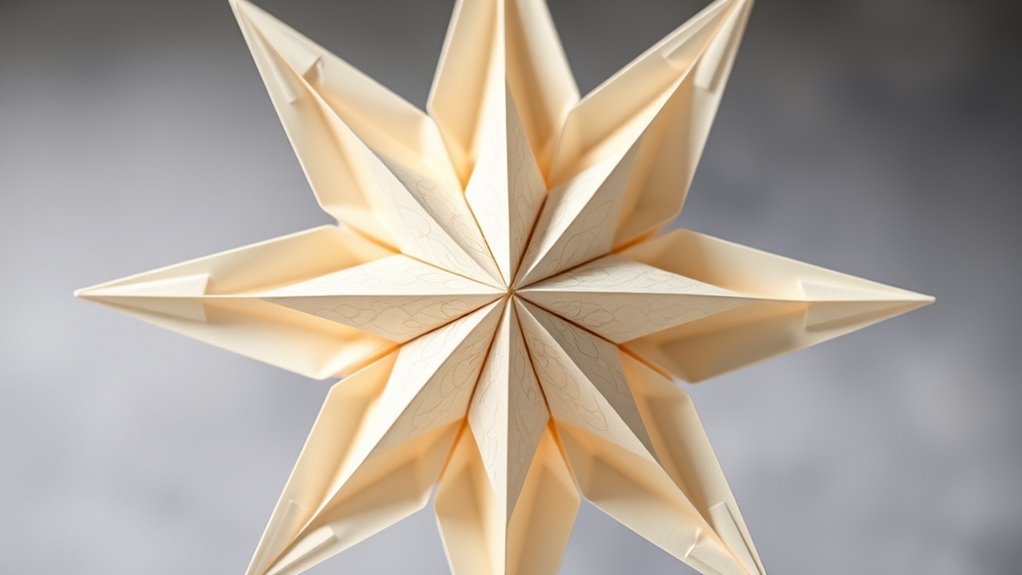
Once assembled, you can hang your paper star from the ceiling, place it on a table, or use it as a centerpiece. Its vibrant colors and intricate design make it a mesmerizing addition to your decor. Because it’s lightweight, you can easily hang it in windows or from the ceiling to catch the light and enhance its visual appeal. If you’re feeling adventurous, create multiple stars in different sizes and colors to turn your space into a dazzling display of holiday crafting. These stars also make thoughtful handmade gifts for friends and family, adding a personal touch to your holiday celebrations.
In the end, crafting a paper star is more than just an arts and crafts project; it’s a way to bring a splash of color and creativity into your life. It’s a delightful activity that combines tradition with modern DIY spirit, making your home warmer and more inviting during any season. So grab your supplies, get started, and enjoy the process of making your own beautiful paper Moravian star.

3/4" Assorted Metallic Paper Strips for German, Froebel, Moravian Stars & Weaving (120 Strips)
120 strips metallic papers; 10 unique colors
As an affiliate, we earn on qualifying purchases.
As an affiliate, we earn on qualifying purchases.
Frequently Asked Questions
What Types of Paper Are Best for Making a Paper Star?
You should use decorative paper like scrapbook paper or patterned cardstock for making a paper star, as they add visual interest. Opt for durable materials such as thick construction paper or lightweight cardboard to guarantee your star holds its shape and lasts longer. Avoid flimsy paper, which might tear easily. Using sturdy, decorative paper helps you create a beautiful, resilient star perfect for hanging or display.
How Long Does It Typically Take to Craft a Paper Star?
You can typically craft a paper star in about 30 minutes to an hour, depending on your skill level and the complexity of the design. Timing considerations include your familiarity with folding techniques and how precise you want the final product. If you’re a beginner, it might take a bit longer, but with practice, you’ll complete it more quickly. Patience and attention to detail help guarantee a beautiful finished star.
Can the Paper Star Be Made Waterproof or Weather-Resistant?
You can make your paper star weatherproof by applying a waterproof coating, transforming it into a resilient guardian against the elements. Use weatherproof materials like laminated paper or waterproof paint to make certain it withstands rain or snow. Think of it as giving your star a suit of armor—shielding it from moisture while still shining brightly outdoors. With these tips, your paper star remains charming, weather-resistant, and ready to grace your space year-round.
Are There Alternative Folding Techniques for Different Star Designs?
Yes, you can explore alternative folding methods to create different star patterns. By experimenting with various origami techniques, you can make stars with unique shapes and styles. For example, try accordion folds, crimping, or reverse folds to achieve diverse designs. These alternative folding methods allow you to customize your paper stars, adding variety and creativity to your projects. So, don’t hesitate to explore different star patterns through different folding techniques.
How Can I Customize My Paper Star for Special Occasions?
You can make your paper star truly special by customizing it for any occasion. Get creative with DIY embellishments like glitter, ribbons, or tiny ornaments, and play with color customization to match themes or moods. Add personal touches such as handwritten messages or themed patterns. When you put your heart into it, your star will shine just as brightly as the occasion itself, turning a simple craft into a memorable keepsake.

Star origami, colorful decorative paper strips, origami paper strips, DIY origami star paper strips (12 color glowing star origami/210 sheets)
How to Glow: When crafting luminous origami stars, fold with the rough side facing outwards. For optimal glow,…
As an affiliate, we earn on qualifying purchases.
As an affiliate, we earn on qualifying purchases.
Conclusion
Once you’ve mastered folding your paper into a beautiful Moravian star, you’ll see how this ancient craft connects you to centuries of tradition. Did you know that Moravian stars, originally used as lanterns, can be traced back to 19th-century European craftsmanship? This craft not only brightens your space but also links you to a rich cultural history. So, keep practicing—your handmade star becomes a meaningful symbol of craftsmanship and heritage that lights up your home.

Aleene's AR6-2 Clear Gel Tacky Glue, 4 oz., 4 oz., Multicolor
Clear Gel is environmentally safe; Water cleanup
As an affiliate, we earn on qualifying purchases.
As an affiliate, we earn on qualifying purchases.

12 Pcs Drawing Stencil Geometric Stencils Circle Square Heart Star Template Set for Painting Basic Shape Tracing Simple Drawing Stencils for Classroom Painting DIY Craft (9×9 Inches)
Package Contents: This set contains 12 templates of different geometric shapes, which are great for kids to explore…
As an affiliate, we earn on qualifying purchases.
As an affiliate, we earn on qualifying purchases.