
To make DIY pressed flower art, start by choosing flat, colorful flowers at their peak bloom and carefully remove excess leaves. Organize your workspace with clean tools, then place the flowers between parchment paper and press them under a heavy book or flower press for 1-3 weeks. Once pressed, arrange and glue your flowers onto a sturdy surface, add finishing touches, protect with a sealant, and display your beautiful creation. If you keep going, you’ll learn even more tips to perfect your craft.
Key Takeaways
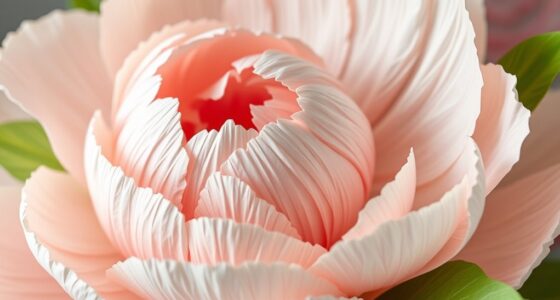
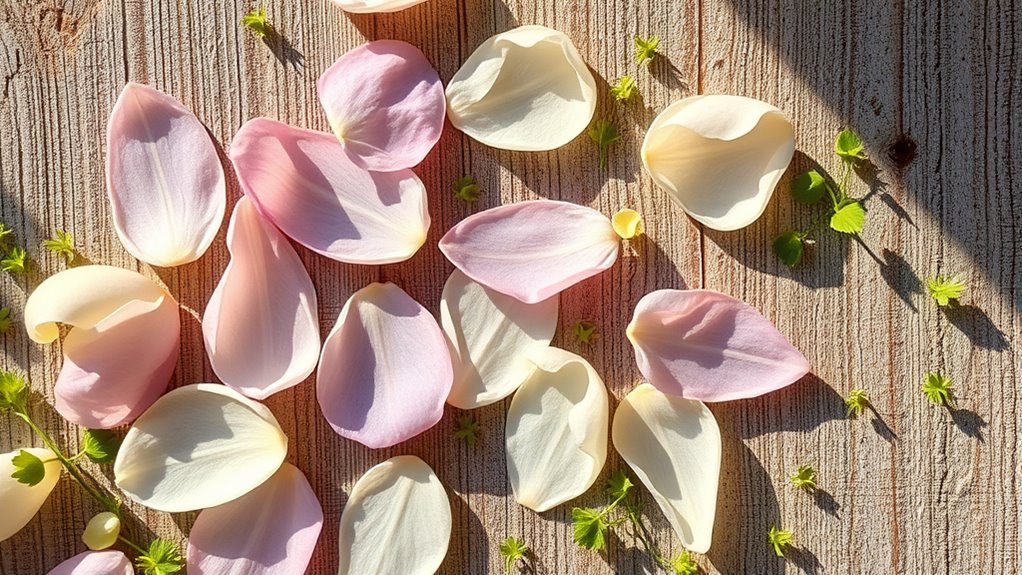
- Select flat, vibrant flowers at peak bloom, removing excess leaves and stems for even pressing.
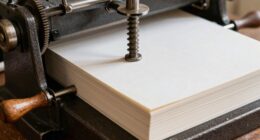
- Arrange flowers flat between parchment paper and press under a heavy book or flower press for 1-3 weeks.
- Design your artwork with balanced color schemes and symmetry to create an appealing composition.
- Attach pressed flowers to a sturdy surface using clear, sparingly applied adhesive, then seal or frame for protection.
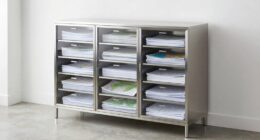
- Display in a glass frame away from direct sunlight and store extra pieces in acid-free containers for long-term preservation.
Gathering and Selecting Your Flowers
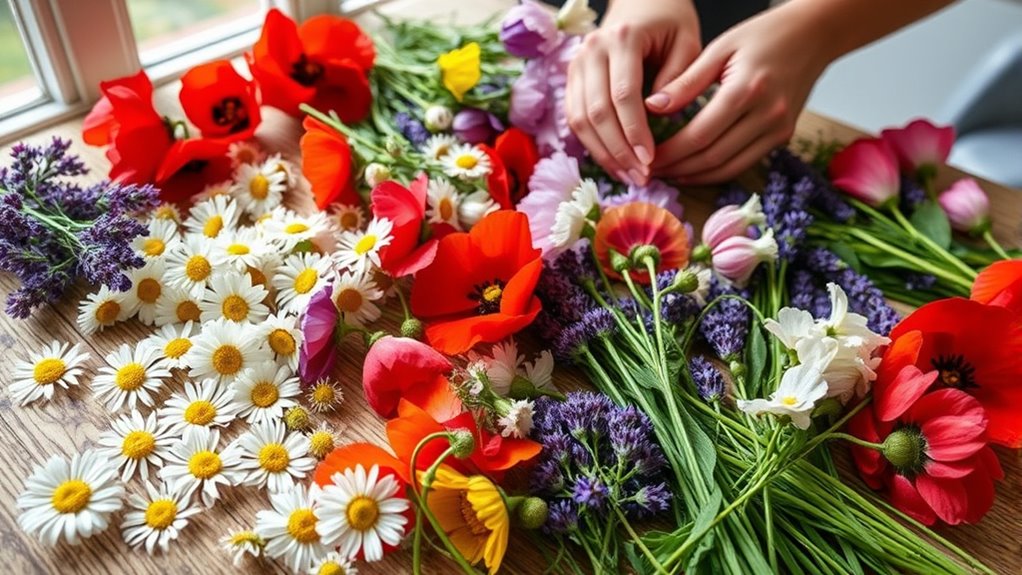
To create beautiful pressed flower art, you first need to gather and select the right flowers. Choose blooms that are flat and sturdy, like pansies, violets, or daisies, as they press well and retain their color. Steer clear of flowers with thick stems or bulky petals, which may not press evenly or could become damaged. Opt for freshly picked flowers during peak bloom, as they hold their colors best. Look for flowers that are free of blemishes, bruises, or insects. If you’re collecting from a garden or outdoors, pick flowers early in the morning when they’re most hydrated. Remember, selecting the right flowers makes a big difference in the quality and appearance of your pressed art. Additionally, selecting flowers with high critical acclaim and box office success can add a stunning visual appeal to your projects. Incorporating climate control considerations, such as choosing flowers suitable for your environment, can help preserve their vibrancy over time. Proper storage techniques before pressing can also prevent premature spoilage and damage, ensuring your flowers press beautifully. Paying attention to air circulation during storage can further reduce the risk of mold or decay, leading to better results. Ensuring your flowers are properly dried before pressing minimizes the chances of mold formation during the process.
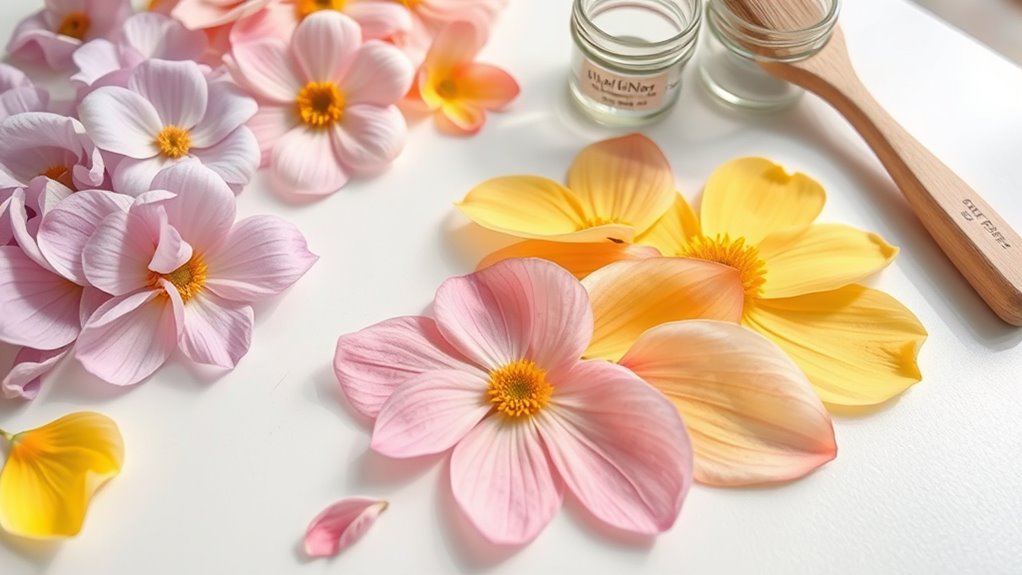
Preparing and Pressing Your Blooms

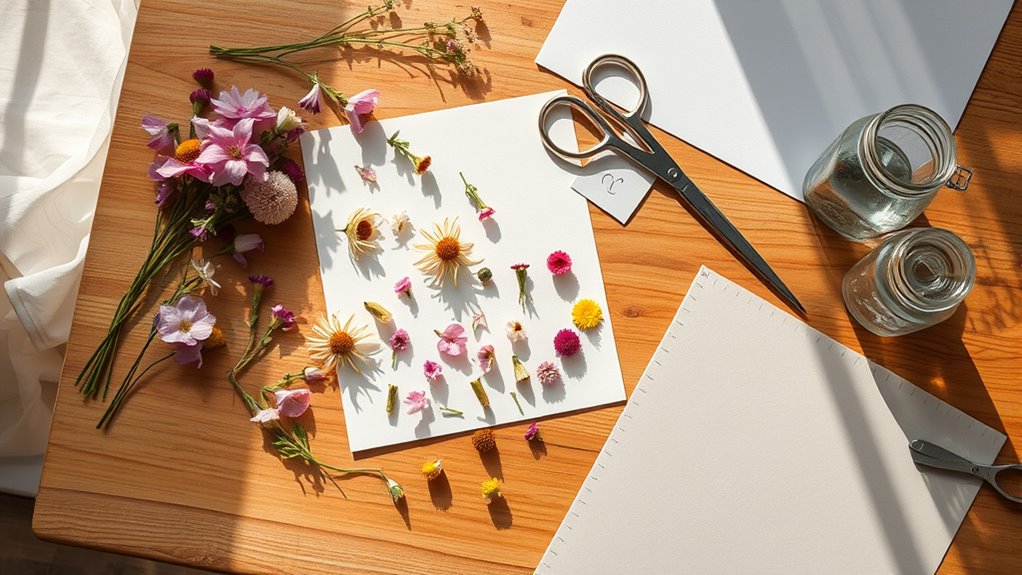
Once you’ve chosen the perfect flowers, it’s important to prepare them properly for pressing. Gently remove any excess leaves or stems that may interfere with the pressing process. Use a soft brush or cloth to wipe away dirt or dust from the petals and blooms. If your flowers are thick or bulky, consider slicing them in half or into smaller pieces to help them dry evenly. Arrange the flowers carefully between sheets of parchment paper or blotting paper, ensuring they lay flat without overlapping. Place the setup inside a heavy book or a flower press, and apply consistent pressure. Allow the flowers to press for one to three weeks, checking periodically to ensure they’re drying evenly and remain flat. Proper flower preservation techniques ensure beautiful, flat pressed blooms. Additionally, utilizing secure payment processing can streamline any sales you might make from your pressed flower art. Monitoring flower dehydration times can help prevent mold or damage during the pressing process, and maintaining a organized workspace can make the entire process more efficient and enjoyable.
Choosing the Right Materials and Workspace
Start by selecting high-quality flowers that will hold up well when pressed, as they make your artwork more vibrant and durable. Keep your workspace organized with all necessary tools within reach to make the process smooth and enjoyable. A tidy, well-prepared area helps you focus on creating beautiful pressed flower art without unnecessary interruptions. Consider incorporating essential oils such as lavender or eucalyptus into your workspace to create a calming atmosphere that enhances creativity. Additionally, choosing appropriate storage for your pressed flowers ensures they remain in good condition for future projects. Using proper pressing techniques can also improve the longevity and appearance of your pressed flowers, and understanding holistic care models can inspire more mindful crafting sessions. Incorporating knowledge about retirement planning can also inspire patience and long-term thinking in your creative process.
Selecting Quality Flowers
Choosing the right flowers is essential for creating beautiful pressed art, and it begins with selecting fresh, vibrant blooms. Look for flowers that are fully open but not wilted or browning around the edges. Avoid flowers with bruises or blemishes, as these imperfections will show through your final piece. Choose blooms that are thin and flat, such as pansies, violets, or daisies, which press well and retain their shape. Steer clear of thick, bulky flowers like roses or hydrangeas—these can be tricky to press evenly. When gathering flowers, do so early in the day, after dew has dried, to ensure they’re at their freshest. Proper selection sets the foundation for stunning pressed flower art that maintains color and detail.
Organizing Your Workspace
To create an efficient workspace for pressed flower art, you need to gather the right materials and set up an organized area. A tidy space helps you focus and prevents damage to your delicate flowers. Consider these key elements:
- Clear a flat, well-lit surface to work on comfortably.
- Keep your materials—flowers, tweezers, scissors, and paper—within easy reach.
- Use storage containers or organizers to separate different supplies.
- Designate a drying area away from moisture and sunlight.
- Ensuring proper lighting conditions will help you see the details clearly and reduce eye strain during your crafting sessions. Incorporating calming music into your workspace can also enhance concentration and create a relaxing atmosphere.
- Using eco-friendly tools and materials, such as sustainably sourced paper, can make your pressed flower art more environmentally conscious.
- Having a dedicated, clutter-free workspace minimizes mistakes and speeds up your process. Keep your tools clean and organized, so you can easily find what you need and stay focused on creating beautiful pressed flower art. Incorporating proper organization techniques can further streamline your workflow and improve your overall crafting experience. Additionally, understanding ethical hacking principles—like maintaining organization and security—can be surprisingly applicable to keeping your workspace secure and efficient.
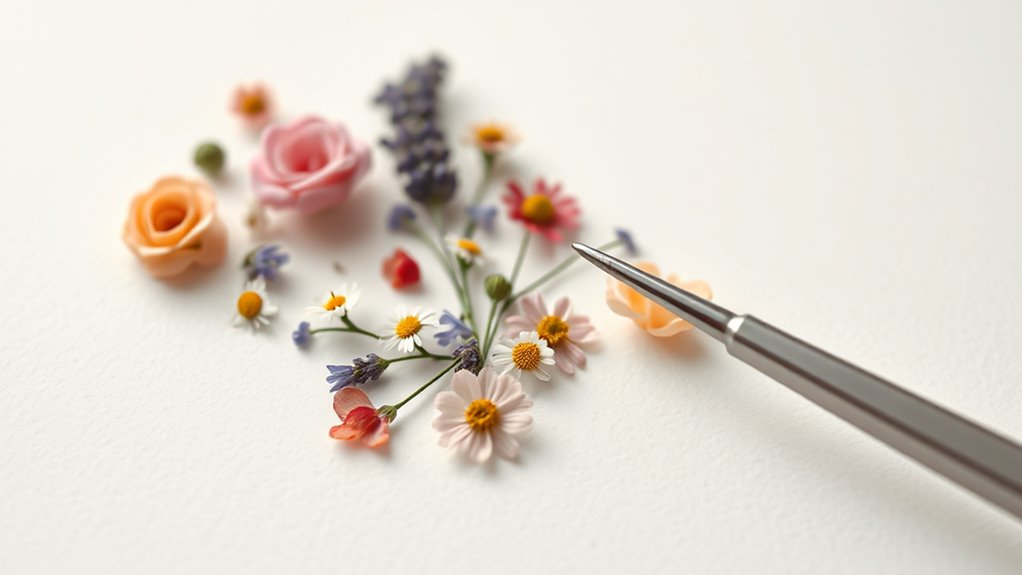
Arranging Your Pressed Flowers for Design
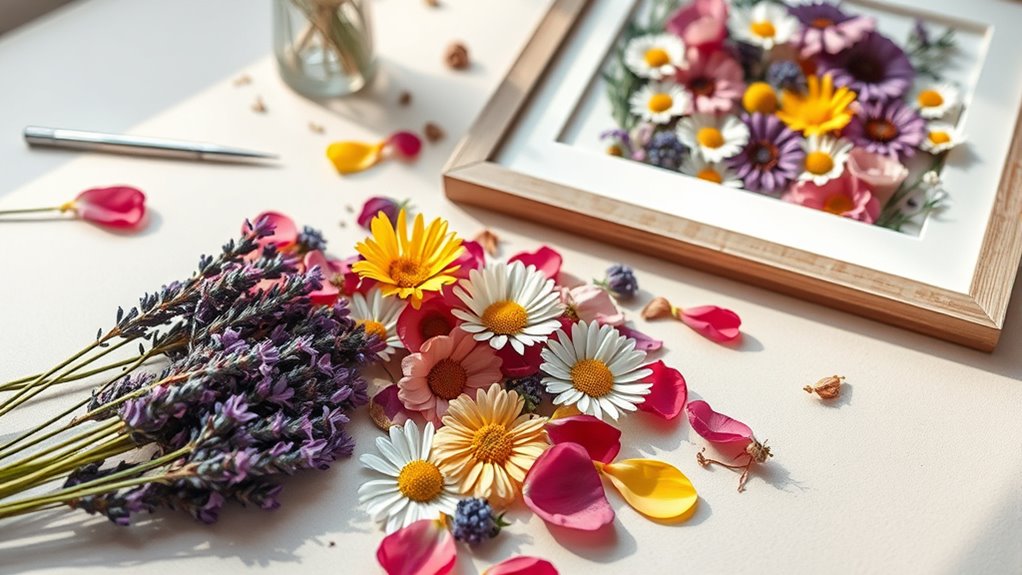
When arranging your pressed flowers, pay attention to color coordination to create a harmonious look. Keep symmetry and balance in mind to make your design feel intentional and pleasing to the eye. Experiment with different layouts to find what best highlights your flowers’ natural beauty. Incorporating principles of sound design can also enhance the overall aesthetic by emphasizing certain elements and creating a more cohesive composition. Considering installation ease can help you choose arrangements that are practical and adaptable for your space.
Color Coordination Tips
Arranging your pressed flowers with thoughtful color coordination can make your artwork stand out. To create a visually appealing piece, consider these tips:
- Use complementary colors – Pair flowers with opposite hues on the color wheel, like blue and orange, to create vibrant contrast.
- Stick to a color scheme – Choose a palette, such as pastels or earth tones, to keep your design cohesive.
- Balance warm and cool tones – Mix warm-colored flowers (reds, yellows) with cool-toned ones (blues, purples) for harmony.
- Highlight focal points – Use brighter or darker flowers to draw attention to key areas, guiding the viewer’s eye through your design.
Thoughtful color coordination elevates your pressed flower art, making it more striking and polished.
Symmetry and Balance
Achieving symmetry and balance in your pressed flower art helps create a harmonious and visually appealing design. To do this, start by placing your focal flower or element at the center or along a guiding line. Mirror other flowers on either side to create symmetry, or arrange them in a way that balances visual weight across the piece. Pay attention to size, color, and shape—distributing bold or bright flowers evenly prevents one side from feeling heavy. Use both horizontal and vertical balance to ensure your design feels stable. Step back frequently to view your work from a distance; this helps you spot areas that need adjustment. With careful placement, your pressed flower art will feel cohesive, balanced, and more enchanting.
Securing and Gluing Flowers Onto Your Base
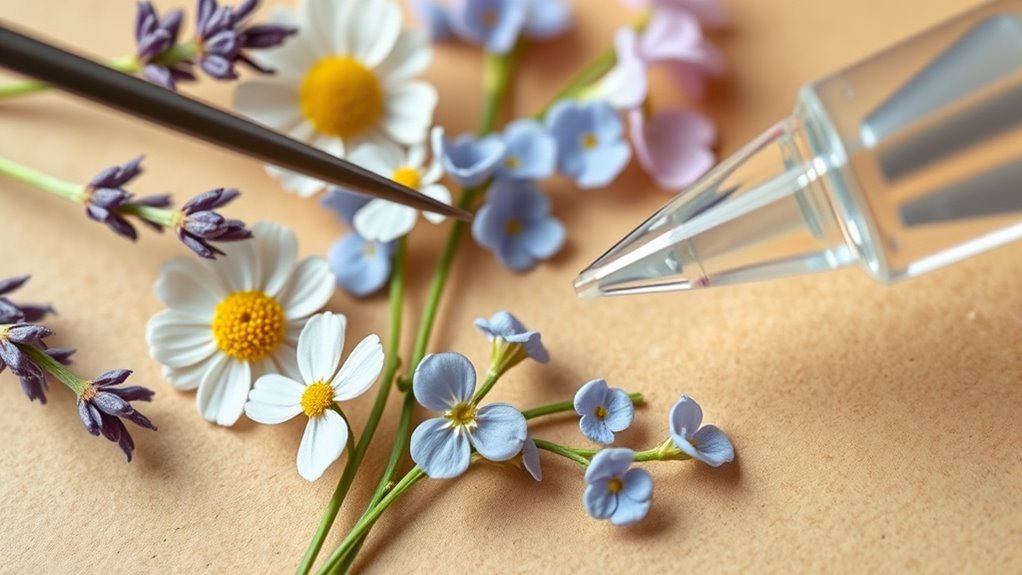
Securing your flowers firmly to the base is essential for a durable pressed flower art piece. Proper gluing guarantees your designs stay intact and look professional. Here are four key steps to achieve this:
- Choose a quick-drying, clear adhesive suitable for paper and delicate flowers.
- Apply a small amount of glue to the back of each flower using a fine-tipped applicator or toothpick.
- Gently press the flower onto your base, holding it in place for a few seconds to ensure it sticks.
- Avoid excess glue, which can seep out and damage the flower or base; use sparingly for a neat finish.
Following these steps helps your pressed flowers stay secure while maintaining an attractive appearance.
Adding Finishing Touches and Protecting Your Art
Once your pressed flowers are securely glued in place, it’s time to add finishing touches that enhance their beauty and make sure your artwork lasts. Consider trimming any uneven edges or stray petals to give your piece a polished look. You might also want to add a delicate border or frame to highlight your design. For extra protection, apply a clear sealant or varnish over the entire piece; this helps preserve the colors and prevents damage from moisture or UV rays. If you’re using glass or acrylic over your artwork, make sure it’s clean and free of fingerprints before sealing. Finally, add a backing or mounting material to keep everything sturdy. These steps ensure your pressed flower art stays vibrant and intact for years to come.
Displaying and Caring for Your Pressed Flower Creations
To guarantee your pressed flower creations stay vibrant and beautiful, it’s important to choose the right display method and handle them with care. Proper presentation enhances their beauty and longevity.
Here are four tips to help you care for and showcase your art:
- Use glass frames to protect flowers from dust, moisture, and UV damage.
- Keep your art out of direct sunlight to prevent fading.
- Handle delicate pressed flowers with clean hands or tweezers to avoid damage.
- Store extra pieces in acid-free envelopes or boxes to preserve their color and shape.
Frequently Asked Questions
How Long Does Pressed Flower Art Typically Last?
Pressed flower art can last for years if you take proper care. You should keep it out of direct sunlight, which can fade the colors, and avoid high humidity that causes mold or deterioration. Handling it gently also helps maintain its appearance. When stored properly, your pressed flower art can remain vibrant and beautiful for a decade or more, serving as a lasting keepsake or decorative piece.
Can I Press Flowers From Dried or Wilted Blooms?
Did you know that pressing flowers can preserve their beauty for decades? You can press flowers from dried or wilted blooms; in fact, they often press better because their cell structures are already broken down. To do so, place the flowers between parchment paper and apply a heavy weight or use a flower press. This method rehydrates and flattens the blooms, making them ideal for creating lasting pressed flower art.
What Are Common Mistakes to Avoid During Pressing?
When pressing flowers, you wanna avoid common mistakes like using flowers that are too thick or wet, as they won’t press properly. Make sure to place them flat between parchment paper or blotting paper, pressing firmly with a heavy book or press. Don’t rush the process—allow enough time for complete drying, usually a few weeks. Also, avoid handling flowers too much to prevent damage or smudging the petals.
How Do I Fix Mistakes or Damage in Pressed Flowers?
Did you know that over 60% of crafters encounter issues with pressed flowers? If you notice damage or mistakes, don’t panic. You can often fix minor tears by carefully gluing tiny pieces back together with clear adhesive. For discoloration or curling, try pressing the flower again or using a light sealant. Always handle fragile flowers gently and store them properly to prevent future damage.
Is It Safe to Use Natural Adhesives on Fragile Flowers?
Using natural adhesives on fragile flowers can be safe if you choose the right type. Beeswax, for example, gently bonds without harsh chemicals, but it might not provide the strongest hold. Always test a small area first and verify the adhesive is non-toxic. Avoid overly liquid or sticky natural glues that could damage delicate petals. Your goal is to secure the flowers without causing any harm or loss of detail.
Conclusion
Now that you’ve mastered the art of pressing flowers, imagine the stunning creations waiting to be revealed. With your newfound skills, you can create breathtaking pieces that capture nature’s beauty forever. But what if the real magic lies in the unexpected details or hidden surprises you haven’t yet discovered? Keep experimenting, and you’ll open endless possibilities—your most captivating pressed flower art is just around the corner. Are you ready to see where your creativity takes you?