
To create beautiful resin art as a beginner, start by preparing a clean, well-ventilated workspace with all your supplies nearby, including resin, pigments, and molds. Choose the right resin type, like epoxy, for clarity and durability, then measure and mix carefully to avoid bubbles. Experiment with color combinations and layering techniques, using tools to create swirling effects. Finish with sanding or polishing for a stunning look—you’ll discover all the essential steps to master this craft as you explore further.
Key Takeaways
- Organize a clean, well-ventilated workspace with all supplies and safety gear ready before starting.
- Choose the appropriate resin type (like epoxy) for durability and clarity, and measure components precisely.
- Mix resin thoroughly with slow, steady motions to minimize air bubbles, and use a heat gun to remove surface bubbles.
- Create visual effects by layering and swirling contrasting colors, allowing each layer to cure fully before adding the next.
- Incorporate decorative elements and test colors beforehand to ensure harmony, finishing with a glossy seal for a stunning effect.

Silicone Resin Measuring Cups Tool Kit- Nicpro 250 & 100 ml Measure Cups, Silicone Popsicle Stir Sticks, Pipettes, Finger Cots for Epoxy Resin Mixing, Molds, Jewelry Making, Waxing, Easy Clean
- Complete Resin Craft Kit: Includes cups, sticks, pipettes, finger cots
- Durable Silicone Measure Cups: Flexible, non-toxic, non-stick, with angled spouts
- High-Quality Silicone Sticks: Anti-skid, heat resistant, easy to peel resin
As an affiliate, we earn on qualifying purchases.
As an affiliate, we earn on qualifying purchases.
Gathering Your Supplies and Setting Up a Workspace
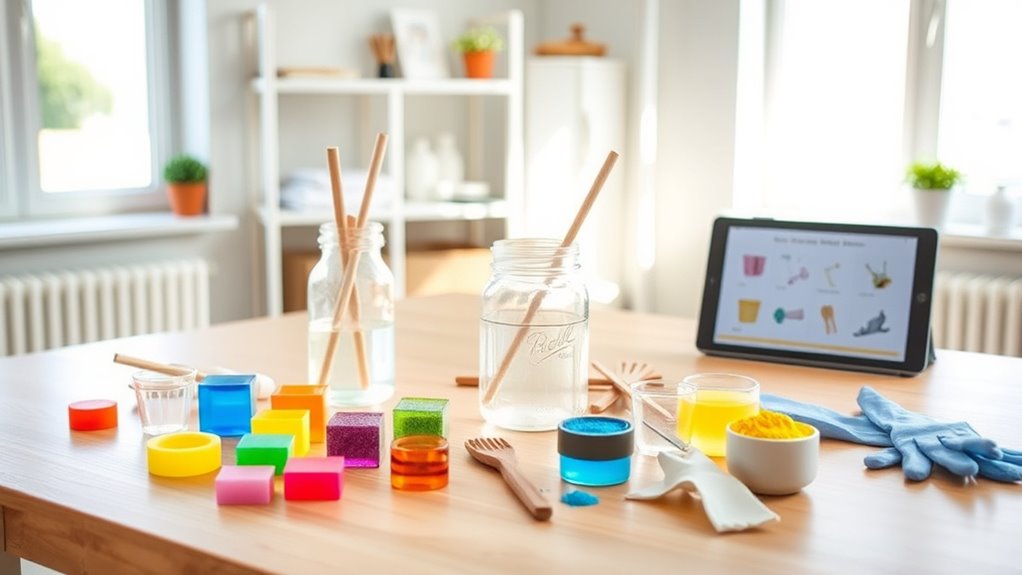
Before you begin creating resin art, it’s essential to gather all the necessary supplies and set up a dedicated workspace. Start by collecting your resin, pigments, mixing cups, stir sticks, gloves, and a safety mask. You’ll also need a smooth, level surface, like a worktable or a plastic sheet, to protect your area from spills. Choose a well-ventilated space to avoid fumes and keep everything organized to streamline your process. Keep other materials, such as silicone molds, heat guns, and decorative elements, nearby for easy access. Clear your workspace of clutter and cover surfaces with newspapers or plastic. Ensuring everything is within reach saves time and prevents mistakes, making your resin art creation smoother and more enjoyable. Additionally, understanding the importance of payment security can help you safeguard your online transactions while sourcing supplies. Being aware of appliance maintenance plans can also be beneficial if you plan to invest in durable tools or equipment for your art projects. Incorporating a calming environment can further enhance your focus and creativity during the process. Creating a dedicated workspace can also help you participate in remote hackathons, which promote collaboration regardless of your location. To achieve professional results, consider using proper safety precautions, especially when working with chemicals and heat sources.
Understanding Different Types of Resin and Their Uses
Choosing the right resin can make a big difference in your project’s outcome. Epoxy and polyester resins each have unique properties suited for different applications, while UV-resistant options help your art stay vibrant over time. Understanding these differences guarantees you select the best resin for your specific needs.
Epoxy vs. Polyester
When selecting resin for your art projects, understanding the differences between epoxy and polyester is essential, as each type offers distinct properties suited to various applications.
Epoxy resin is known for its durability, clarity, and strong adhesion, making it ideal for detailed artworks and pieces that require a glossy finish. It cures slowly, giving you more working time to manipulate your design. Additionally, epoxy’s moisture resistance makes it a preferred choice for projects exposed to humid environments or for items that need to withstand water. Its versatility also makes it suitable for creating resin art with intricate details and layered effects. To achieve a professional look, many artists prefer epoxy because of its superior clarity and ability to be polished to a high gloss. Moreover, epoxy resins are often used in 3D artwork and jewelry, highlighting their adaptability for various artistic techniques.
Polyester resin, on the other hand, is less expensive and cures faster, which is great for large, uncomplicated projects like molds or casting. However, it tends to be more brittle and emits stronger fumes during curing. While epoxy provides a more professional look and longevity, polyester is suitable for quick, budget-friendly projects. Choosing the right resin depends on your project’s needs, budget, and desired finish. Proper handling and ventilation are crucial when working with polyester resin to ensure safety and quality.
Understanding the proper handling of resin types and their curing times can help prevent issues like improper setting or surface imperfections.
UV-Resistant vs. Standard
Have you considered how exposure to sunlight affects your resin artwork? UV-resistant resin is specially formulated to withstand UV rays, preventing yellowing, fading, or cracking over time. If your piece will be displayed outdoors or in direct sunlight, this type is ideal.
Standard resin, however, isn’t designed for prolonged sun exposure and may degrade faster, losing its clarity and vibrancy. While UV-resistant resin often costs a bit more, it offers better long-term durability and keeps your artwork looking fresh.
If you’re creating a piece meant to last years or placed outdoors, investing in UV-resistant resin is wise. For indoor projects or pieces that won’t see much sunlight, standard resin works fine and is more budget-friendly.
Consider your display environment when choosing the right resin type. Additionally, understanding the properties of epoxy resin can help you select the most suitable type for your specific project needs.
Preparing Your Workspace for Safe and Clean Resin Work

Before you start working with resin, it’s essential to prepare your workspace to guarantee safety and cleanliness. Choose a well-ventilated area, ideally outdoors or in a room with open windows, to avoid inhaling fumes. Floating on Water techniques can inspire calming and creative aesthetics for your resin projects. Cover your work surface with protective sheets or newspapers to prevent damage from spills. Keep your tools and materials organized and within reach, so you don’t have to search for items mid-process. Wear gloves, safety glasses, and a mask to protect your skin and eyes. Remove clutter and unnecessary items to minimize accidents. Ensure you have adequate lighting to see your work clearly. Keep a damp cloth nearby for quick cleanup. Proper work environment setup helps you work efficiently, safely, and with minimal mess. Additionally, understanding the importance of color accuracy can assist in choosing the right pigments and finishes for your resin art, ensuring vibrant and true-to-life colors. Paying attention to regulatory guidelines related to chemical safety can further enhance your safety practices during resin work. Being aware of AI-powered safety tools can also help monitor and improve your workspace safety.
Measuring and Mixing Resin and Hardener Properly
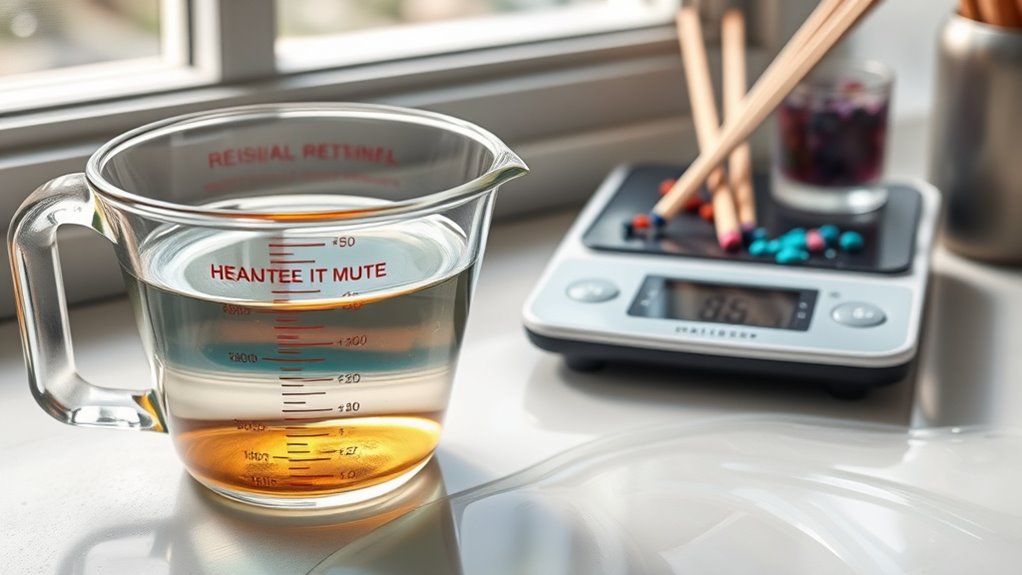
To get the best results, you need to measure your resin and hardener accurately using precise tools like scales or syringes. Make sure to follow the correct mixing ratios to ensure proper curing and avoid issues later on. As you combine the components, work carefully to minimize air bubbles and attain a smooth, professional finish. Proper concentration and application can significantly impact the final appearance and durability of your resin art. Additionally, understanding best practices in resin art can help prevent common mistakes and improve your overall technique. Being aware of proper storage and handling of resin materials also plays a vital role in achieving high-quality results and maintaining the integrity of your supplies.
Accurate Measurement Techniques
Accurate measurement is essential for achieving a successful resin art piece, as improper ratios can lead to curing issues or a compromised finish. To guarantee precision, use a digital scale instead of cups or spoons. Measure the resin and hardener separately, following the manufacturer’s recommended ratios. Double-check each measurement before pouring, and avoid guessing.
Keep your workspace clean and organize your tools to prevent cross-contamination. It’s helpful to prepare your work area beforehand, so you’re not rushing during measurement. Always record your measurements if you’re experimenting with different ratios, so you can replicate successful results later.
Proper Mixing Ratios
Getting the mixing ratios right is essential for a successful resin art project because incorrect proportions can cause curing problems or a compromised finish. Always measure your resin and hardener precisely, using a digital scale or the syringes provided.
Most resins require a 1:1 ratio, but some may need 2:1 or other specific measurements—double-check your product instructions. Pour the resin and hardener separately into your mixing container, ensuring you keep the correct proportions.
Avoid eyeballing or estimating; even small errors can affect the curing process. Once measured, stir thoroughly, scraping the sides and bottom of the container.
Proper mixing ensures the resin cures evenly, maintains clarity, and provides a durable, glossy finish. Accurate ratios are the foundation of beautiful, professional-looking resin art.
Additionally, understanding the AI processing power of resin formulations can help optimize curing times and finish quality.
Avoiding Air Bubbles
Even when measuring and mixing resin and hardener carefully, air bubbles can still form if you’re not mindful of your technique.
To minimize bubbles, follow these steps:
- Mix slowly and steadily to reduce the introduction of air during blending.
- Use a stir stick to scrape the sides and bottom of the container frequently, ensuring thorough mixing without whipping air into the mixture.
- Let the resin sit for a few minutes after mixing to allow bubbles to rise to the surface naturally, then gently skim them off.
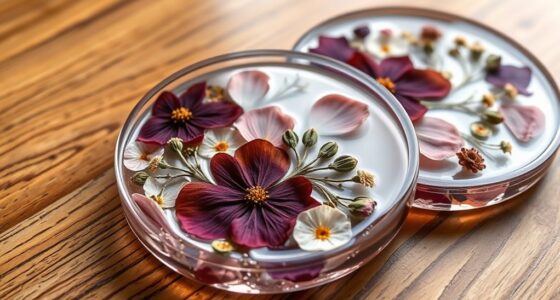
Choosing Colors and Creating Color Combinations
Choosing the right colors is essential to creating stunning resin art, and understanding how they work together can make a big difference. Start by selecting a color palette that complements your overall design or mood. Consider using a color wheel to identify harmonious combinations like analogous or complementary colors.
Keep in mind that lighter shades can add softness, while bold hues create contrast and focus. To avoid a cluttered look, limit your palette to three or four main colors, then add accent shades if needed.
Mixing colors thoughtfully guarantees they blend well and don’t muddy. Test your color combinations on a small surface before pouring, so you can see how they interact and adjust if necessary. This mindful approach will help you craft balanced, eye-catching resin art.
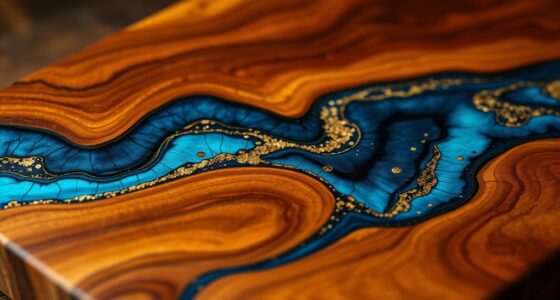
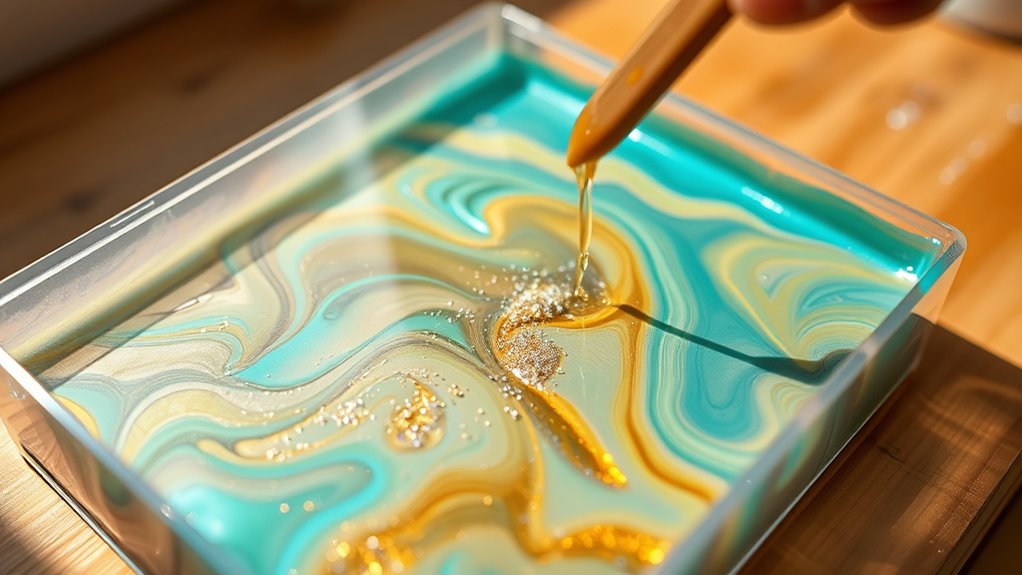
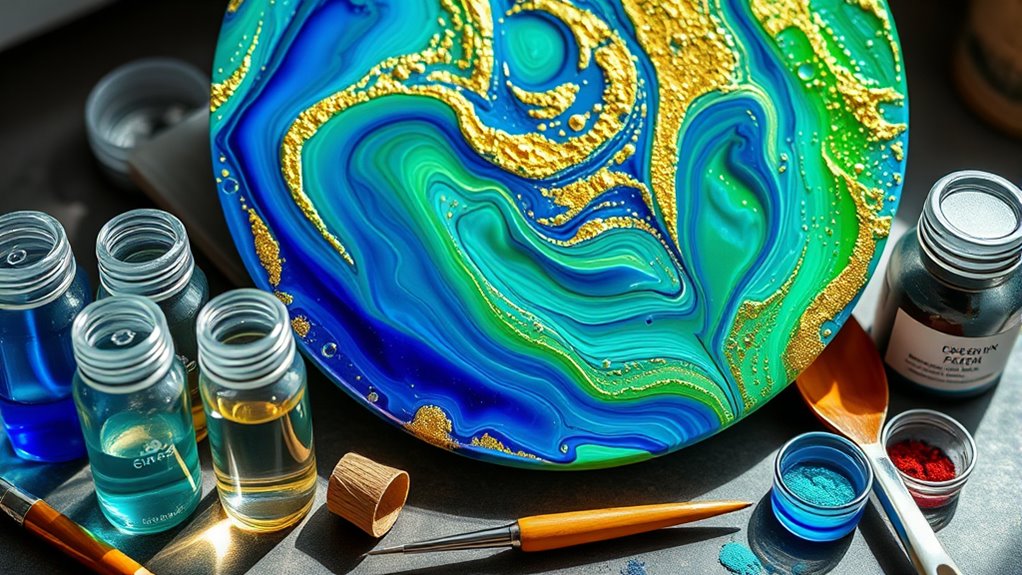
Pouring and Layering Resin for Stunning Effects
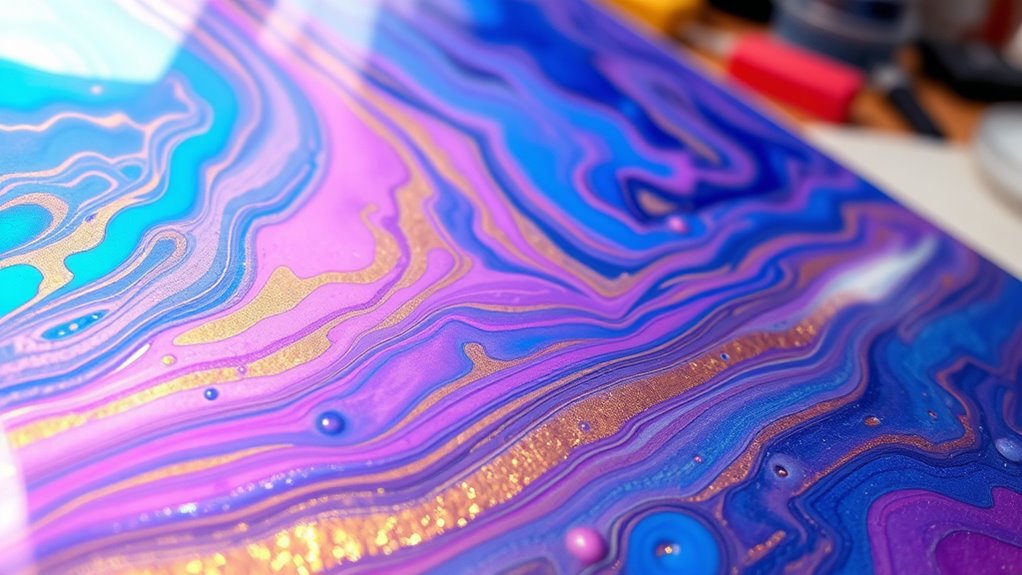
Once you’ve selected your colors and created harmonious combinations, it’s time to start pouring and layering the resin to achieve stunning effects. Begin by pouring your base layer evenly across your surface, setting the foundation.
Start by pouring an even base layer to set the foundation for stunning resin art.
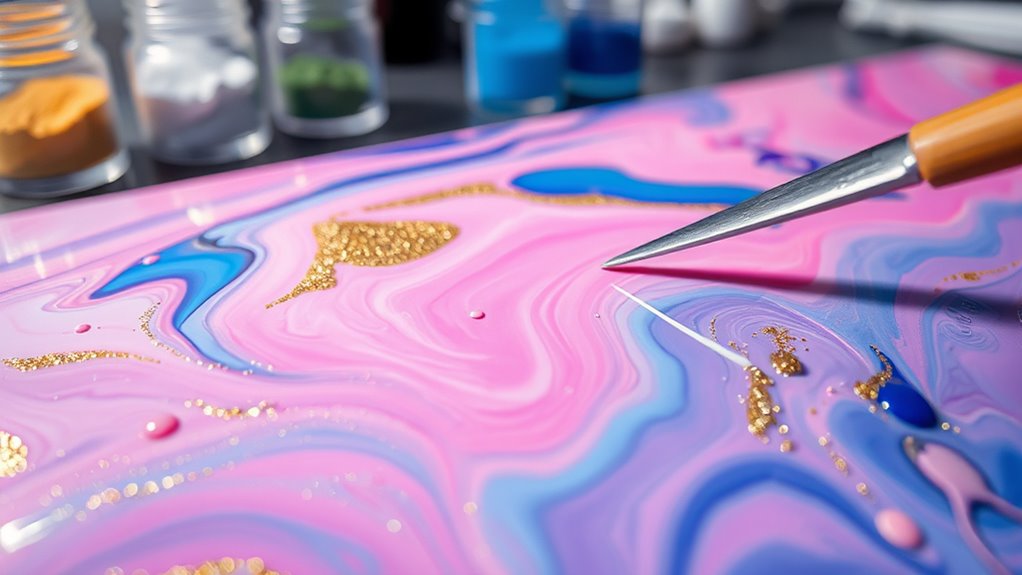
Then, add additional layers or color swirls to create depth and movement. To help visualize, consider these steps:
- Pour a bold, solid color first to form a background.
- Use a thin tool or stick to drag and swirl contrasting colors on top.
- Pour in small amounts to build layered effects, allowing each layer to settle before adding the next. Layering techniques are essential for creating dynamic patterns and visual interest.
- Incorporate high-pressure application methods to evenly distribute resin and avoid uneven textures, especially for larger or more complex designs.
- Controlling cure time is crucial for achieving the desired effects, as working too quickly or slowly can impact the final appearance.
This process creates visual interest, depth, and dynamic patterns that make your resin art mesmerizing. Work patiently, and don’t rush—the magic happens during careful layering.
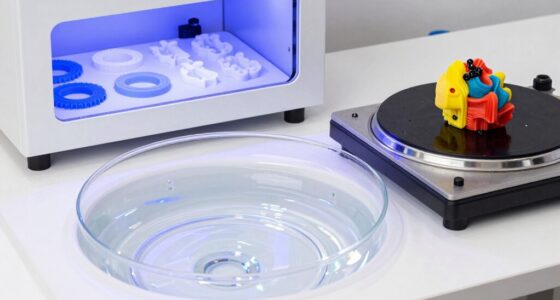
Finishing Touches: Sanding, Polishing, and Sealing
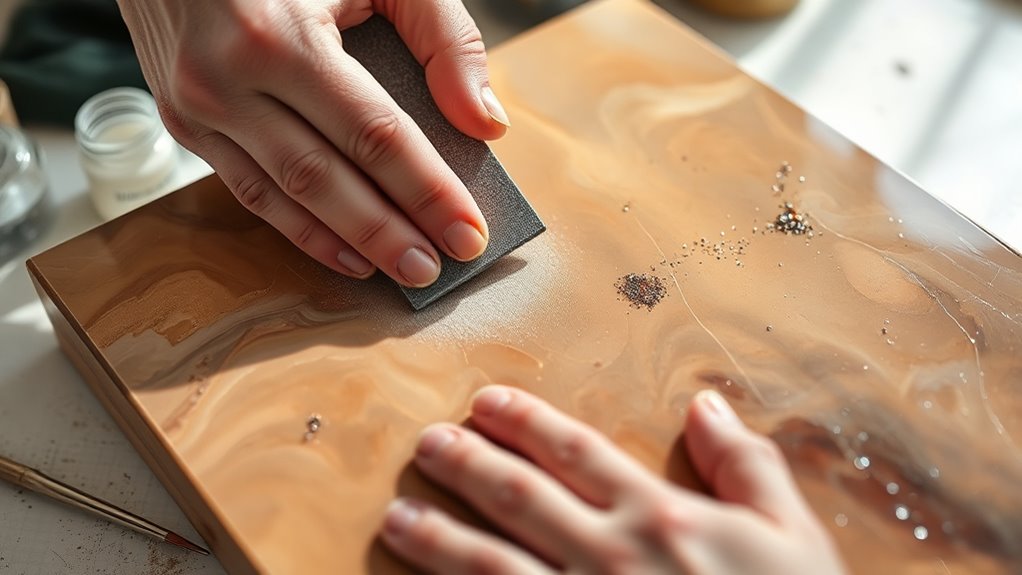
After your resin piece has cured completely, the next step is to refine its surface through sanding, polishing, and sealing. Start with gentle sanding using fine-grit sandpaper to smooth out imperfections and rough edges. Then, polish the surface with a soft cloth or buffing pad to enhance clarity and shine. Finally, seal your piece with a clear, UV-resistant topcoat to protect it from scratches and yellowing over time. Here’s a quick guide to help:
| Step | Tips |
|---|---|
| Sanding | Use 400-600 grit sandpaper for smooth results |
| Polishing | Buff with a microfiber cloth for high shine |
| Sealing | Apply thin, even coats of sealant for durability |
| Safety | Wear a mask and work in a well-ventilated area |
| Final Check | Inspect for any missed spots or scratches |
Tips for Troubleshooting Common Resin Art Challenges

Even with careful finishing, resin art can present challenges that may surprise you. To troubleshoot common issues, start by identifying the problem. Here are some tips:
- Bubbles in the resin: Use a heat gun or torch to gently pop bubbles right after pouring. Ensure your resin is mixed thoroughly and is at room temperature before pouring.
- Sticky or soft areas: These indicate incomplete curing. Check your resin’s curing time, temperature, and humidity levels. Increasing curing time or improving ventilation can help.
- Uneven surfaces or sinkholes: These result from improper mixing or pouring too quickly. Mix resin slowly, pour in thin layers, and let each layer cure fully before adding the next.
Addressing these issues promptly keeps your project on track and results in a flawless finish.
Frequently Asked Questions
Can I Use Resin Art Projects Outdoors?
Yes, you can use resin art projects outdoors, but you need to take precautions. Exposure to sunlight, rain, and temperature fluctuations can affect the finish and durability.
To safeguard your work, choose UV-resistant resin and seal your art with a clear outdoor varnish. Place your piece in a shaded area or bring it indoors during harsh weather to ensure it stays beautiful and intact over time.
How Long Does Resin Art Typically Take to Cure?
Resin art usually takes about 24 to 72 hours to cure fully, depending on the type of resin you use and environmental conditions like temperature and humidity.
You should avoid touching or moving your piece during this time to prevent imperfections.
For the best results, follow the manufacturer’s curing instructions closely.
Keep your project in a dust-free, stable environment to guarantee a smooth, professional-looking finish.
Are There Eco-Friendly Resin Options Available?
Think of eco-friendly resin options as a new lease on life in your creative journey. Yes, there are greener choices available, often made from bio-based or plant-derived materials that reduce environmental impact.
These resins work just as beautifully as traditional ones, allowing you to craft stunning art while caring for our planet. So, you can let your creativity flow guilt-free, knowing you’re making a positive difference with every piece.
What Safety Gear Is Essential During Resin Work?
When working with resin, you need to prioritize safety. Always wear gloves to protect your skin from chemicals, and use a respirator or mask to avoid inhaling fumes.
Safety goggles are essential to shield your eyes from splashes. Work in a well-ventilated area to reduce fumes, and consider wearing an apron to keep your clothes clean.
These precautions help guarantee your resin art project stays safe and enjoyable.
How Do I Fix Bubbles or Imperfections in Cured Resin?
Bubbles catching your eye in cured resin can be frustrating, but don’t panic. You can fix them by gently rewarming the resin with a heat gun or torch, which causes the bubbles to rise and pop.
Sometimes, applying a thin layer of fresh resin over imperfections works too. Always work in a dust-free environment, and for best results, wait until the resin is just tacky before smoothing out surface flaws.
Conclusion
Creating beautiful resin art is a rewarding skill you can master with patience and practice. Did you know that the resin art market is expected to grow by over 30% in the next few years? By following these steps, you’ll turn your vision into stunning pieces that impress. Keep experimenting, stay safe, and enjoy the creative journey—your unique resin masterpieces are just a pour away!