
To make DIY bookmarks with resin, start by gathering quality resin, molds, decorative elements, and safety gear. Prepare your workspace with proper ventilation, organized tools, and protective equipment. Mix the resin thoroughly and pour it into your chosen mold, embedding charms, dried flowers, or glitter for personalization. Allow the resin to cure fully in a dust-free environment, then finish your bookmark by sanding edges or adding ribbons. If you keep exploring, you’ll discover even more tips to perfect your resin bookmark craft.
Key Takeaways
- Gather high-quality epoxy resin, molds, decorative elements, safety gear, and tools, then prepare a well-ventilated workspace.
- Design your bookmark shape, add personal embellishments like dried flowers or glitter, and plan your color scheme.
- Mix the resin thoroughly following manufacturer ratios, remove bubbles, and pour slowly into the mold with embedded decorations.
- Cure the resin in a dust-free area at controlled temperatures for 24-72 hours, then pop surface bubbles and ensure complete hardening.
- Finish by sanding edges, polishing for shine, and handling with care to create a durable, glossy, personalized resin bookmark.
Gathering Your Materials and Tools
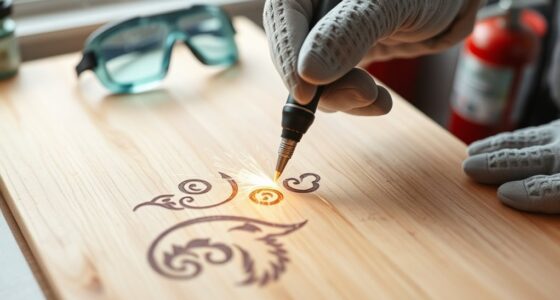
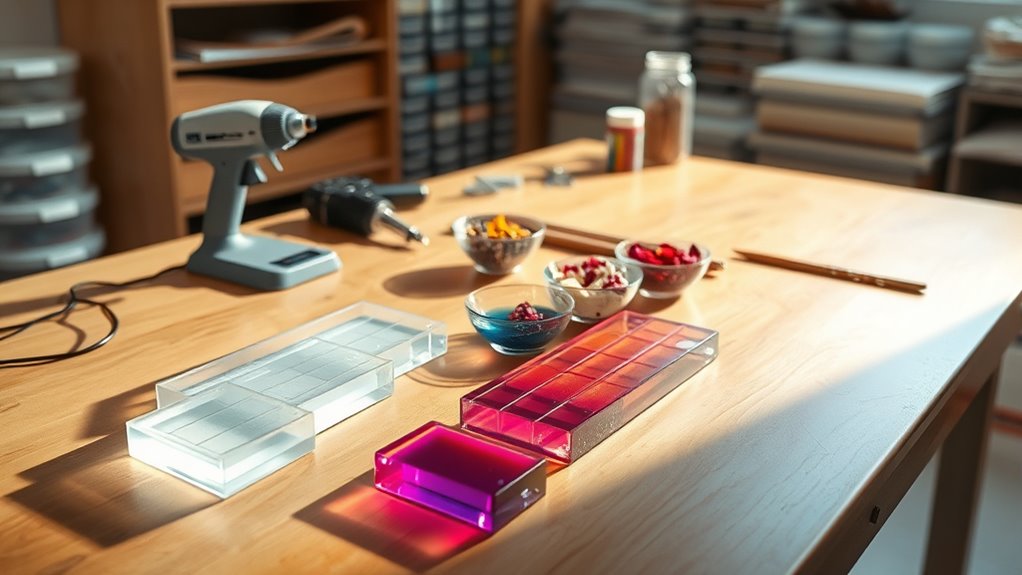
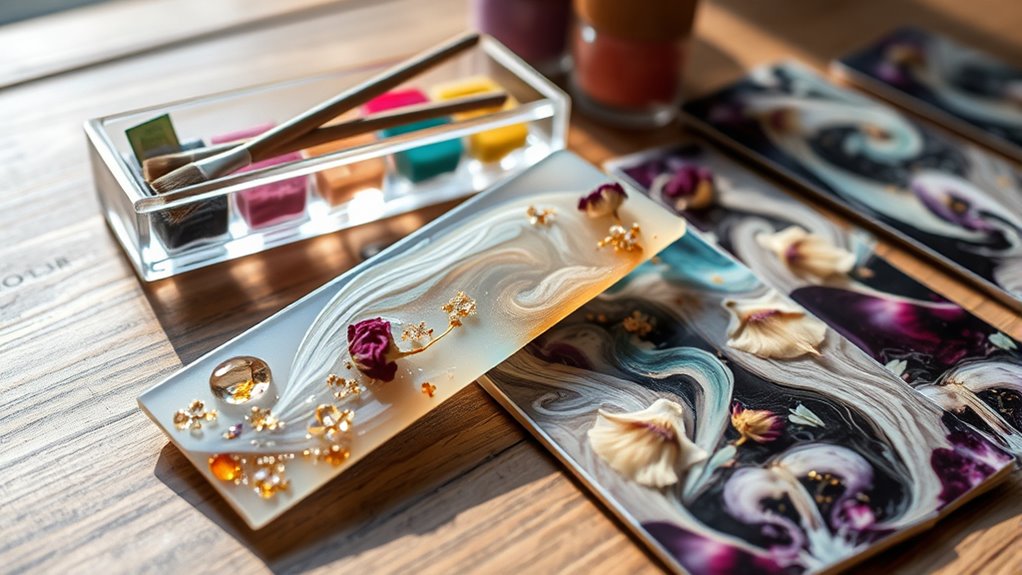
Before you begin your resin bookmark project, it’s important to gather all the necessary materials and tools. You’ll need high-quality epoxy resin, mixing cups, and stir sticks to combine the resin properly. Get some silicone moldings or a flat surface to pour the resin into. You’ll also want decorative elements like dried flowers, glitter, or small charms to embed in your design. Don’t forget safety gear: gloves, a mask, and protective eyewear to prevent resin contact. Have a heat gun or torch handy to remove bubbles. Prepare your workspace with newspaper or a plastic sheet to catch drips. Ultimately, gather sandpaper or polishing pads for finishing your bookmark. Having everything ready ensures a smooth, enjoyable crafting process and helps you avoid interruptions. Additionally, understanding the resin’s curing time can help you plan your work effectively. Knowing the curing duration is essential for achieving a flawless finish and avoiding damage to your design during handling. Being aware of the personal safety precautions when working with resin also helps prevent accidents and health issues. It’s also helpful to review vetted reviews to choose the best resin products for your project. Incorporating knowledge about sound vibrations and their influence on cellular regeneration can inspire creative and healing design elements in your bookmarks.
Preparing Your Workspace for Resin Crafting
Before you start resin crafting, set up your workspace in a well-ventilated area to avoid fumes. Make sure to wear safety gear like gloves and masks to protect your skin and lungs. Creating a safe environment guarantees your project stays fun and risk-free. Additionally, ensuring proper ventilation can help prevent health issues related to inhaling fumes during resin work. Incorporating industry safety standards ensures that you maintain a secure environment while working with potentially hazardous materials. Using a best vacuum can also help keep your workspace free of dust and debris, further promoting safety and cleanliness during your crafting process. Moreover, being aware of home security systems can offer added peace of mind while working on your project. Understanding the importance of personal protective equipment can further enhance your safety during resin crafting.
Workspace Safety Measures
To guarantee your resin crafting project is safe and successful, you need to prepare your workspace properly. Start by clearing the area of any clutter to prevent accidents and ensure you have enough space to work comfortably. Wear protective gloves and goggles to shield your skin and eyes from resin splashes. Keep a damp cloth nearby to quickly clean up spills. Avoid eating or drinking in your workspace to prevent contamination. Make sure all your tools and materials are within reach, so you don’t have to scramble for items mid-project. Keep a container of soap and water nearby for easy hand cleaning. Finally, work on a stable, flat surface to prevent spills and ensure even curing of your bookmarks. Proper preparation minimizes hazards and promotes a smooth crafting experience. Additionally, consider using safety equipment such as masks or respirators if working in a poorly ventilated area to protect yourself from potentially harmful fumes. Regularly checking ventilation guidelines can help maintain a safe environment during your resin projects. Incorporating workspace organization strategies can further streamline your process and reduce the risk of accidents, especially when handling hazardous materials like resin. Being aware of fire safety precautions is also crucial, as resin and related chemicals can be flammable if not handled properly.
Proper Ventilation Setup
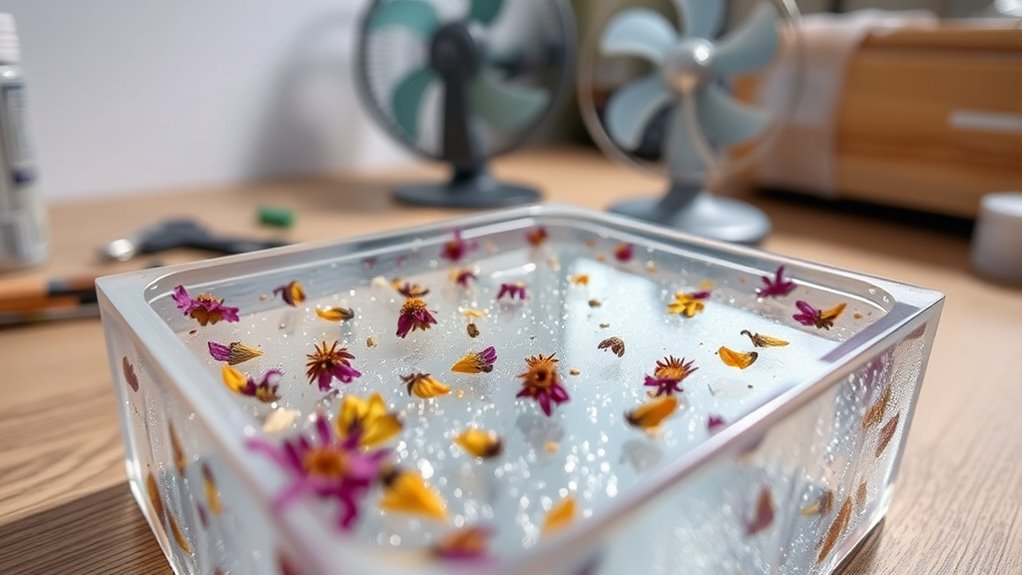
Setting up proper ventilation is a key step in creating a safe workspace for resin crafting. Resin fumes can be harmful if inhaled in high concentrations, so good airflow is essential. Work in a well-ventilated area, preferably near an open window or with a high-quality exhaust fan. If possible, use a respirator mask rated for chemical fumes to provide additional protection. Avoid working in enclosed spaces that trap fumes, and keep the area clear of clutter to prevent accidental spills. Consider setting up a dedicated crafting station with a portable air purifier to help filter airborne particles. Proper ventilation not only protects your health but also ensures your workspace remains comfortable and safe throughout your resin crafting project.
Choosing and Designing Your Bookmark Templates
Start by choosing a bookmark shape that fits your style, whether it’s classic or quirky. Then, get creative with your designs by adding personal touches or interesting patterns. This step allows you to craft a truly unique accessory that reflects your personality. Incorporate durable materials like resin to ensure your bookmark lasts through daily use. Consider selecting a rustic aesthetic to complement farmhouse-inspired decor, adding warmth and charm to your collection. To enhance the durability, understanding self watering plant pots can inspire you to select materials that withstand wear and tear, ensuring your handcrafted bookmark remains beautiful over time. Additionally, exploring air purification technologies can help you choose the best finishes and coatings that resist moisture and damage, prolonging the life of your DIY project.
Selecting Bookmark Shapes
Choosing the right shape for your resin bookmark is an essential step that influences its overall look and feel. Think about how the shape complements the design and how it fits comfortably in a book. Classic rectangular shapes are versatile and easy to work with, while fun shapes like hearts, stars, or circles add a playful touch. Consider your personal style and the theme you want to convey—elegant, whimsical, or minimalist. Keep in mind practical factors like size and thickness, ensuring it’s not too bulky or fragile. Use templates or draw your own outlines to visualize the final product. Selecting a shape that matches your vision helps create a cohesive, attractive finished piece that stands out on any page. Maximize space and organization by choosing a shape that is easy to handle and store, and consider how the resin curing process can impact the final shape and durability.
Crafting Unique Designs
Once you’ve decided on the shape of your bookmark, designing a unique and appealing template brings your vision to life. Think about themes, colors, and patterns that reflect your personality or interests. You can sketch ideas on paper or use digital tools for precision. Incorporate elements like illustrations, quotes, or abstract designs to make your bookmark stand out. Experiment with layering different colors or adding tiny objects such as dried flowers or glitter to create depth. Remember, the goal is to make it personal and visually interesting. To help you get started, consider these tips:
- Choose a color palette that complements your theme
- Use stencils or stamps for consistent patterns
- Add small decorative items for texture and uniqueness
Mixing and Pouring the Resin
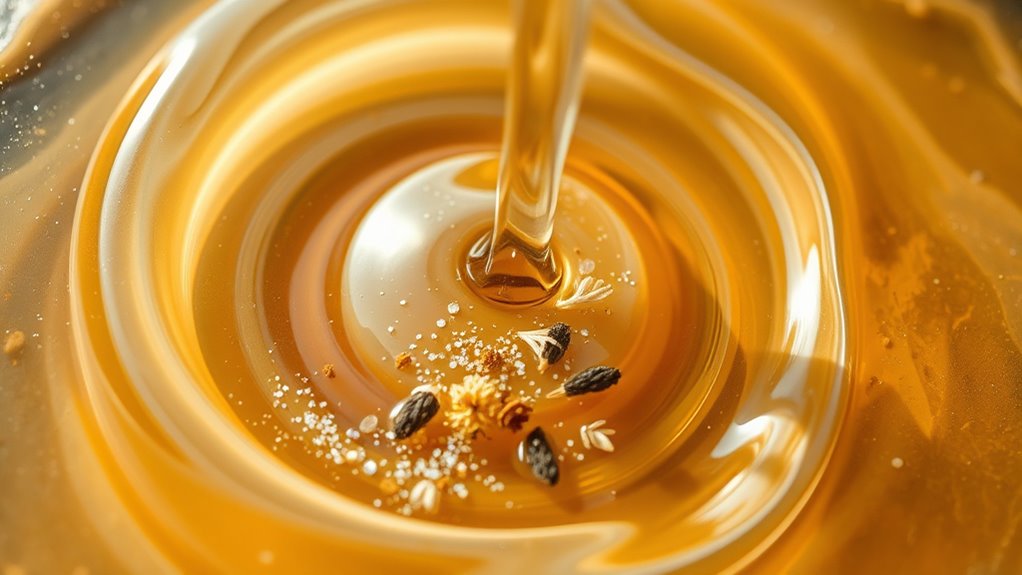
Before pouring the resin, it’s essential to mix it thoroughly to guarantee a smooth, bubble-free finish. Combine the resin and hardener in your measuring cup, following the manufacturer’s recommended ratio. Use a stir stick to mix slowly and steadily for at least 2-3 minutes, scraping the sides and bottom of the cup to ensure even blending. Take your time to avoid introducing bubbles. Once mixed, let the resin rest for a minute or two to allow any surface bubbles to rise. When pouring, do so slowly and steadily into your mold’s center, allowing the resin to flow naturally and minimize air pockets. Pour just enough to fill the mold to the desired level, avoiding overfilling.
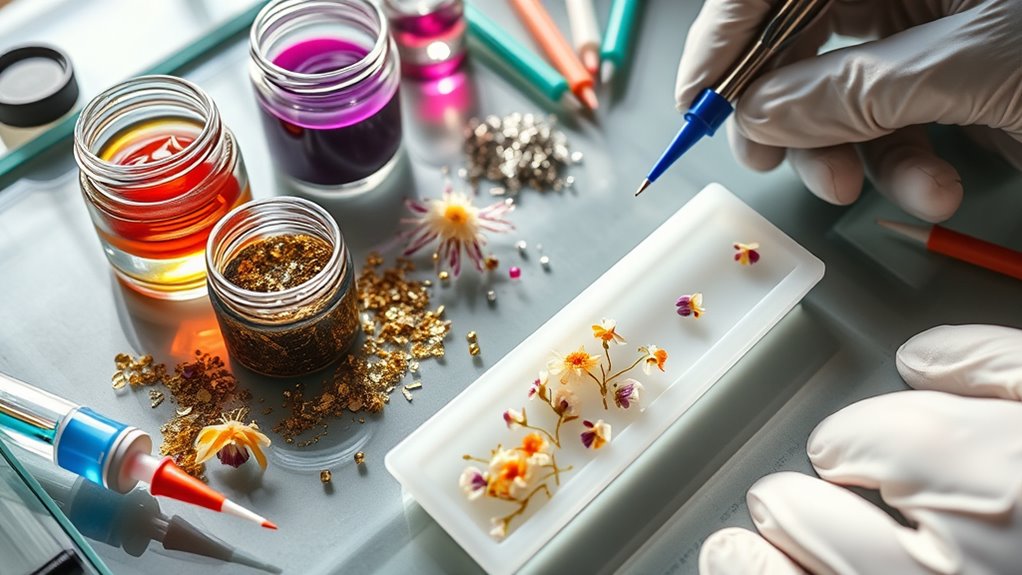
Adding Color, Glitter, or Embellishments
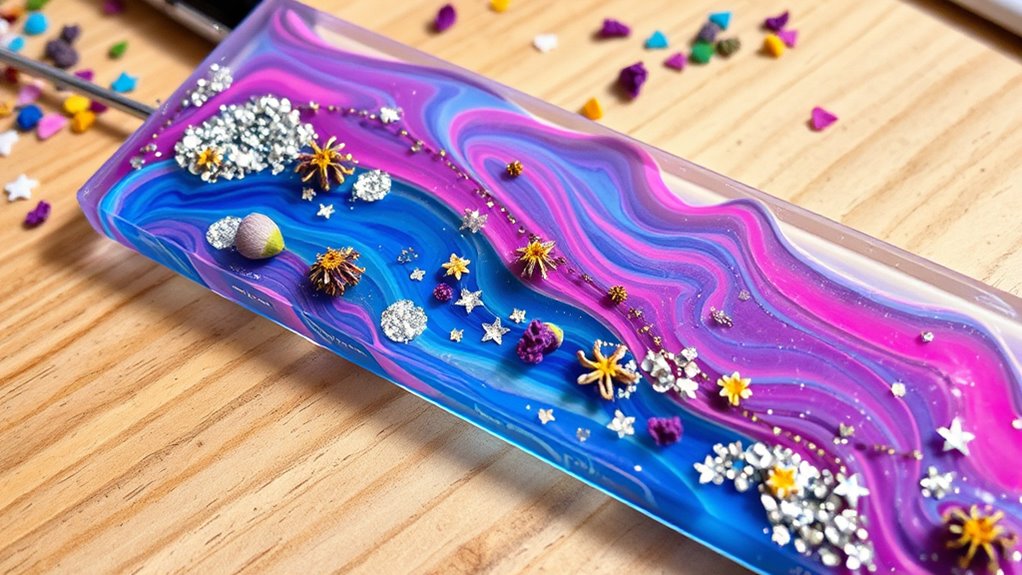
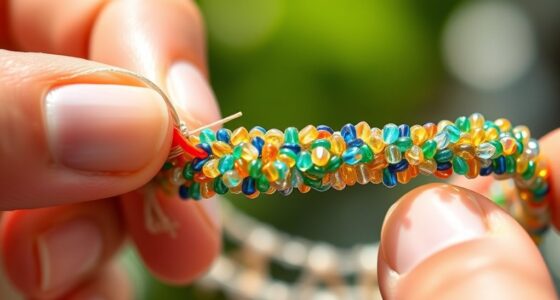
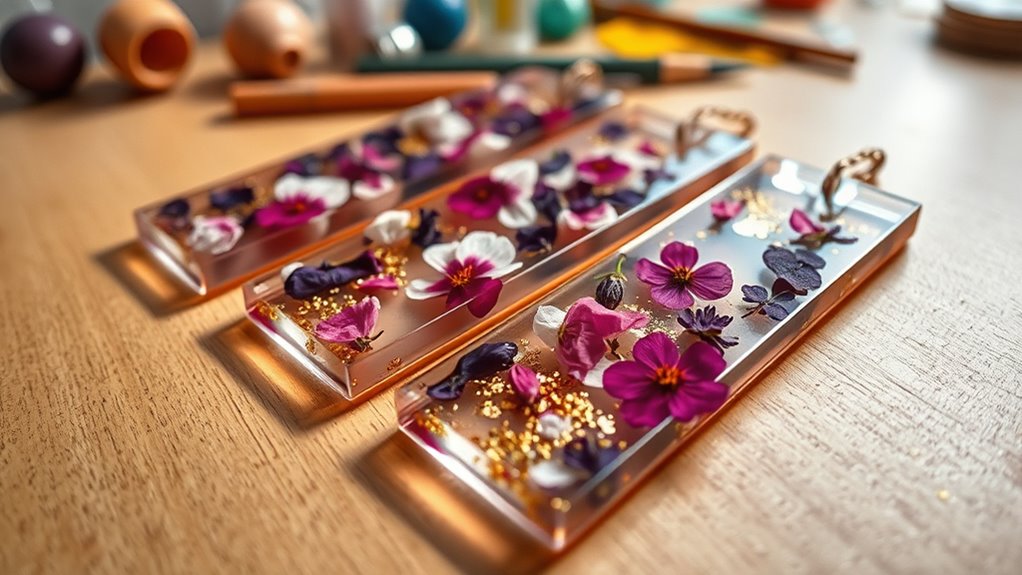
Have you considered how adding color, glitter, or embellishments can transform your resin bookmarks? These small touches can make your creations truly stand out. You can mix pigments or inks into the resin to create vibrant backgrounds or subtle shades. Glitter adds sparkle and catches the light beautifully, making your bookmark eye-catching. Embellishments like tiny charms, dried flowers, or metallic flakes can add texture and personality.
Here are some ideas to get you started:
- Mix in different colored pigments or inks for unique backgrounds
- Sprinkle glitter evenly or in patterns for shimmer
- Embed small charms, dried flowers, or metallic accents for added dimension
Experimenting with these elements allows you to customize your bookmarks and make them uniquely yours.
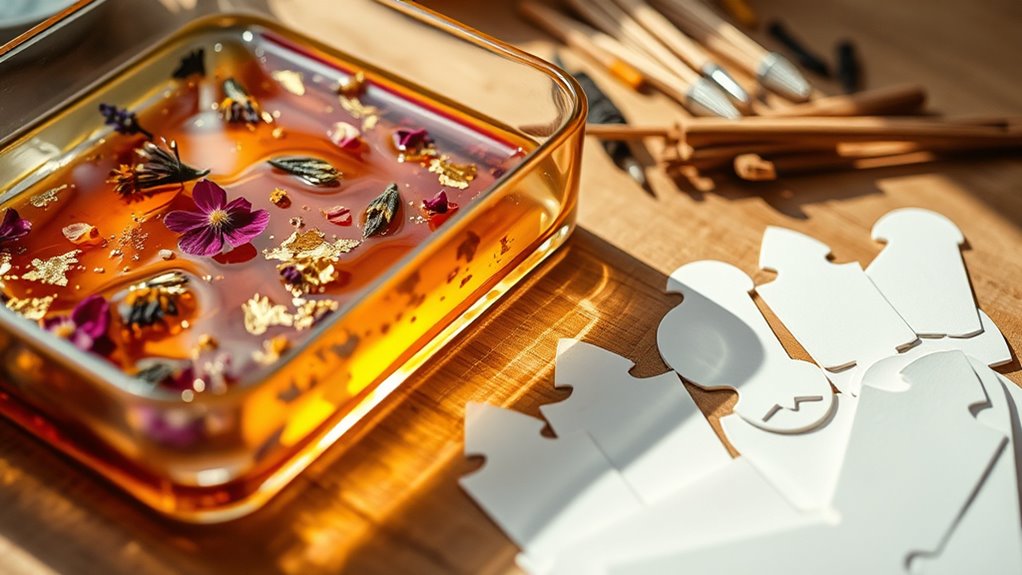
Creating Embedded Designs or Images
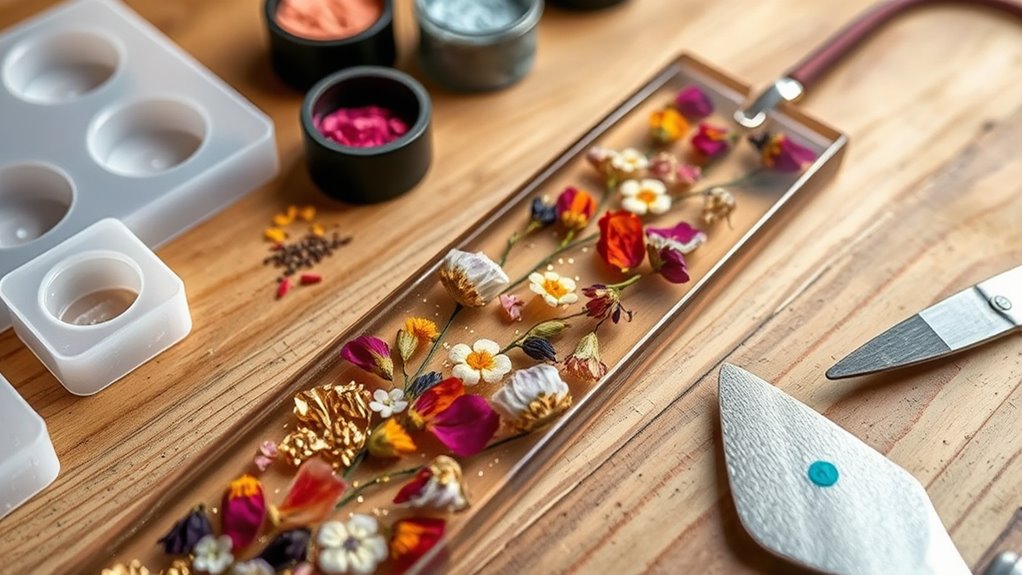
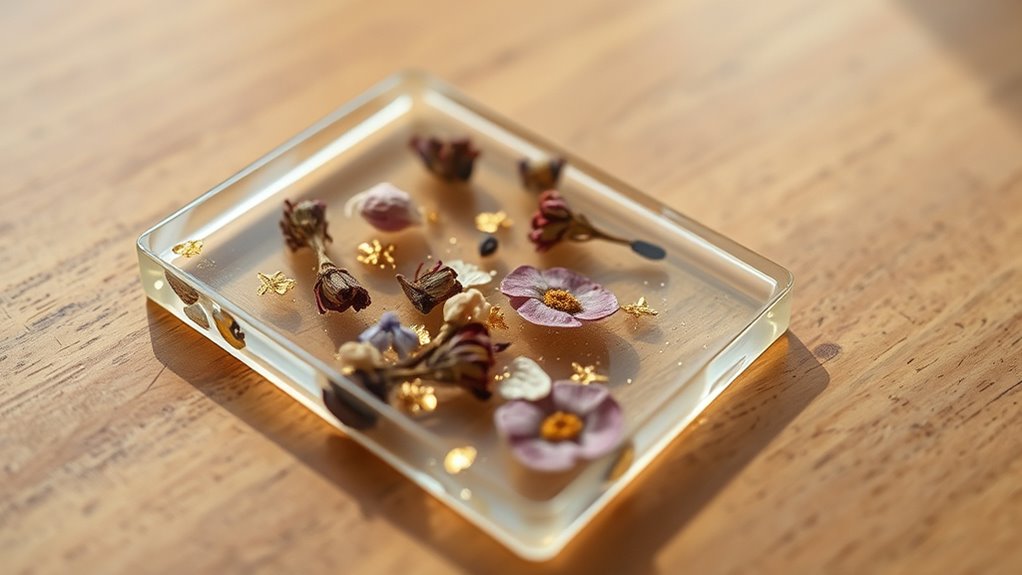
Creating embedded designs or images in your resin bookmarks allows you to add personalized or artistic touches that make each piece unique. To do this, choose small objects, photographs, or drawings that fit your vision. Place your selected items carefully onto the silicone mold before pouring the resin. You can layer images or objects at different depths to create a sense of dimension. Use tweezers or a toothpick to position delicate items precisely. Keep in mind that items should be flat and lightweight to prevent sinking or floating. Once your embedded design is set, pour the resin slowly over it, ensuring even coverage without disturbing the objects. This technique lets you craft one-of-a-kind bookmarks that reflect your personality and creativity.
Allowing the Resin to Cure Properly
To get the best results, you need to let your resin cure at the right temperature, usually between 70-75°F. You should also watch out for air bubbles, which can ruin your design, by gently popping them or using a heat tool. finally, give your resin enough time—often 24 to 72 hours—so it fully hardens and your bookmark looks flawless.
Optimal Curing Temperature
Ensuring the resin cures properly requires maintaining the ideal temperature throughout the process. Temperature greatly impacts curing time and the final appearance of your bookmark. Too cold, and the resin may stay tacky or take forever to cure. Too hot, and you risk uneven curing or yellowing. To get it just right, keep your workspace between 70°F and 75°F (21°C-24°C). Here are some tips:
- Use a thermometer to monitor room temperature regularly.
- Avoid drafts or sudden temperature changes.
- Consider curing in a controlled environment, like a room with a space heater or air-conditioned space if needed.
Maintaining consistent, optimal temperature ensures your resin cures evenly, giving your bookmark a smooth, glossy finish without imperfections.
Avoiding Air Bubbles
Air bubbles can easily form in resin if you don’t take steps to prevent them during the curing process. To avoid this, pour your resin slowly and in thin layers, giving bubbles less chance to trap. Use a toothpick or pin to pop surface bubbles immediately after pouring. Gently tap or shake your mold to help release trapped air, and consider using a heat gun or torch briefly over the surface; the heat helps bubbles rise and pop. Keep your workspace dust-free to prevent debris from settling on the resin, which can cause imperfections. Also, guarantee your resin is mixed thoroughly but slowly to minimize foam formation. Taking these precautions helps you achieve a clear, smooth finish on your DIY bookmark.
Proper Curing Duration
Proper curing time is essential for achieving a durable and professional-looking resin bookmark. If you rush the process, your bookmark may crack, warp, or lose its clarity. To guarantee ideal results, follow the recommended curing duration for your specific resin type. Typically, this means letting it cure in a dust-free, well-ventilated area for at least 24 to 72 hours. Keep in mind these key points:
- Avoid moving or handling the resin during curing to prevent imperfections.
- Protect it from direct sunlight or extreme temperatures, which can affect curing quality.
- Check the manufacturer’s instructions for precise curing times and conditions.
Patience is key to a flawless finish. Wait until the resin is fully hard before you handle or decorate your bookmark.
Removing and Finishing Your Resin Bookmarks
Once your resin has fully cured, you can carefully remove the bookmark from its mold or surface. Gently flex the mold or lift the edges to loosen the piece without applying too much pressure. If there are any rough edges or excess resin, use fine-grit sandpaper or a nail file to smooth them out. Be cautious not to sand too aggressively, as this could scratch the surface. For a polished finish, you can buff the surface lightly with a soft cloth or use a polishing compound. If needed, clean the bookmark with a damp cloth to remove any dust or residue. After finishing, let it dry completely before adding any decorative elements or coatings. Proper finishing ensures your bookmark looks professional and is comfortable to handle.
Attaching Ribbons or Other Decorative Elements
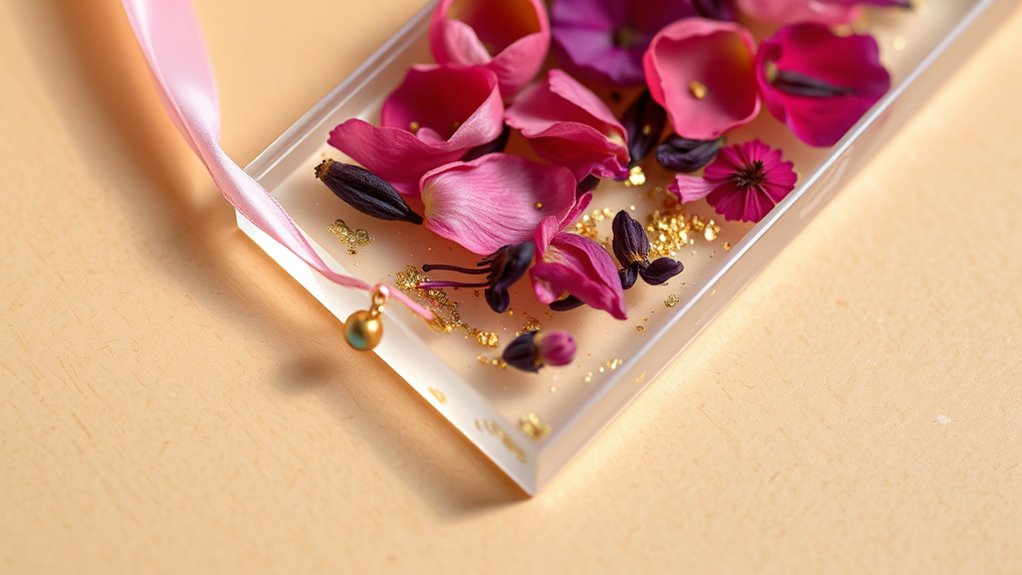
After your resin bookmark has fully cured and been smoothed, you can start attaching ribbons or other decorative elements to personalize it. Choose a ribbon or decorative piece that complements your design. Use a strong adhesive or a small hole punch to insert a ribbon through a pre-drilled hole or create one if needed. Make sure the attachment is secure so it won’t fall off with use. Adding charms, tassels, or beads can also enhance your bookmark’s look. To make the process easier, consider these tips:
Once cured, attach ribbons or charms securely for a personalized, durable bookmark.
- Use jewelry pliers to attach small charms or beads
- Thread ribbons through drilled holes or glue them along the edges
- Secure loose ends with a knot or a dab of glue for durability
Keep your decorations simple and well-secured for best results.
Caring for and Maintaining Your Resin Bookmarks
To guarantee your resin bookmarks stay in great condition, you should handle them carefully and clean them regularly. Avoid dropping or scratching them, as resin can chip or crack. Gently wipe your bookmarks with a soft, damp cloth to remove dust or fingerprints. Store them in a safe, dry place away from direct sunlight to prevent fading or warping. Proper care not only preserves their beauty but also keeps them feeling special each time you use them. Remember, these bookmarks are made with love and creativity—treat them with the same care you’d give a cherished keepsake.
| Protects your investment | Keeps your bookmarks looking new |
|---|---|
| Prevents scratches | Maintains clarity |
| Extends lifespan | Ensures longevity |
| Preserves vibrant colors | Keeps them feeling special |
Frequently Asked Questions
How Long Does It Take for Resin Bookmarks to Fully Cure?
You might wonder how long resin bookmarks take to fully cure. Typically, resin needs about 24 to 72 hours to cure completely, depending on the type of resin used, thickness, and environmental conditions like temperature and humidity. To guarantee your bookmark is fully hardened and durable, it’s best to follow the manufacturer’s instructions and allow ample curing time. Avoid handling or flexing the bookmark until you’re confident it’s fully cured.
Can I Make Bookmarks With Reusable or Eco-Friendly Resin?
You might think reusable or eco-friendly resin isn’t suitable for making bookmarks, but many are actually designed for crafts and are safe to use. These resins often have lower VOCs and are less harmful to the environment. You can confidently use them for DIY projects, including bookmarks, knowing you’re reducing your ecological footprint. Just verify the resin you choose is specifically labeled as suitable for craft use and safe for contact with paper.
What Safety Precautions Should I Take When Working With Resin?
When working with resin, you should always wear gloves and work in a well-ventilated area to avoid skin contact and inhaling fumes. Protect your eyes with safety goggles, and consider a mask if fumes are strong. Keep your workspace clean and free of dust, and follow the manufacturer’s instructions meticulously. This helps guarantee your safety and prevents health issues while creating your DIY bookmarks with resin.
How Can I Prevent Bubbles From Forming in the Resin?
To prevent bubbles from forming in the resin, you should pour slowly and steadily to minimize air entrapment. Use a toothpick or a needle to pop any bubbles that surface immediately after pouring. Additionally, let the resin sit for a few minutes to allow bubbles to rise naturally before curing. Applying a gentle heat source, like a heat gun or torch, can also help burst stubborn bubbles for a smooth finish.
Are There Any Tips for Making Bookmarks Waterproof and Durable?
Oh, of course, you want your bookmarks to survive a tsunami or at least a coffee spill. The secret? Use high-quality, waterproof resin and add a clear sealing coat for extra protection. Don’t forget to sand and smooth the surface for durability. Keep them away from harsh sunlight, and you’re golden. Basically, treat your bookmark like royalty, and it’ll stay water-resistant and durable for ages.
Conclusion
Now that you’ve mastered making mesmerizing, memorable bookmarks with resin, you’ll find joy in your journey of creative craftsmanship. Remember, patience and precision pave the path to perfection. As you craft, cultivate your confidence, and let your unique designs dazzle and delight. Keep creating with care, and your resin bookmarks will not only hold your place but also serve as beautiful badges of your burgeoning crafting brilliance. Happy making!