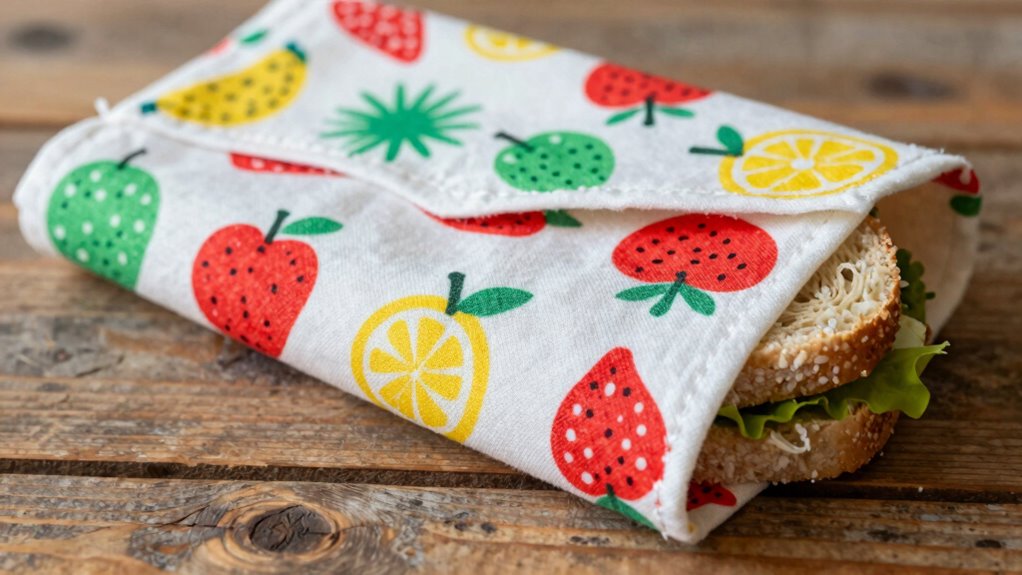

To sew a reusable sandwich wrap, start by choosing food-safe, washable fabrics like cotton or linen, and consider adding waterproof lining like PUL. Cut fabric pieces about 10×10 inches, then sew the layers together using a straight stitch for waterproof layers and zigzag or serger for finishing seams. Make certain the closures like Velcro or ties are securely attached. Double-check your stitches and features to create a durable, attractive wrap that keeps sandwiches fresh—keep going for detailed tips and techniques.
Key Takeaways
- Select food-safe, washable fabrics like cotton or linen, pre-wash to prevent shrinkage.
- Cut fabric pieces approximately 10×10 inches, then finish edges with zigzag or serger stitches.
- Sew waterproof layers with straight stitches and reinforce seams for durability.
- Add closures such as Velcro, snaps, or fabric ties securely, ensuring proper placement.
- Test the finished wrap by wrapping a sandwich to verify secure closure and proper fit.
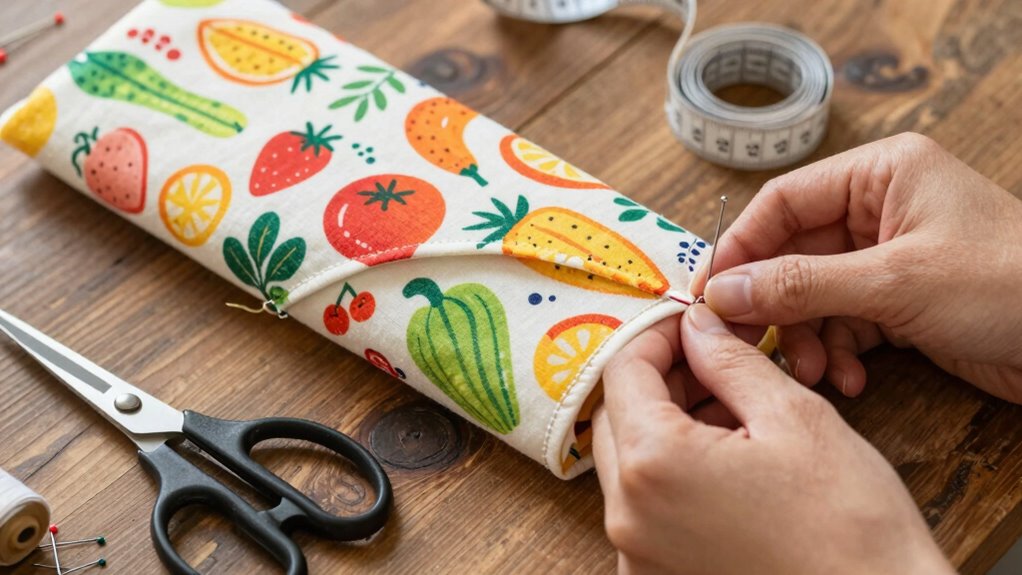
Sewing a reusable sandwich wrap is a simple and eco-friendly project you can complete in just a few steps. It’s a practical way to reduce waste and create a personalized wrapping solution for your lunches. To start, you’ll need to select the right fabric choices. Look for food-safe, washable fabrics like cotton or linen, preferably with a tight weave to prevent leaks. Bright, cheerful patterns or solid colors work well, and you might consider fabrics with waterproof linings or an added layer of PUL (polyurethane laminate) for extra protection. When choosing fabrics, avoid anything with a rough texture or that’s prone to fraying excessively. Pre-washing your fabric before sewing guarantees it doesn’t shrink after your wrap’s finished, maintaining its shape and durability over time. Additionally, selecting sustainable fabrics can help reduce your environmental impact.
Next, focus on your sewing techniques. Precision is key. Start by cutting your fabric pieces to your desired size, typically around 10×10 inches for a standard sandwich wrap. Use sharp scissors for clean edges. When sewing, finish your seams with a zigzag stitch or a serger if you have one, to prevent fraying and give your wrap a polished look. If you’re incorporating waterproof layers, sew them together with a straight stitch, making sure to reinforce the edges. For added durability, you can topstitch around the edges, which not only secures your seams but also gives your wrap a neat, finished appearance. Paying attention to sewing accuracy ensures a professional and long-lasting result. Using the proper sewing tools can make this process even easier and more precise. Incorporating correct sewing techniques can also help ensure your wrap holds up through repeated use. Remember, choosing the right fabric stabilizers can also help maintain the shape and structure of your finished wrap.
Use a zigzag stitch or serger to finish seams for a polished, fray-free look.
As you sew, keep your stitches even and consistent. Use a standard sewing machine setting, and adjust your stitch length to around 2.5mm for smooth, sturdy seams. For the closure, you might prefer sewing a strip of Velcro, snaps, or fabric ties, which you attach with straight or zigzag stitches. When attaching closures, double-check their placement to ensure the wrap stays securely closed around your sandwich. If you’re adding a pocket or extra layers, sew them on with a straight stitch, making sure all edges are neat and secure.
Finally, once your wrap is assembled, give it a thorough press with an iron to smooth out any wrinkles. Test its functionality by wrapping your sandwich and securing it with your chosen closure. You’ve now created a reusable sandwich wrap that’s both eco-friendly and customized to your style. With a little attention to fabric choices and sewing techniques, you’ll enjoy a durable, attractive wrap that helps cut down on disposable waste and keeps your lunch fresh.
reusable sandwich wrap fabric kit
As an affiliate, we earn on qualifying purchases.
As an affiliate, we earn on qualifying purchases.
Frequently Asked Questions
What Types of Fabric Are Best for Sandwich Wraps?
You should choose fabrics that are durable and eco-friendly for your sandwich wrap. Cotton and linen are excellent options because they’re sturdy, washable, and safe for food contact. Look for tightly woven fabrics to prevent leaks and spills. Organic cotton or hemp are sustainable choices that support eco-friendly materials. Avoid synthetic fabrics, as they may not be as durable or environmentally friendly, and could leach chemicals onto your food.
How Do I Clean and Maintain the Reusable Wrap?
Keeping your sandwich wrap pristine is simple! Wash with warm water and mild soap, ensuring fabric durability stays intact. Avoid harsh chemicals that can harm the fibers, and skip bleach to keep colors vibrant. To maintain your wrap’s magic, hand wash or use a gentle cycle, then air dry. Regular cleaning keeps it fresh, functional, and fabulous, so your eco-friendly wrap continues to serve your sandwich security and style!
Can I Customize the Size for Different Sandwiches?
Yes, you can definitely customize the size for different sandwiches by designing personalized patterns and choosing fabric color choices that suit your needs. When sewing your reusable sandwich wrap, measure your sandwiches carefully and adjust the dimensions accordingly. This way, you guarantee each wrap fits perfectly. Using personalized patterns helps you create a unique, functional wrap, while selecting fabric colors adds a touch of style that reflects your taste.
What Safety Precautions Should I Take While Sewing?
Sewing safely is like steering a ship through calm waters—you need the right tools. Always wear safety gear like scissors with rounded tips and finger guards. Focus on fabric handling by keeping fingers clear of blades and using pins carefully. Keep your workspace tidy to avoid accidents, and work in well-lit areas. Staying alert and following these precautions guarantees you navigate your sewing project smoothly and safely.
How Long Does It Typically Take to Sew a Wrap?
It typically takes you about 30 minutes to an hour to sew a reusable sandwich wrap, depending on your sewing skills and chosen fabric patterns. You’ll need to cut the fabric, pin the pieces, and use basic sewing techniques like straight stitches. If you’re experienced, it might be quicker, but beginners should allow extra time to carefully follow the steps and make certain all edges are securely sewn for durability.
Conclusion
Now that you know how to sew your own reusable sandwich wrap, you’re all set to make eco-friendly lunches with a personal touch. Remember, “a stitch in time saves nine,” so taking a little time now will save you money and waste later. With your new skills, you can customize wraps for everyone’s tastes and keep your lunch game sustainable. Happy sewing and tasty lunches ahead!