To sew a zippered pouch, pick durable fabric like cotton or canvas based on your style and use. Measure your zipper carefully and attach it securely with a zipper foot, ensuring smooth operation. Sew the sides and bottom after installing the zipper, then turn it right side out and press the seams. For a polished look, reinforce with topstitching. If you’d like step-by-step guidance, keep exploring for detailed tips and techniques.
Key Takeaways
- Choose durable fabric and a suitable zipper based on the pouch’s intended use and style.
- Measure and pin the zipper carefully, aligning teeth with fabric edges, before sewing with a zipper foot.
- Sew the zipper securely, reinforcing with topstitching and ensuring smooth operation before completing the pouch.
- Sew sides and bottom seams after zipper installation, then turn right side out and press for a polished finish.
- Reinforce seams and zipper to enhance durability, creating a professional-looking, functional storage pouch.
Creating a zippered pouch is a fun and practical sewing project that lets you customize your own storage solution. When you start, choosing the right fabric is essential because it sets the tone for your pouch’s look and durability. You can opt for sleek cotton or canvas for everyday use, or go for softer materials like linen or even waterproof fabrics if you want something more specialized. Think about what you’ll store in your pouch—cosmetics, stationery, or small electronics—and select fabric that can handle the wear and tear. Bright patterns and vibrant colors can add personality, while neutral tones offer a sleek, minimalist style. Once you’ve picked your fabric, it’s important to consider the weight and texture to guarantee your finished pouch holds its shape well.
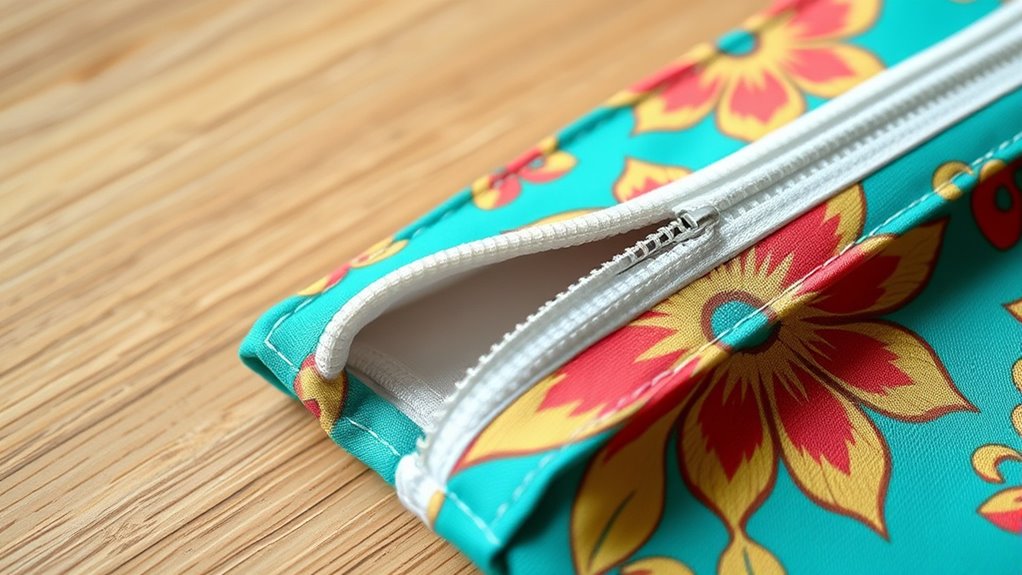
After selecting your fabric, the next vital step is zipper installation. The zipper is the main closure and needs to be attached carefully to guarantee smooth operation and a professional look. Start by measuring the opening of your pouch to determine the right size zipper, adding a little extra length for seam allowances. When you lay out your fabric pieces, pin or clip the zipper in place, making sure the teeth are aligned with the edges. Using a zipper foot on your sewing machine makes this step easier, as it allows you to sew close to the zipper teeth without damaging the fabric. Sew slowly and steadily, removing pins as you go, to keep everything aligned. Take your time to guarantee the zipper is securely attached and that it opens and closes smoothly. If you find the zipper doesn’t glide well, check for any fabric caught in the teeth or uneven stitching. Incorporating proper tuning techniques can also improve the overall quality of your project.
Incorporating quality zipper installation techniques not only improves the function of your pouch but also gives it a polished appearance. Press the seams carefully after sewing, and topstitch along the edges if desired, to reinforce the attachment and add a finished look. The right choice of fabric combined with precise zipper installation makes your pouch durable and attractive. Once the zipper is securely installed, you’ll finish sewing the sides and bottom, turning your pouch right side out. With attention to fabric choices and careful zipper work, you’ll create a stylish, functional pouch that’s perfect for organizing your essentials while showcasing your sewing skills.

Blue Q "Sewing Kit Zipper Pouch"
- Versatile Storage Use: Stores sewing, makeup, receipts, and more
- Durable Quality: Sturdy, long-lasting construction with chunky zipper
- Eco-Friendly Material: Made from 95% recycled plastic, water resistant
As an affiliate, we earn on qualifying purchases.
As an affiliate, we earn on qualifying purchases.
Frequently Asked Questions
What Fabric Types Are Best for Zippered Pouches?
For zippered pouches, you should choose fabrics with good durability and flexibility. Cotton canvas and denim are excellent because they’re tough and hold their shape well. Nylon and polyester also work great, offering water resistance and added flexibility. Avoid fabrics that are too thin or flimsy, as they might tear easily or lose shape. Selecting the right fabric helps your pouch stay sturdy, flexible, and functional over time.
How Do I Choose the Right Zipper Size?
You should choose a zipper length that closely matches your pouch’s width, ensuring it’s slightly longer than the fabric’s width for easy closure. Thicker fabric may require a slightly longer zipper to accommodate the bulk, while thinner fabric pairs well with a standard size. Always measure carefully, as using the right zipper size guarantees smooth operation and a professional finish, making your pouch both functional and stylish.
Can I Make a Zippered Pouch Without a Sewing Machine?
Yes, you can make a zippered pouch without a sewing machine. Use hand sewing techniques, like whip stitches or backstitches, to assemble your fabric. If you’re not comfortable with zippers, consider alternative fasteners such as buttons, snaps, or velcro. These options allow you to create a functional pouch without a machine, and with patience, your handcrafted pouch will turn out great.
How Do I Add Decorative Elements to My Pouch?
You can add decorative elements to your pouch using embellishment techniques like fabric paint, embroidery, or iron-on appliqués. Incorporate decorative stitching along seams or edges to give it a unique touch. You might also sew on buttons, beads, or lace for extra flair. These techniques allow you to personalize your pouch and make it stand out, giving it a special, handcrafted feel that reflects your style.
What Are Common Mistakes to Avoid When Sewing Zippers?
When sewing zippers, you should avoid common mistakes like uneven zipper alignment and incorrect thread tension. Always double-check the zipper’s placement before sewing to verify it’s straight, and test your thread tension to prevent puckering or loose stitches. Also, don’t rush; take your time to pin the zipper securely and sew slowly for precise, professional results. These steps help your pouch turn out neat and functional.
Conclusion
Now, with your new zippered pouch, you’re ready to carry a little bit of magic wherever you go—like Alice slipping into Wonderland, discovering secrets inside a tiny treasure chest. Each stitch you’ve sewn is a step toward creating something uniquely yours, a small portal to organization and style. So, go ahead—fill it with your favorite treasures and show the world your crafty charm. The adventure’s just beginning, and your pouch is your new trusty companion.