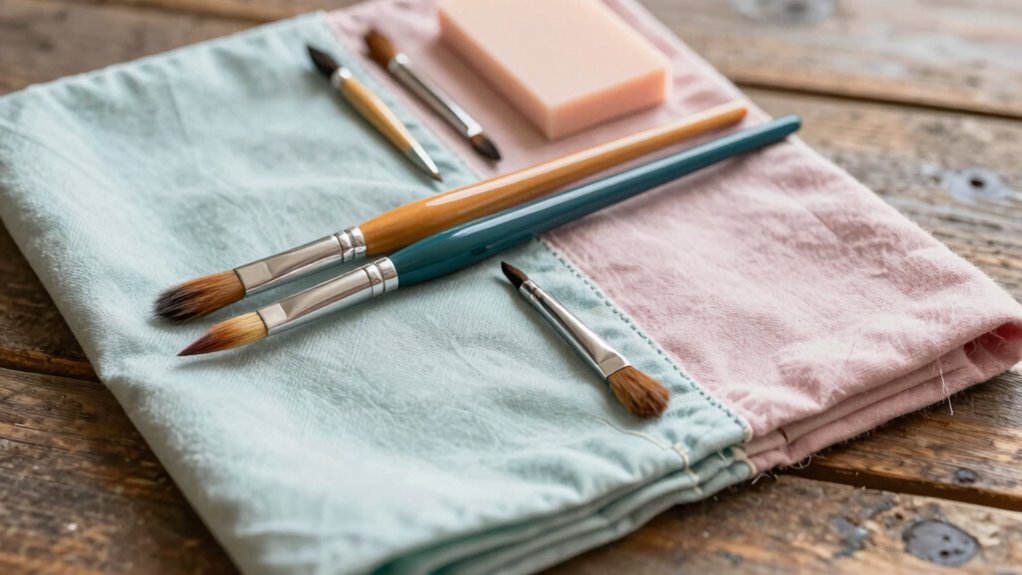
To make a soft storage roll for brushes and tools, start by selecting durable, flexible fabrics like canvas or denim, and add padding for protection. Cut your fabric into a long rectangle for the main body and smaller strips for pockets. Sew the pieces together with reinforced stitching at stress points, then attach pockets and closures such as snaps or Velcro. Finish by folding and securing the roll with a tie or elastic. If you keep going, you’ll discover how to customize and strengthen your design even further.
Key Takeaways
- Select durable, flexible fabrics like canvas or denim, and include padding for tool protection.
- Cut fabric into a long rectangle and smaller pieces for pockets and closures, sewing right sides together.
- Sew pockets onto the main body at intervals, reinforcing stress points and adding neat edge-stitching.
- Fold the roll, then sew sides closed or attach a tie/elastic band to secure it when rolled up.
- Reinforce seams, add wear-resistant fabrics, and finish edges to ensure long-lasting durability.
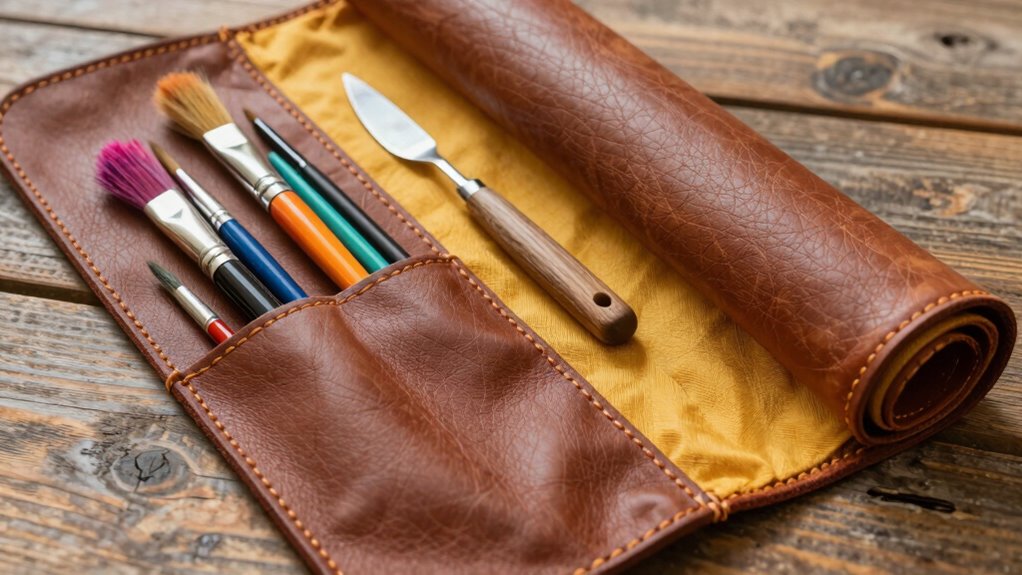
Creating a soft storage roll for brushes and tools is a practical way to keep your supplies organized and protected while on the go. To start, you’ll want to focus on choosing the right material selection. Pick fabrics that are durable yet flexible—canvas, denim, or sturdy cotton are excellent options. These materials resist wear and tear, guaranteeing your tools stay safe. If you prefer a more lightweight option, consider nylon or polyester, which are water-resistant and easy to clean. Think about the size and number of your brushes and tools, and select a fabric that can comfortably accommodate them without feeling cramped. Adding a layer of padding or interfacing can also protect delicate items and give your roll structure.
Once you’ve gathered your materials, it’s time to move on to sewing techniques. Precision is key here, so use a sewing machine with a straight stitch for most seams. Start by cutting your fabric pieces: a long rectangular piece for the main body, smaller strips for the pockets, and a flap or closure piece if desired. Fold the main fabric in half lengthwise, right sides together, and sew along the long edge, leaving ends open if you plan to add a casing for a tie or elastic. Use a consistent seam allowance—usually 1/4 to 1/2 inch—to keep your stitches uniform and strong. Considering the use of wear-resistant fabrics can also improve the durability of your finished product. Incorporating reinforced stitching techniques can further enhance the longevity of the storage roll, especially at stress points.
Use a straight stitch and consistent seam allowance for neat, durable sewing of your storage roll components.
Next, create the pockets by folding smaller fabric strips and sewing them onto the main body at regular intervals. These pockets will hold brushes and tools securely. To make sure easy access, edge-stitch around each pocket after attaching them. If you want a closure, sew a flap with a button, snap, or Velcro. For added durability, reinforce stress points, like where the flap attaches or where elastic might be sewn in, using backstitching or bar tacking. Additionally, choosing fabrics with wear-resistant qualities can extend the lifespan of your storage roll. Paying attention to proper finishing techniques can also prevent fraying and ensure your roll remains durable over time.
Finally, finish your roll by folding it into a compact shape and sewing the sides closed, or attaching a tie or elastic band to keep it rolled up tightly. Pay attention to finishing seams neatly, so they don’t fray over time. With careful material selection and proper sewing techniques, you’ll end up with a sturdy, functional storage roll that keeps your brushes and tools organized, protected, and ready for travel.
canvas fabric for sewing projects
As an affiliate, we earn on qualifying purchases.
As an affiliate, we earn on qualifying purchases.
Frequently Asked Questions
What Materials Are Best for Waterproof Storage Rolls?
You should choose waterproof fabrics like nylon, tarpaulin, or PVC-coated materials for your storage roll. These fabrics naturally resist water, keeping your tools dry. To guarantee maximum protection, use sealing techniques such as heat-sealing seams or adding waterproof tape along edges and openings. This combination guarantees your roll stays waterproof, even in damp conditions, safeguarding your brushes and tools effectively during travel or storage.
How Do I Customize the Size for Different Tools?
To customize the size for different tools, measure each tool’s length and width, then add extra space for easy access and protection. Use flexible materials like fabric or leather to accommodate various sizes, ensuring your storage roll offers tailored compartments for your specific tools. This approach enhances tool compatibility, keeps everything organized, and allows you to easily adjust the roll for different tools or future needs.
Can I Add Extra Compartments for Organization?
Yes, you can add extra compartments for better organization. Use decorative fabric choices to differentiate sections and make your roll more personalized. Sew in additional pockets or sleeves tailored to your tools’ sizes. Also, consider branding options like custom embroidery or labels on the compartments to give your storage roll a unique, professional look. This way, your tools stay organized and easily accessible, reflecting your style and needs.
What Sewing Techniques Ensure Durability?
Think of sewing techniques as the backbone of your project. To guarantee durability, use reinforced stitches like double or triple seams, especially at stress points. Maintain your sewing machine regularly to prevent skipped stitches. Choose heavy-duty fabric, like canvas or denim, for strength. Proper fabric selection and sewing machine maintenance work together, transforming your storage roll into a sturdy, long-lasting organizer that protects your brushes and tools through countless uses.
How Do I Clean and Maintain the Storage Roll?
To keep your storage roll clean and in good shape, follow simple cleaning tips like spot cleaning with a damp cloth and mild soap. Regular maintenance routines include air drying it after use, checking for wear, and sewing any loose stitches promptly. Avoid machine washing unless specified, and store it in a dry, cool place. These steps help prolong the roll’s lifespan and keep your brushes and tools protected.
Conclusion
With your new soft storage roll, you protect your brushes and tools, keep them organized, and travel with ease. You create a space that’s functional, flexible, and tailored to your needs, ensuring your tools are always ready, always safe, and always accessible. By crafting this versatile roll, you not only safeguard your supplies but also embrace a sense of order, convenience, and confidence—ready to inspire your creativity whenever you open it up and start anew.