
To make a wooden photo ledge in one afternoon, start by gathering your tools and materials, like a saw, drill, measuring tape, level, and finish options. Measure and cut your wood to the desired length, then sand all edges smooth. Apply your chosen finish evenly and let it dry. Mark the wall at your desired height, locate studs, and securely mount the ledge with pilot holes. For detailed steps and tips, keep exploring further.

Get business pricing on tools and workshop supplies
- Business-only prices and quantity discounts
- Tax-exempt purchasing
- Multiple users, one account, clear invoices
Key Takeaways
- Measure and cut the wood to your desired length, typically 3 to 6 feet.
- Sand all edges and surfaces thoroughly for a smooth finish.
- Apply your chosen finish (stain, paint, or polyurethane) evenly and let it dry.
- Locate wall studs and mark the mounting height with a level.
- Drill pilot holes, secure the ledge to the wall, and arrange your photos or artwork.
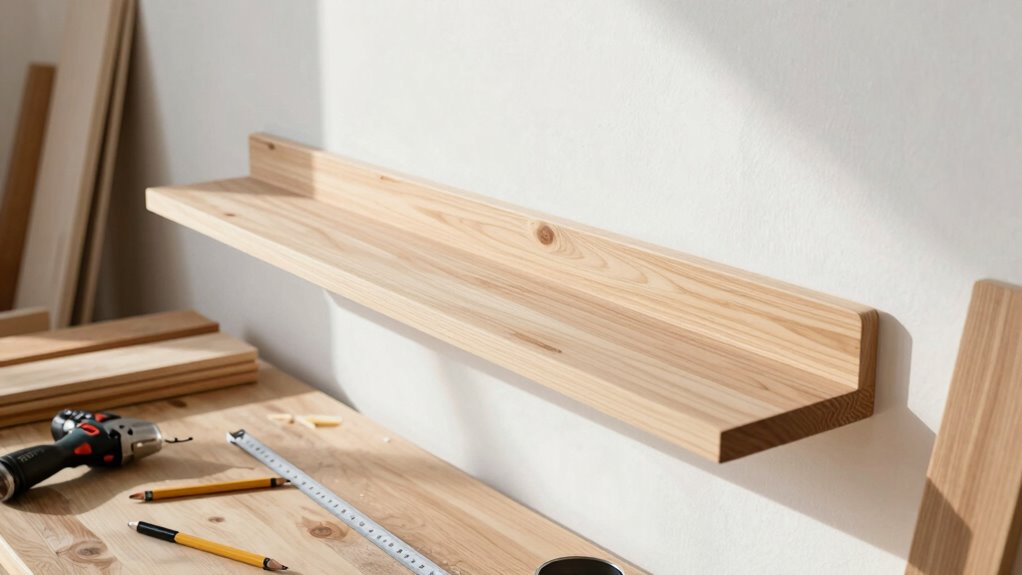
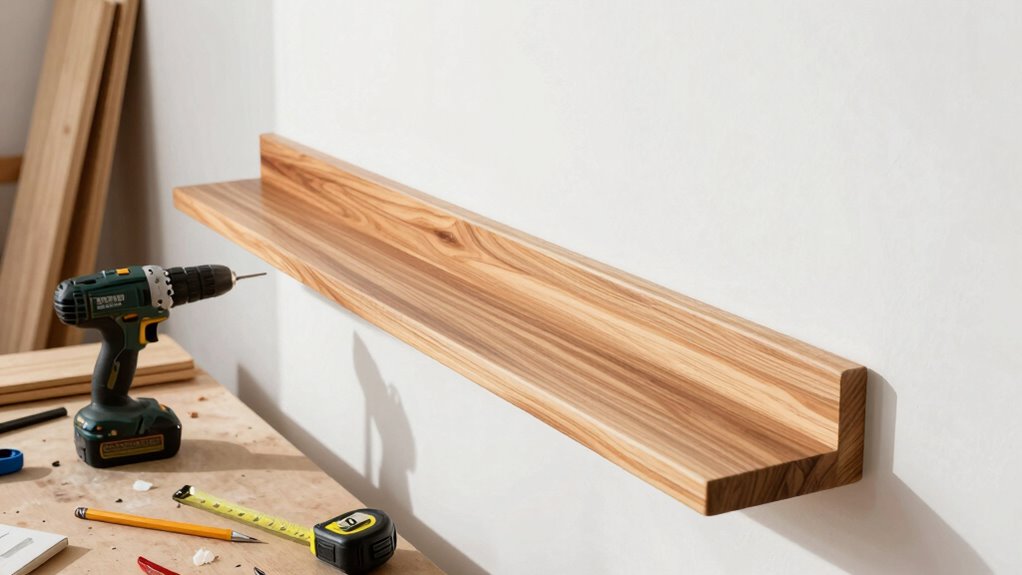
Ever wondered how to add a stylish yet functional touch to your walls? Making a wooden photo ledge is a simple project that transforms your space while showcasing your favorite photos, artwork, or keepsakes. The first step is selecting the right tools and materials. For tool selection, you’ll want a saw—preferably a miter saw or a hand saw if you’re comfortable with it—along with a drill, measuring tape, level, and a pencil. Sandpaper or a power sander will help smooth the edges and surface, and a stud finder can be useful if you plan to secure the ledge to wall studs for added stability. When it comes to finish options, you have plenty of choices to match your decor. You might go for a clear polyurethane or varnish to highlight the natural wood grain, or opt for paint or stain to add color and personality. A matte or satin finish tends to look modern and understated, while a glossy finish can give a more polished appearance.
Once you have your tools and finish options selected, measuring and cutting are next. Decide how long you want your ledge to be—most are between 3 to 6 feet—and cut your wood piece accordingly. A common choice is a sturdy pine or hardwood plank, but feel free to choose a wood type that suits your style and budget. Be precise with your measurements to guarantee a clean, professional look. After cutting, sand all edges and surfaces thoroughly, paying attention to corners to prevent splinters. If you’re planning to stain or paint, now’s the time to do it. Apply your chosen finish evenly, following the manufacturer’s instructions for drying times. Additionally, considering wall stability can help ensure your ledge stays secure over time. Using smart appliances like wall-mounted lighting or hidden outlets can also enhance your display area, making it more functional and modern. Incorporating proper mounting techniques can further improve the durability and safety of your installation. A quick review of safety precautions can help prevent accidents during installation, especially when working with power tools or heavy materials. To make your project even easier, researching step-by-step tutorials can provide helpful visual guidance.
Mounting the ledge is straightforward but requires attention. Use a level to mark the desired height on your wall and locate wall studs with a stud finder. Drill pilot holes into the back of your wood piece for screws, then align it with your markings and secure it into the studs for maximum strength. If you can’t find studs, wall anchors will do, but make sure they’re rated for the weight of your items. Once mounted, you can start arranging your photos and decor on the ledge, creating a personalized display that enhances your room’s style. Making a wooden photo ledge in just an afternoon is achievable, especially with careful tool selection and thoughtful finish choices, giving you a stylish, functional addition to your home.
As an affiliate, we earn on qualifying purchases.
Frequently Asked Questions
What Tools Are Needed for This Project?
You’ll need basic tools like a saw, drill, level, measuring tape, and a pencil for wall mounting. A saw helps you cut the wood to size, while the drill secures the decorative accents and anchors the ledge to the wall. The level ensures your photo ledge is straight, and the measuring tape helps with precise placement. These tools make installation straightforward, giving your space a charming touch with a sturdy, stylish display.
How Much Weight Can a Photo Ledge Hold?
You might find it surprising, but a well-installed wooden photo ledge can hold up to 15 pounds, making it perfect for decorative accents and wall art placement. It’s like a versatile shelf that keeps your cherished photos and small decorative pieces secure without worry. To guarantee safety and stability, always anchor it properly into studs or use appropriate wall anchors, especially if you plan to display heavier items.
Can I Customize the Length of the Ledge?
Yes, you can customize the length of your wooden photo ledge. When wall mounting, measure the space carefully to determine the ideal length. Cut the wood to your desired size before installing. This way, you guarantee the ledge fits perfectly in your space. Just remember to use appropriate brackets or supports for your chosen length, especially if you’re planning to display multiple or heavier frames.
What Type of Wood Is Best for Durability?
For durability, you should choose hardwoods like oak, maple, or walnut, as they’re resistant to dents and warping. Consider the wood grain; a tighter grain usually means a stronger, more durable surface. When selecting finish options, opt for polyurethane or varnish to protect against moisture and scratches. These finishes enhance the wood’s natural beauty while ensuring your photo ledge remains sturdy and long-lasting over time.
How Do I Secure the Ledge to the Wall?
You can secure your ledge to the wall using sturdy wall anchors and mounting brackets. First, investigate whether wall anchors are suitable for your wall type—yes, they provide extra support. Drill holes where you want the ledge, insert the anchors, then attach the brackets firmly to these anchors. Finally, place the wooden ledge on the brackets and tighten any screws to guarantee it stays securely in place.
Conclusion
Now that you’ve mastered this simple project, your space has a subtle charm waiting to unfold. With just a few hours, you’ve created a cozy nook for your favorite memories, inviting warmth and personality into your home. Think of this ledge as the beginning of endless personalized touches—each photo a story, each glance a gentle reminder of precious moments. Who knew that a little wood and effort could whisper so much about your unique style?
Halloween Picks
halloween
As an affiliate, we earn on qualifying purchases.