Get your family excited for Hanukkah with fun DIY crafts like handmade menorahs from recycled materials, colorful paper garlands, personalized dreidel decorations, and bright candle holders. You can also create themed wall art, festive greeting cards, and beautiful table centerpieces using simple craft supplies. For a special touch, make painted wooden coasters and custom gift bags that add warmth and personality. Keep exploring for inspiring ideas to make your celebration memorable and meaningful.
Key Takeaways
- Create handmade menorahs and candle holders using recycled materials like cardboard, mason jars, or bottle caps for eco-friendly decor.
- Make colorful paper garlands and wall art featuring dreidels, Stars of David, and menorahs to brighten your celebrations.
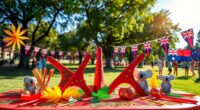
- Design festive table centerpieces and lanterns with candles, gelt, and symbols using simple craft supplies.
- Personalize dreidels, gift bags, and coasters with paint, stickers, or markers for meaningful family keepsakes.
- Incorporate craft tips such as sealing, safe candle placements, and family personalization to enhance your Hanukkah atmosphere.
Handmade Menorahs With Recycled Materials
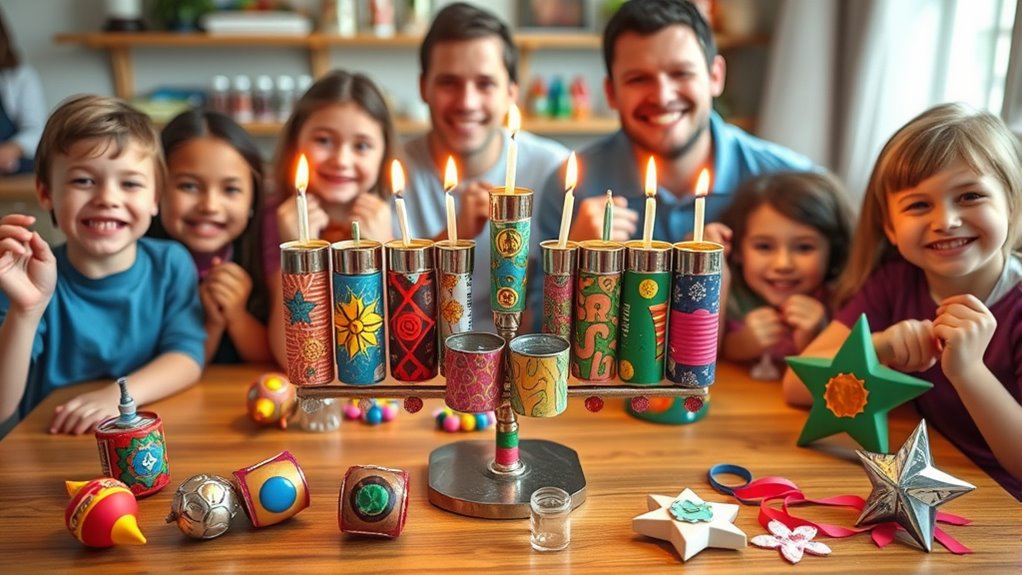
Creating a handmade menorah from recycled materials is a fun and eco-friendly way to celebrate Hanukkah. You can repurpose items like bottle caps, tin cans, or old wine corks to craft a unique menorah that reflects your style. Using sustainable materials not only benefits the environment but also adds a meaningful dimension to your holiday decorations. Incorporating recycling practices into your craft promotes environmental awareness and teaches important lessons about resourcefulness. Start by gathering your materials and designing a stable base. Use the recycled objects to represent the nine candles, including the shamash. Secure them with glue or tape, ensuring they stand upright. Personalize your menorah with paint, markers, or decorative elements to make it special. Consider the structural stability of your design to ensure safety during display. Not only does this project reduce waste, but it also encourages creativity and family bonding. Involving children in the crafting process can enhance their understanding of sustainability and cultural traditions. Once finished, your handmade menorah becomes a meaningful centerpiece, reminding everyone of the holiday’s spirit and the importance of sustainability.
Festive Hanukkah Garland Using Paper Cutouts
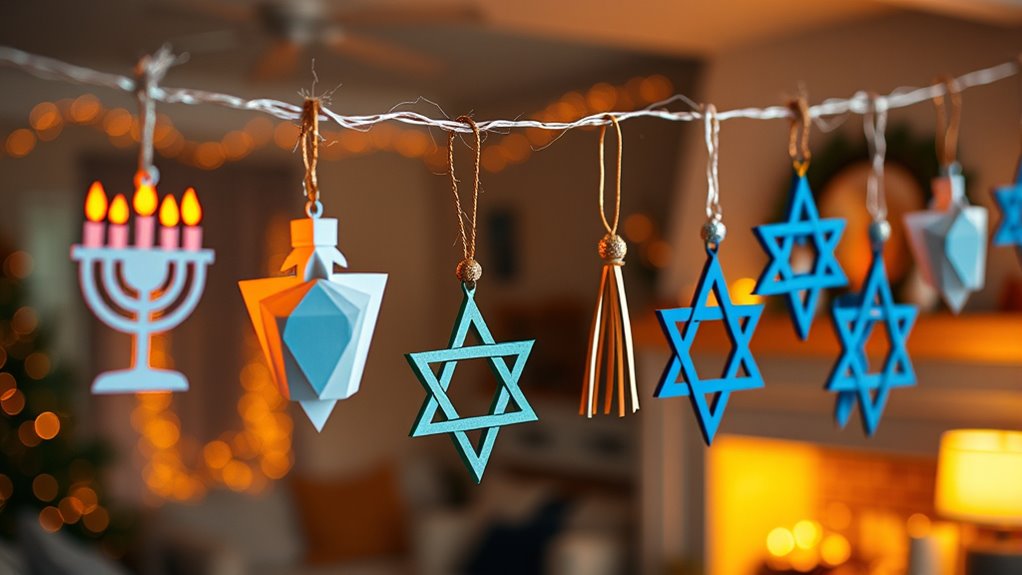
Start by choosing bright, festive colors that match your Hanukkah celebration. Incorporate originality and personalization by adding your own creative touches to each piece. Then, craft simple paper cutouts of menorahs, dreidels, or stars to add a personal touch. Incorporate festive decorations by selecting designs that resonate with your family’s traditions to make the garland even more meaningful. Consider using advanced technology and design elements in your decorations to enhance visual appeal. Finally, string the cutouts together to create a lively garland that brightens your space. Involving payment security measures can also inspire creative craft ideas and make the celebration more colorful.
Choosing Festive Colors
Choosing festive colors for your Hanukkah garland helps set a cheerful and joyful mood for your celebration. Traditional colors like blue and silver evoke the holiday’s heritage, while adding gold or white can create a bright, festive atmosphere. Consider incorporating shades that reflect your family’s personality or decor style. Bright blues and deep navy can add richness, while lighter shades bring a sense of playfulness. Gold accents add warmth and elegance, making your garland stand out. You might also include contrasting colors like white or yellow to make the cutouts pop. Keep a consistent color scheme to create harmony, or mix and match for a lively, eclectic look. Color coordination helps ensure your decorations are visually appealing and balanced. Additionally, choosing festive color palettes that resonate with your personal taste can make your decorations more meaningful and memorable. When selecting your colors, remember that drama and contrast can enhance visual interest and make your decorations more striking. Incorporating emotional impact through color choices can also elevate the overall festive atmosphere. To further inspire your creativity, exploring how curiosity can lead to discovering new decoration ideas might help you craft more unique and personalized decorations. Whichever palette you choose, vibrant, harmonious colors will make your Hanukkah decorations sparkle with joy.
Crafting Paper Cutouts
To craft beautiful paper cutouts for your Hanukkah garland, gather colorful cardstock or patterned paper that matches your chosen color scheme. Use scissors or craft punches to cut out shapes like menorahs, dreidels, stars of David, or flames.
If you want more detailed designs, print templates from online sources and trace them onto your paper before cutting. Keep a steady hand to make certain clean edges, and consider layering different colors for a vibrant effect.
For added dimension, gently fold or curl parts of your cutouts before attaching them to your string. Remember to cut enough shapes to create a balanced, eye-catching garland that showcases your holiday spirit.
This simple project makes your space festive and personalized for Hanukkah celebrations.
Stringing the Garland
Once your paper cutouts are ready, it’s time to assemble your festive Hanukkah garland by stringing them together. Choose a length of twine, ribbon, or bakers’ twine that suits your space. Use a sturdy needle or a craft pin to thread through the top of each cutout’s edge. Space them evenly to create a balanced look, but feel free to add extra spacing for a relaxed feel. As you thread, gently pull the garland to guarantee all pieces are secure. Incorporating decorative elements such as small Hanukkah symbols or embellishments can add extra charm to your garland. You might also consider color coordination to enhance the visual harmony of your decorations. Once assembled, hang your garland across a mantel, doorway, or along a wall. Adjust the spacing if needed, and make sure it’s taut enough to hang neatly. Your colorful, handmade Hanukkah garland will brighten your celebration and add a personal touch to your decor. Incorporating color accuracy into your decorations can enhance the visual appeal and make your handmade crafts stand out even more. For a polished look, you can also use a ruler or template to ensure consistent spacing and alignment throughout your garland. Proper storage of craft supplies can help keep your materials in good condition for future projects.
Personalized Dreidel Decorations

Adding personalized touches to your dreidels makes your Hanukkah celebration more meaningful and fun. You can transform simple wooden or ceramic dreidels into unique decorations by decorating them with paint, stickers, or markers.
Personalize your dreidels with paint and stickers for a more meaningful Hanukkah celebration.
Consider writing family names, special messages, or meaningful symbols on each dreidel to make them stand out. You might also use glitter, washi tape, or decorative paper to add texture and color.
If you want to get creative, attach small embellishments like beads or stickers that represent your family’s traditions. These personalized dreidels can become keepsakes or party favors, adding a special touch to your holiday.
Plus, crafting them together creates a fun family activity that everyone will enjoy, making your Hanukkah celebration even more memorable.
Bright and Colorful Hanukkah Candle Holders
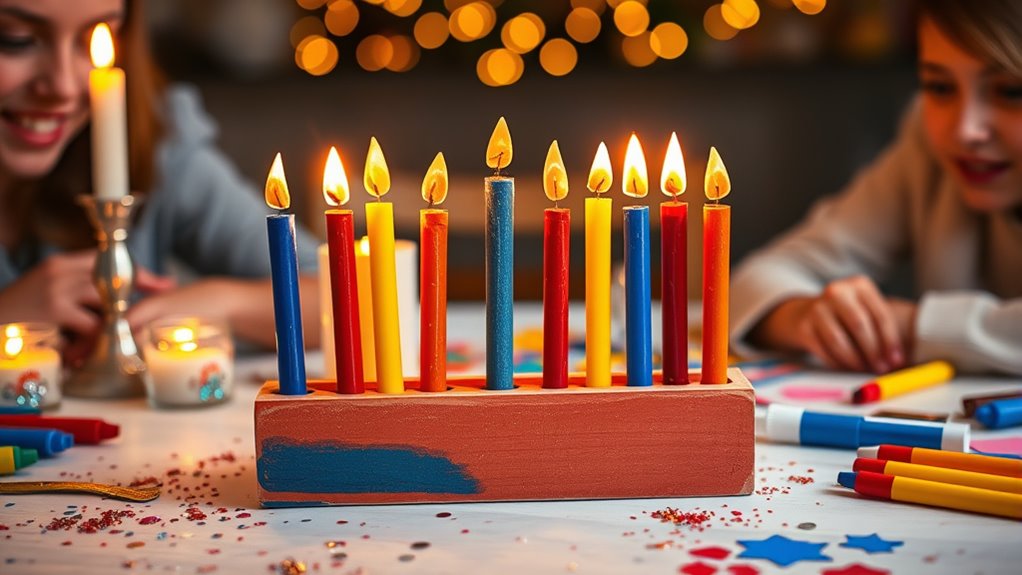
Bright and colorful Hanukkah candle holders instantly bring festive cheer to your celebration, transforming your menorah into a vibrant focal point. You can craft these holders using simple materials like glass jars, paint, and decorative items such as stickers or sequins.
Start by cleaning the jars thoroughly, then paint them with bright, cheerful colors or patterns that reflect the holiday spirit. Add glitter, stickers, or small embellishments to make each holder unique and eye-catching.
You might also incorporate symbols like dreidels or stars of David for added meaning. Once dry, place your candles inside, and arrange the holders around your menorah for a lively display.
These handmade candle holders add a personal touch and make your Hanukkah celebration even more joyful.
DIY Hanukkah Wall Art With Star of David
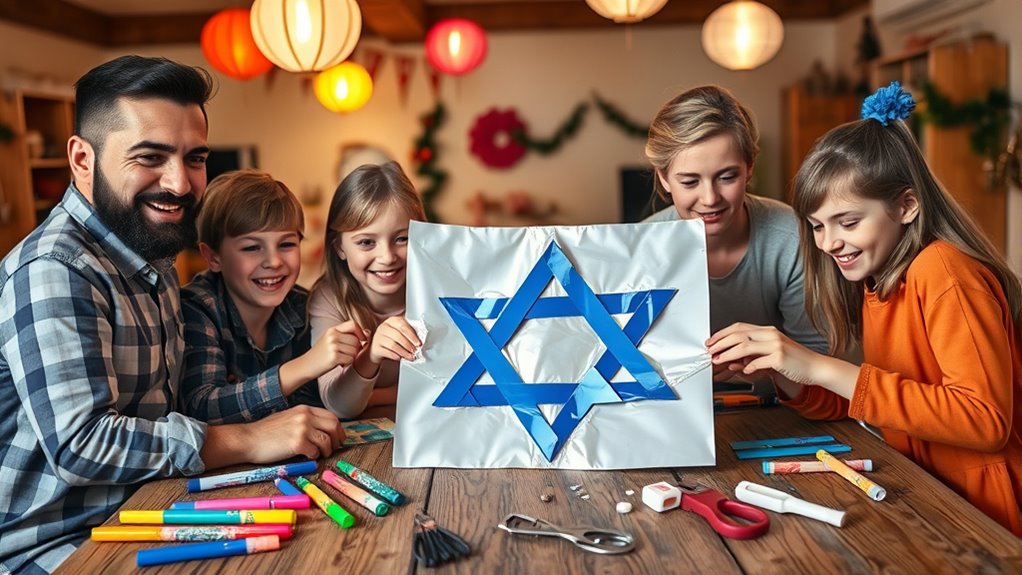
Creating DIY Hanukkah wall art with a Star of David is a fun way to celebrate the holiday. You’ll want to gather some simple materials and tools, and there are plenty of design ideas to inspire your project. Consider incorporating emotional expression activities or other decorative elements to enhance your display and create a festive atmosphere. Follow these step-by-step tips to craft a beautiful piece that adds meaning and style to your space.
Design Inspiration Ideas
Looking for a simple yet meaningful way to celebrate Hanukkah through your wall decor? Creating Star of David-themed art can be both inspiring and personal. To spark your creativity, consider these ideas:
- Use metallic paper or paint to make a shimmering Star of David that catches the light and symbolizes hope.
- Incorporate traditional blue and white colors, combining them with patterns like menorahs or dreidels for a festive look.
- Create a mixed-media piece by layering paper cutouts, fabric, or even family photos within the star shape, adding a personal touch to your decor.
- Explore the symbolic significance of the Star of David to deepen your connection to the tradition and enhance your craft. Understanding the history of self watering planters can inspire innovative ways to incorporate water and growth themes into your artwork.
Materials and Tools Needed
To bring your Star of David wall art to life, you’ll need a selection of specific materials and tools. Start with a sturdy piece of cardboard or foam board as your base.
You’ll also need blue and silver paint or markers to create the traditional colors.
For the Star of David, cut out two overlapping triangles from thick paper or craft foam—scissors or a craft knife will help with precise cuts.
A ruler and pencil are essential for accurate measurements and markings.
You’ll also want glue or double-sided tape to assemble your design securely.
Optional: glitter, stickers, or other embellishments to add extra flair.
Having these materials ready will make the crafting process smoother and more enjoyable.
Step-by-Step Crafting Tips
Once you’ve gathered all your materials, start by measuring and marking the center of your base surface to make sure your design is symmetrical. This will guide your placement and keep everything balanced.
Next, follow these steps:
- Sketch the outline of the Star of David lightly with a pencil, using your center mark as a reference.
- Use painter’s tape or stencils to carefully trace the lines, ensuring crisp, clean edges.
- Fill in the shapes with your chosen colors or patterns, and let everything dry completely before removing tape or erasing pencil marks.
Taking your time at each step ensures a polished look. Remember, patience and precision make your wall art stand out!
Hanukkah-themed Mason Jar Lanterns
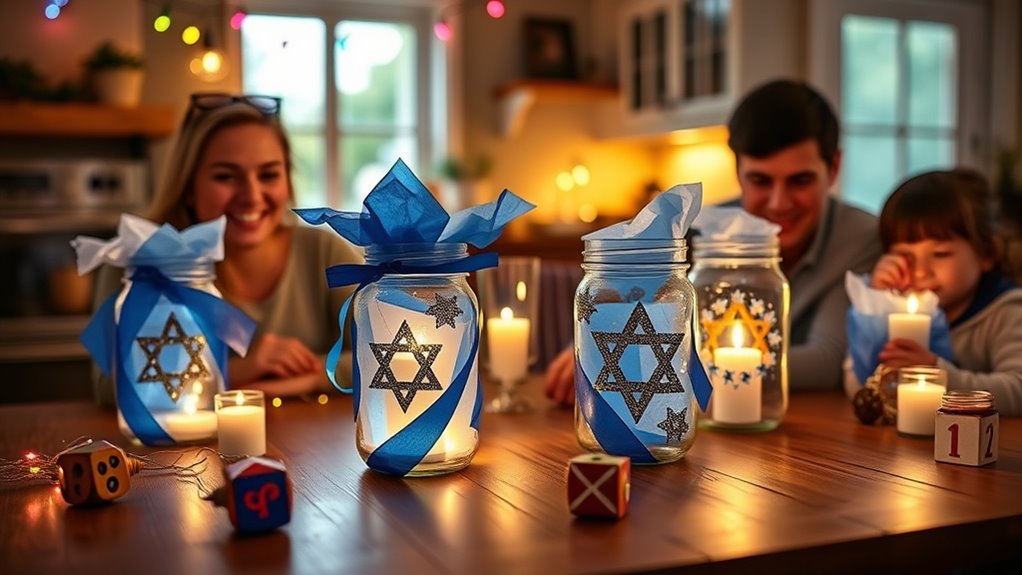
Create charming Hanukkah-themed Mason jar lanterns to add a warm, festive glow to your celebrations. Start by choosing clear Mason jars and gathering blue, silver, and white paint, along with Hanukkah-themed decorations like dreidels, Stars of David, or menorah cutouts.
Use painter’s tape to create clean lines or designs on the jars, then paint or decorate as desired. You can glue or attach paper cutouts directly onto the jars or use vinyl decals for a polished look.
Place battery-operated tea lights inside each jar to safely illuminate your space. These lanterns make lovely centerpieces or outdoor accents, spreading light and cheer during Hanukkah.
Plus, customizing them allows your family to get creative and make meaningful keepsakes for years to come.
Creative Hanukkah Greeting Cards
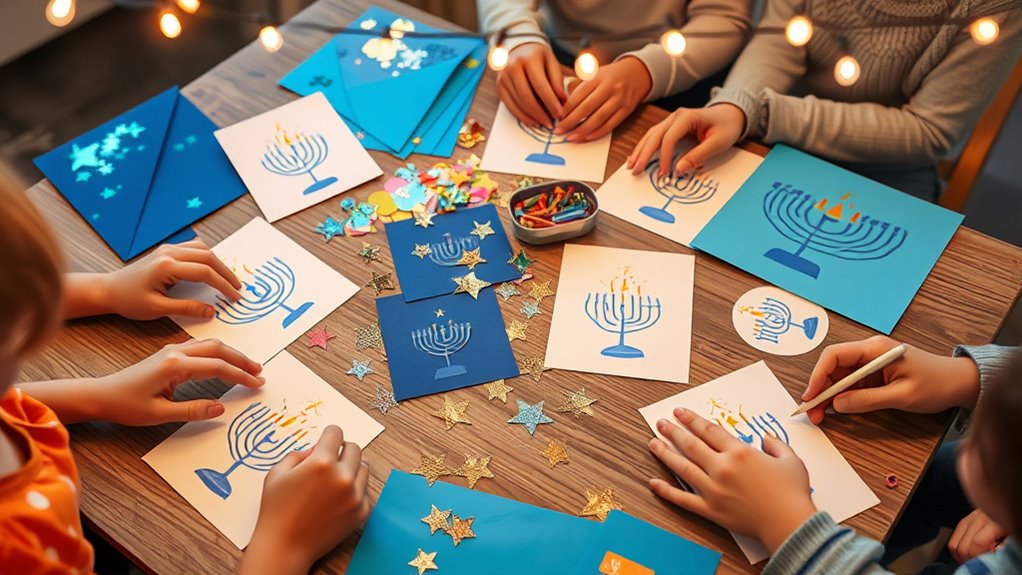
Creating your own Hanukkah greeting cards lets you add a personal touch to your celebrations. You can design unique images and messages using recyclable materials to make eco-friendly cards.
Don’t forget to include heartfelt handwritten notes that truly convey your holiday wishes.
Personalized Card Designs
Have you ever thought about adding a personal touch to your Hanukkah celebrations? Creating personalized card designs makes your greetings more meaningful. To get started, consider these ideas:
- Use family photos or drawings to make each card unique.
- Write heartfelt messages or favorite Hanukkah memories inside.
- Incorporate traditional symbols like menorahs, dreidels, or Stars of David with your own artistic flair.
Choose colorful cardstock, add stickers or glitter, and craft designs that reflect your family’s personality. Handwritten notes make the cards even more special, showing loved ones you put thought into each one.
Personalizing your Hanukkah cards creates a lasting keepsake that captures the spirit of the holiday and strengthens your family bonds.
Using Recyclable Materials
Building on personalized card designs, using recyclable materials adds an eco-friendly touch to your Hanukkah greetings. Start with cardboard from cereal boxes or old greeting cards, cutting them into festive shapes like stars, Dreidels, or menorahs.
Use leftover wrapping paper or magazines to add colorful backgrounds or decorative elements. Bottle caps, fabric scraps, and aluminum foil can create shiny accents, giving your cards a unique texture.
Incorporate natural materials like dried herbs or pressed flowers for a special touch. Not only do you repurpose items you already have, but you also create one-of-a-kind cards that reflect your creativity and commitment to sustainability.
This approach makes your Hanukkah greetings meaningful, eco-conscious, and fun for the whole family to craft together.
Adding Handwritten Messages
Adding handwritten messages to your Hanukkah cards personalizes your greetings and makes them more heartfelt. It shows you put thought and effort into celebrating with loved ones.
To make your messages stand out, consider these tips:
- Use colorful markers or pens to add vibrancy and cheer.
- Write a meaningful Hanukkah quote or blessing to share your sentiments.
- Personalize each message with a memorable shared moment or warm wish.
Keep your handwriting neat and legible, and don’t hesitate to add small drawings or symbols like menorahs or dreidels for extra charm. Handwritten messages create a special connection that store-bought cards can’t match.
With a little creativity, your heartfelt words will brighten your loved ones’ celebrations and make your cards truly memorable.
Festive Hanukkah Table Centerpieces
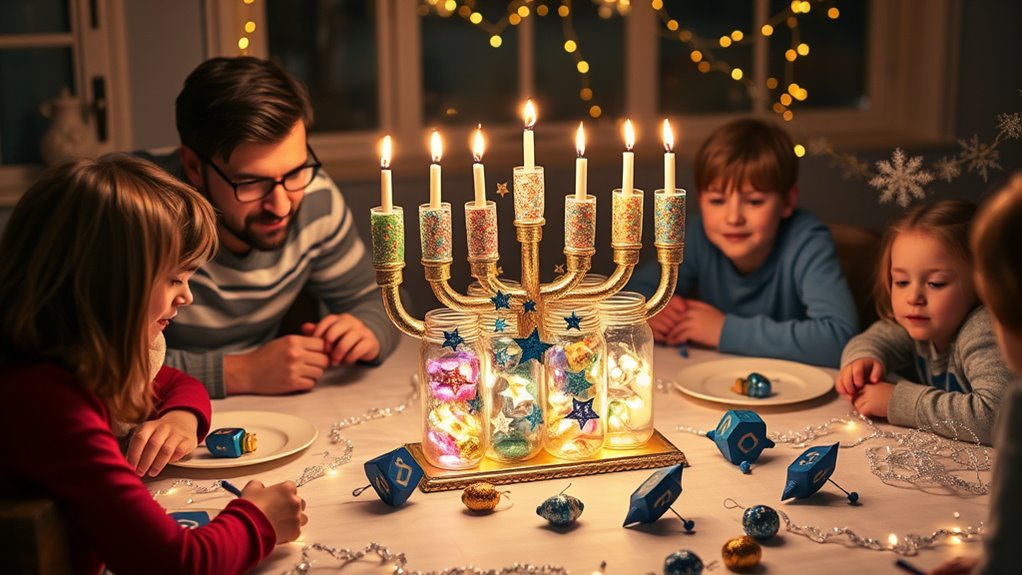
Looking for a way to make your Hanukkah celebration even more special? Create festive table centerpieces that wow your guests. Use simple materials like blue and white candles, dreidels, and gelt to add a joyful touch. Arrange them in a centerpiece that reflects the holiday’s spirit. For example, you could assemble a display like this:
| Item | Placement | Description |
|---|---|---|
| Blue candles | Center of the table | Tall candles in glass holders |
| Dreidels | Surrounding candles | Colorful spinning tops |
| Gelt | Front of centerpiece | Gold chocolate coins |
This setup instantly creates a warm, inviting atmosphere, perfect for celebrating Hanukkah with family and friends. Keep it simple, colorful, and meaningful.
Hand-painted Hanukkah Wooden Coasters
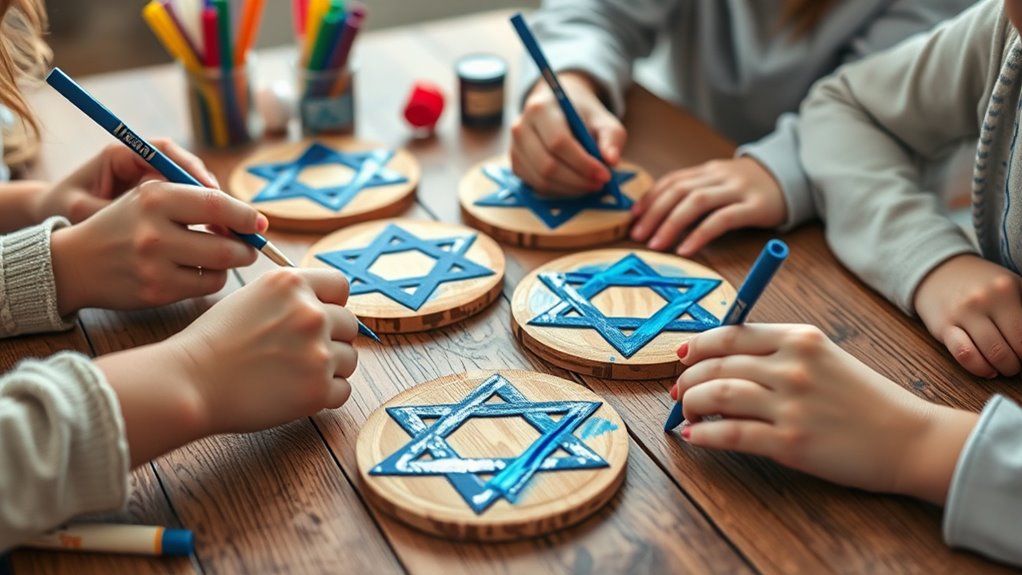
Create personalized Hanukkah decor by crafting hand-painted wooden coasters that celebrate the holiday. These coasters add a festive touch while protecting your surfaces. To get started, gather small wooden circles, acrylic paint, brushes, and stencils with Hanukkah symbols like menorahs or dreidels.
Here are three fun ideas to inspire you:
- Paint a menorah with lit candles on each coaster.
- Create a pattern of dreidels spinning around the edges.
- Write meaningful Hanukkah phrases in Hebrew or English.
Once the paint dries, seal your designs with a clear waterproof coating. These coasters make thoughtful gifts and lively additions to your Hanukkah celebrations.
Personalize them to match your family’s style and enjoy your handcrafted holiday decor!
Custom Hanukkah Gift Bags

Ever thought about making your own Hanukkah gift bags to add a personal touch to your celebrations? Creating custom gift bags is simple and fun.
Start with plain paper or cloth bags, then decorate them with markers, stickers, or stamps featuring menorahs, dreidels, or Stars of David. You can also personalize each bag by writing the recipient’s name or a special message.
Add some glitter or metallic accents to make them sparkle. If you prefer a more professional look, print out festive designs and glue them onto your bags.
Filling these handmade bags with small gifts, treats, or gelt makes your presents even more meaningful.
Handmade gift bags show extra thought and effort, making your Hanukkah celebration feel more special for everyone.
Frequently Asked Questions
What Are Eco-Friendly Materials Suitable for Hanukkah Crafts?
You’re wondering about eco-friendly materials for Hanukkah crafts. Opt for recycled paper, cardboard, and natural fabrics like cotton or linen.
Use beeswax wraps instead of plastic for decorations, and incorporate organic dyes for coloring.
Bamboo, cork, and biodegradable glitter are also great sustainable options.
These materials help you create beautiful, environmentally conscious crafts that celebrate tradition while caring for the planet.
How Can I Involve Young Children in Craft-Making Safely?
To involve young children safely, you can choose age-appropriate crafts with non-toxic materials and simple tools. Supervise closely during activities, and teach them proper handling.
Provide clear instructions and encourage creativity without pressure. Use safe, washable paints, child-friendly scissors, and avoid small pieces to prevent choking.
Keep a tidy workspace and be patient, making sure everyone has fun while staying safe.
Where Can I Find Affordable Supplies for DIY Hanukkah Projects?
You might think affordable craft supplies are hard to find, but it’s often not true. Stores like dollar stores, craft supply chains, and online marketplaces like Amazon or Etsy offer budget-friendly options.
You can also check out local thrift shops or bulk stores for inexpensive materials. Comparing prices and using coupons can save you even more.
With a little research, you’ll discover plenty of ways to gather supplies without overspending.
Are There Any Traditional Symbols I Can Incorporate Into Crafts?
You can incorporate traditional symbols into your crafts to celebrate Hanukkah. Use a menorah, which is central to the holiday, as a focal point or decorative element.
Include the Star of David, dreidels, and oil jars to symbolize the miracle of Hanukkah. These symbols add cultural significance and make your projects more meaningful.
Incorporating these traditional icons enhances your crafts and connects you to the holiday’s rich history.
How Can I Customize Crafts for Different Age Groups?
You can customize crafts for different age groups by choosing appropriate materials and complexity levels. For young kids, simplify designs and use washable paints or stickers.
Older children enjoy more intricate projects like personalized menorahs or dreidel decorations. Think about their interests—adding glitter, vibrant colors, or meaningful symbols can make each craft special.
Conclusion
These DIY Hanukkah crafts turn your celebration into a heartfelt masterpiece, filling your home with warmth and meaning. As you create each piece, you weave together family memories and traditions like a beautiful tapestry. Embrace the joy of crafting together, knowing that your handmade treasures will shine brightly, just like the Festival of Lights. Let your creativity ignite the spirit of togetherness, making this Hanukkah truly unforgettable for everyone.