
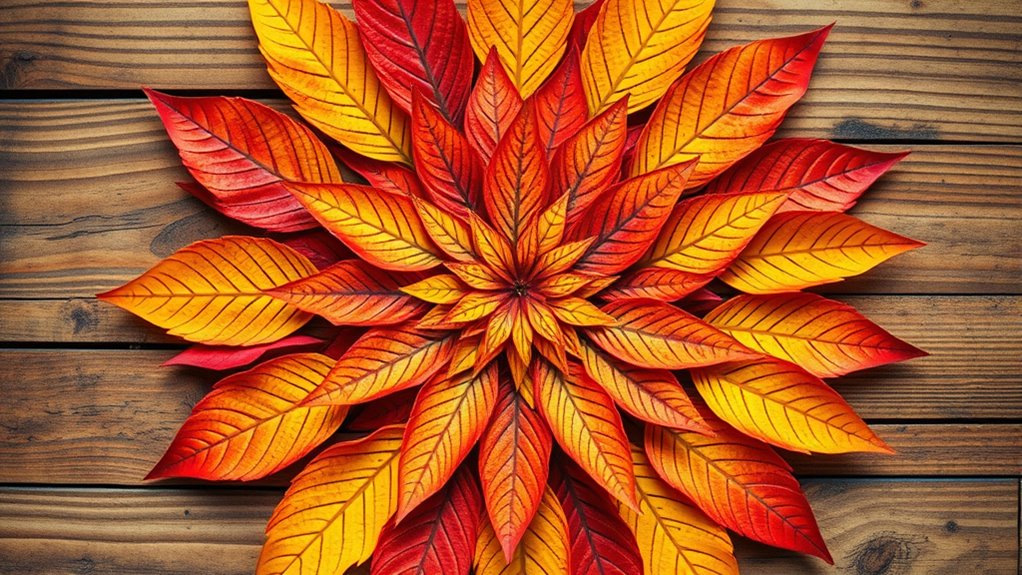
To create a first-day-of-fall leaf mandala, start by gathering colorful, varied leaves from your surroundings, focusing on different shapes and bold hues. Prepare your workspace with a sturdy base like cardboard or a wood slice, and organize your materials like glue and scissors. Plan your design with a central focal point, layering leaves outward for stability and beauty. Add artistic touches, then display your work to enjoy the seasonal vibe—more tips to help you perfect your craft await.
Key Takeaways
- Collect a variety of colorful, intact autumn leaves with diverse shapes and sizes for vibrant mandala designs.
- Choose a sturdy base like cardboard or wood and set up a clean, well-lit workspace for precise arrangement.
- Plan your mandala pattern with a central focal point, using color harmony and layering techniques for balance.
- Secure leaves with appropriate adhesives, layering from the center outward, and add decorative details for visual interest.
- Display your completed mandala by framing or photographing, and consider sealing it to preserve its seasonal beauty.
Gathering and Selecting Autumn Leaves
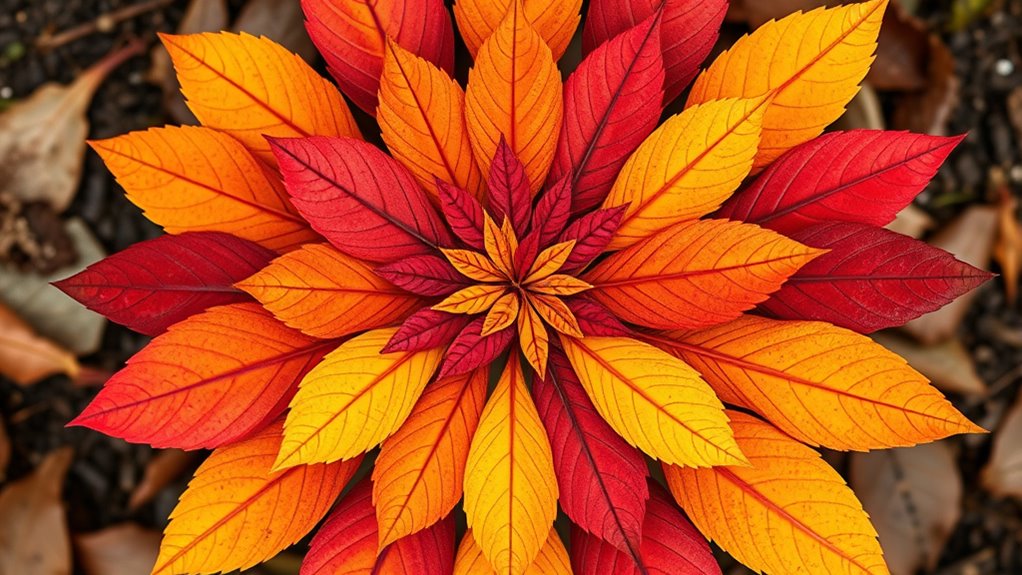
As you begin gathering autumn leaves, look for a variety of colors, shapes, and sizes to make your leaf mandala vibrant and interesting. Pay attention to leaf shapes, such as rounded, pointed, or lobed, to create diverse patterns. Collect leaves with bold color contrasts—bright reds, yellows, oranges, and deep greens—that will stand out when arranged. Variety in size, from tiny to large, adds depth and texture to your design. Choose leaves that are intact and dry, so they’re easy to handle and won’t crumble. Don’t rush; take your time exploring different trees and bushes. The more diverse your collection, the more dynamic and eye-catching your leaf mandala will become. This careful selection sets the foundation for a stunning fall craft. Diverse leaf selection can also inspire creative arrangements and enhance the visual appeal of your mandala. Additionally, consider the quality of leaves to ensure they won’t easily tear or fall apart during your project. Being mindful of leaf condition helps ensure your design remains intact and looks beautiful for longer. Incorporating proper preservation methods can help maintain the leaves’ vibrancy throughout your craft.
Preparing Your Workspace and Materials
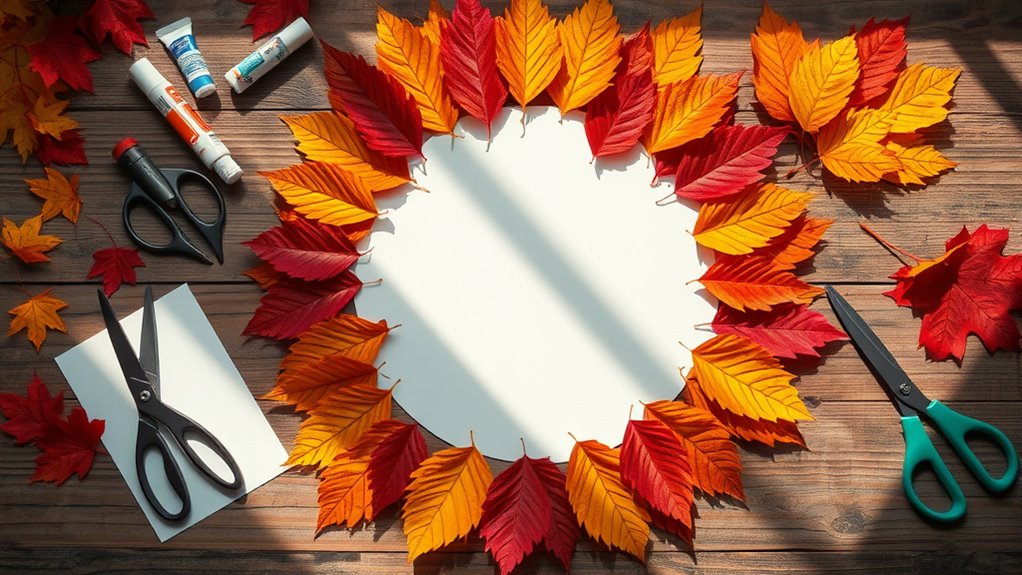
Before you start arranging your leaves, set up a clean, flat workspace in a well-lit area to make the crafting process easier and more enjoyable. A tidy workspace helps you see your seasonal color options clearly, making it easier to select and arrange leaves. Gather all your materials—glue, scissors, and any decorative accents—before you begin. Use a sturdy surface to prevent slips or damage. Good lighting highlights the vibrant hues of the fall leaves, inspiring your creative choices. Keep your workspace organized to avoid searching for supplies mid-project. This setup ensures your focus stays on designing your beautiful leaf mandala, allowing you to fully enjoy the process of creating with nature’s seasonal colors. Incorporating mental clarity into your crafting environment can enhance your focus and creativity during the project. Additionally, ensuring your workspace is secure and free from interruptions can help maintain your security awareness, making your crafting session both safe and enjoyable. Creating a dedicated crafting area can further boost your concentration and help you stay organized throughout your project. To optimize your experience, consider environmental comfort, such as appropriate temperature and minimal noise, which can also improve your focus and enjoyment. Using vegetable juices or natural elements like leaves can inspire your design choices and enhance your connection to nature.
Choosing a Base for Your Mandala
Choosing the right base sets the foundation for your mandala. You can use a variety of materials, like cardboard, wood, or even a sturdy paper plate. Make sure to pick a size that gives you enough space to create your design without feeling cramped. Opting for a natural material can enhance the overall aesthetic of your craft. Additionally, selecting a durable base ensures your mandala remains intact during display or handling. Exploring material properties by experimenting with different bases can lead to unique and personalized results.
Material Options for Bases
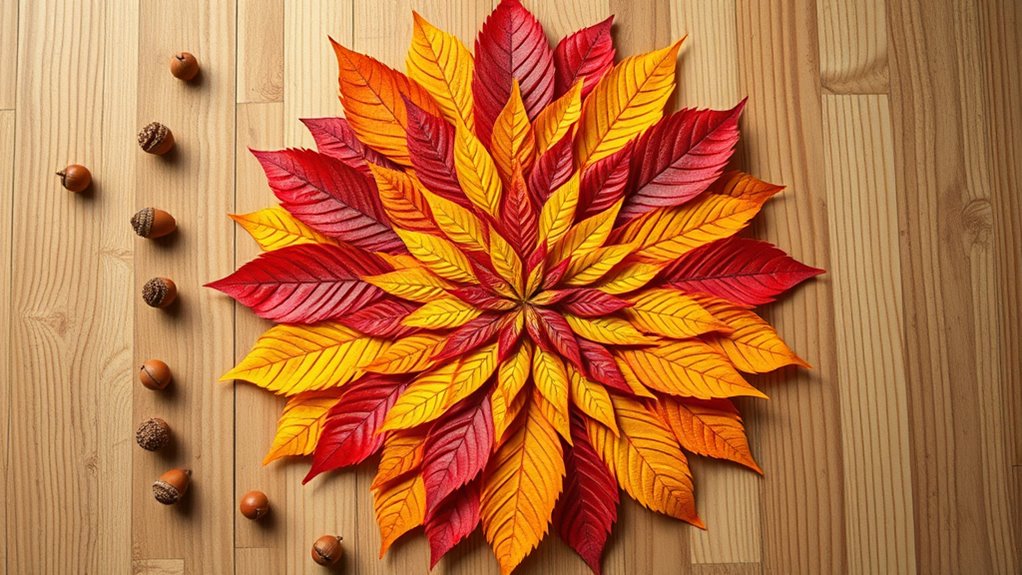
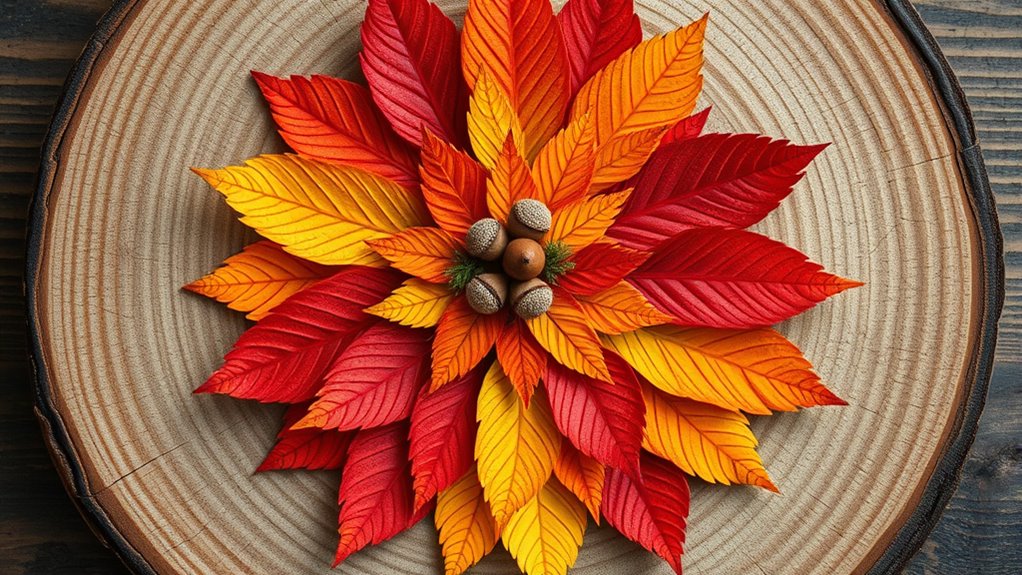
Selecting the right base for your leaf mandala sets the foundation for your entire craft. You can choose from natural textures like wood slices, cardboard, or sturdy paper, which provide a solid surface for arranging leaves and accents. Wooden bases add warmth and rustic charm, perfect for highlighting fall’s natural beauty. Cardboard or thick paper offers an affordable and versatile option, easy to cut into various shapes. To enhance visual appeal, incorporate decorative accents such as small pinecones, acorns, or berries around the edges. These elements add depth and texture, making your mandala more engaging. When selecting your base, consider how it complements your design’s theme and the natural textures of the leaves, ensuring your craft feels cohesive and inviting.
Choosing the Right Size
The size of your base plays a crucial role in shaping the overall look and feel of your leaf mandala. Selecting the right size depends on your desired scale proportion and the leaf size you have available. If you choose a large base, your mandala will appear more expansive and detailed, allowing for intricate patterns. Smaller bases create a more intimate, compact design that highlights individual leaves. Consider the leaf size you plan to use—larger leaves suit bigger bases to balance the composition, while smaller leaves work best on smaller surfaces. Keep in mind that the scale proportion between your leaves and base influences the visual harmony of your craft. Picking the appropriate size ensures your mandala looks balanced, cohesive, and visually appealing.
Planning Your Mandala Design
Before you start arranging your leaves, take a moment to envision the overall look you want for your mandala. Think about how leaf color combinations can create a vibrant, harmonious design that captures the essence of fall. Consider seasonal inspiration—warm oranges, deep reds, golden yellows, and earthy browns—to guide your choices. Decide on a central focal point and how you want the layers to radiate outward. Planning your design ahead helps you select the right leaves and arrange them intentionally. Visualize the pattern and balance you aim to achieve. Incorporating design principles can also help create a more balanced and appealing pattern. Utilizing color theory can enhance the visual harmony of your design and make your mandala more captivating. Being aware of environmental considerations ensures your project aligns with sustainable practices and minimizes impact on nature. Practicing mindful organization during collection and arrangement can streamline the process and prevent clutter, making your creative experience more enjoyable. Considering safety tips can help prevent accidents while collecting and handling leaves.
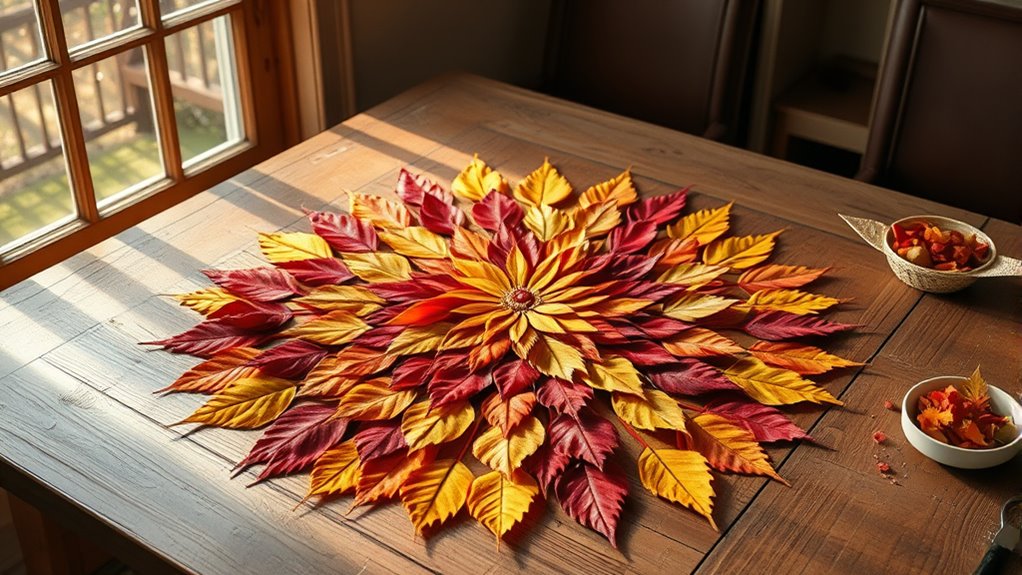
Arranging Leaves in Patterns and Layers
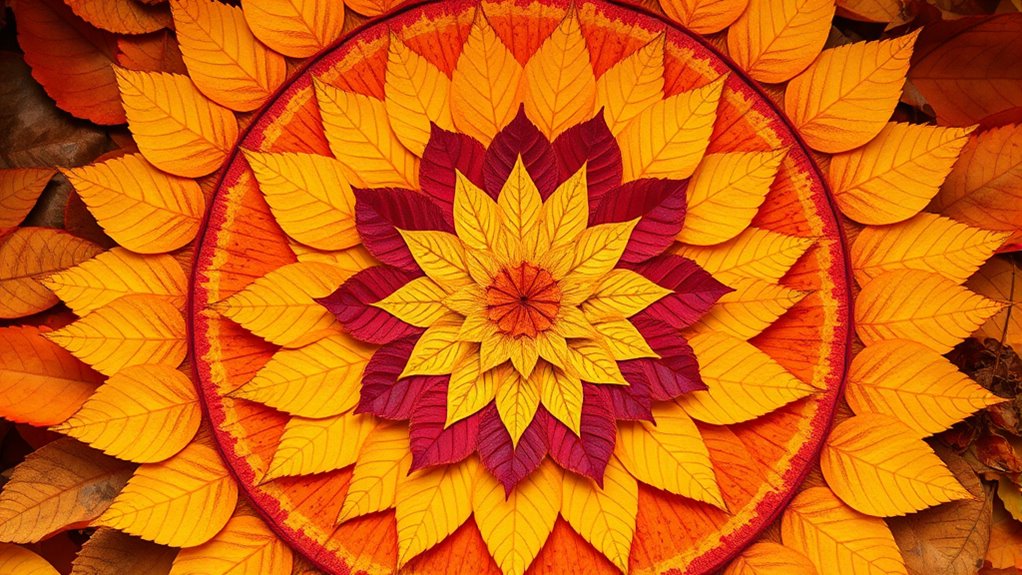
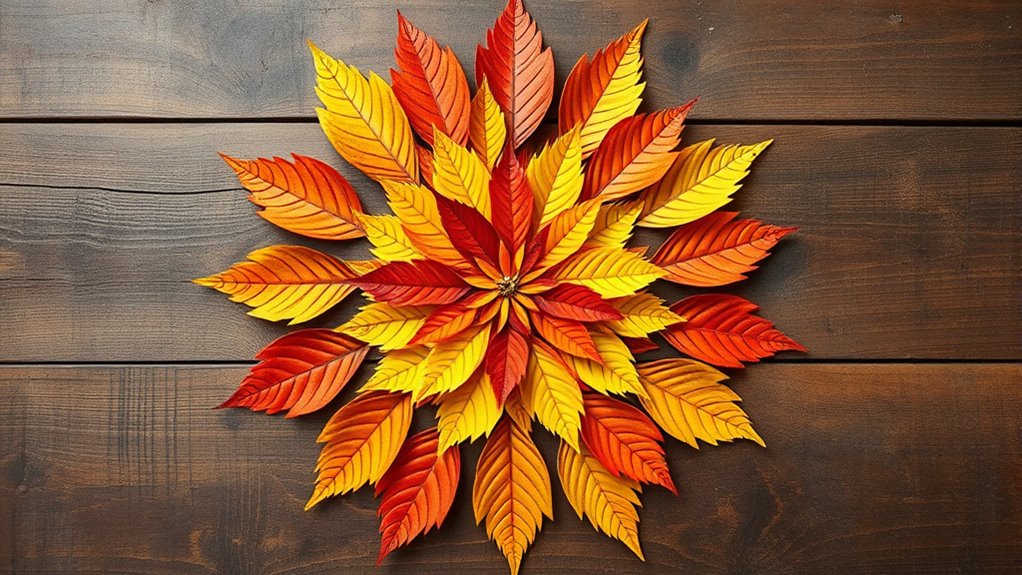
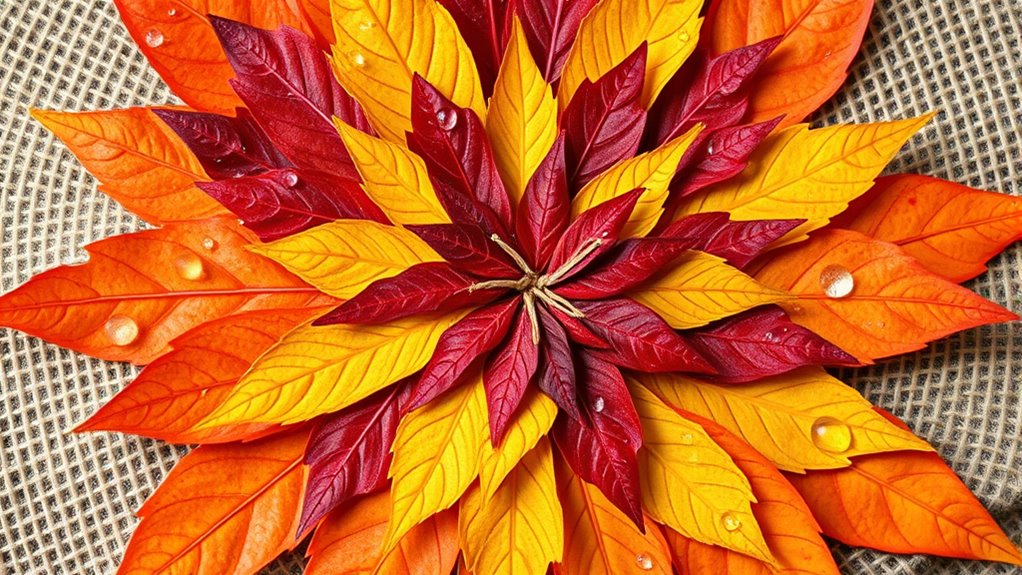
As you begin arranging your leaves, start by creating a central focal point and build outward in layers. Pay attention to leaf color, blending warm reds, oranges, and yellows to enhance visual appeal. Use pattern symmetry to create balanced designs, making your mandala more harmonious. To guide your arrangement: 1. Place larger leaves at the center for stability and focus. 2. Surround the center with smaller leaves, alternating colors for contrast. 3. Layer leaves in repeating patterns to establish symmetry. 4. Vary leaf orientations to add texture and depth. Additionally, incorporating leaf color as a key element can make your design more eye-catching and vibrant. Practicing mindfulness during this process can increase your appreciation for natural beauty and improve your emotional well-being. This approach aligns with market trends in natural crafts, ensuring your creation is both beautiful and contemporary. This method keeps your design organized while allowing natural leaf variation to shine. Remember, symmetry and leaf color are key elements that make your mandala eye-catching and vibrant. Take your time, and enjoy the creative process.
Securing the Leaves in Place
To keep your leaf arrangement intact, you’ll want to use a suitable adhesive that holds the leaves securely without damaging them. Layering techniques can also help stabilize your design, making it more durable. Experiment with different methods to find what works best for your unique mandala.
Use of Adhesive
Using the right adhesive is essential to keep your leaf mandala intact. Choose from various adhesive types, such as glue sticks, liquid glue, double-sided tape, or hot glue, depending on your project’s needs. When applying, follow these tips for the best results:
- Use a small amount of glue to prevent excess and mess.
- Apply evenly along the edges of each leaf for secure attachment.
- Press the leaves gently but firmly for a few seconds to ensure adhesion.
- Allow the adhesive to dry completely before moving or handling your mandala.
Mastering application techniques helps avoid wrinkling or shifting. Take your time to apply the adhesive carefully, and your leaf mandala will stay beautiful and intact longer.
Layering Techniques
Once you’ve applied adhesive to secure each leaf, the next step is to layer the leaves carefully to create a stable and visually appealing mandala. Start by placing larger leaves with vibrant leaf color in the center, representing the season’s rich symbolism. As you work outward, layer smaller leaves, overlapping slightly to guarantee they stay in place. Pay attention to the seasonal symbolism of the leaf colors—reds, oranges, and yellows—to enhance the mandala’s visual impact. Secure each leaf firmly, pressing gently to avoid shifting. Consistent layering ensures stability and balance, making your craft both beautiful and durable. This technique highlights the natural diversity of fall foliage, emphasizing the seasonal shift and creating a stunning, meaningful centerpiece.
Adding Artistic Touches and Details
Adding artistic touches and details can truly bring your leaf mandala to life, making it more vibrant and personalized. To enhance your design, consider these techniques:
Enhance your leaf mandala with subtle artistic touches for a vibrant, personalized masterpiece.
- Use color blending to seamlessly shift between shades, creating depth and visual interest.
- Add border detailing around individual leaves or sections to define shapes and add structure.
- Incorporate small doodles or patterns within sections for extra texture and uniqueness.
- Highlight certain areas with metallic or glitter accents to make your mandala stand out.
These touches add dimension and personality to your craft, transforming a simple arrangement into a captivating piece of art. Focus on subtle details that complement your overall design, and let your creativity shine through.
Displaying and Appreciating Your Artwork
After completing your leaf mandala, the next step is to find meaningful ways to display and appreciate your artwork. Consider framing it to highlight the vibrant leaf colors, which showcase the rich hues of fall. Placing your mandala on a windowsill or wall allows natural light to enhance its seasonal symbolism, emphasizing the warm, earthy tones. You might also photograph your creation or create a small seasonal display with other fall decor, helping you appreciate the artistry and the significance of this *changeover* season. By thoughtfully showcasing your work, you connect more deeply with the changing season and celebrate the natural beauty captured in each leaf. Your display becomes a reminder of fall’s fleeting, colorful landscape and your creative expression.
Tips for Extending Your Fall Craft Experience

To keep your fall craft experience vibrant and meaningful, look for ways to incorporate your leaf mandala into everyday activities and seasonal traditions. You can do this by applying leaf preservation techniques to extend its beauty or by matching your artwork with seasonal color palettes to enhance your decor. Here are some tips:
Celebrate fall’s beauty by preserving your leaf mandala and integrating it into seasonal decor and traditions.
- Use clear sealants or pressing methods to preserve your leaves longer.
- Incorporate your leaf mandala into seasonal home décor, like framing it or making greeting cards.
- Rotate your display with other fall-themed crafts to maintain seasonal interest.
- Match your mandala’s colors with the changing landscape to deepen your connection to fall’s natural beauty.
These strategies help you enjoy your craft longer and deepen your appreciation for the season.
Frequently Asked Questions
What Are Some Alternative Materials if Leaves Are Unavailable?
If leaves aren’t available, you can use artificial alternatives like paper cutouts, fabric scraps, or foam shapes to create your mandala. Craft supplies like colored paper, felt, or even recycled materials work well too. These options let you get creative and customize your design. Plus, they’re easy to find and durable, making your craft more lasting and versatile without relying solely on natural leaves.
Can This Craft Be Adapted for Indoor or Outdoor Use?
Did you know that weather can impact outdoor crafts? Yes, outdoor use depends on weather considerations like wind and rain, which can damage your mandala. For surface suitability, choose flat, stable areas like patios or grass to prevent shifting. Indoors, you have more control—use tables or floors to create your design. Adjust your materials based on where you want to display it, ensuring it stays intact and beautiful.
How Long Does a Leaf Mandala Typically Last Before Degrading?
Your leaf mandala typically lasts a few days to a week before degrading, depending on environmental factors. Leaf decomposition accelerates in moist, humid conditions, causing the colors to fade and the structure to break down. If you want to minimize environmental impact, consider using preserved or artificial leaves. Keep in mind, natural decomposition is eco-friendly, but it means your mandala won’t last forever, so enjoy it while it lasts!
What Safety Precautions Should I Consider During Crafting?
When crafting with leaves, you should prioritize safety by carefully handling leaves to avoid cuts from sharp edges. Use tools like scissors or glue guns with caution, keeping blades away from your skin and working in a well-lit area. Always supervise children during leaf handling and tool use. Wearing gloves can protect your hands, and cleaning up workspace afterward prevents accidents. Stay attentive to ensure a fun, safe crafting experience.
Are There Eco-Friendly Ways to Dispose of or Recycle Leftover Materials?
Think of leftover craft materials as seeds for future projects. You can explore composting options for natural items like leaves and paper, turning waste into nutrient-rich soil. For other leftovers, recycling centers are your best bet—they help keep materials out of landfills and promote sustainability. By consciously recycling and composting, you contribute to a healthier planet, just like planting seeds today that grow into tomorrow’s lush, green landscape.
Conclusion
As you finish your leaf mandala, take a moment to admire your creation—it’s like a colorful snapshot of autumn’s beauty. With each leaf carefully placed, you’ve crafted a unique piece of art that celebrates the season’s vibrant spirit. Keep this craft alive by sharing it with loved ones or creating new designs next fall. Remember, every leaf you add is a small step toward capturing fall’s fleeting magic, so enjoy the process just as much as the finished masterpiece.