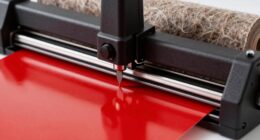
To prevent wood charring and get cleaner laser engravings, start by lowering your laser power and increasing the engraving speed. Use test pieces to find the perfect balance for your wood type, especially softer woods like pine. Proper focus and the addition of air assist help keep heat away from the surface. Applying a sealant before engraving can also minimize burns. Keep experimenting with these settings—you’ll discover more tips for flawless results just ahead.
Key Takeaways
- Reduce laser power and increase engraving speed to minimize heat buildup and prevent charring.
- Use a focused laser and employ air assist to keep heat away from the wood surface.
- Pre-treat or seal wood surfaces to reduce heat absorption and charring risk.
- Select appropriate settings based on wood type, with softer woods requiring lower power.
- Perform test engravings on scrap wood to fine-tune parameters for cleaner, charring-free results.

FreeMascot IPL 200nm-2000nm Laser Safety Glasses for Laser Hair Removal Treatment and Laser Cosmetology Operator Eye Protection with Case (Green)
Wavelength: 200nm-2000nm, broad spectrum protection, block UV, Blue, Red and Infrared Laser Light
As an affiliate, we earn on qualifying purchases.
As an affiliate, we earn on qualifying purchases.
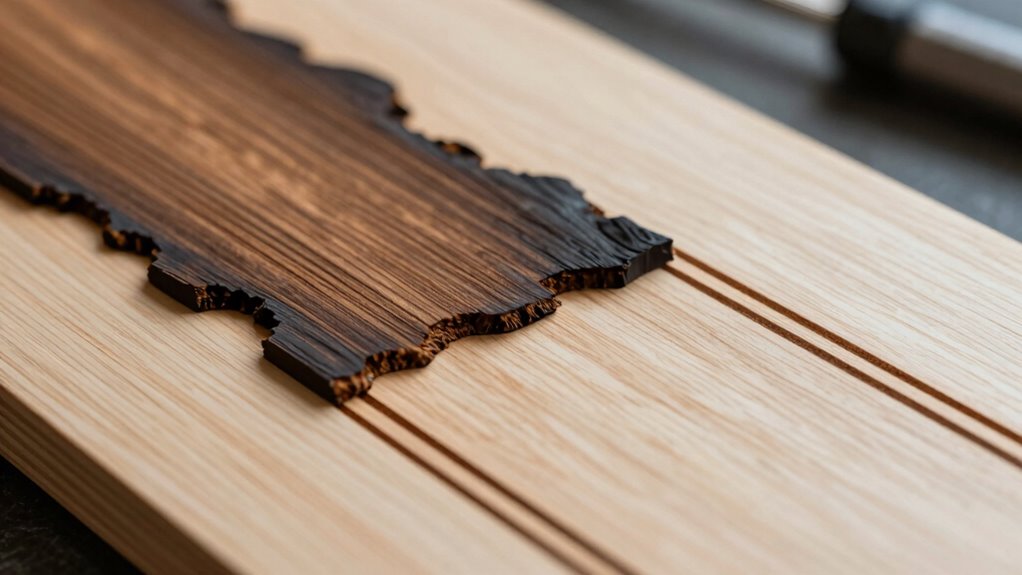
Why Does Wood Char During Laser Engraving?
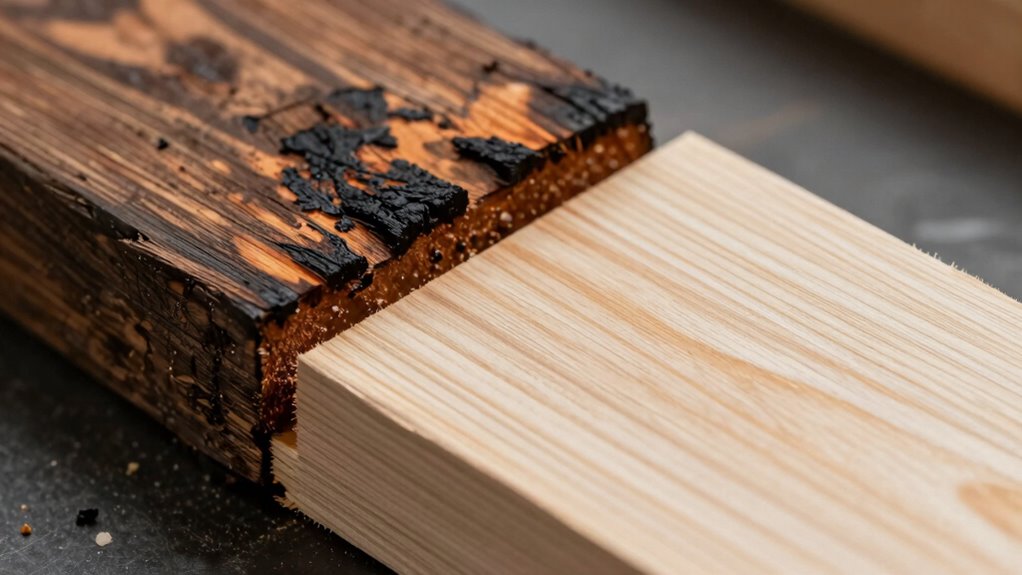
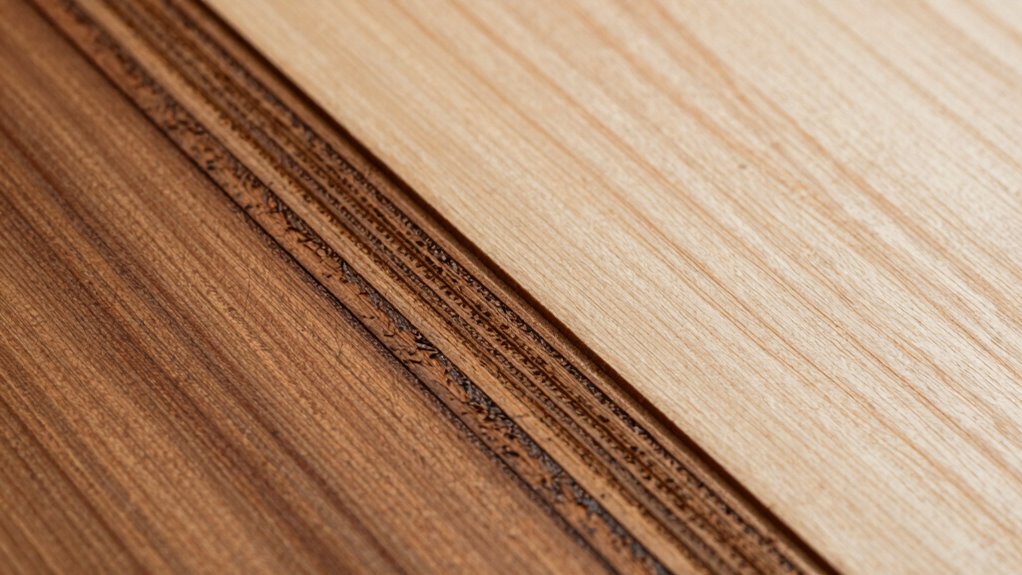
Have you ever wondered why wood tends to char when you laser engrave it? It all comes down to how the laser interacts with the wood grain and the laser wavelength you use. When the laser beam hits the wood, it heats the surface rapidly, causing the lignin and cellulose to burn and produce char. The wood grain’s orientation influences how heat spreads, making some areas more prone to charring. Additionally, the laser wavelength determines how efficiently the laser is absorbed; shorter wavelengths like UV are absorbed more readily, increasing the risk of burning. If the wavelength isn’t matched properly, the laser can overheat the wood surface, leading to unwanted charring and deep burns. Understanding these factors helps you control charring and achieve cleaner engravings. Adjusting laser parameters can significantly reduce the likelihood of unwanted burns and produce cleaner results. Carefully managing laser power settings is essential for optimal engraving quality and reducing charring. Properly calibrating your laser’s power and speed allows for more precise control over heat and minimizes charring. Exploring laser material compatibility can also help in selecting the best settings for different types of wood and finishes. Additionally, understanding the heat transfer properties of various woods enables more tailored adjustments to your laser settings for cleaner engravings.

Air Assist for La-ser Cutter and Engraver, Air Assist Pump for La-ser Cutter, Stable 30L/min Airflow, for D1,D1 Pro La-ser Engraver and Other Cutter, Remove Smoke, Dust, Protect La-ser Lens.
Air Assist for D1 & D1 Pro La-ser Engraver Faster, Cleaner Cuts – Boost Your La-ser Efficiency:With its…
As an affiliate, we earn on qualifying purchases.
As an affiliate, we earn on qualifying purchases.
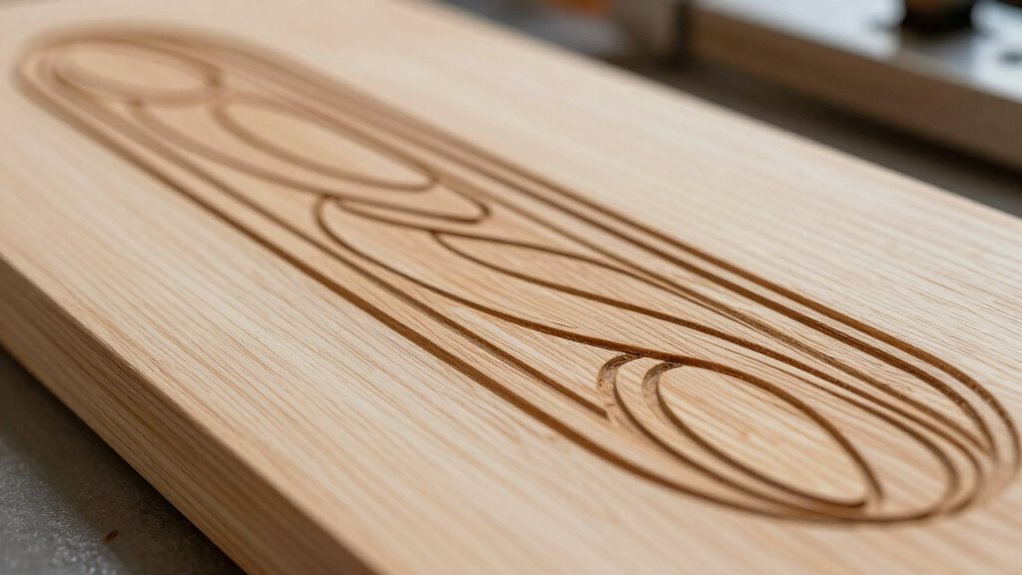
How Can You Adjust Laser Power and Speed to Prevent Charring?

Wondering how to minimize charring during laser engraving? Adjusting your laser power and speed is key. Lowering the laser power reduces the heat applied to the engraving materials, helping prevent scorching. Increasing the engraving speed means the laser spends less time on each spot, further minimizing charring. Always prioritize laser safety by wearing protective gear and ensuring proper ventilation. Experiment with small test pieces to find the ideal balance—too high power or too slow speed can cause charring, while too low might not engrave effectively. By fine-tuning these settings, you’ll achieve cleaner results and avoid damaging your materials. Understanding laser machine calibration can also improve your results and prevent undesired effects. Regularly monitoring and adjusting these parameters based on your material type ensures consistent, high-quality engravings free of charring. Additionally, keeping your laser lens clean can help maintain optimal engraving quality and prevent uneven burns.
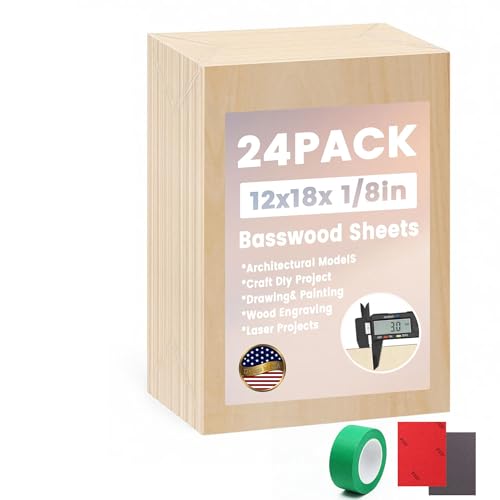
24-Pack Basswood Sheets 1/8" X 12" X 18" – Two Samples are Included Laser Engraving Blanks, 3mm Wood for Laser Cutting and Engraving Plywood Sheets (24 PC 12 * 18 * 1/8)
Premium Basswood for Clean Results – Each 1/8" x 12" x 18" basswood sheet offers a smooth, even…
As an affiliate, we earn on qualifying purchases.
As an affiliate, we earn on qualifying purchases.
What Are the Best Settings for Different Types of Wood?
Different types of wood require specific laser settings to achieve clean, detailed engravings without burning or charring. The wood grain influences how much laser energy you need; tighter grains may need lower power, while open grains may handle slightly higher settings. Adjusting laser focus is essential—sharper focus yields cleaner details and minimizes charring. For soft woods like pine, use lower power and faster speeds to prevent burn marks. Hardwoods like oak need slightly higher power but still require careful speed adjustments. Always test on scrap wood first to dial in the ideal settings. Remember, fine-tuning based on wood grain and laser focus ensures your engravings look professional without damaging the material. Additionally, understanding wood grain density and direction can help optimize your engraving process for better results.

BENECREAT 17pcs Clear Focal Test Ruler, Laser Cutting & Engraving Gauge Acrylic Cutting Distance Tool for Laser Machine Crafting and General Layout Work
Sufficient Lot – Total 17 pcs measuring rulers, 17 sizes, enough to meet your daily use and measurement…
As an affiliate, we earn on qualifying purchases.
As an affiliate, we earn on qualifying purchases.
What Additional Techniques Help Achieve Burn-Free Results?
To prevent burn marks and charring during laser engraving, employing additional techniques beyond adjusting power and speed can make a significant difference. One effective method is wood treatment, which involves sealing or pre-treating the surface to reduce absorption and heat buildup. Using alternative finishes, like clear sealants or light varnishes, can also protect the wood and minimize charring. Additionally, adjusting the laser’s focus and employing air assist help keep heat away from the surface. Proper maintenance of laser equipment ensures consistent performance and minimizes the risk of uneven burns. Incorporating temperature control methods can further help manage heat during the engraving process. Consider this table for quick tips:
| Technique | Purpose | Result |
|---|---|---|
| Wood treatment | Seal surface | Reduces charring |
| Alternative finishes | Protects during engraving | Cleaner, burn-free look |
| Focus adjustment | Optimize laser precision | Avoids excessive heat |
| Air assist | Blow away debris and heat | Cooler surface, cleaner |
| Lower power settings | Minimize heat exposure | Burn-free results |
Implementing these additional techniques can significantly enhance engraving quality, ensuring cleaner results without sacrificing detail. For best outcomes, consider laser settings that are tailored to the specific type of wood and desired detail level.
How Do You Troubleshoot and Fine-Tune Your Laser Engraving?
When troubleshooting your laser engraver, the key is systematic observation and adjustment. Start by checking your laser safety protocols to prevent accidents and guarantee optimal operation. Observe the engraving results closely, noting areas that are over-charred or under-etched. Adjust settings like laser power, speed, and resolution gradually to improve outcomes. Regular maintenance tips, such as cleaning lenses and mirrors, help maintain consistent performance. If issues persist, test different materials or use calibration tools to fine-tune your machine further. Keep detailed records of your adjustments for future reference. Remember, proper maintenance and safety precautions are crucial for troubleshooting success and achieving cleaner, more precise engravings. Consistent fine-tuning yields better results with less charring and more professional finishes. Monitoring your laser equipment regularly can help detect potential issues early and ensure safe operation. Incorporating visual cues can also aid in identifying inconsistencies during the engraving process, enhancing troubleshooting efficiency. Additionally, understanding the thermal behavior of your materials can guide you in optimizing your settings for cleaner results. Paying attention to machine calibration can further improve accuracy and reduce errors over time. Employing proper filtration techniques can also prevent debris buildup that may affect engraving quality.
Frequently Asked Questions
Can Specific Laser Types Reduce Wood Charring Effectively?
Yes, specific laser types can reduce wood charring effectively. You should focus on adjusting laser power and engraving speed; lower laser power combined with faster engraving speeds minimizes burning and charring. For example, using a CO2 laser with optimized settings allows cleaner results. Experiment with these parameters to find the ideal balance, ensuring your wood engraving looks crisp without excessive charring or scorching.
How Does Wood Moisture Content Affect Charring During Engraving?
Ever wonder why your wood charrs like a campfire? It’s your moisture levels, not the laser! When wood’s too wet, it’s like burning marshmallows—smoky and messy. Low moisture levels improve wood quality and reduce charring, giving you cleaner engravings. Keep your wood properly dried before laser engraving, and you’ll see less scorching and more precision. Moisture content is the secret to that perfect, clean finish.
Are There Protective Coatings That Minimize Charring?
Yes, protective finishes and coating options can help minimize charring during laser engraving. Applying clear sealants like polyurethane or lacquer creates a barrier that absorbs some laser energy, reducing burn marks. You should choose coating options suited for laser use, ensuring they don’t interfere with the engraving process. Always test on scrap wood first to confirm the protective finish effectively minimizes charring without affecting the design quality.
What Safety Precautions Should Be Taken During Laser Engraving?
You should always wear safety gear like goggles and gloves to protect your eyes and skin. Make sure your ventilation system is functioning properly to remove fumes and smoke generated during laser engraving. Keep a fire extinguisher nearby, and avoid leaving the laser unattended. Regularly check equipment for damage, and follow manufacturer guidelines for safe operation. These precautions help guarantee your safety while achieving cleaner, professional results.
How Long Does It Typically Take to See Improvements After Adjustments?
You usually see improvements within a few engraving cycles after adjusting laser power and speed. Increasing laser power slightly and reducing engraving speed helps produce cleaner cuts and less charring. As you tweak these settings, observe the results on test pieces, and you’ll notice a clearer, more professional finish in just a few attempts. Consistent adjustments make the process quicker and guarantee your wood looks polished and refined.
Conclusion
By mastering your laser settings, you can transform your wood into a pristine canvas, free of charred scars. Think of your engraver as a painter’s brush—adjusting the pressure and speed to reveal a clean, vibrant masterpiece. When you fine-tune your approach, you’re sculpting with the precision of a jeweler, turning rough wood into a polished gem. With patience and practice, your projects will shine bright, flawless like a star breaking through a cloudy sky.