To stop patchy prints, you need to properly adjust your printmaking press pressure. Check for even impression across your image and ensure ink coverage is consistent without smudging or faint areas. Use a pressure gauge or make small adjustments to achieve balanced force. Test with scrap paper and fine-tune based on results. Adjustments might require patience, but mastering this will improve your prints considerably—keep going to learn more about perfecting your technique.
Key Takeaways
- Ensure the press pressure is evenly distributed across the entire printing surface.
- Use a press gauge to monitor and precisely adjust the pressure to optimal levels.
- Conduct test prints on scrap paper to evaluate ink coverage and identify patchiness.
- Make small, incremental adjustments to pressure and re-test until prints are even and clear.
- Regularly calibrate the gauge and inspect rollers to maintain consistent, patch-free results.
Why Does Printing Pressure Matter for Good Prints?
Printing pressure plays a crucial role in achieving sharp, consistent prints. When you maintain proper pressure, you guarantee better pressure consistency across your artwork, leading to uniform ink transfer. Without the right pressure, your prints can become patchy, blurry, or uneven, which compromises overall print quality. Too little pressure may result in faint images that lack detail, while too much pressure can cause smudging or damage to your printing surface. By adjusting the pressure correctly, you help produce crisp lines, vibrant colors, and precise details. Consistent pressure also reduces the need for reprints, saving you time and materials. Proper equipment maintenance ensures your press functions smoothly and maintains the correct pressure levels. Additionally, understanding how to adjust pressure settings properly can make a significant difference in your print outcomes. Being aware of press calibration helps ensure your equipment consistently delivers the optimal pressure, leading to better overall results. Regularly inspecting your press and performing routine checks can prevent pressure inconsistencies over time. Maintaining consistent pressure is essential for achieving professional, high-quality results in every print.
How Can You Tell If Your Press Pressure Is Correct?

How can you tell if your press pressure is correct? First, check the impression on your print. It should be even across the entire image; an uneven impression signals that pressure calibration may be off. If parts of your print are too faint or too dark, you might need to adjust the pressure. Consistent, clear lines with balanced ink coverage indicate proper pressure. Additionally, examine the print’s surface for patchiness or smudging, which often results from uneven impression caused by incorrect pressure. Keep in mind, the goal is to apply enough force to transfer ink evenly without crushing the paper or causing distortion. Regularly testing and calibrating your press ensures you maintain the right pressure balance for flawless, consistent prints. Proper pressure calibration] is essential for achieving high-quality results and avoiding common printing issues. Precision and automation are key factors in achieving optimal results.
How to Adjust Your Printmaking Press for Consistent Pressure
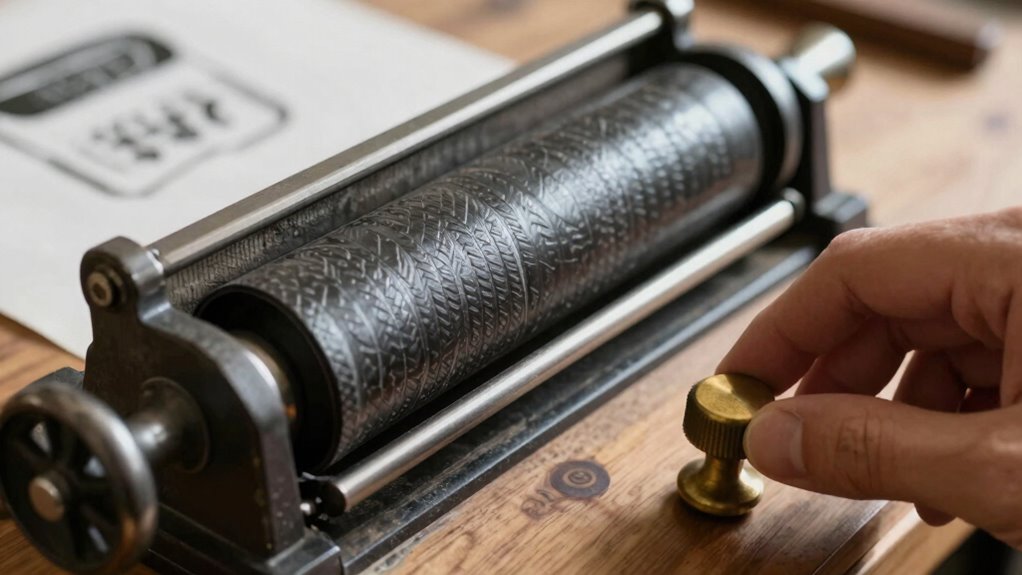
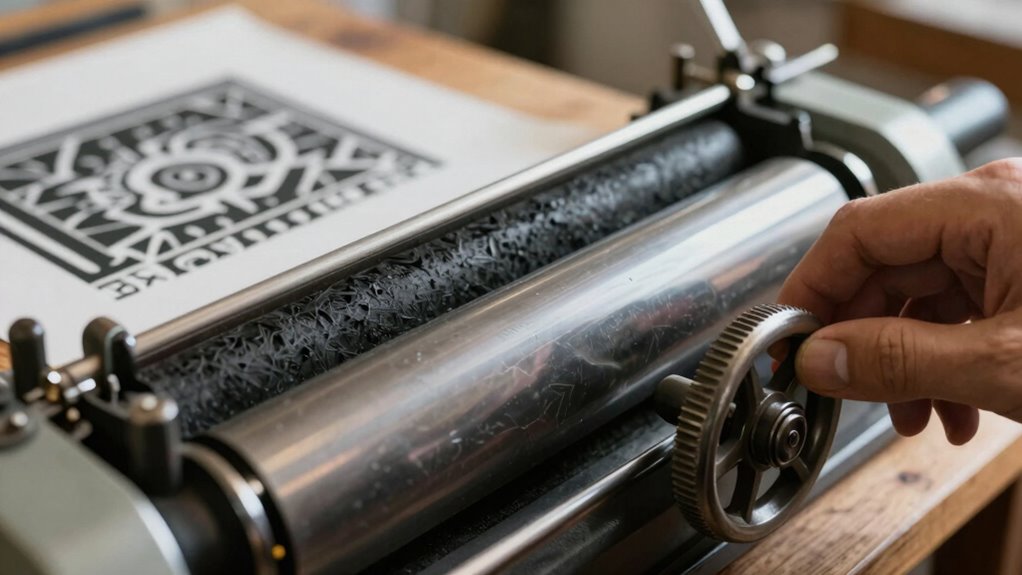
To achieve consistent pressure on your printmaking press, start by ensuring all components are properly aligned and functioning smoothly. Use a reliable press gauge to monitor pressure and perform regular pressure calibration. Proper calibration guarantees your pressure readings are accurate, preventing patchy or uneven prints. Adjust the press by tightening or loosening the platen or adjusting the screws while watching the gauge. Here’s a quick guide:
| Step | Action | Tool Needed |
|---|---|---|
| 1 | Check alignment of rollers and bed | Visual inspection |
| 2 | Attach press gauge to monitor pressure | Press gauge |
| 3 | Make small adjustments to calibration | Wrench, screwdriver |
| 4 | Recheck gauge readings | Press gauge |
| 5 | Test print to confirm consistency | Print paper |
Consistent pressure depends on precise pressure calibration and careful adjustments. Regular maintenance of your press ensures optimal performance and longevity, and understanding printmaking techniques can help you produce better results over time. Additionally, being aware of the pressure distribution across the platen can also improve the overall quality of your prints.
How to Test and Fine-Tune Your Press for Perfect Prints
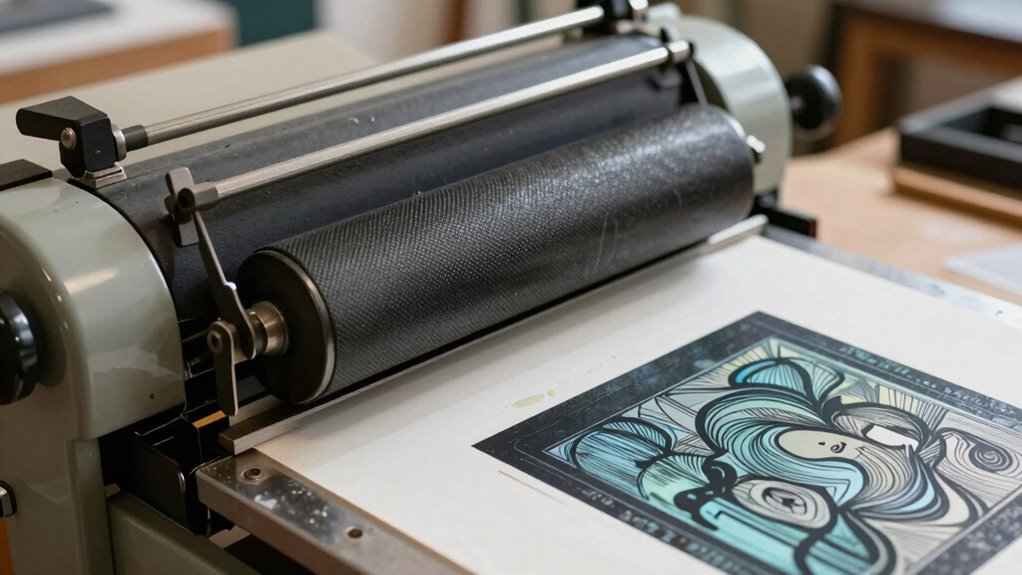
After calibrating your press and making sure everything is properly aligned, it’s time to test and fine-tune the setup for perfect prints. Begin by making a test print on a scrap piece of paper. Check the print’s clarity, ink coverage, and uniformity. Adjust the pressure calibration if you notice patchiness or uneven ink distribution. Slightly increase or decrease the pressure until the image prints with consistent density across the entire design. Keep track of your adjustments to maintain print consistency. It’s important to make small, incremental changes rather than large shifts, so you don’t overcorrect. Repeating the test allows you to observe how each adjustment affects the final print quality and helps you develop a consistent printing technique. Proper pressure adjustment is crucial to achieving high-quality prints and preventing issues such as patchiness or incomplete ink transfer. Additionally, understanding the temperature and material compatibility can further enhance print quality and durability. Recognizing the importance of press calibration can save you time and materials in the long run.
Troubleshooting Common Pressure Problems in Printmaking
Troubleshooting pressure issues in printmaking is essential for achieving consistent, high-quality results. When you notice patchy ink coverage or uneven prints, check your pressure settings first. Too much pressure can smudge details and cause excessive ink transfer, while too little results in faint images. Adjusting the pressure correctly helps ensure even ink coverage across your paper. Additionally, paper selection plays a critical role; a smooth, appropriate-weight paper responds better to pressure adjustments, reducing issues like patchiness or incomplete prints. Experiment with different papers to find one that best suits your press and ink type. Proper pressure and paper choices work together to eliminate common pressure problems and produce consistent, professional-quality prints. The type of water-based inks used can also influence how much pressure is necessary for a clean transfer. Ensuring your press calibration is accurate can prevent many pressure-related issues and improve overall print quality. Regularly checking your pressure gauges can help maintain consistent results over time. Additionally, understanding the importance of consistent pressure can help you troubleshoot and refine your technique for better results, especially when considering the effects of pressure variation on print quality.
Frequently Asked Questions
What Types of Printmaking Presses Are Easiest to Adjust for Pressure?
You’ll find that etching presses and etching presses are easiest to adjust for pressure. They typically have straightforward mechanisms like pressure gauge calibration and roller tension adjustment, making fine-tuning simple. You can quickly monitor pressure levels and adjust roller tension to make certain of even ink transfer. This control helps you avoid patchy prints and achieve consistent results, especially when working with delicate papers or detailed designs.
How Does Paper Type Affect Optimal Press Pressure?
You’ll find that paper type greatly influences ideal press pressure. Smooth, coated papers require less pressure because their surface allows for even ink transfer, while textured or absorbent papers need more pressure to push ink into the fibers. If you use highly absorbent paper, you might need to reduce pressure to prevent ink from spreading or pooling. Adjust pressure based on paper texture and ink absorption to achieve consistent, patch-free prints.
Can Incorrect Pressure Damage My Printmaking Equipment?
Yes, incorrect pressure can damage your printmaking equipment. Using improper pressing techniques or neglecting pressure calibration may cause undue stress on the press components, leading to wear or breakage over time. Always verify your pressure is correctly calibrated for each project, and follow recommended pressing techniques to keep your equipment in good shape. Proper adjustments prevent damage and produce consistent, high-quality prints.
What Are Signs of Uneven Pressure Across the Printing Plate?
Did you know uneven pressure affects 65% of printmakers’ results? Signs of uneven pressure across the printing plate include inconsistent ink coverage, faint or overly dark areas, and uneven plate contact. You might notice parts of the image lacking detail or some sections pressing more deeply than others. To fix this, check your pressure distribution regularly and make certain the plate contact remains uniform, preventing patchy prints and prolonging your equipment’s lifespan.
How Often Should I Recalibrate My Press Pressure Settings?
You should recalibrate your press pressure settings regularly, ideally before each print session and whenever you notice inconsistency. Consistent pressure is key for even ink transfer, so check your pressure gauge calibration often to guarantee accuracy. By doing this, you maintain printing pressure consistency, prevent patchy prints, and achieve better results. Frequent recalibration helps avoid surprises and keeps your printmaking process smooth and predictable.
Conclusion
Getting your press pressure just right is the secret weapon against patchy prints—without it, your artwork risks turning into a chaotic mess! When you master this adjustment, you’ll unlock flawless, professional-looking prints that wow every time. Don’t settle for uneven results or frustrating trial-and-error. Perfect pressure can make your prints smoother than glass and more vibrant than a rainbow. So, tune that press, and watch your printmaking skills skyrocket to legendary status!