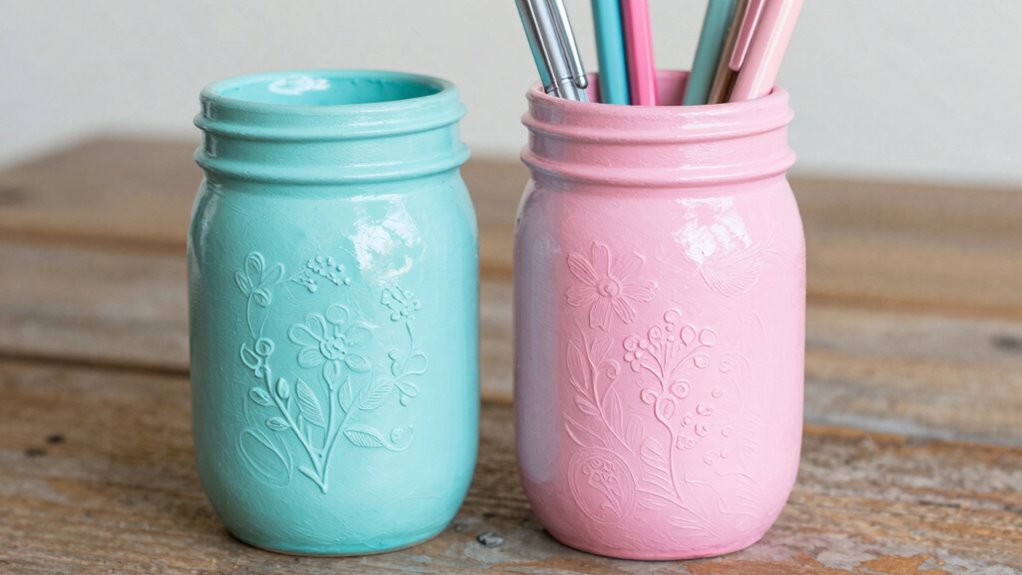

To create a painted mason jar desk organizer, start by cleaning and sanding your jars for a smooth surface. Use acrylic paint in your preferred colors, applying multiple coats and letting each dry completely. Seal the paint with waterproof sealant for durability. Decorate with twine, lace, or vintage stickers for a rustic touch. Arrange your jars by function and add decorative stones or accents. For detailed tips and creative ideas, keep exploring how to customize your project.
Key Takeaways
- Clean, dry, and lightly sand mason jars for smooth paint application.
- Apply multiple coats of acrylic paint in preferred colors, allowing each to dry completely.
- Seal painted jars with waterproof sealant for durability and moisture resistance.
- Decorate jars with twine, lace, or vintage stickers for a rustic, vintage look.
- Organize small supplies in designated jars and arrange them aesthetically on your desk.
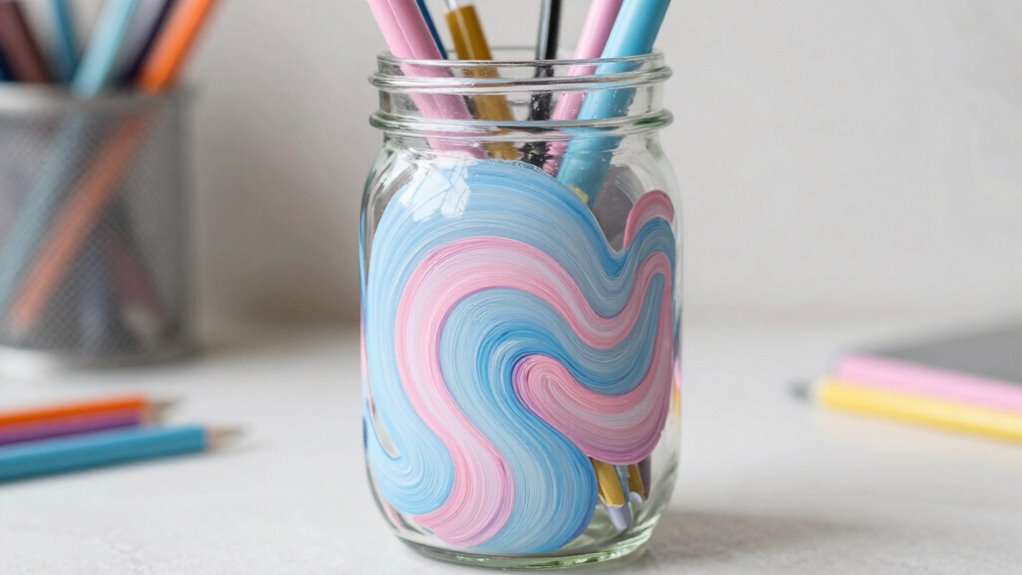
Looking for an easy way to organize your space and add a personal touch? Creating a painted mason jar desk organizer is a fun, budget-friendly project that combines practicality with style. If you love vintage decor, this DIY allows you to incorporate charming, nostalgic elements while providing effective storage solutions. Mason jars have a timeless appeal, and with a splash of paint, they transform into unique containers that brighten up your workspace. Incorporating biodiversity into your decor can also promote awareness of the importance of preserving natural habitats.
Start by gathering your supplies: clean mason jars, acrylic paint in your favorite colors, paintbrushes, painter’s tape, and some waterproof sealant. You might also want to pick up some decorative elements like lace, twine, or vintage stickers to enhance the rustic look. Before painting, make sure your jars are thoroughly cleaned and dried. Removing any labels will give you a smooth surface to work with and guarantee the paint adheres properly. If you want a more polished look, you can lightly sand the jars to create a better surface for the paint to stick. Additionally, understanding material preparation can help ensure a professional finish, especially if you want your design to last longer. Being mindful of the surface quality can also improve the durability of your painted jars.
Gather clean, dried jars and decorative elements like lace or twine for a rustic, personalized touch.
When it comes to painting, you have a lot of options. For a vintage vibe, consider using muted or pastel shades, or even a distressed finish for a worn-in look. Use painter’s tape to create clean lines or geometric patterns if you want a modern twist. Apply the paint evenly using a brush, and don’t be afraid to add multiple coats for vibrant color. Remember to let each layer dry completely before adding the next to prevent smudges. Once your paint is dry, seal the jars with a waterproof sealant to protect your design from daily use and moisture.
Now, think about how you want to organize your desk. You can use one jar for pens and pencils, another for paper clips, and a third for small office supplies like rubber bands or sticky notes. If you want to add extra vintage charm, wrap some twine or lace around the neck of each jar or affix vintage stickers or labels. You can also place small decorative stones or sand in the base of the jars to keep them stable and add texture. Incorporating creative organization can help you better utilize your space and make your desk more inviting. Arranging your jars thoughtfully can also create a more balanced and aesthetically pleasing display. This project not only helps you solve storage issues but also gives your space a personalized, vintage-inspired touch. Plus, it’s simple enough to customize to fit your style, making it a perfect weekend craft that combines creativity with practicality.
painted mason jar desk organizer
As an affiliate, we earn on qualifying purchases.
As an affiliate, we earn on qualifying purchases.
Frequently Asked Questions
What Type of Paint Is Best for Mason Jars?
You should use acrylic paint for your mason jars because it adheres well and dries quickly. When color mixing, start with small amounts to achieve your desired shade. Use brush techniques like gentle strokes and layering to create smooth, even coverage. For best results, apply a primer first, then add your paint, blending colors carefully for a professional look that withstands handling.
How Do I Prevent Paint From Chipping?
Think of your project as a delicate dance—proper surface preparation is your partner’s gentle touch, ensuring paint durability. To prevent chipping, clean and sand the jars thoroughly before painting, then apply a primer if needed. Use a high-quality sealant or topcoat to lock in your design. This careful preparation and sealing create a resilient finish, allowing your painted jars to stay vibrant and intact longer, even with daily use.
Can I Waterproof the Painted Jars?
Yes, you can waterproof your painted jars to protect them from moisture and enhance their durability. Apply a clear, waterproof sealant like a spray or brush-on acrylic coating after your paint dries. This not only preserves your decorative embellishments but also makes your jars suitable for storage tips, such as holding pens, brushes, or small supplies without worry. Just make certain you let the sealant cure completely before using your jars.
What Tools Are Needed for Painting Designs?
You’ll need paintbrushes of various sizes for detailed work and larger ones for background coverage. For color blending, use sponges or blending brushes to smoothly shift hues. Stencil techniques require stencils and a sponge or stencil brush to create clean designs. A fine-tip marker or paint pen can add intricate details. These tools help you achieve professional-looking painted designs with seamless color blending and crisp stencil patterns.
How Do I Clean the Jars Afterward?
Imagine you’re a modern-day alchemist, transforming jars into art. To clean your painted mason jars, start with gentle cleaning methods like warm water and mild soap. Use a soft sponge or cloth to remove any residue without damaging the paint. For stubborn spots, soak the jar briefly or use vinegar for residue removal. Avoid harsh scrubbing or abrasive cleaners to preserve your design and keep your organizer looking fresh.
Conclusion
Now, as you glance at your beautifully painted mason jar desk organizer, you see more than just a practical storage solution—you see a splash of creativity in the midst of your workspace. It’s a simple project that transforms ordinary jars into personalized art, turning clutter into charm. While the jars hold your pens and brushes, they also hold your imagination. With each glance, you’re reminded that even the smallest touch can brighten your day.