
To make your own concrete planters, start by gathering cement, sand, gravel, and water, then prepare a workspace with molds made from wood, plastic, or cardboard. Mix the concrete until smooth, pour it into the molds, and tap gently to remove air bubbles. Let the planters cure in a moist environment for several days, then smooth rough edges and add any decorations or paint. If you keep going, you’ll uncover all the tips to create durable, stylish containers.
Key Takeaways
- Design and assemble sturdy molds using materials like wood, plastic, or cardboard, ensuring proper measurements and reinforcement for durability.
- Mix concrete thoroughly to a pancake batter-like consistency, then pour slowly into molds, tapping to remove air bubbles.
- Smooth the surface with a trowel and cover the curing area to keep the concrete moist for at least 24-48 hours.
- Once cured, remove molds carefully, and finish edges with sandpaper or a file for a polished look.
- Decorate and plant your concrete planters with suitable soil and plants, ensuring drainage holes are present for healthy growth.
Gathering Materials and Preparing Your Workspace

Before you begin making your concrete planters, it’s essential to gather all the necessary materials and set up a suitable workspace. Start by collecting your concrete mix, which includes cement, sand, gravel, and water. You’ll also need molds, gloves, a mixing container, and tools like a trowel or spatula. Choose a well-ventilated area with flat surfaces to work on, ideally outdoors or in a garage. Cover the workspace with old newspapers or plastic sheeting to protect against spills. Have water nearby for mixing and cleaning tools. Prepare a space for curing your planters once poured, ensuring it’s undisturbed. Utilizing a high-quality mixing method can improve the consistency of your concrete mixture and results. Additionally, considering tuning options for vehicles can optimize performance if you plan to modify your vehicle alongside your DIY projects. Organizing everything beforehand helps streamline the process and keeps your workspace safe and efficient.
Designing and Building Your Molds
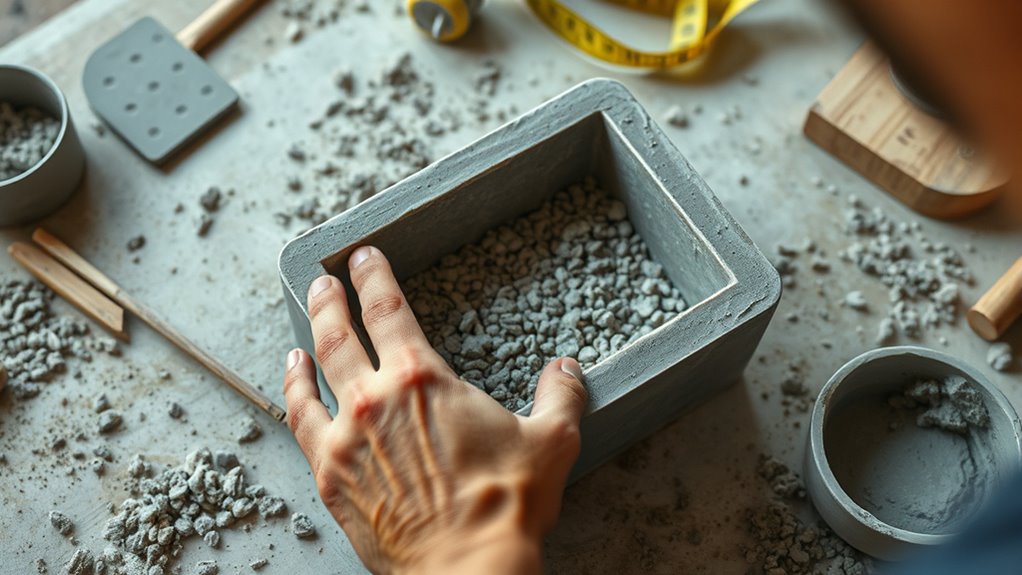
Designing and building your molds is a crucial step that sets the foundation for your concrete planters. Your molds determine the shape, size, and overall look of your finished piece, so plan carefully. Start by sketching your design and choosing appropriate materials like wood, plastic, or cardboard. Measure accurately to ensure proper dimensions, and consider adding drainage holes if needed. Incorporate mold stability techniques such as bracing or reinforcement to prevent leaks or deformities. Assemble your mold securely using nails, screws, or strong adhesive to prevent leaks or deformities. Reinforce the mold with clamps or braces for stability during pouring. Keep in mind, a well-built mold simplifies demolding and results in a cleaner finish. Additionally, paying attention to mold durability ensures your mold can be reused for multiple projects and withstands the concrete mixture’s weight and moisture. Proper mold design also involves considering how easily your mold can be disassembled for removal once the concrete has set. With a sturdy, precise mold, your concrete planter will turn out exactly as you envisioned. Attention to detail during the mold-making process can significantly impact the quality of your final product.
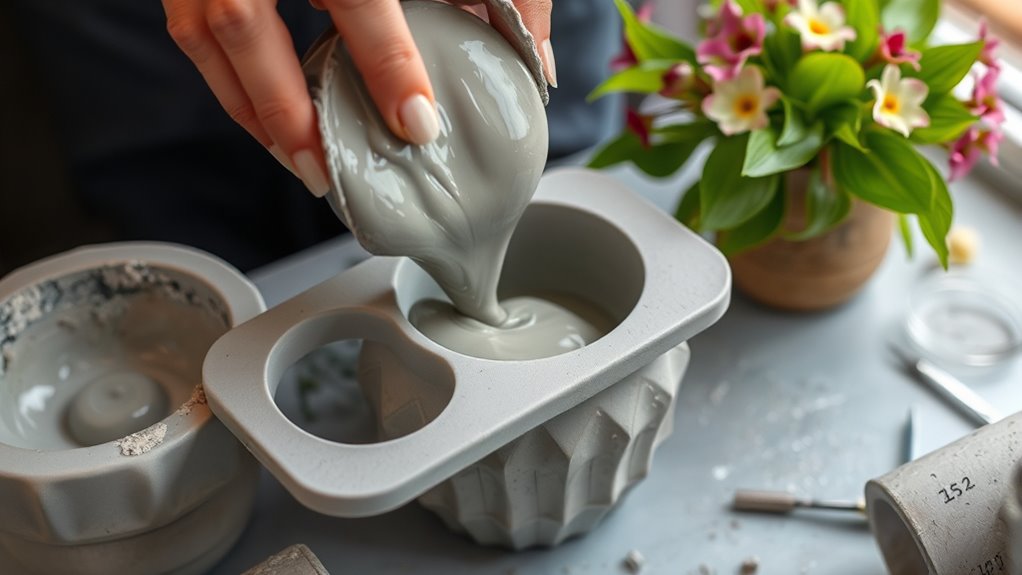
Mixing and Pouring the Concrete
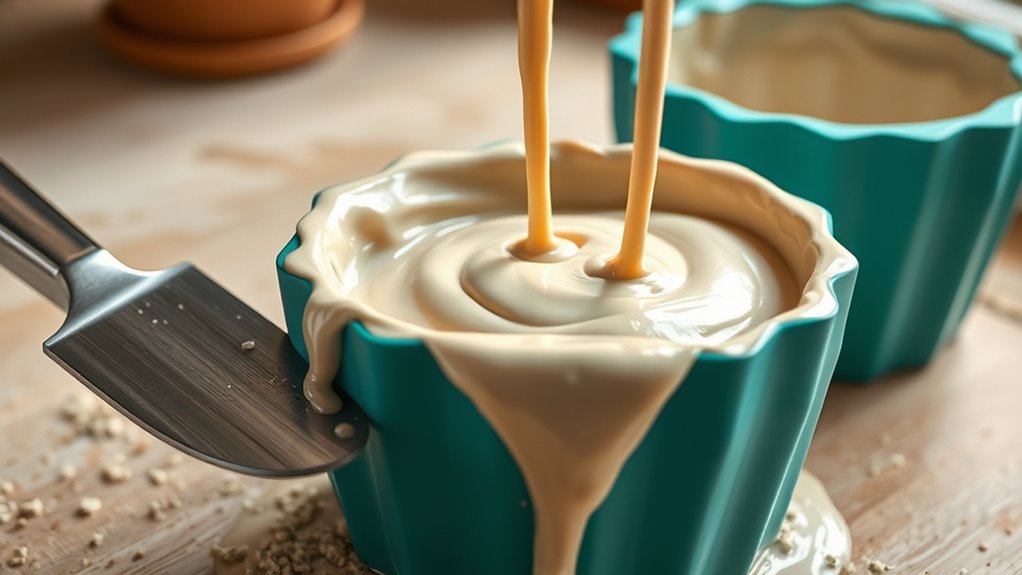
Once your mold is ready, it’s time to focus on mixing and pouring the concrete. Start by combining your dry ingredients—cement, sand, and gravel—in a large container. Mix thoroughly to guarantee an even distribution. Gradually add water while stirring continuously until you reach a smooth, thick consistency similar to pancake batter. Avoid adding too much water, which can weaken the final product. Once mixed, pour the concrete into your mold slowly, using a trowel or stick to assist with filling all corners and remove air bubbles. Tap the sides gently to encourage air pockets to rise. Fill the mold to the top, leaving a slight overfill for settling. Smooth the surface with a trowel, then set the mold aside for curing. Ensuring proper curing techniques enhances the strength and durability of your planter. Proper curing is essential for optimal concrete strength, ensuring your planter lasts for years to come. Incorporating eco-friendly materials during the mixing process can also contribute to sustainable gardening projects, especially in locations with environmental considerations like low light pollution or fragile ecosystems. Additionally, using air purifiers in your workspace can improve air quality and make mixing safer and more pleasant.
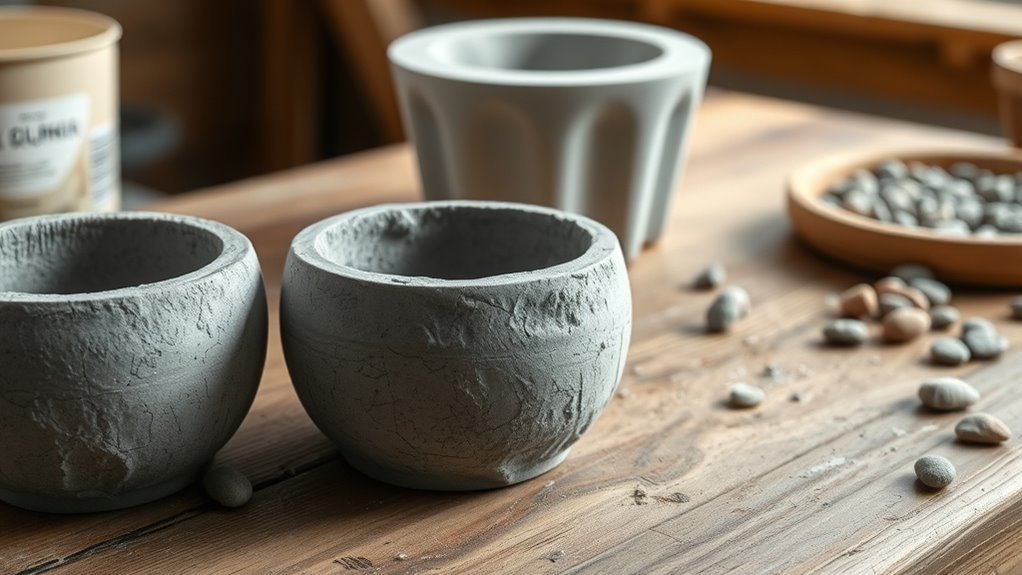
Curing and Finishing Your Planters
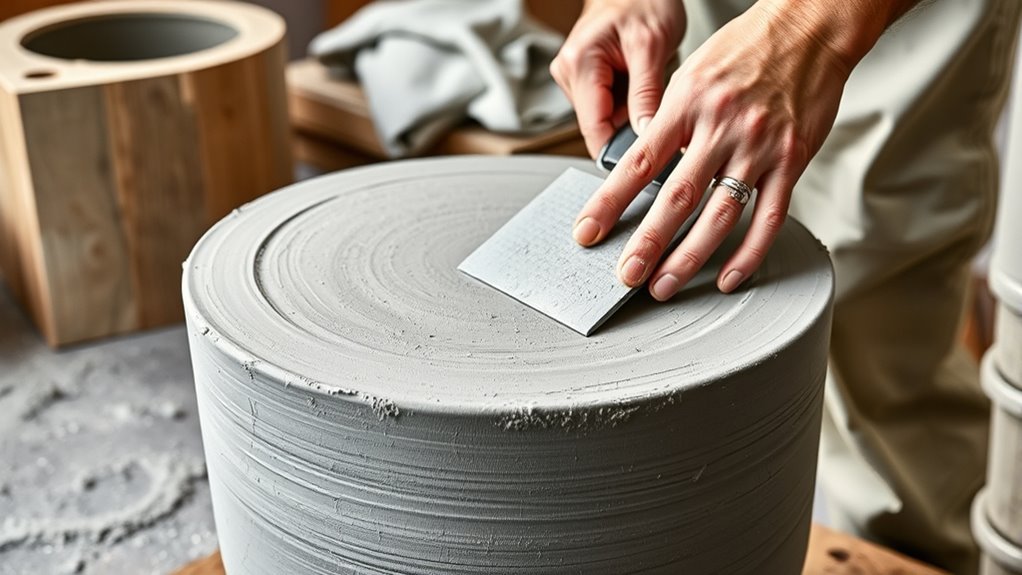
After pouring the concrete into your mold, it’s essential to let it cure properly to guarantee strength and durability. Curing allows the concrete to hydrate and develop its full structural capacity. Keep the planters in a stable environment, ideally covered with plastic or damp cloths to retain moisture. Let them cure for at least 24 to 48 hours before handling, and wait a full week for maximum strength. During this time, avoid moving or disturbing the molds. It’s also helpful to monitor the concrete’s curing conditions, such as humidity and temperature, to ensure optimal results. Using a proper curing technique can significantly improve the quality of your finished planters. Proper curing and finishing ensure your planters last longer and look professional. Additionally, understanding concrete curing can help you achieve better results with your DIY projects. For better outcomes, consider the environmental factors that influence curing, such as airflow and shade. You can also improve curing by maintaining consistent moisture, which prevents cracking and ensures even hydration. Once cured, you can finish the surface by smoothing rough edges with sandpaper or a file. You might also consider sealing the surface to enhance durability and appearance. Proper curing and finishing ensure your planters last longer and look professional.
Decorating and Planting in Your New Containers
Now that your concrete planters are fully cured and finished, it’s time to personalize them with decorations and plants. You can add a splash of color by painting the exterior or applying decorative adhesive patterns. Use waterproof sealant to protect your designs from weather damage. When planting, choose greenery that suits your space—succulents, herbs, or small flowers work well. Guarantee your containers have drainage holes or add gravel at the bottom to prevent overwatering. Fill the planter with high-quality soil, leaving enough space for roots. Gently place your plants, firming the soil around them. Water thoroughly, then adjust your arrangement as needed to create an attractive, functional display that enhances your outdoor or indoor space. Incorporating drainage solutions will help keep your plants healthy and thriving. Additionally, considering best beaches can inspire your outdoor decor by creating a relaxing atmosphere around your planters. Proper soil selection is essential for healthy plant growth, ensuring your plants receive the nutrients they need to flourish. Remember to regularly assess and organize your space to maintain a clutter-free environment that highlights your beautiful new containers. As seen in the world of entertainment, a well-maintained space can significantly boost your overall wealth and enjoyment of your environment.
Frequently Asked Questions
Can I Use Recycled Materials for My Concrete Mix?
You can definitely use recycled materials in your concrete mix. Items like crushed glass, broken ceramics, or recycled concrete pieces work well as aggregates, reducing waste and adding unique textures. Just make sure they’re clean and suitable for mixing. Incorporating these materials not only helps the environment but also creates interesting, eco-friendly planters. Experiment with different recycled components to find the perfect look and guarantee your mixture remains strong and durable.
How Do I Prevent Air Bubbles in My Planters?
To prevent air bubbles in your planters, you should pour your concrete slowly and steadily into the mold. Tap the sides gently to encourage trapped air to escape, and use a trowel or stick to poke into the mixture, dislodging bubbles. You can also lightly vibrate the mold or tap it on a surface to help air escape. These steps will result in a smoother, more durable planter.
What Are Alternative Sealants for Outdoor Durability?
Think of sealants as the armor for your outdoor planters. Besides traditional sealants, you can try epoxy resins, which create a tough, waterproof barrier, or polyurethane coatings, known for their flexibility and weather resistance. Be sure to choose products labeled for outdoor use, and apply them thoroughly to guarantee your planters stand up against the elements. This way, your creations will stay vibrant and durable through countless seasons.
How Long Do Concrete Planters Typically Last Outdoors?
Concrete planters usually last between 5 to 10 years outdoors, depending on exposure and maintenance. If you seal them properly and choose durable concrete mixes, you can extend their lifespan considerably. Keep an eye on cracks or deterioration, and reseal or repair as needed. Proper drainage and avoiding standing water also help prevent damage. With regular care, your concrete planters can remain attractive and functional for many seasons.
Is It Safe to Use Food-Safe Finishes on Planters?
You wonder if food-safe finishes are safe for your planters, and the answer is yes, but with caution. While these finishes are designed to be non-toxic, you should verify they’re specifically labeled as food-safe. Applying a food-safe sealant creates a barrier that prevents soil and water from contact with potentially harmful chemicals. Just remember, proper curing and application are key to keeping your garden safe and beautiful.
Conclusion
Now that your concrete planters are complete, remember, like Da Vinci’s masterpieces, they require patience and care to truly flourish. With your creativity and effort, you’ve crafted something both functional and beautiful. As you fill them with your favorite plants, think of this project as the seed of many future DIY adventures. Keep experimenting, and watch your garden—and your skills—grow just as steadily as these sturdy, handmade containers.