Get inspired with fun and easy DIY Easter craft ideas for your family, like painting colorful eggs, decorating mason jars with bunny faces, creating handprint tulip cards, and making wooden egg ornaments. You can also craft recycled Easter baskets, egg carton chick magnets, personalized hunt signs, tissue paper flower wreaths, and colorful string art. Each project is simple, budget-friendly, and perfect for celebrating together. Keep exploring to find more creative ways to make this Easter special.
Key Takeaways
- Explore colorful painted eggs, decorated wooden ornaments, and egg carton chick magnets for family-friendly Easter crafts.
- Use recycled materials like cardboard, fabric scraps, and plastic bottles to create sustainable, creative decorations.
- Incorporate natural elements such as dried flowers, leaves, and twigs for rustic, eco-friendly projects.
- Make festive wreaths, personalized signs, and garlands to enhance holiday home décor.
- Follow simple craft techniques like threading, decoupage, and painting to ensure fun, easy projects for all ages.
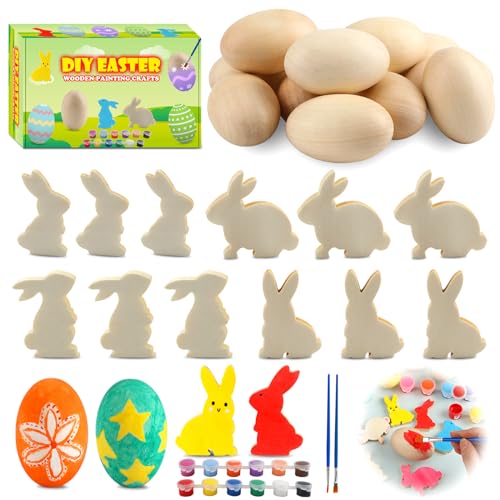
Worgree Easter Egg Painting Kit, 24pcs Wooden Eggs and Bunny for Easter Crafts Basket Stuffers Gifts for Kids Toddlers Boys Girls Ages 4-8 8-12 Birthday Party Favors Classroom Prizes DIY Decor
Easter Egg Decorating Kit: You will get 12 unfinished wooden eggs and 12 wooden bunny cutouts (the Easter…
As an affiliate, we earn on qualifying purchases.
As an affiliate, we earn on qualifying purchases.
Colorful Painted Eggs
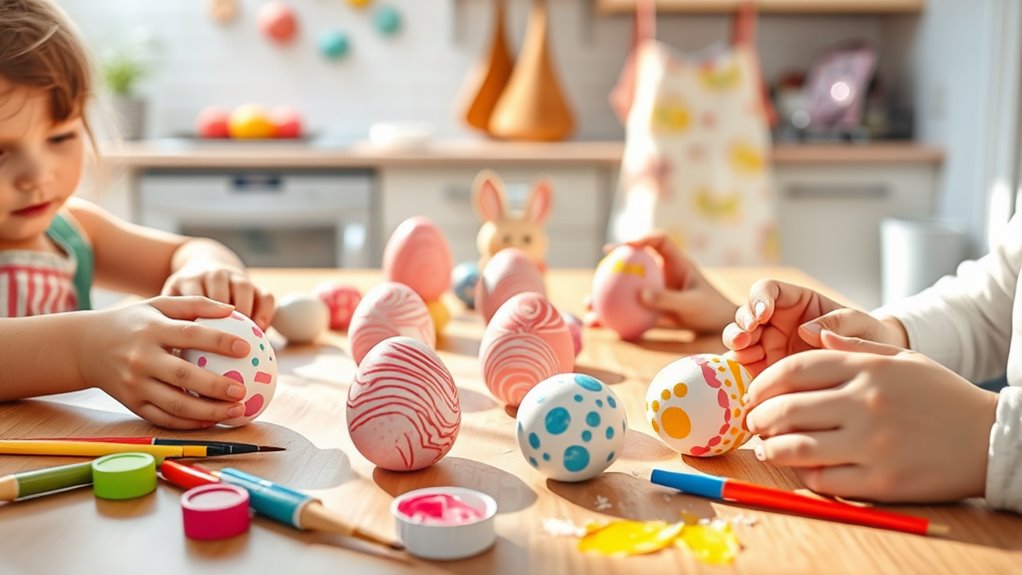
Painting eggs is a fun and easy way to add vibrant color to your Easter celebration. You can start with plain hard-boiled eggs and get creative with your designs. Use food coloring, acrylic paints, or even watercolor for different effects. Dip brushes or sponges into the colors and let your imagination run wild—try stripes, polka dots, or intricate patterns. To make your eggs stand out, consider blending colors or adding metallic accents. Make sure to work on a protected surface and wear gloves if you’re using strong dyes. Once you finish, let the eggs dry completely before handling. These colorful painted eggs make great decorations or festive gifts, and creating them is a fantastic activity to enjoy with family. For a variety of creative ideas, exploring different artistic techniques can enhance your Easter crafts. Incorporating safe dyeing methods ensures that your eggs remain beautiful and edible if you choose to eat them afterward. Understanding the value of entertainment like creative activities can boost family bonding and create lasting memories. Additionally, choosing appropriate tools can make your painting process more precise and enjoyable.

Cinrobiye 6 Set DIY Mason Jar Lantern Craft Kit with LED Lights, Butterfly & Flower Decorations, Handmade Table Centerpiece Decor for Home Party Wedding Craft Lovers
Complete DIY Mason Jar Lantern Kit:Includes 6 clear glass jars with LED lights, butterfly decorations and floral stickers…
As an affiliate, we earn on qualifying purchases.
As an affiliate, we earn on qualifying purchases.
Cute Bunny Face Mason Jars
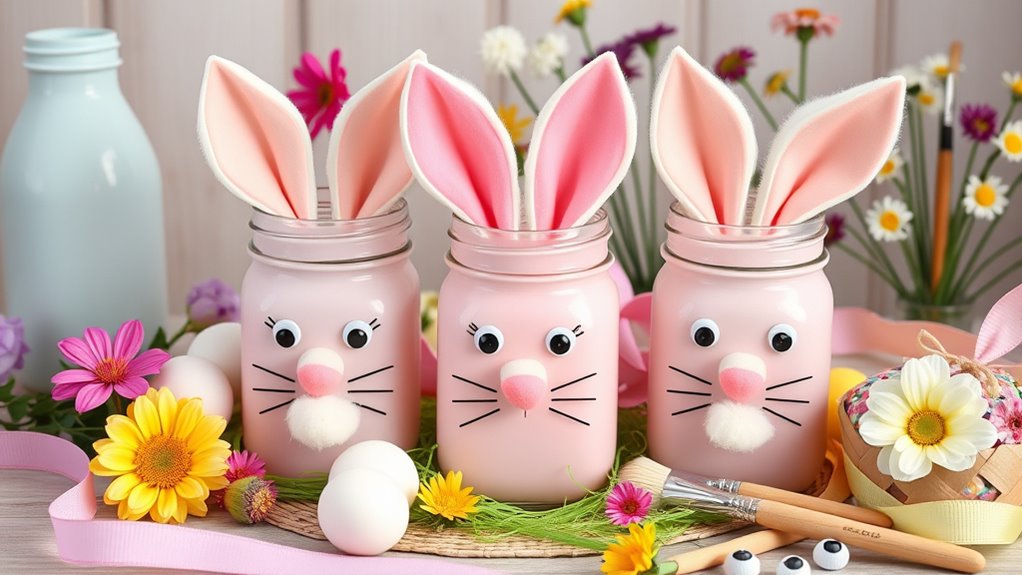
Transform plain mason jars into adorable bunny face containers that are perfect for Easter decor or gifts. Start by painting the lid white to resemble a bunny’s face, then add pink accents for the nose and inner ears. Use black craft foam or markers to draw cute eyes, whiskers, and a tiny mouth. Incorporate artistic expression by adding personalized touches or patterns to make each jar unique. Attach felt or paper ears to the lid, shaping them into a gentle arch to resemble bunny ears. You can fill the jar with treats, flowers, or small gifts to enhance the bunny theme. For extra charm, add a bow or a small pom-pom tail at the back. These cute bunny face mason jars are simple to make, bring a festive touch to your home, and make delightful handmade gifts. Creating a cohesive look by coordinating colors and decorations can further elevate your Easter craft. Additionally, consider seasonal themes such as pastel colors or floral accents to make your jars more festive and aligned with springtime celebrations. To enhance the overall aesthetic, you might also incorporate elements from farmhouse bedroom design, such as rustic textures or vintage-inspired accessories, to give your jars a charming, cozy feel that complements your seasonal decor. Understanding local resources and tools, like craft stores or online tutorials, can help you gather everything you need for a successful project.

Funrous 48 Set Easter Crafts Bulk-DIY Bunny Suncatchers Craft Kit, Tissue Paper Rabbit Shaped Cards Stickers Easter Ornaments Hanging Decoration for Spring Home Classroom Activities Party Decor Supply
Bunny Easter Craft Kit: you will get 48 set easter crafts bulk in 6 styles, including 48 hollowed…
As an affiliate, we earn on qualifying purchases.
As an affiliate, we earn on qualifying purchases.
Handprint Tulip Cards
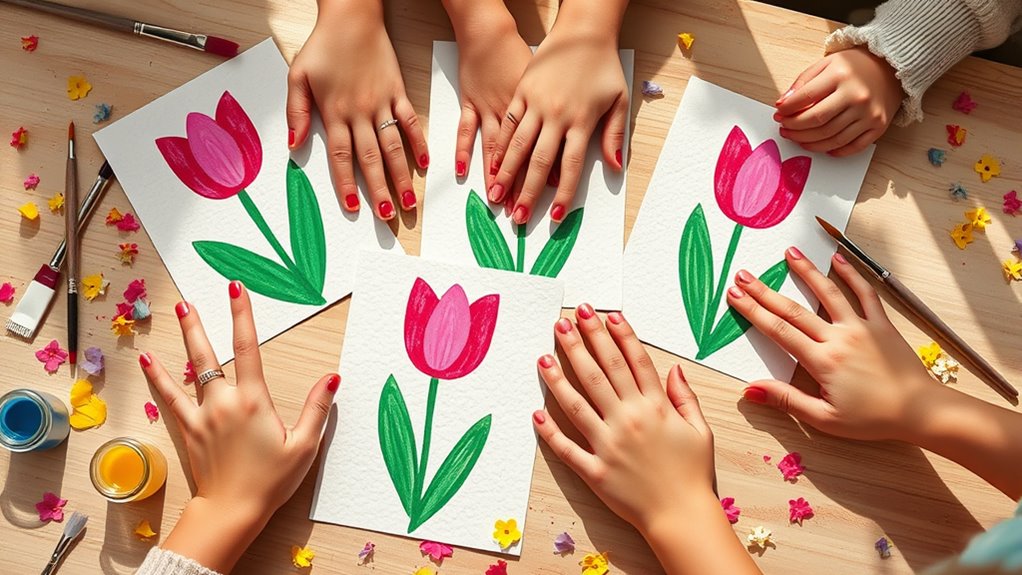
Have you ever considered turning your child’s handprint into a charming springtime card? It’s a simple, heartfelt craft that’s perfect for Easter. Start by painting your child’s palm and fingers with bright green for the stem and leaves, and the thumb or fingers with vibrant pink, yellow, or red for the tulip bloom. Help them press their hand onto a blank card or paper, creating a tulip shape. Once dry, add details like a smiling face or a “Happy Easter” message. You can also draw a stem and leaves with a marker for extra detail. This craft is quick, personal, and sure to brighten anyone’s day. Plus, it’s a wonderful way to preserve a special moment in your child’s growth. To make your craft even more meaningful, consider incorporating universal themes that resonate with your family’s traditions or memories. Incorporating family traditions can make this craft even more special and memorable. Additionally, sharing these handmade cards can foster a sense of family bonding and create lasting holiday memories.

Corlcol 2LB Crinkle paper Shred Paper Filler For Gift Box Basket Bags On Holiday(Brown Kraft).
Endless Possibilities: With 2LB crinkle cut paper shred filler, you'll have plenty to fill those extra spaces in…
As an affiliate, we earn on qualifying purchases.
As an affiliate, we earn on qualifying purchases.
Decorated Wooden Egg Ornaments
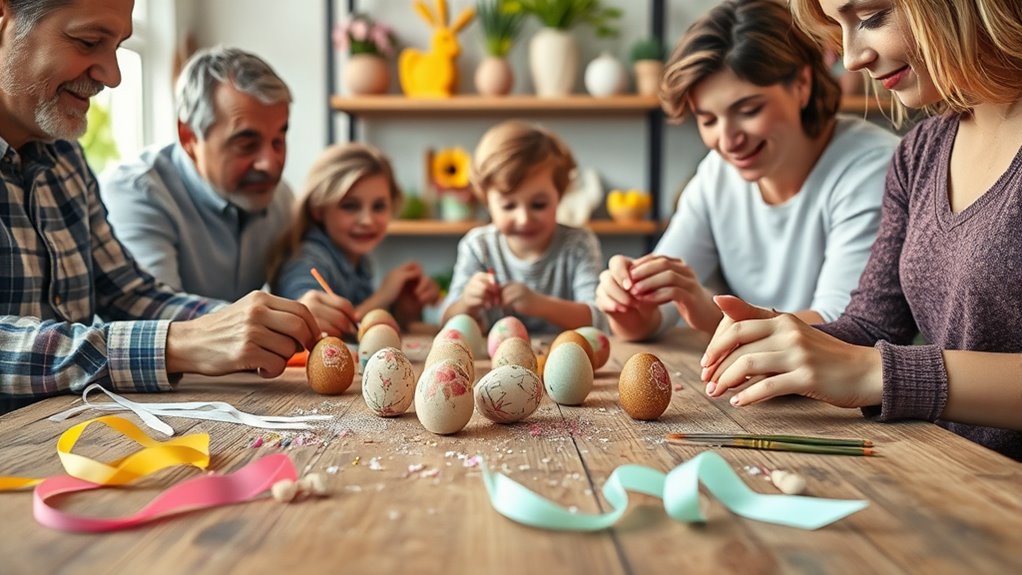
Decorated wooden egg ornaments are a charming and versatile addition to your Easter decorations. You can personalize them with paint, markers, or even decoupage techniques to match your holiday theme. These ornaments are perfect for hanging on your Easter tree or as table centerpieces, adding a rustic, handcrafted touch to your décor. To make them stand out, consider incorporating intricate patterns, pastel colors, or tiny embellishments like glitter or stickers. You can also explore personal debt forgiveness bills to understand potential financial benefits that could help fund your holiday projects. Additionally, using cookie consent management tools can help you ensure privacy compliance while sharing your craft ideas online. Incorporate cost-effective production methods to make your crafting process more affordable and efficient. Here are some ideas to elevate your wooden eggs: – Use stencils or freehand designs for detailed artwork – Attach small ribbons or twine for hanging or decorative accents – Incorporate natural elements like dried flowers or leaves for a textured look. Exploring regional flavors and traditions can inspire unique decoration ideas that reflect local culture and add a special touch to your festive displays.
DIY Easter Basket From Recycled Materials
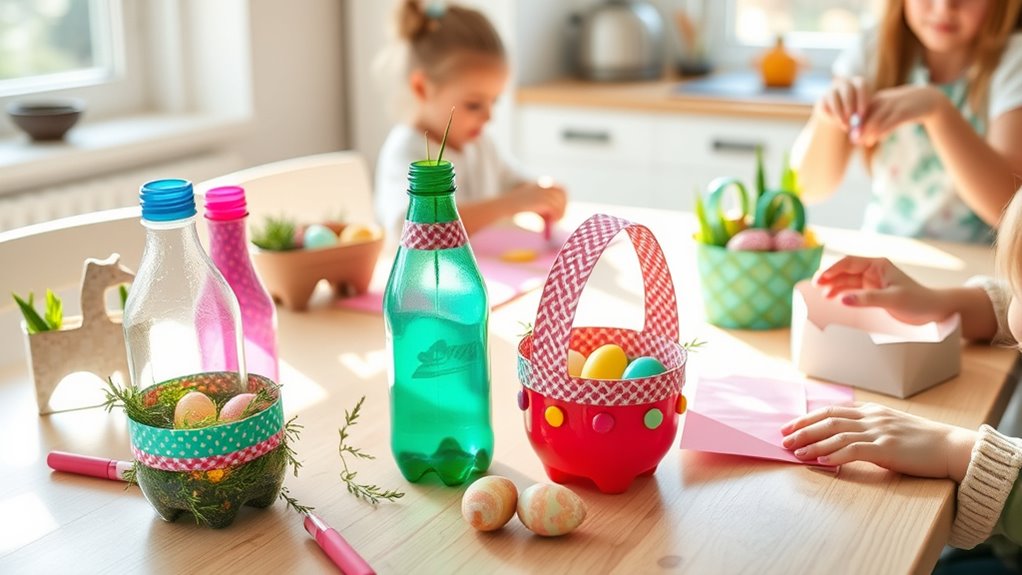
You can create a charming Easter basket using recycled materials like cardboard, old newspapers, or plastic containers. These eco-friendly choices not only reduce waste but also open up fun opportunities for decorating your basket creatively. For added durability and style, consider incorporating rechargeable batteries or small electric motors, which can be integrated into your craft for a more interactive and innovative project. Using sustainable crafting materials can enhance the eco-friendliness of your project, making it both unique and environmentally conscious. Incorporating cookie and privacy policies can help inform your family about the importance of privacy and data security when sharing your craft ideas online. Additionally, selecting portable camping gear such as lightweight tents or eco-friendly accessories can inspire creative outdoor-themed decorations for your basket. Integrating natural accents like twigs, flowers, or leaves can further personalize your Easter basket and connect it with nature. With some paint, fabric scraps, or natural accents, your DIY basket will be both unique and sustainable.
Eco-Friendly Materials
Why not create an Easter basket that not only looks charming but also helps the environment? Using eco-friendly materials guarantees your craft is sustainable and reduces waste. Incorporating AI-driven insights can help you select the best materials and design options for your eco-conscious project. You can repurpose items you already have around the house, giving them a new life. Focus on natural, biodegradable, or recycled materials to keep your basket eco-conscious. Consider these options: – Recycled cardboard or kraft paper for the basket’s structure – Old fabric scraps or worn-out clothing for lining or handles – Used plastic containers or jars as decorative elements or bases
Creative Decoration Ideas
Transforming recycled materials into creative decorations can really make your Easter basket stand out. Start by repurposing cardboard boxes into colorful flowers or bunny shapes, adding paint or markers for detail.
Use old fabric scraps to create bows, ribbons, or even tiny Easter eggs, attaching them with hot glue. You can also turn plastic bottles into charming accents—cut and paint them to resemble eggs or chicks.
Twine or string from used packaging makes great handles or decorative borders. Don’t forget to incorporate natural elements like dried leaves or twigs for a rustic touch.
These DIY decorations not only personalize your basket but also promote sustainability. With a little imagination, your recycled materials can become a beautiful, eco-friendly centerpiece for this year’s Easter celebration.
Pom-Pom Bunny Garland
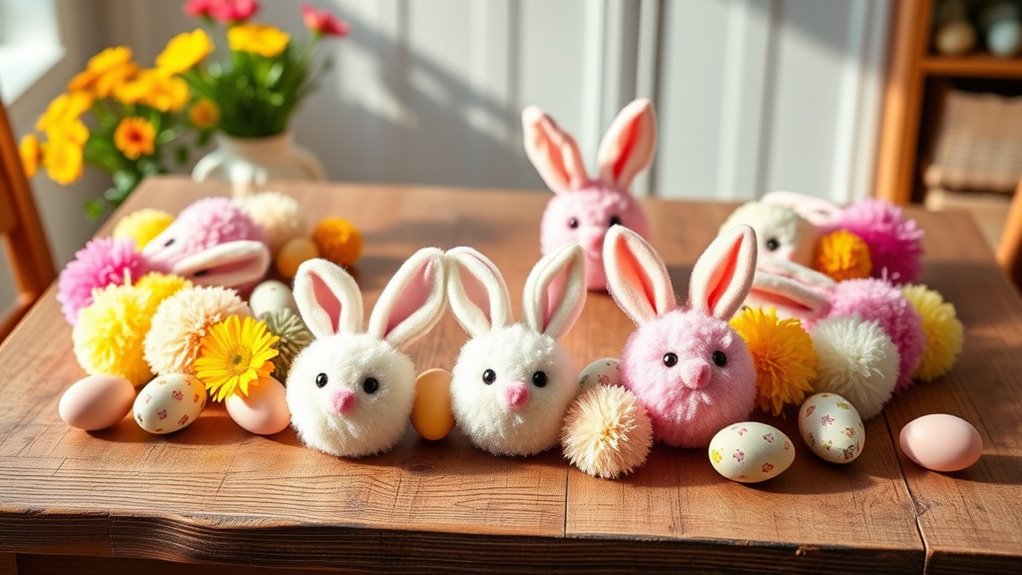
To create your Pom-Pom Bunny Garland, gather colorful pom-poms, twine, googly eyes, and small felt pieces.
Follow simple steps to attach the pom-poms and add facial features, then get creative with decoration ideas like ribbons or pastel accents.
This charming garland will add a festive touch to your Easter decor, so have fun customizing it!
Materials Needed
Gathering the right materials is essential for creating your Pom-Pom Bunny Garland. To make sure your project goes smoothly, gather these key supplies:
- Soft wool or acrylic yarn in pastel colors
- Small googly eyes and tiny pink felt for noses and ears
- Thin twine or string for hanging the garland
Having these items ready before you start saves time and keeps your crafting enjoyable. Choose yarn that’s fluffy and easy to work with, and select eye and nose details that add charm to each bunny.
The twine should be sturdy enough to support the pom-poms and withstand hanging. You might also want scissors and a hot glue gun for assembly, so keep those handy.
Preparing all your materials beforehand allows you to focus on creating a beautiful, festive garland with ease.
Step-by-Step Assembly
Start by forming your pom-poms according to your preferred size using your yarn and scissors.
Once you have your pom-poms ready, select two for each bunny—one for the body and one for the head.
Use a hot glue gun to attach the smaller pom-pom on top of the larger one, creating a bunny shape.
Next, cut small pieces of felt or construction paper for the ears and glue them onto the top of the head pom-pom.
Add tiny black dots for the eyes and a small pink nose using markers or additional felt.
Finally, thread a piece of twine or string through the back of each bunny’s body or use glue to attach the bunnies to the string.
Adjust the spacing and ensure everything’s securely attached before hanging your garland.
Decoration Ideas
Looking for a charming way to brighten up your Easter decor? A Pom-Pom Bunny Garland is perfect for adding a playful touch to any space. To create it, gather colorful pom-poms, twine, and small felt or paper bunny cutouts.
Attach the pom-poms to the twine in alternating colors, then secure the bunny shapes between them for extra detail. Hang the garland along a mantel, staircase, or window for instant Easter cheer.
This project is simple, fun, and customizable to match your decor style. Plus, it’s a great way to involve the kids in crafting.
To elevate your garland, consider these tips:
- Use pastel-colored pom-poms for a soft, spring look
- Add tiny floral accents between the bunnies
- Incorporate glitter or metallic twine for a touch of sparkle
Egg Carton Chick Magnets

Creating egg carton chick magnets is a fun and easy way to add a touch of spring to your home decor. Start by cutting a small, oval piece from an egg carton for the chick’s body. Paint it bright yellow and let it dry.
Next, cut a tiny triangle from orange paper for the beak and small circles for the eyes, attaching them with glue. Use a magnet strip or a strong magnet glued to the back so it can stick to your fridge or magnetic board.
To add extra cheer, you can draw little wings or feet with markers. These magnets are perfect for brightening up your kitchen and make adorable handmade gifts for friends and family. Plus, they’re simple enough for kids to help make!
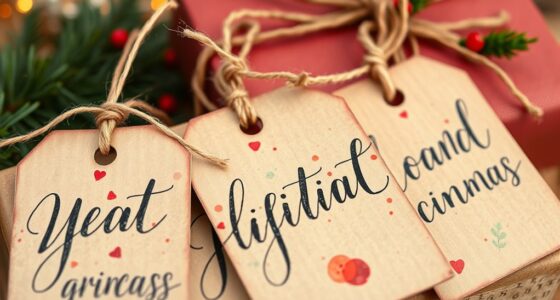
Personalized Egg Hunt Signs
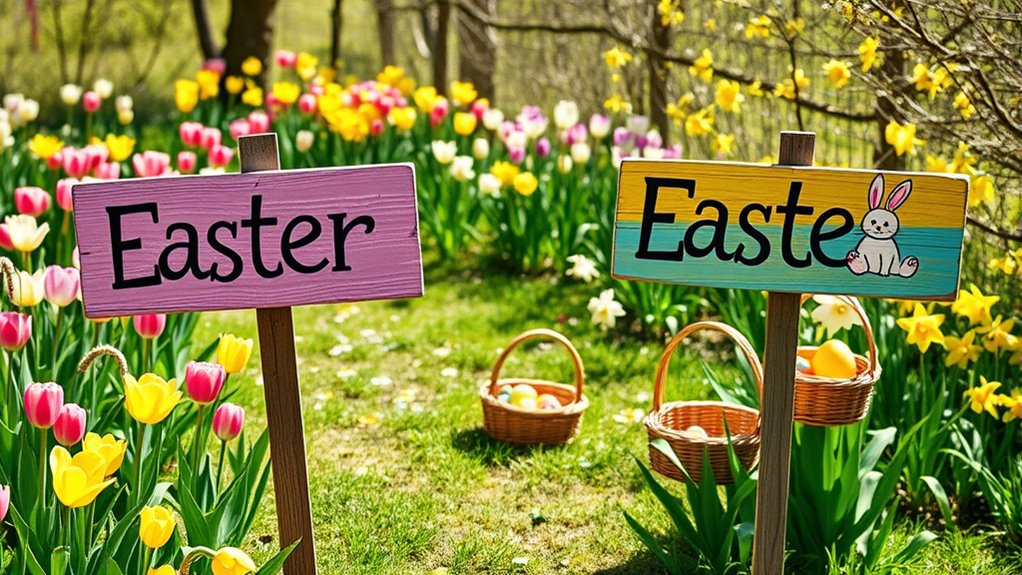
Personalized egg hunt signs add a special touch to your Easter festivities by guiding kids and making the event more memorable. You can create signs that feature fun messages, colorful designs, or even the names of hidden treasures. These signs help keep the hunt organized and add a festive vibe to your yard or home.
To make them stand out, consider using vibrant colors, playful fonts, and cute illustrations. Incorporate personal touches like family photos or custom messages to make each sign unique.
- Use waterproof materials to guarantee durability outdoors
- Incorporate chalkboard surfaces for easy updates
- Add decorative elements like ribbons or Easter-themed embellishments
Tissue Paper Flower Wreath

Start by choosing bright tissue paper colors that match your Easter theme. Then shape the tissue into beautiful flowers.
Next, arrange and secure the layers carefully to create a full, vibrant wreath.
With a little patience, you’ll craft a stunning decoration that adds a festive touch to your celebration.
Selecting Bright Tissue Colors
Choosing bright tissue colors is essential for making your tissue paper flower wreath vibrant and eye-catching. Bold, lively hues instantly draw attention and add a cheerful Easter vibe to your décor.
When selecting colors, consider pairing contrasting shades like pink and yellow or pastel combinations such as lavender and mint. This creates visual interest and depth.
To elevate your wreath’s look, keep these tips in mind:
- Mix a variety of shades within the same color family for subtle variation.
- Use complementary colors to make each flower pop.
- Incorporate metallic or glittery tissue for added sparkle and elegance.
Crafting Flower Shapes
Creating beautiful tissue paper flowers is the key to transforming your wreath into a vibrant Easter centerpiece. Start by choosing bright, cheerful tissue paper colors that match your theme.
To make a flower, stack 6-8 sheets, fold them accordion-style, and cut a rounded shape at each end for a petal effect.
Gently pleat the folded paper, then secure the center with a pipe cleaner or floral wire.
Carefully fluff each layer outward to create a full, rounded flower shape.
Repeat the process to make multiple flowers in different sizes for variety.
Once finished, you’ll have colorful, textured blooms ready to attach to your wreath base.
These tissue paper flowers add a lively, handcrafted touch that truly captures the spirit of spring and Easter celebration.
Arranging and Securing Layers
Once your tissue paper flowers are ready, it’s important to arrange and secure their layers carefully to guarantee your wreath looks balanced and full. Begin by layering the flowers, alternating sizes and colors to create visual interest. Gently fluff each petal to add volume and dimension.
To secure the layers, use a hot glue gun or floral wire, applying glue or twisting wire at the base of each flower. Make sure the flowers are tightly secured to prevent shifting. Consider spacing the flowers evenly around your wreath form, adjusting as needed for symmetry.
For a polished look, periodically step back and assess the arrangement from different angles. This careful layering and securing process will ensure your wreath looks vibrant, full, and professionally crafted.
- Use contrasting colors and sizes for depth
- Secure each flower firmly at the base
- Regularly check for balance and symmetry
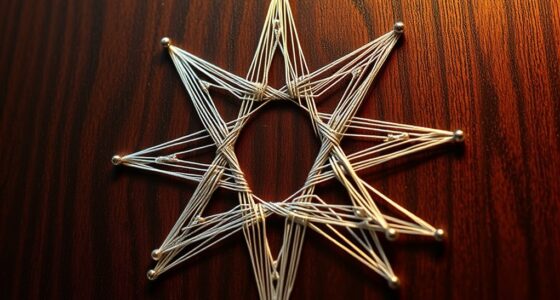
Easter Egg String Art
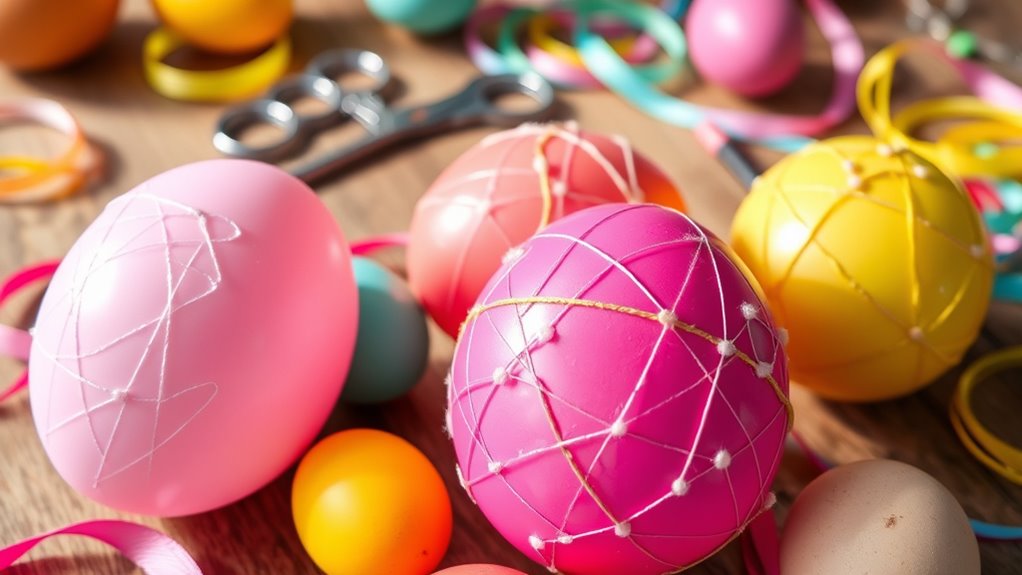
Easter Egg String Art offers a fun and creative way to decorate your home or personalized gifts for the holiday. To get started, choose a sturdy cardboard or wooden egg as your base. Use a pencil to lightly sketch a simple design or pattern on the surface.
Next, cut lengths of colorful embroidery floss or craft thread. Tie a knot at one end and tape the other end to the back of the egg to keep it secure. Then, weave the thread over and under the design, creating a web-like pattern.
Keep your stitches tight and even for a neat appearance. When finished, secure the thread ends with a small dab of glue or tape. This charming craft adds a festive touch to any space or gift.
Frequently Asked Questions
What Are Eco-Friendly Materials for Easter Crafts?
You’re asking about eco-friendly materials for Easter crafts. To make your projects sustainable, consider using recycled paper, cardboard, and natural fibers like jute or cotton.
You can also incorporate biodegradable items such as cornstarch-based paints, beeswax wraps, and dried flowers.
Opt for plant-based dyes instead of synthetic ones, and reuse or repurpose items whenever possible. These choices help reduce waste and make your Easter celebrations more environmentally friendly.
How Can I Involve Young Children Safely?
Did you know that involving young children in crafts boosts their creativity and fine motor skills? To do it safely, always supervise their activities closely, choose non-toxic, age-appropriate materials, and set clear boundaries.
Keep sharp tools out of reach, and prepare a dedicated workspace to prevent accidents. Encourage their imagination with simple, fun ideas, and praise their efforts to boost confidence and make the experience enjoyable for everyone.
What Are Budget-Friendly Easter Craft Ideas?
You’re looking for budget-friendly Easter craft ideas, and the good news is you can create beautiful decorations without spending much. Use everyday household items like paper, cardboard, and recycled materials to make bunny masks, egg garlands, or painted rocks.
You can also dye eggs with natural ingredients like onion skins or beetroot. These simple, inexpensive projects keep everyone engaged and festive without breaking the bank.
How Long Do Homemade Easter Decorations Last?
Homemade Easter decorations can last for several weeks if you take proper care. You should store them in a cool, dry place when not in use to prevent fading or damage.
Using quality materials like waterproof paints or sturdy adhesives helps prolong their lifespan. Avoid exposing them to direct sunlight or moisture, which can cause deterioration.
With proper maintenance, your festive decorations can brighten your home for many Easters to come.
Can These Crafts Be Adapted for Outdoor Display?
Think of your crafts as seeds; with proper care, they can bloom outdoors. You can adapt DIY Easter crafts for outdoor display by choosing weather-resistant materials like painted rocks or sealed wood.
For example, I once made a bunny out of clay, then sealed it with a waterproof coating—months later, it still looked great. Just guarantee you select durable supplies to keep your decorations vibrant and lasting.
Conclusion
Now, imagine the joy you’ll feel watching your family gather around, their eyes shining with excitement. With these simple DIY ideas, you’ll create unforgettable moments and stunning decorations that will leave everyone in awe. But the real magic begins when you see the surprise on their faces—something special, something homemade. So, are you ready to start crafting and make this Easter truly unforgettable? The best part is just ahead—don’t wait to find out what you’ll create next.