
To paint wood crafts like a pro, start by preparing the surface thoroughly: clean, sand lightly, and apply a suitable primer for smooth adhesion. Choose the right paint—latex for indoor projects or exterior-grade for outdoor ones—and use quality brushes or rollers for even coverage. Apply thin coats, allowing each to dry completely, and finish with a protective sealant to guarantee durability. Keep these tips in mind, and you’ll craft beautifully polished results every time. If you’re enthusiastic to learn more, you’ll find valuable steps ahead.
Key Takeaways
- Properly clean, sand, and prime the wood surface for smooth adhesion and professional results.
- Choose the right paint type and finish suited for indoor or outdoor crafts.
- Apply multiple thin coats with quality brushes, allowing drying time between layers.
- Seal with a clear protective coating for durability and enhanced appearance.
- Work in a well-ventilated area, using controlled conditions for optimal drying and safety.
Prepare Your Wood Surface Properly
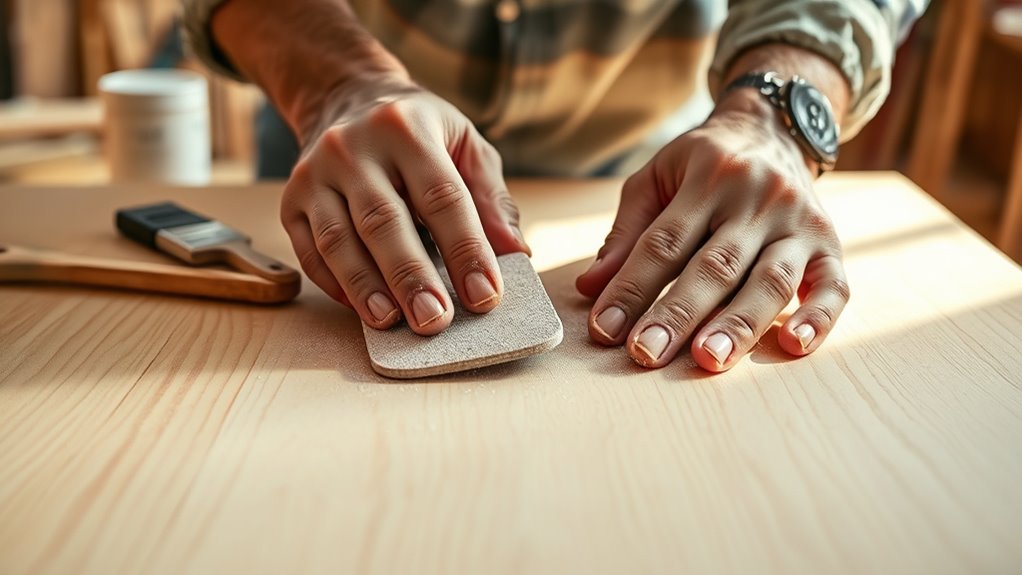
Before you start painting, it’s essential to prepare your wood surface thoroughly. Begin by cleaning the surface to remove dust, dirt, and grease, which can prevent paint from adhering properly. Use a damp cloth or mild soap and water, then let it dry completely.
Next, sand the wood lightly with fine-grit sandpaper to smooth out rough spots and open the wood’s pores, helping the paint stick better. Wipe away any sanding dust with a tack cloth or a damp rag.
If the wood has knots or stains, consider applying a primer or stain-blocking sealer to prevent bleeding through your paint. Proper surface preparation guarantees a smooth, durable finish and helps your craft look professional.
Additionally, understanding sound vibrations can enhance your creative process by promoting relaxation and focus while working on your project.
Incorporating this knowledge about automation in business can also inspire efficient workflows as you complete your craft projects.
Choose the Right Type of Paint for Your Project

Choosing the right paint makes a big difference in your project’s look and longevity. Consider the type of finish you want and how well the paint will adhere to your surface.
Picking the appropriate paint also helps protect your craft from wear and tear over time.
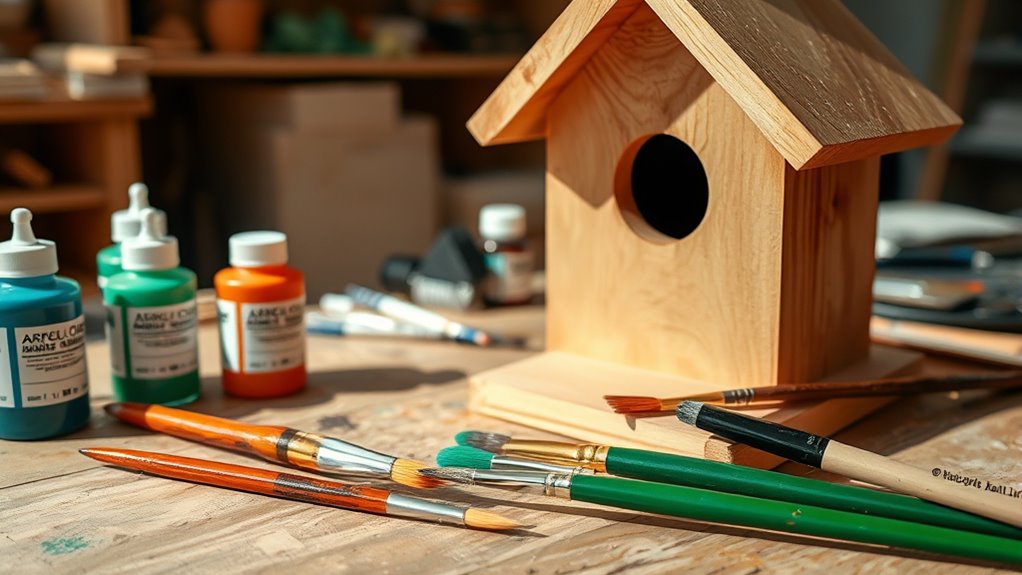
Paint Types and Finishes
Selecting the right type of paint is essential for achieving a professional finish on your wood crafts. For indoor projects, acrylic or latex paints work well because they’re easy to clean and dry quickly. These water-based options are also less toxic and more environmentally friendly, making them a popular choice among DIY enthusiasts. If you want a durable, glossy look, consider oil-based paints, which provide a smooth, long-lasting finish. They are especially good for furniture and high-traffic areas where extra durability is needed. For a matte or satin appearance, water-based paints are ideal. When choosing finishes, think about the look and feel you want—glossy finishes highlight details, while matte hides imperfections. Additionally, some paints come with built-in primer or stain-blocking properties, saving you steps. Always opt for high-quality paints designed for wood to guarantee the best adhesion and longevity. Understanding color accuracy and how it impacts your project’s final appearance can help you select paints that deliver true-to-life colors and vibrant details. Paying attention to paint drying times can also help you plan your project efficiently and avoid accidental smudges or scratches. Using proper paint application techniques can further enhance the overall finish and smoothness of your project. Proper spray techniques can provide a more even coat and reduce brush marks. Using ventilation practices during painting can improve drying times and reduce fumes, ensuring a safer workspace. Matching the paint type and finish to your project’s purpose makes all the difference in achieving a professional result.
Surface Compatibility Tips
How can you guarantee your paint will adhere properly and look great on your wood craft? The key is to choose the right type of paint for your surface.
If you’re working with bare, untreated wood, opt for a primer first to ensure better adhesion. Using a suitable primer can also help seal the surface and prevent bleed-through of tannins or stains. Additionally, selecting the appropriate paint type based on your project’s needs can improve longevity and appearance.
For smooth, finished surfaces like plywood or MDF, acrylic or latex paints work well.
If your wood has a glossy or sealed surface, lightly sand it to create a better grip for the paint. Incorporating surface preparation techniques such as sanding or cleaning can significantly improve paint adherence and finish quality.
Consider the environment—outdoor projects need weather-resistant paints, while indoor crafts may only require standard types.
Matching the paint to your project’s surface and conditions ensures better adhesion, a professional look, and a longer-lasting finish.
Additionally, incorporating rustic textures can enhance the visual appeal of farmhouse-inspired wood crafts.
Always test a small area before starting your full project.
Durability and Protection
To guarantee your wood craft stands up to daily wear, weather, and handling, picking the right type of paint is essential for durability and protection. For outdoor projects, choose exterior acrylic or oil-based paints designed to resist moisture, UV rays, and temperature changes. These paints create a tough barrier that prevents chipping, cracking, and fading over time. Additionally, Kia Tuning options such as performance upgrades can inspire creative ways to customize your projects with unique finishes or accents.
If your project will be handled frequently or exposed to moisture, consider waterproof or marine-grade paints. For indoor crafts, opt for high-quality latex or acrylic paints that offer durability while being easier to clean.
Use Quality Brushes and Tools
Using high-quality brushes and tools makes a significant difference in achieving a professional finish on your wood crafts. Good brushes hold paint better, providing smooth, even strokes that eliminate streaks and brush marks.
Choose the right brush size and type for your project—flat brushes for broad surfaces and detail brushes for intricate areas. Invest in quality tools like painter’s tape, drop cloths, and sanders to make the process cleaner and more efficient.
Cheap brushes often shed bristles or lose their shape, which can ruin your work. Well-made brushes also last longer and improve with each use.
Apply Primer for a Smooth Base
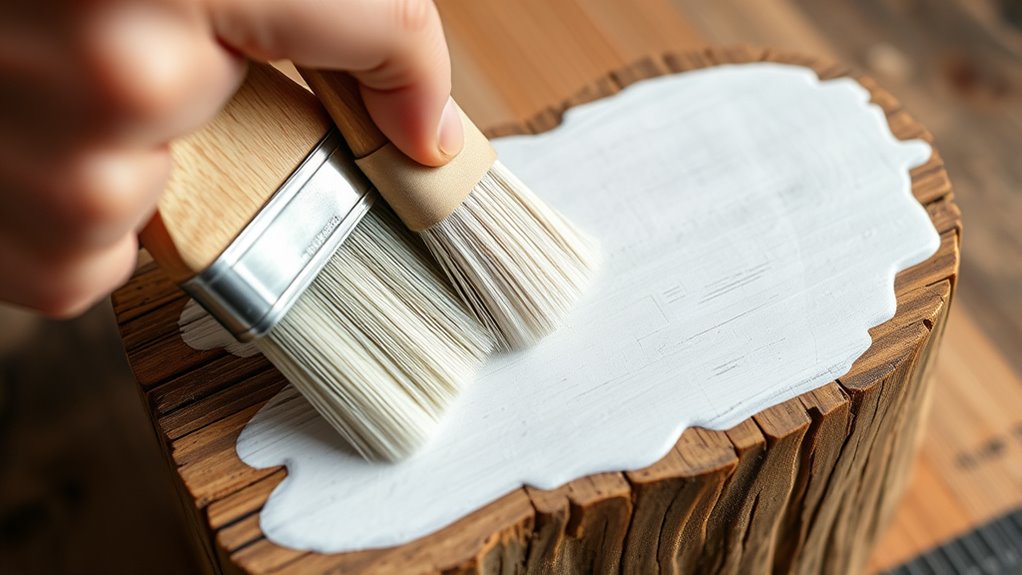
Choosing the right primer is essential for a smooth finish, so pick one compatible with your wood and paint type.
When applying, use even strokes and avoid overloading your brush or roller to prevent drips.
Proper technique guarantees a flawless base that makes your paint job look professional.
Choosing the Right Primer
Selecting the right primer is essential for achieving a smooth, professional-looking finish on your wood craft. First, consider the type of paint you’ll use—oil-based or latex—as different primers are formulated for each.
For stained or knotty wood, choose a stain-blocking primer to prevent bleeding through your paint. If your wood has a rough or porous surface, opt for a bonding primer that adheres well and fills in imperfections.
Also, think about the finish you want; a primer with a matte or satin base can influence the final look. Always match your primer to the wood type and project needs.
Using the correct primer ensures better adhesion, durability, and a flawless base for your paint, making your craft look polished and professional.
Proper Primer Application Techniques
To achieve a smooth, even primer coat, start by preparing your wood surface thoroughly—clean off dust, grease, and any loose debris. Use a tack cloth or damp cloth for best results. When applying primer, use a high-quality brush or roller suited for your project. Apply thin, even coats, working with the grain of the wood. Avoid overloading your brush or roller to prevent drips and uneven coverage. Let each coat dry completely before adding the next. Proper surface preparation is essential for a professional finish. Additionally, choosing eco-friendly and safe primers made from natural materials can enhance safety and environmental responsibility. Being aware of security concerns related to DIY projects can help prevent theft or damage to your supplies. Here’s a quick guide:
| Tip | Why it helps |
|---|---|
| Use thin coats | Prevents drips and uneven surface |
| Work with the grain | Ensures smooth application |
| Allow proper drying | Achieves a perfect, flat base |
Following these steps ensures your paint job will look professional and last longer.
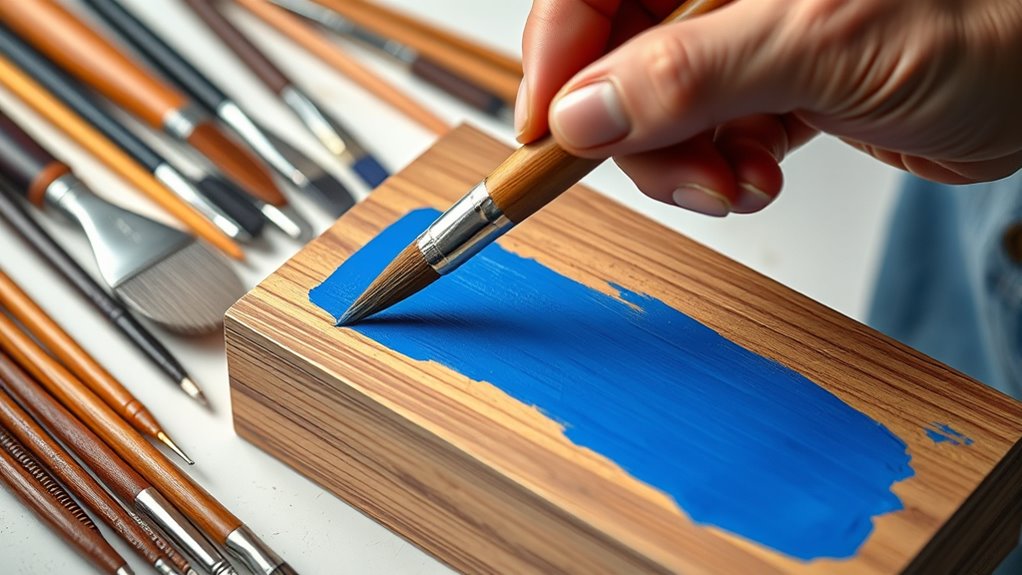
Master the Art of Painting in Thin Layers
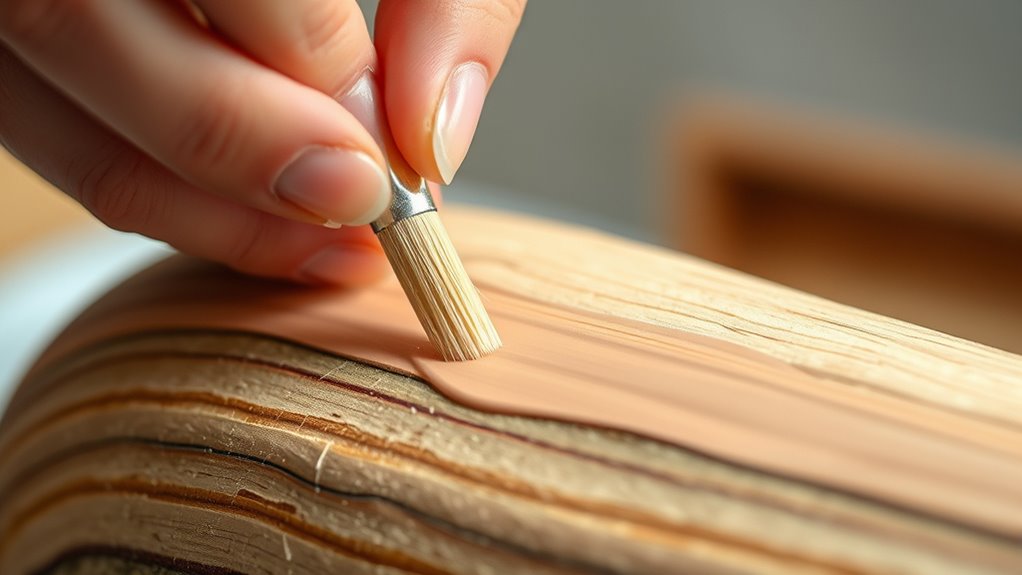
Painting in thin layers is essential for achieving a smooth, professional finish on your wood crafts. When you apply multiple light coats instead of one thick layer, you reduce drips, uneven texture, and brush marks. This technique ensures each layer dries evenly and bonds better. Proper preparation before painting, such as sanding and cleaning the wood surface, also improves the final result. To master this skill, focus on:
- Using a high-quality, fine-bristled brush or a foam roller for smooth application
- Applying each coat with gentle, even strokes, avoiding excessive pressure
- Allowing each layer to slightly dry before applying the next for better adhesion
- Maintaining a steady hand and consistent brush or roller speed for uniform coverage
Allow Adequate Drying and Curing Time
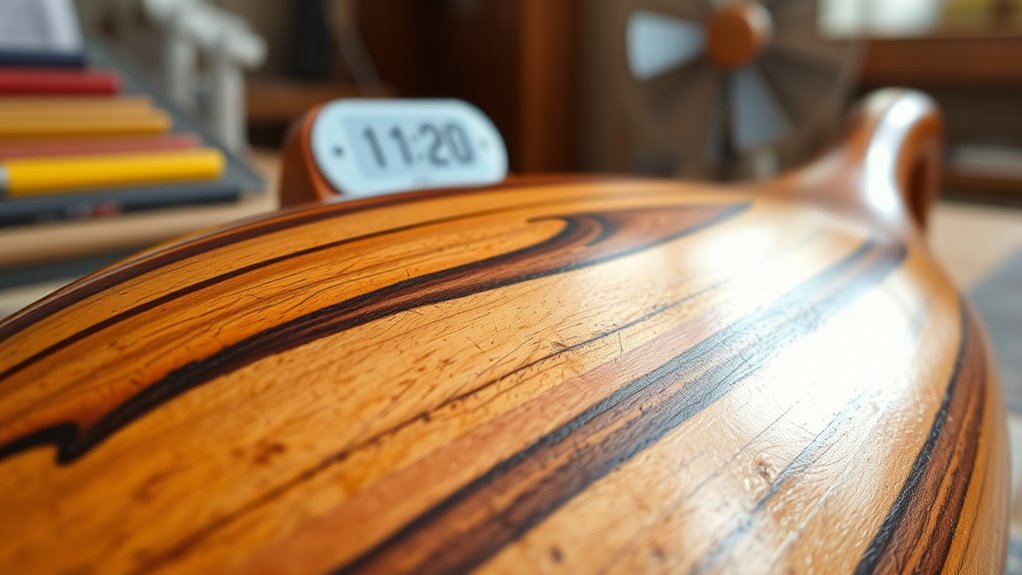
Once you’ve applied thin layers of paint, giving each coat enough time to dry and cure is essential for a flawless finish. Rushing this step can lead to smudges, streaks, or peeling. Proper drying is especially important when working with synthetic wigs or other delicate materials to prevent damage. Check the paint manufacturer’s instructions for recommended drying times, but generally, allow at least 1-2 hours between coats. Keep the painted surface in a dust-free, well-ventilated area to prevent particles from settling on the wet paint. Avoid touching or moving the craft prematurely, as this can cause smudges or dents. Additionally, using adequate drying conditions, such as controlled temperature and humidity, can significantly improve the final appearance. Proper ventilation not only helps in faster drying but also reduces the buildup of fumes, ensuring a safer workspace. Maintaining proper curing time is also critical to achieve a durable finish that resists chipping and wear. Adequate airflow can aid in faster drying and help prevent moisture buildup. Patience is key—proper drying and curing ensure the paint bonds well with the wood, resulting in a durable, professional-looking finish.
Finish With a Protective Sealant

After your paint has fully dried and cured, applying a protective sealant is essential to preserve your work. It guards against scratches, moisture, and fading, ensuring your craft looks great longer. Using a sealant suitable for your project, such as a clear polyurethane or polycrylic, will provide the best protection. Use a clean brush or spray for even coverage, and apply in thin, smooth coats. Allow each coat to dry completely before adding the next. Sand lightly between coats for a polished finish. A good sealant not only enhances the appearance but also makes cleaning easier. Be mindful of market trends and insights that can influence the types of sealants available and their effectiveness. Remember, proper sealing is the final step that transforms your painted wood craft into a durable, professional-looking piece.
Frequently Asked Questions
How Do I Prevent Paint From Peeling on Wood Crafts?
To keep paint from peeling on your wood crafts, start by cleaning the surface thoroughly to remove dirt and grease.
Sand the wood lightly to create a smooth, even surface.
Apply a primer suited for wood, then use high-quality paint in thin, even coats.
Allow each coat to dry completely before adding the next.
Proper prep and patience guarantee your paint stays intact and your craft looks professional.
What Are Common Mistakes to Avoid During Painting?
Many believe rushing the painting process causes issues, but research shows proper prep is key. To avoid common mistakes, you should always sand your wood first, use quality paint, and apply thin coats.
Don’t skip primer, as it improves adhesion and prevents peeling. Avoid painting in direct sunlight or humid conditions, and don’t rush drying times. Taking your time guarantees a smooth, professional finish that lasts.
How Can I Achieve a Distressed or Vintage Look?
To achieve a distressed or vintage look, start by applying a base coat of your chosen color and let it dry.
Then, lightly sand areas where natural wear would occur, like edges or corners, revealing the underlying layers or wood.
You can also use a dry brush technique with a contrasting color or add a wax or glaze finish for an aged appearance.
Remember to work gradually for a natural, authentic look.
Which Brushes Are Best for Detailed Wood Painting?
For detailed wood painting, you should use fine-tipped brushes like round detail brushes or liner brushes. These brushes allow you to create intricate designs, delicate lines, and precise accents.
Opt for high-quality, soft bristles that hold paint well and maintain their shape. Smaller sizes, such as 000 or 1, give you better control for detailed work.
Keep your brushes clean and dry to guarantee smooth, crisp lines every time.
How Do I Fix Uneven Paint or Drips?
When you notice uneven paint or drips, don’t panic. First, let the paint dry completely.
Then, lightly sand the affected areas with fine-grit sandpaper to smooth out imperfections. Wipe away dust and apply a thin, even coat of paint or finish.
Use a high-quality brush or roller for better control, and work slowly to prevent drips. With patience, your wood craft will look flawless.
Conclusion
By following these tips, you’ll achieve professional-looking wood crafts that last. Did you know that properly prepared and sealed wood projects can last up to 50% longer? Taking your time with each step guarantees a smooth, durable finish that stands out. Remember, patience and quality tools make all the difference. So, get creative and enjoy your painting journey—your beautifully crafted wood projects are just a brushstroke away!