To create Mexican Independence Day papel picado, start by gathering vibrant tissue paper, scissors, and a cutting mat. Sketch your design, choosing traditional motifs like eagles or flowers, then carefully cut out symmetrical shapes. Layer the tissue to add color and secure the banners with string for display. Pay attention to polishing your cuts for clean edges and balanced designs. Keep exploring more tips to perfect your festive decorations and bring your cultural celebration to life.
Key Takeaways
- Gather colorful tissue paper, scissors, craft knives, and a cutting mat for precise shaping.
- Sketch traditional motifs like eagles, flowers, or stars on folded tissue paper for symmetry.
- Carefully cut out intricate designs using sharp tools, ensuring clean, detailed patterns.
- Layer tissue papers with vibrant colors and secure with string or twine for hanging.
- Hang the papel picado in prominent spaces, pairing with lights and decorations for festive display.
Gathering Materials and Tools

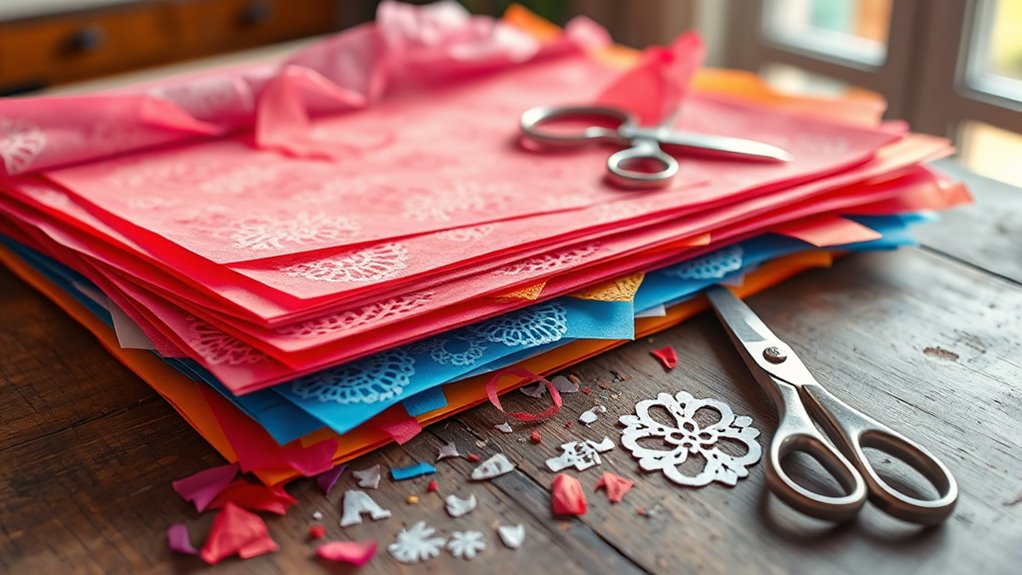
Before you begin creating your papel picado, it’s important to gather all the necessary materials and tools. Understanding the history context of papel picado helps you appreciate its cultural significance in Mexican traditions, especially during festivities like Independence Day. To start, you’ll need colored tissue paper, scissors, craft knives, and a cutting mat. You might also want a pencil for sketching designs and hole punchers for intricate details. Knowing the history behind papel picado reveals its roots in ancient Mesoamerican art, where paper decorations symbolized life and celebration. The vibrant and culturally significant colors of tissue paper play a crucial role in the visual impact of your craft. Collecting quality materials ensures your work is durable and vibrant, honoring its cultural heritage and significance in Mexican festivities. Additionally, selecting authentic materials can help you create a more traditional and meaningful decoration. Incorporating traditional techniques can enhance the authenticity of your papel picado, connecting you more deeply to its cultural origins. Preparing these items ahead of time makes the process smoother and allows you to fully connect with the tradition.
Designing Your Papel Picado Patterns

Start by selecting traditional motifs that represent Mexican culture, such as eagles, flowers, or lanterns, to give your papel picado authentic flair. Then, consider adding personal symbols or designs that hold special meaning for you or your community. This combination will make your patterns both festive and uniquely yours.
Choosing Traditional Motifs
Choosing traditional motifs is a crucial step in designing your papel picado patterns because these symbols reflect cultural heritage and festive spirit. You should select traditional symbols that resonate with Mexican culture, such as eagles, roses, or doves, which carry specific meanings. Consider regional variations to make your design authentic; for example, motifs from Oaxaca might feature colorful flowers, while those from Puebla emphasize religious imagery. Incorporate well-known traditional symbols that evoke national pride and connect to the celebration’s significance. These motifs help tell a story and create a lively, meaningful decoration. By choosing the right symbols, you guarantee your papel picado reflects the rich history and diverse regional traditions of Mexico.
Incorporating Personal Symbols
Incorporating personal symbols into your papel picado allows you to infuse your design with meaningful touches that reflect your unique story or interests. This approach enhances the cultural significance of your artwork by blending traditional motifs with symbols that hold personal meaning. When designing, think about images or icons that represent your heritage, experiences, or passions. Effective symbol integration ensures these elements complement the overall pattern while maintaining visual harmony. Incorporate symbols thoughtfully to create a cohesive design that honors tradition while showcasing your individuality. Remember, the goal is to celebrate your identity and heritage through a vibrant, meaningful piece of art that resonates on a personal level and connects with cultural roots.
Cutting Out the Tissue Paper Shapes

Choose bright tissue paper to make your papel picado vibrant and festive. Use sharp scissors or craft knives for clean, precise cuts, and handle them carefully. Make sure your patterns are symmetrical for a polished, professional look. For best results, work in a well-lit area to see your cutting lines clearly and achieve detailed designs. Additionally, maintaining active listening and empathy during the process can help you focus on creating intricate patterns without mistakes. Remember that craftsmanship and attention to detail are essential in producing high-quality papel picado. Incorporating cultural appreciation into your project can also enhance your understanding and respect for the tradition. Being aware of privacy policies and how your data is handled can improve your overall online experience while researching techniques.
Select Bright Tissue Paper
Bright tissue paper instantly adds vibrancy and energy to your papel picado designs. When selecting your tissue paper, choose bright colors that complement each other through thoughtful color combinations. Think about traditional hues like red, green, yellow, and blue, which evoke festive Mexican celebrations. To guarantee clean, precise shapes, fold your tissue paper carefully using paper folding techniques. Folding helps create symmetrical designs and makes cutting multiple layers easier. Opt for vibrant, high-quality tissue paper that doesn’t tear easily and holds its shape well. This choice will make your cutouts stand out and look polished. Remember, the right combination of bright tissue paper and smart folding techniques sets the foundation for stunning, colorful papel picado decorations.
Use Sharp Cutting Tools
To achieve clean, precise shapes in your papel picado, it’s essential to use sharp cutting tools. Dull scissors or craft knives can cause jagged edges and make your work difficult. Always prioritize safety precautions by handling tools carefully and keeping them away from children. Using proper cutting techniques, like steady, controlled motions, helps create crisp, accurate designs. Before cutting, secure your tissue paper flat on a cutting surface to prevent slipping.
| Tool Type | Best Use |
|---|---|
| Sharp Scissors | Cutting straight or curved edges |
| Craft Knife | Detailing small or intricate shapes |
| Precision Cutters | Achieving clean, delicate cuts |
| Utility Knife | Larger, straight cuts |
| Cutting Mat | Protects surfaces and guides cuts |
Design Symmetrical Patterns
Creating symmetrical patterns in your papel picado starts with carefully folding the tissue paper to guarantee your designs are even on all sides. This ensures symmetrical balance and enhances geometric harmony. Once folded, follow these steps:
- Sketch your design, keeping symmetry in mind.
- Use a sharp tool to trace the pattern, maintaining consistent pressure.
- Carefully cut along the lines, ensuring each side mirrors the other.
- Unfold the tissue paper to reveal your perfectly symmetrical pattern.
Focusing on symmetrical balance creates visual harmony, making your papel picado more striking. Incorporate repetitive geometric shapes to reinforce harmony and achieve a cohesive look. With patience and precision, your designs will display beautiful symmetry that celebrates Mexican tradition and artistry.
Layering and Assembling the Banners

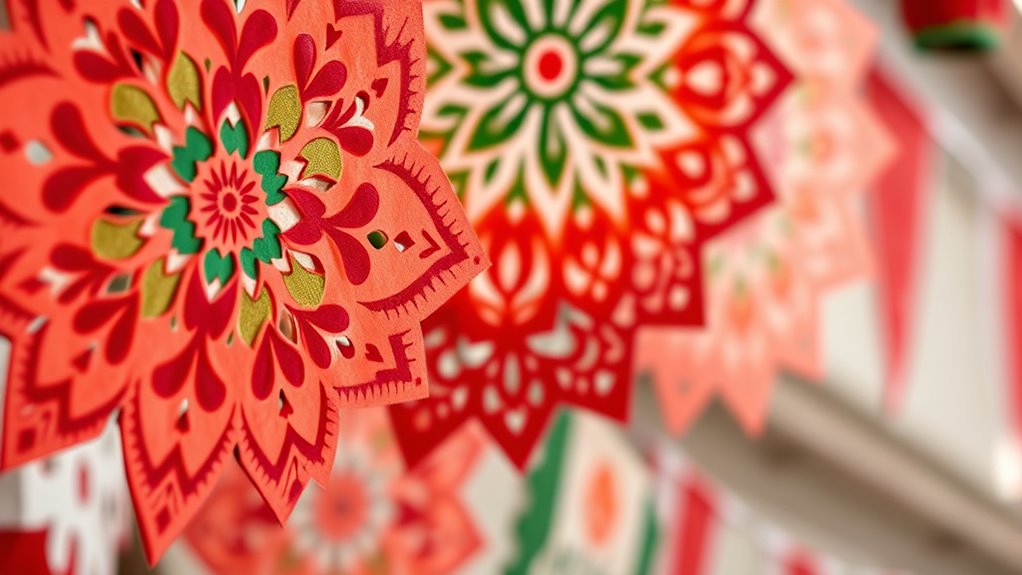
Once you’ve finished cutting out your papel picado designs, the next step is to layer and assemble the banners carefully. Start by choosing eye-catching color combinations that reflect the festive spirit and cultural symbolism of Mexican Independence Day. Use vibrant hues like red, green, and white to honor the flag or opt for bold contrasting colors to create visual interest. When stacking the layers, guarantee each piece lines up neatly to maintain symmetry and clarity of your design. Secure the banners using string or twine, spacing them evenly for a balanced display. Take your time to adjust the placement, so the layered effect highlights the intricate cutouts and vibrant colors, making your decoration both meaningful and visually stunning. Additionally, paying attention to the safety of electric heated mattress pads can inspire careful handling and secure attachment methods for your banners, ensuring a safe and festive environment. Remember to consider the durability of paper materials to prevent tearing or wear over time, especially if your display will be up for multiple days. Furthermore, understanding the locations of gumball machines can inspire creative ways to incorporate colorful, nostalgic elements into your decorations, enhancing the overall festive atmosphere. To enhance the visual impact, consider using layering techniques to add depth and dimension to your papel picado banners. Incorporating knowledge about professional printing options can also help in creating more detailed and vibrant designs for your banners.
Adding Decorative Details and Embellishments

Adding decorative details and embellishments is a great way to enhance your papel picado banners and make them truly stand out. To achieve this, focus on these key elements:
- Use contrasting colors to create striking color contrast that draws attention. Bright reds, greens, and golds work well for festive energy.
- Incorporate cultural symbolism by adding motifs like flowers, eagles, or traditional patterns to reflect Mexican heritage.
- Add fine cuts or perforations around the main designs to create intricate details and a delicate appearance. These design techniques can elevate the craftsmanship and visual appeal of your banners. To further refine your work, experimenting with precision cutting tools can help achieve cleaner and more detailed perforations.
- Experiment with layering different paper textures or colors for depth and visual interest. These embellishments not only elevate your banner’s aesthetic but also deepen its cultural significance.
- Consider exploring digital platforms or online tutorials to discover innovative techniques and design ideas that can inspire your papel picado creations.
- Exploring business trends related to crafts and decorations can help you incorporate popular styles and increase the appeal of your handmade banners.
- Incorporating elements inspired by Indigenous cultural heritage can add unique meaning and authenticity to your designs, making them even more captivating.
Creating Different Shapes and Motifs

After enhancing your papel picado with decorative details, the next step is to craft a variety of shapes and motifs that capture the spirit of Mexican culture. Use paper folding techniques to create symmetrical designs, making it easier to cut intricate patterns. Think about iconic symbols like stars, flowers, or traditional motifs such as angels or eagles. Incorporate color contrast by choosing vibrant papers that stand out against each other, highlighting the different shapes. Experiment with layering different colors or cutting out contrasting shapes to add depth and visual interest. Remember, the key is to keep your motifs meaningful and lively, reflecting the festive nature of Mexican Independence Day. With careful paper folding and thoughtful color choices, your papel picado will truly celebrate Mexican heritage. Additionally, exploring water parks can provide fun inspiration for designing lively, dynamic patterns that evoke movement and excitement.
Securing the Banners for Hanging

To guarantee your papel picado banners stay securely in place, start by choosing a sturdy location and using appropriate hanging tools. Proper hanging techniques are essential for maintaining banner stability. Here are steps to ensure your banners remain secure:
- Use strong, weather-resistant string or twine to support the weight of the banners.
- Attach the banners with durable clips, clothespins, or clear adhesive hooks to prevent slipping.
- Distribute the weight evenly across multiple attachment points to avoid sagging.
- Ensure the hooks or nails are anchored into solid surfaces like wood or brick for maximum stability.
Tips for Achieving Clean and Precise Cuts

Achieving clean and precise cuts on your papel picado requires careful preparation and attention to detail. Use sharp scissors or craft knives to guarantee smooth, accurate lines. Employing precision techniques like steady hand control and slow, deliberate movements helps prevent mistakes. Always secure your paper firmly to avoid slipping, and work on a flat, stable surface. Remember to follow safety precautions—cut away from your body and keep blades sharp to reduce the risk of injury. Practice on scrap paper first to build confidence and develop your technique. Consistent pressure and controlled cutting are key to creating crisp, professional-looking designs. With patience and focus, you’ll master clean cuts that make your papel picado stand out during celebrations.
Displaying and Celebrating Your Papel Picado

Once your papel picado is complete, you can beautifully display it to enhance your celebration. Its history significance and cultural symbolism make it more than just decoration; it’s a tribute to Mexican heritage. To showcase your work effectively, consider these steps:
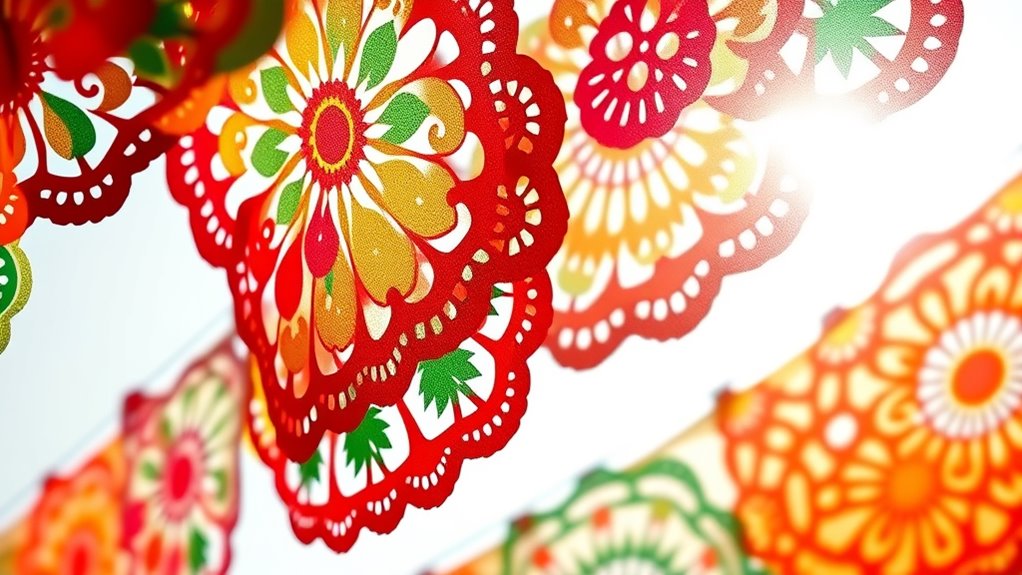
- Hang it in prominent areas like doorways or windows to maximize visibility.
- Use strings or wire to create a layered effect for added visual impact.
- Pair it with traditional decorations like flags and flowers for a festive atmosphere.
- Incorporate lighting to highlight intricate cutouts and emphasize the cultural symbolism.
Frequently Asked Questions
How Long Does It Take to Complete a Papel Picado Banner?
The time it takes to complete a papel picado banner varies depending on your fabric durability and cutting techniques. If you use sturdy tissue paper and precise cutting methods, you might finish faster, maybe within a couple of hours. However, intricate designs or delicate materials could extend the process. Being patient and careful guarantees your banner looks beautiful and lasts longer, making the effort worthwhile.
What Types of Paper Are Best for Durable Banners?
When choosing paper for durable banners, you should consider paper thickness and decorative patterns. Thicker paper, like tissue or cardstock, withstands weather better and lasts longer, making your banners more durable. Look for paper with sturdy weight, and select decorative patterns that are printed or cut cleanly to prevent tearing. This guarantees your banner remains vibrant and intact, perfect for outdoor celebrations or extended display.
Can I Reuse or Store My Papel Picado for Future Celebrations?
Ever wondered if your papel picado can live on beyond one celebration? You can definitely reuse or store it! Carefully fold and stack your banners, then place them in a dry, airtight container or a plastic folder to prevent damage. For reuse tips, gently clean with a soft brush or cloth. With proper storage options, your vibrant papel picado can brighten future festivities, keeping the spirit alive long after the last decoration is taken down.
Are There Eco-Friendly Options for Making Papel Picado?
You can definitely find eco-friendly options for making papel picado. Look for biodegradable materials like plant-based tissue or recycled paper, which reduce environmental impact. Using recycled paper not only makes your craft sustainable but also adds unique textures and colors. By choosing these options, you help protect the environment while still creating beautiful, traditional decorations. It’s a simple way to celebrate responsibly and creatively at the same time.
How Can I Customize Designs for Different Holidays or Themes?
Imagine your papel picado transforming for every special occasion—how do you make each one stand out? You can use custom design techniques to carve intricate patterns that match your theme, and choose themed color schemes to evoke the right mood. Experiment with layering different colors or adding symbolic motifs. With a little creativity, your decorations will become memorable highlights, perfectly tailored for any holiday or celebration you’re celebrating.
Conclusion
Now that you’ve crafted your papel picado, you’ve revealed a world of vibrant tradition and artistry. With patience and care, your banners will bring a lively spirit to any celebration, gently guiding guests into the festive atmosphere. Remember, even the most intricate designs flourish with a steady hand and a kind touch. Let your creations quietly speak of heritage and joy, turning your space into a heartfelt homage that’s sure to be cherished.


