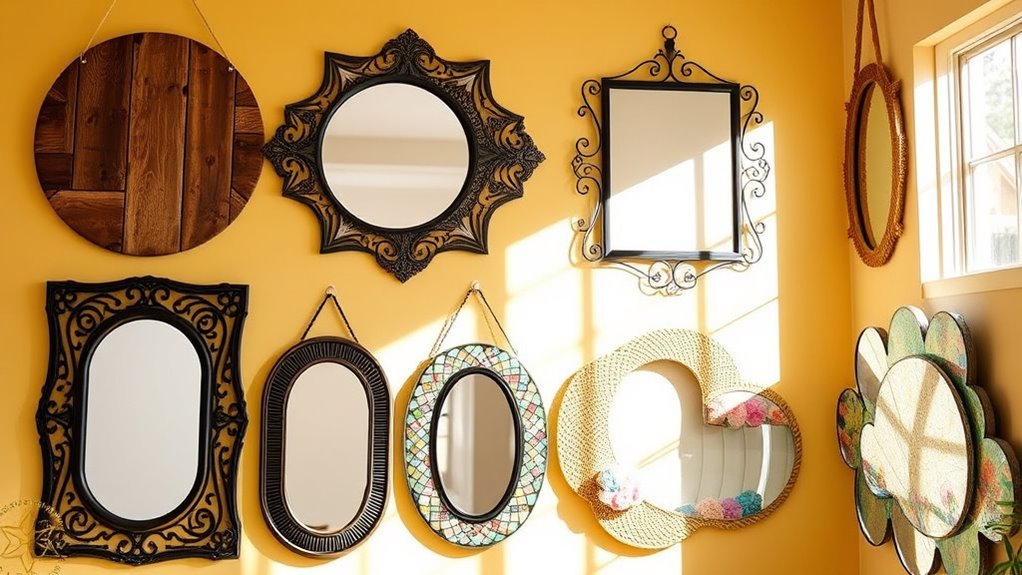

Looking for creative DIY mirror projects? You can craft stunning geometric wall art with bold shapes, add rustic charm using reclaimed wood frames, or create vibrant mosaic tile accents for texture. Wrap a mirror with natural rope for a rustic look, or paint it with unique patterns. For vintage appeal, repurpose jewelry frames, or decorate with succulents for a nature-inspired touch. If you want to explore these ideas in detail, there’s plenty more creative inspiration coming your way.
Key Takeaways
- Explore geometric, rustic, and metallic mirror designs for modern and luxurious aesthetics.
- Incorporate artistic textures like mosaics and rope wrapping to add visual interest.
- Use natural elements such as succulents for eco-friendly, nature-inspired decor.
- Repurpose vintage jewelry frames for unique, charming mirror pieces.
- Focus on secure mounting and finishing touches like sealing or embellishments for durability.
Geometric Mirror Wall Art
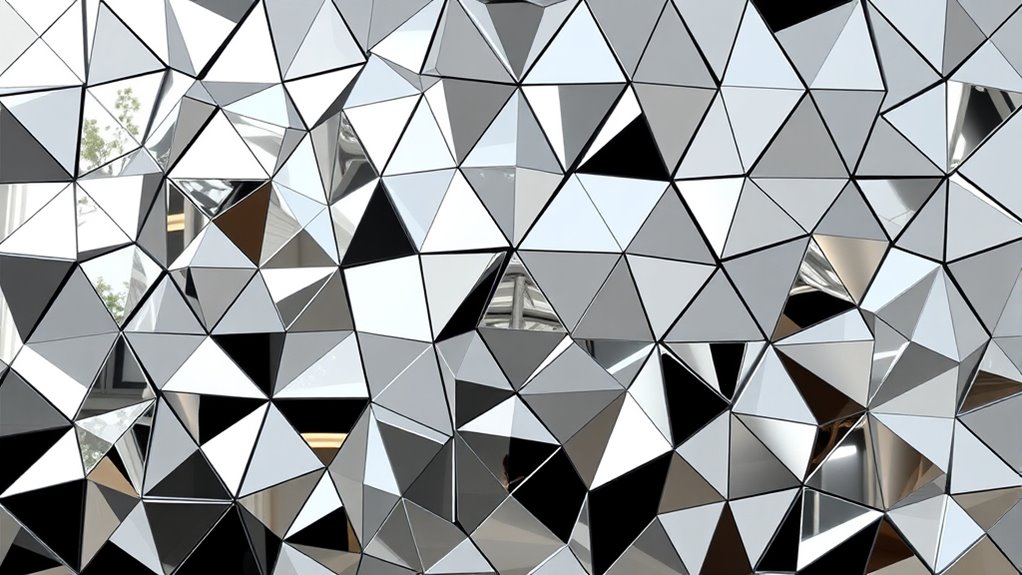
Creating geometric mirror wall art is a fun way to add modern sophistication to your space. You can design a striking focal point by arranging mirrors in bold shapes like triangles, hexagons, or diamonds. Choose different sizes and frame styles to create visual interest and depth. Start by sketching your layout on paper or directly on the wall using painter’s tape as guides. Select mirrors with sleek, contemporary frames or opt for frameless designs for a minimalist look. Attach the mirrors securely with appropriate hardware, making sure they’re aligned perfectly. This project not only elevates your decor but also reflects light beautifully, making your room feel brighter and more open. Incorporating mirror hardware ensures the mirrors are safely mounted and durable over time. Additionally, selecting high-quality mirrors can enhance the overall appearance and longevity of your artwork. When planning your design, consider lighting effects to further accentuate the mirrors and add dimension to your wall art.
Rustic Wooden Frame Mirror
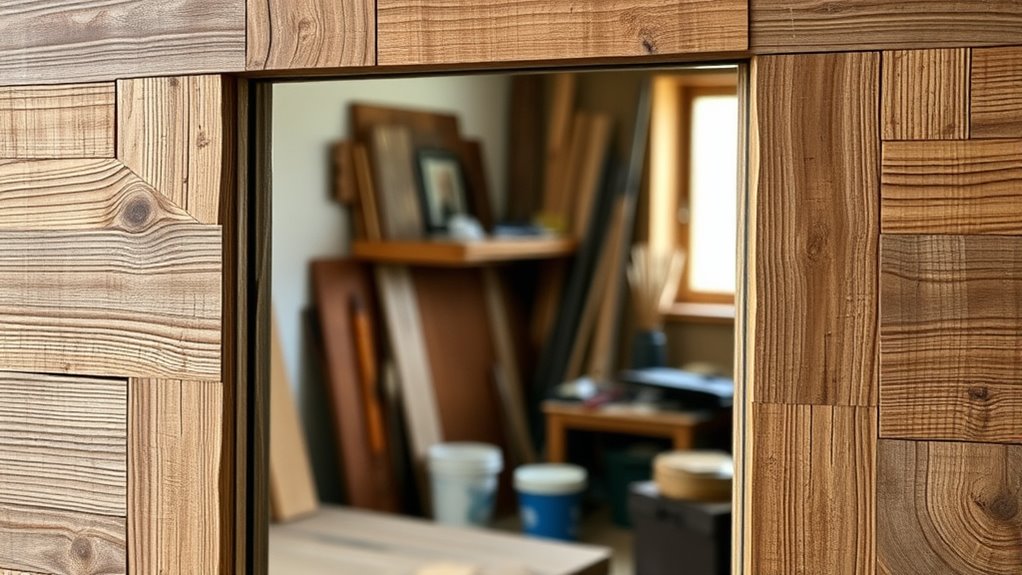
A rustic wooden frame mirror adds warmth and charm to any space, making it a versatile DIY project. To create your own, start by selecting reclaimed or distressed wood for an authentic rustic look. Cut the wood pieces to your desired frame size, then sand the edges for smoothness. Assemble the frame using nails or wood glue, ensuring it’s sturdy. Attach a mirror glass panel to the back of the frame with mirror adhesive or clips. For added character, you can stain or paint the wood to match your decor. Hang your finished piece in an entryway, bedroom, or bathroom to instantly elevate the room’s style. This project is simple yet impactful, allowing you to craft a unique, personalized mirror that combines visual appeal with rustic charm.
Mosaic Tile Accent Mirror
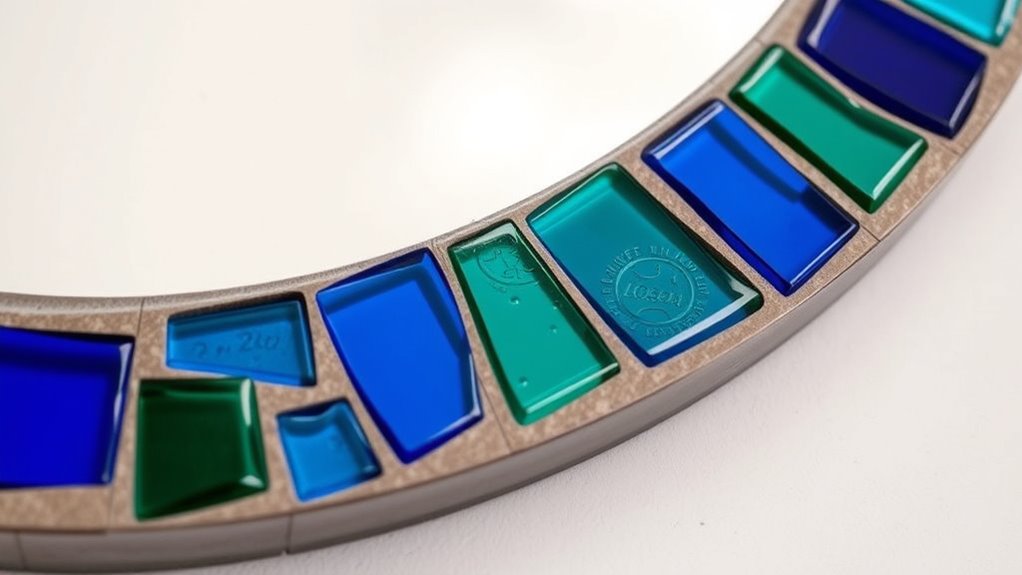
Adding a mosaic tile accent around your mirror instantly boosts its visual appeal and brings a personalized touch to your space. You can choose vibrant colors, intricate patterns, or neutral tones to match your decor style. To start, gather your tiles, adhesive, and grout, then plan your design carefully. Incorporate wicks and layering techniques to enhance your project’s depth and texture. This project allows you to create a stunning focal point, adding texture and color without much fuss. Take your time to arrange the tiles in a pattern you love, and enjoy transforming a simple mirror into a unique piece of art. Your space will feel more vibrant and personalized instantly.
Rope-Wrapped Mirror Frame
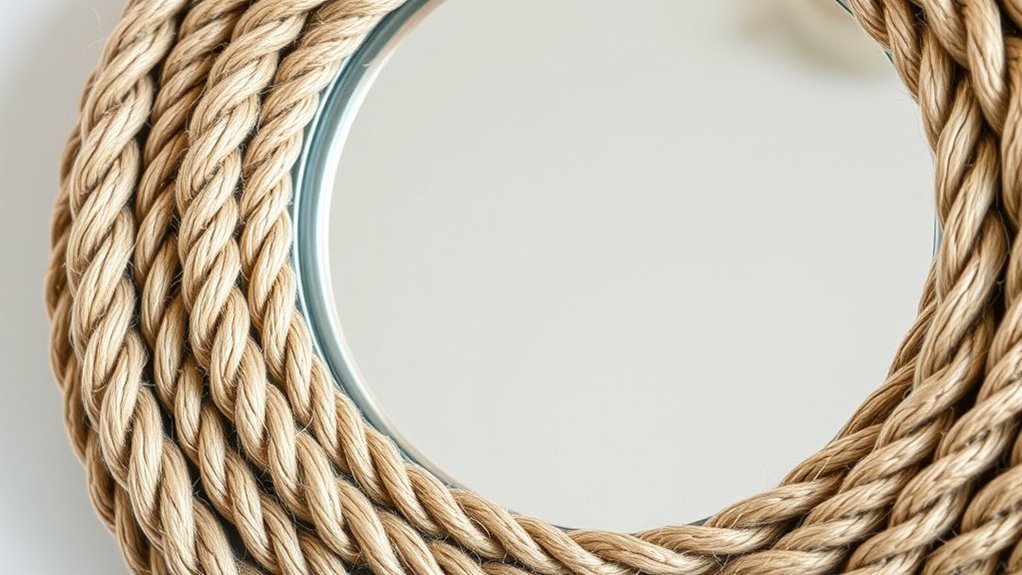
Choosing the right natural rope is key to creating a textured, rustic look for your mirror frame. Once you have your rope, you’ll need to secure it firmly around the frame to guarantee it stays in place. Properly securing the rope creates a durable and polished finish that enhances your project’s overall appearance. Incorporating halal craftsmanship techniques can also add an ethical touch to your DIY project. Selecting a high-quality, sustainable material ensures your project remains environmentally friendly and long-lasting. Additionally, using eco-friendly recycled products can further contribute to sustainability and reduce waste. Leveraging AI-powered tools can assist in choosing the best materials and designs for your project, ensuring optimal results. Understanding merchant services can help you find the right payment options if you decide to sell your handmade creations.
Selecting Natural Rope
Have you considered natural rope as a stylish and eco-friendly option for your mirror frame? Natural rope adds a rustic, organic feel that complements various decor styles. When selecting your rope, focus on quality, texture, and thickness to guarantee a polished look. Additionally, choosing durable materials like jute or hemp can ensure your project remains sturdy and long-lasting. Considering sustainable and eco-conscious options can further enhance your project’s appeal and environmental impact. Incorporating real couples’ stories can inspire unique design ideas and add a personal touch to your DIY project. Using appropriate adhesive or sewing techniques can also help secure the rope neatly and securely around your mirror frame. Being mindful of the environmental impacts of materials can help you make more environmentally responsible choices for your project.
Securing the Frame
Once you’ve selected the perfect natural rope for your mirror frame, it’s time to secure it in place. Start by applying a strong adhesive or hot glue along the back of the rope, pressing it firmly onto the frame. Work in small sections to ensure the rope stays tight and even. To keep it secure as the glue dries, you can use clips or weights. For added durability, consider wrapping the rope with thin wire at key points, especially corners or ends. Here’s a quick overview:
| Step | Tip |
|---|---|
| Glue application | Use a precision applicator for neat lines |
| Securing | Clamp or weigh down the rope until set |
| Reinforcing | Wrap wire for extra hold at joints |
Additionally, choosing a natural adhesive can enhance the overall aesthetic and longevity of your project. Using a high-quality glue designed for craft projects ensures that your rope remains firmly in place over time, preventing any slipping or loosening. Proper adhesive selection is crucial for the durability and appearance of your finished mirror frame. Incorporating a strong bonding agent may further improve the adhesion, especially on tricky surfaces. This ensures your rope stays firmly in place, creating a seamless, stylish frame. Being aware of the different types of adhesives available can help you select the best option for your specific materials and project needs.
Painted Patterned Mirror
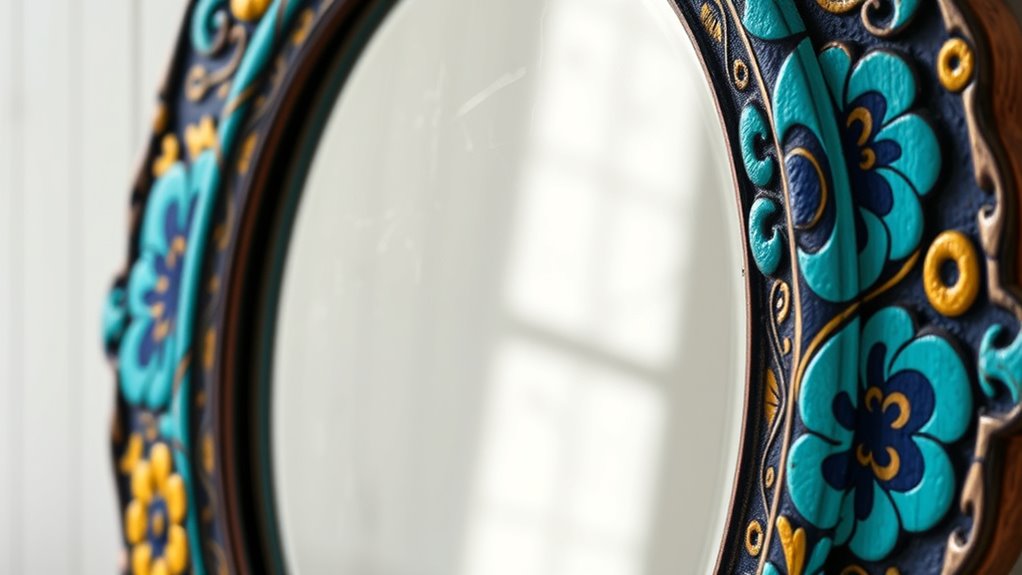
A painted patterned mirror offers a creative way to personalize your space and add visual interest. With just a few supplies, you can transform a plain mirror into a stunning focal point. Begin by choosing your design, whether geometric, floral, or abstract. Use painter’s tape to outline your pattern for clean lines. Select your paint colors carefully to complement your decor. You can also experiment with color schemes to match your interior style. Use acrylic or spray paints for smooth, even coverage. Finish with a clear sealant to protect your artwork from chipping or fading. This project allows you to experiment with colors and patterns, making your mirror a true reflection of your style. It’s simple, fun, and instantly elevates your décor.
Vintage Jewelry Frame Mirror
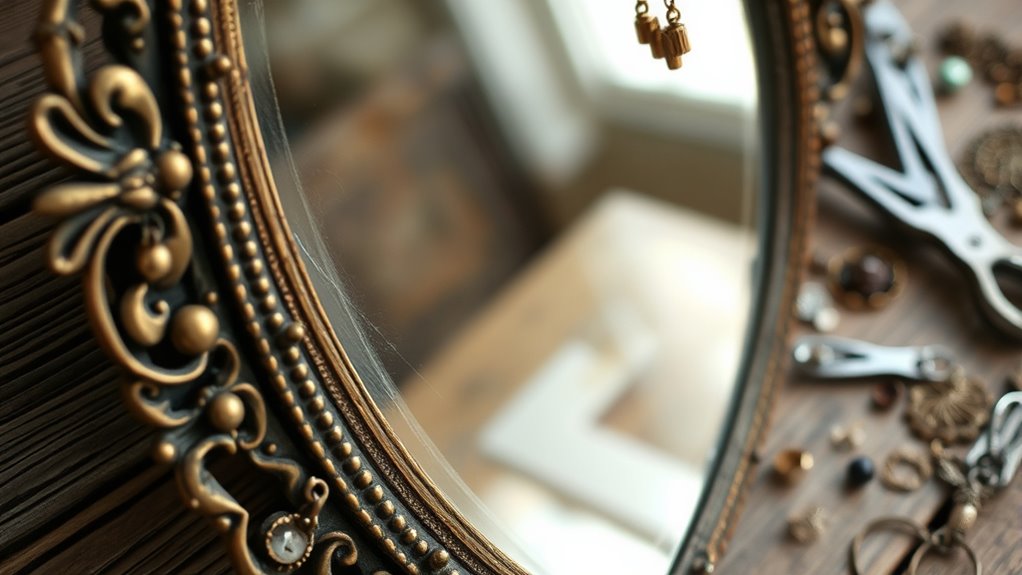
Ever thought of turning an old jewelry frame into a stunning mirror? This project transforms a vintage jewelry frame into a beautiful, one-of-a-kind mirror that adds charm to any space. First, carefully remove any jewelry or embellishments from the frame. Clean the frame thoroughly, then attach a mirror glass to the back using strong adhesive. To enhance its vintage appeal, consider sanding and repainting the frame with a distressed finish. Use the table below to help plan your project:
| Supplies Needed | Tips |
|---|---|
| Vintage jewelry frame | Choose one with interesting details |
| Mirror glass | Measure carefully for size |
| Strong adhesive | Allow proper drying time |
| Paint or finish | Create a distressed look |
| Sandpaper | For aging or touch-ups |
| Sealant (optional) | Protect your work |
This DIY transforms a cherished item into a functional, decorative piece that reflects your style.
Succulent-Decorated Mirror
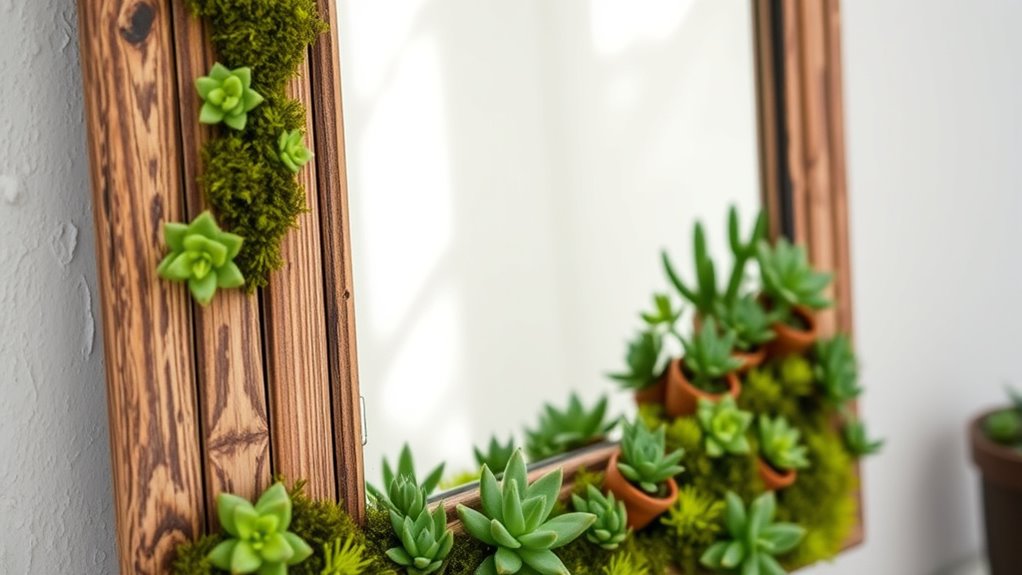
Choosing the right succulents and decorations guarantees your mirror looks vibrant and balanced. You’ll want to arrange them thoughtfully so nothing feels crowded or uneven. Securing the plants firmly guarantees your design stays beautiful over time.
Selecting Succulents and Decor
When selecting succulents and decor for your mirror project, focus on varieties that complement your overall aesthetic and thrive in your environment. Choose succulents with different shapes and sizes to add visual interest. Consider the color palette of your space—greens, blues, or even purples can enhance your design. Don’t forget to pick decor items that match your style, like decorative stones, tiny figurines, or colorful pots.
- Use succulents with varying textures for contrast.
- Opt for decor that complements your color scheme.
- Select easy-to-care-for succulents if you’re new to gardening.
Arranging for Balance
Arranging your succulents and decor around the mirror creates a visually pleasing balance that enhances your overall design. Start by placing larger succulents or bold decorative pieces on either side of the mirror to anchor the arrangement. Distribute smaller plants evenly across the top and bottom to prevent any one area from feeling crowded or empty. Think about symmetry and asymmetry, depending on your style, but aim for harmony so no section feels overpowering. Use varying heights and textures to add interest without overwhelming the mirror. Step back frequently to view your layout from a distance, making adjustments as needed. The goal is to create a cohesive, balanced look that draws the eye naturally and complements your space.
Securing Plants Effectively
Securing your succulents and decorative pieces firmly in place is essential to keep your mirror arrangement looking polished and intact. To achieve this, choose the right adhesive or mounting method tailored to your materials. Use strong but removable glue or double-sided tape for lightweight succulents, ensuring easy adjustments later. For heavier or larger plants, consider small hooks or suction cups designed for glass. Additionally, make sure to clean the mirror surface thoroughly before attaching anything, so the adhesive sticks properly. Keep the following in mind:
- Opt for weatherproof or clear adhesive for a seamless look
- Use gentle tools to avoid damaging the mirror or plants
- Regularly check and re-secure items to prevent shifting over time
This approach keeps your DIY mirror fresh and attractive without risking damage or disarray.
Metallic Leaf Embellished Mirror
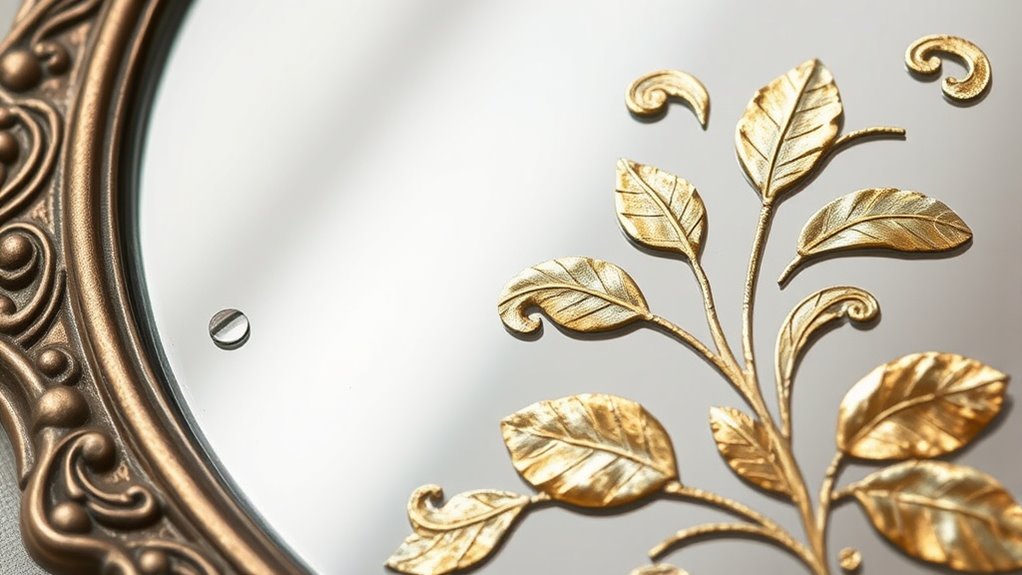
Adding metallic leaf accents to a mirror instantly elevates its style and creates a striking focal point. It transforms an ordinary piece into a luxurious, eye-catching decor element. To achieve this, you’ll need metallic leaf sheets, adhesive, and a brush. Carefully apply the adhesive to your mirror’s frame or surface, then gently press the metallic leaf onto it. Use a brush to smooth out wrinkles and secure the leaf. The result is a shimmering, textured finish. Visualize the transformation with this imagery:
| Frame Material | Leaf Color | Design Style |
|---|---|---|
| Wooden | Gold | Modern Chic |
| Metal | Silver | Vintage Elegance |
| Glass | Copper | Art Deco |
| Resin | Rose Gold | Glamorous |
| Bamboo | Bronze | Boho |
Frequently Asked Questions
What Are the Best Materials for DIY Mirror Framing Projects?
When choosing materials for your mirror framing project, consider durability and style. Wood is versatile and easy to work with, giving a warm, classic look. Metal offers a sleek, modern vibe and adds strength. You might also try reclaimed materials for an eco-friendly touch, or decorative trims like beads or shells for added texture. Pick materials that match your decor and skill level, ensuring your project turns out stunning and sturdy.
How Can I Safely Cut and Handle Mirror Glass at Home?
Did you know that mishandling glass can cause serious injuries? When cutting mirror glass at home, always wear heavy-duty gloves and eye protection. Use a straight edge and a glass cutter, applying consistent pressure to score the surface. Carefully snap along the score line, supporting the glass evenly. Work on a stable, padded surface, and clean the edges afterward to prevent cuts. Safety always comes first!
Which Adhesives Are Most Suitable for Mirror DIY Crafts?
When choosing adhesives for mirror DIY crafts, you want something that sticks well and won’t damage the glass. You should use a mirror-specific adhesive or a strong, clear epoxy or silicone sealant. These options provide a durable bond while being safe for glass surfaces. Always guarantee you work in a well-ventilated area and follow the manufacturer’s instructions for the best results and safety.
How Do I Prevent Mirror Surface Damage During Customization?
Worried about damaging your mirror during customization? Don’t worry—it’s easier than you think. You should handle the mirror gently, avoiding harsh chemicals that could etch or scratch the surface. Use painter’s tape to protect the edges and delicate areas before applying any adhesive or paint. Test any products on a small, hidden section first. With careful preparation and gentle techniques, you can customize your mirror without causing surface damage.
What Are Creative Ideas for Repurposing Old Mirrors?
You can turn old mirrors into stunning new pieces by repurposing them creatively. Consider framing them with reclaimed wood for a rustic look, painting the surface with chalkboard or metallic paint for multifunctionality, or cutting them into unique shapes to create wall art. You might also transform a mirror into a decorative tray or a photo frame by adding embellishments. These ideas give your old mirrors a fresh, stylish purpose.
Conclusion
With these DIY mirror projects, you can turn plain surfaces into stunning works of art that reflect your personality. Each project is like a blank canvas waiting for your creative touch, transforming your space into a masterpiece. So go ahead, pick your favorite idea, and let your imagination shine brighter than a diamond. Remember, your home is your reflection—make it beautiful, unique, and truly yours. Happy crafting!