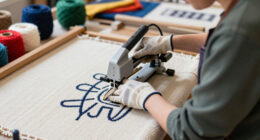
If you’re looking for easy DIY crafts to try, you’ll find plenty of simple projects that suit beginners, like painting flower pots, creating mason jar lanterns, making personalized photo frames, and crafting cozy fabric coasters. You can also design yarn wall hangings, paint canvas art, or craft button decor to enhance your space. Keep exploring these step-by-step ideas, and you’ll discover even more fun ways to release your creativity.
Key Takeaways
- Focus on simple projects like painting flower pots, making fabric coasters, or paper flowers that require minimal supplies and skills.
- Choose crafts that involve basic techniques such as gluing, painting, or tying knots, which are easy for beginners to master.
- Incorporate step-by-step instructions and visuals to simplify the crafting process and build confidence.
- Use readily available materials like mason jars, fabric scraps, buttons, and paper to keep projects affordable and accessible.
- Select versatile crafts that can be personalized, such as photo frames or button art, to encourage creativity without complexity.

TMOL Acrylic Paint Set, 24 Colors (2 oz/Bottle) with 12 Art Brushes, Art Supplies for Painting Canvas, Wood, Ceramic & Fabric, Rich Pigments Lasting Quality for Beginners, Students & Professional Artist
ALL INCLUSIVE PAINT SET: Unleash your creativity from beginner to professional level with this fun and educational acrylic…
As an affiliate, we earn on qualifying purchases.
As an affiliate, we earn on qualifying purchases.
How to Make Simple Painted Flower Pots

Painting your own flower pots is a fun and easy way to add a personal touch to your garden or indoor space. First, clean your pots thoroughly to remove dirt and dust, then let them dry completely. Choose your favorite paint—acrylics work well—and gather brushes in different sizes. Start by applying a base coat in a color you like, and let it dry. Once dry, add simple designs or patterns, such as stripes, dots, or floral motifs, using smaller brushes. For a polished look, use painter’s tape to create clean lines. After finishing your design, apply a clear sealant to protect your artwork from weather or water damage. Incorporating proper sealing techniques can help ensure your painted pots last longer outdoors. Additionally, selecting the right paint type can enhance durability and color vibrancy. Using waterproof sealants is also recommended to safeguard your designs from moisture. Monitoring and adjusting your techniques based on feedback and experience will improve your skills over time. Engaging in creative practice regularly can improve your skills and inspire new ideas. Now, your custom-painted pots are ready to brighten up your space!

Cinrobiye 6 Set DIY Mason Jar Lantern Craft Kit with LED Lights, Butterfly & Flower Decorations, Handmade Table Centerpiece Decor for Home Party Wedding Craft Lovers
Complete DIY Mason Jar Lantern Kit:Includes 6 clear glass jars with LED lights, butterfly decorations and floral stickers…
As an affiliate, we earn on qualifying purchases.
As an affiliate, we earn on qualifying purchases.
DIY Decorative Mason Jar Lanterns
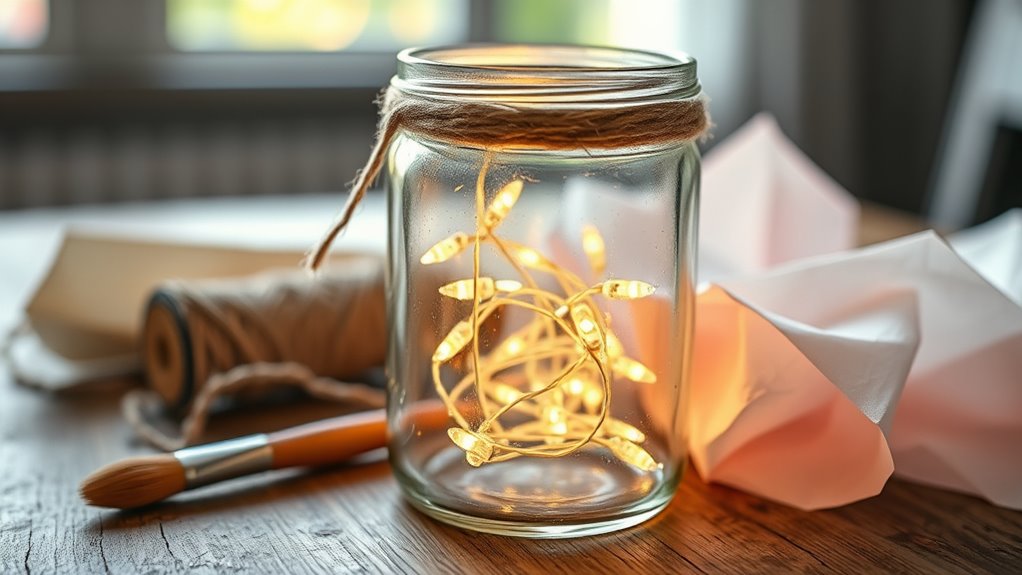
Creating DIY decorative mason jar lanterns is a simple way to bring soft, ambient lighting to your home or outdoor space. You can customize them to match any style or mood. To get started, gather your supplies and follow these steps:
- Clean and dry your mason jars thoroughly.
- Wrap twine, ribbon, or lace around the jar’s neck for a decorative touch.
- Place a LED tea light or small candle inside the jar.
- Add embellishments like fairy lights, paint, or stickers for extra flair.
- Consider the legal regulations in your area regarding outdoor lighting to ensure safety and compliance.
These lanterns are versatile and perfect for patios, walkways, or indoor decor. With a few supplies and some creativity, you’ll have charming, handmade lighting in no time!

zjdbset Picture Frame Painting Craft Kit for 4 * 6 Photo,10Pcs DIY Unfinished Wooden Picture Frames with 12Pcs Painting Color Pen 4 Sheets Crystal Diamond Stickers for DIY Craft
Picture frame painting craft kit:The package include 10pcs wooden picture frame,12pcs painting color pen,4 sheet crystal diamond stickers,it’s…
As an affiliate, we earn on qualifying purchases.
As an affiliate, we earn on qualifying purchases.
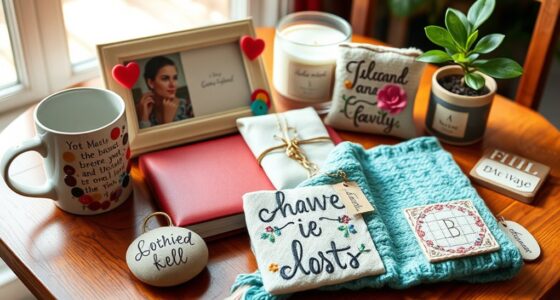
Crafting Personalized Photo Frames
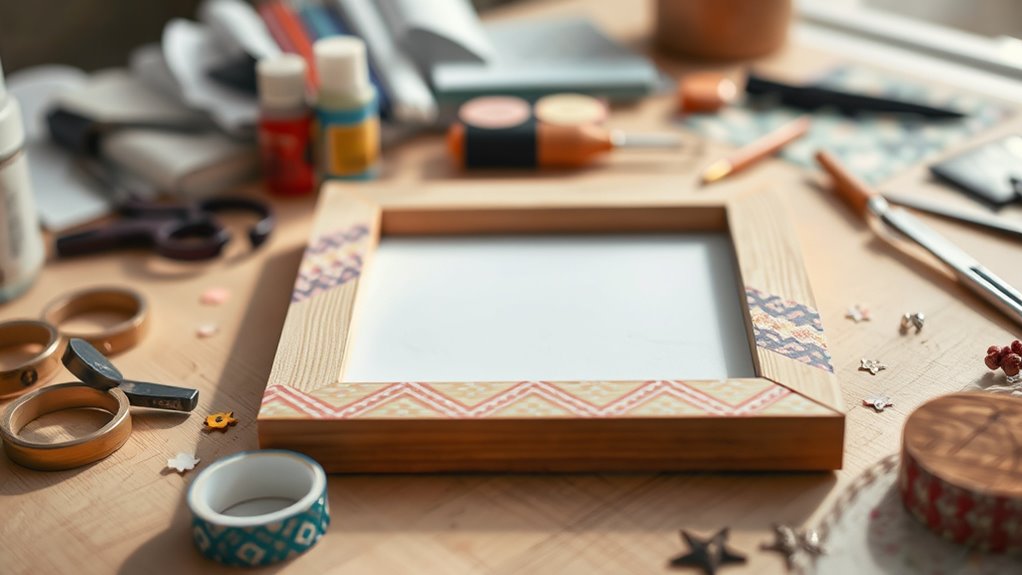
Ever thought about giving your photos a personal touch? Crafting personalized photo frames is a fun way to showcase your favorite memories. Start with a plain wooden or cardboard frame, then gather supplies like paint, washi tape, stickers, or fabric. You can paint the frame in your favorite colors or add patterns for a unique look. Wrap washi tape around the edges or glue on decorative stickers to make it stand out. For a textured finish, glue fabric or paper to the frame’s surface. Once dry, insert your favorite photo, and you’ve created a custom piece perfect for your home or as a gift. This simple project allows you to express your style while preserving your special moments. Creating personalized crafts, such as photo frames, can also be a great way to support families in early parenthood, fostering community and connection through shared creativity. Additionally, exploring different crafting techniques can inspire new ideas and improve your skills over time, especially when you incorporate energetic alignment into your creative process. Understanding toilet maintenance and repairs can also be beneficial in everyday life, helping you troubleshoot minor issues efficiently.

200 Pcs 4" x 4" (10cm x 10cm) Cotton Craft Fabric Bundle Squares, Pre-Cut Floral & Geometric Print, Sewing Quilting Patchwork DIY Fabric Sets for Face Mask Making Doll Clothes Handmade Accessories
VALUE PACK OF 200 PRE-CUT SQUARES: Includes 200 pieces of 4" x 4" (10cm x 10cm) cotton fabric…
As an affiliate, we earn on qualifying purchases.
As an affiliate, we earn on qualifying purchases.
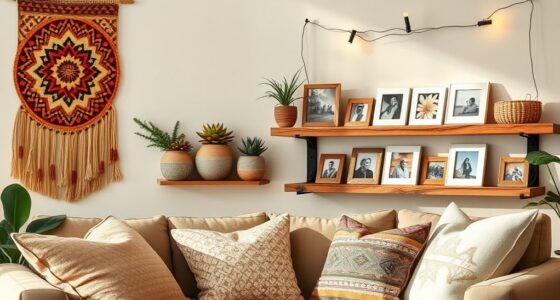
Easy Yarn Wall Hangings
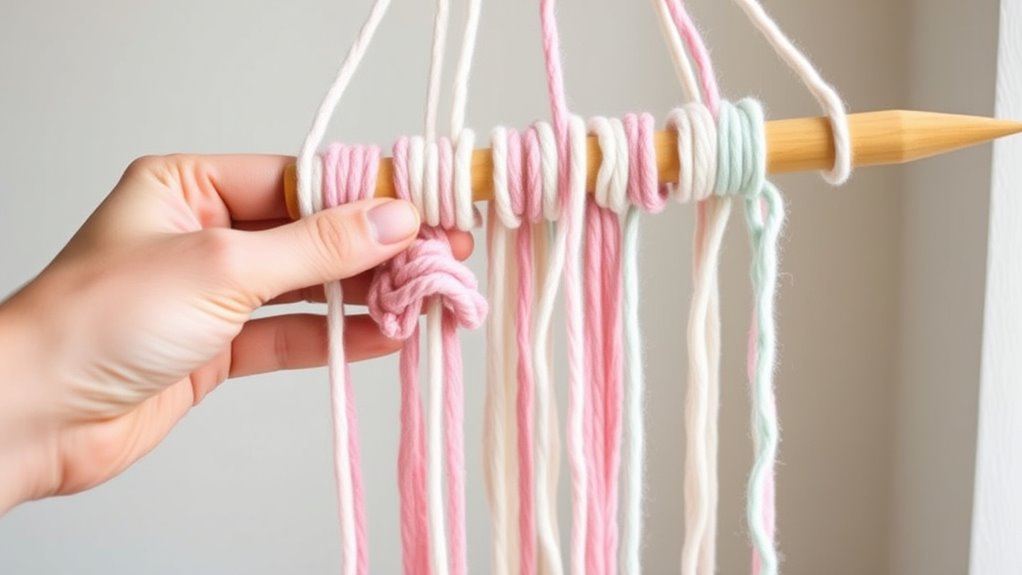
Looking for an easy way to add a cozy, boho touch to your home decor? Yarn wall hangings are perfect! They’re simple to make and instantly elevate any wall.
To start, choose your favorite yarn colors and textures. Then, follow these steps:
- Cut several yarn pieces to your desired length.
- Fold each piece in half and loop the folded end over a dowel or branch.
- Pull the loose ends through the loop to secure.
- Arrange your yarn strands to create a full, balanced look. Incorporating textural variety can enhance the visual interest and depth of your wall hanging. Paying attention to fiber types can also influence the overall look and feel of your piece. Selecting the right bead and feather accents can add unique personality and dimension to your design. Additionally, understanding drivetrain components can help in maintaining your bike’s performance, especially when working with different terrains or during repair. When crafting your wall hanging, consider proper tension to ensure it hangs evenly and looks polished. With just a few supplies and some creativity, you’ll craft a stunning wall hanging in no time!
Handmade Scented Candles
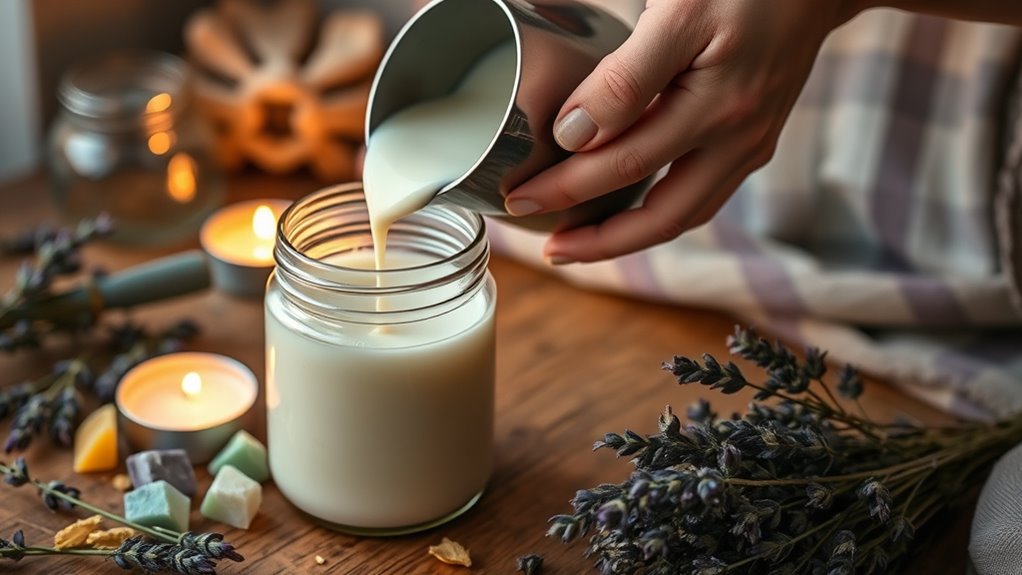
Want to add a personal, cozy touch to your space? Making handmade scented candles is a simple and rewarding craft. It’s also a great way to incorporate creative design into your home decor.
First, gather your supplies: soy wax, wicks, essential oils or fragrance oils, a double boiler, and your chosen containers.
Melt the wax in the double boiler until it’s liquid.
While it melts, attach the wick to the bottom of your container using a dab of hot glue, ensuring it stays centered.
Once the wax reaches about 170°F, remove it from heat and stir in your favorite scent oils. Understanding color accuracy can help you choose the right scents and containers to enhance your candle’s visual appeal.
Carefully pour the wax into your container, keeping the wick centered.
Using a heat-resistant surface and handling hot wax carefully can help prevent accidents during candle making.
Let the candle cool and harden for several hours.
Trim the wick, and you’ve created a beautiful, fragrant candle perfect for relaxing or gifting.
Creating Custom Jewelry With Beads
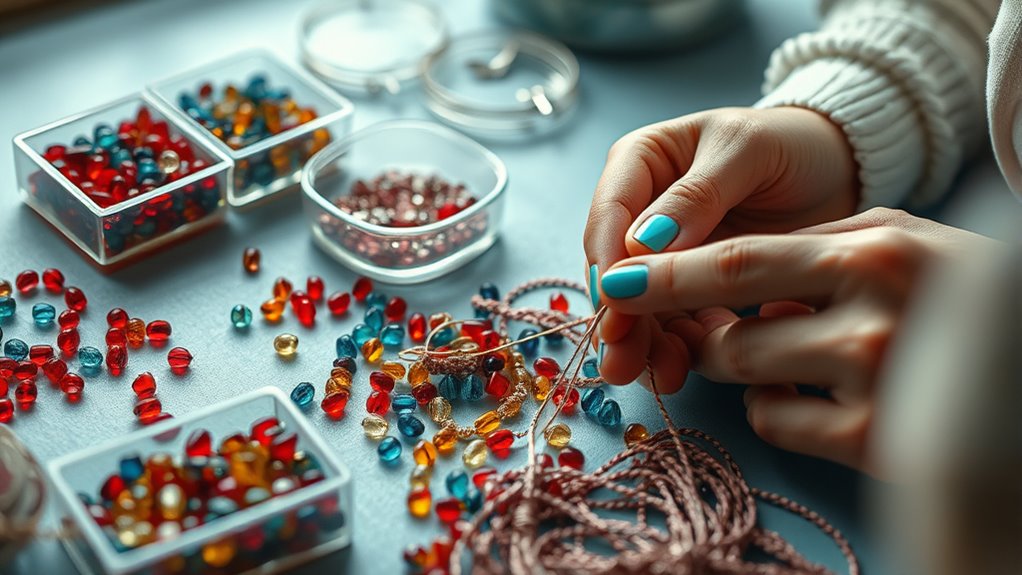
To create custom jewelry with beads, start by choosing the right beads and tools that match your design.
Next, plan your pattern carefully to guarantee it looks just how you want.
Finally, secure your pieces properly so your jewelry stays beautiful and durable.
Selecting Beads and Tools
Choosing the right beads and tools is essential for creating beautiful, professional-looking jewelry. When selecting beads, consider size, color, material, and shape to match your design vision. Incorporating trending popular genres can inspire your designs and attract more buyers.
Picking quality tools guarantees your work is precise and easy. Here are four key items to focus on:
- Bead variety – Choose a mix of sizes and colors to add interest.
- Stringing material – Use durable wire or thread suited for your beads.
- Jewelry pliers – Round-nose and chain-nose pliers help shape and secure findings.
- Clasps and findings – Select secure, easy-to-use closures for your jewelry piece.
Investing in the right beads and tools makes the crafting process smoother and results more professional.
Keep your supplies organized for efficient and enjoyable projects.
Designing Your Pattern
Creating a custom jewelry pattern starts with visualizing your design and selecting beads that complement each other. Think about the style you want—whether it’s boho, elegant, or fun—and choose colors and shapes that match that vibe.
Sketch your pattern on paper or lay out beads on a flat surface to experiment with arrangements. Consider the size of the beads and how they’ll fit together, ensuring the design flows smoothly.
Mix different shapes, such as round, faceted, or seed beads, to add visual interest. Keep symmetry in mind if you prefer a balanced look, or go asymmetrical for a more eclectic feel.
Planning ahead helps you stay organized and makes the beading process more enjoyable. Understanding the horsepower of electric dirt bikes can inspire you to incorporate bold, statement beads into your design for a dynamic look.
Finishing and Securing
Once you’ve finished stringing your beads, it’s essential to properly finish and secure your jewelry to guarantee it stays intact. This step ensures your design doesn’t come apart and looks professional.
Here are the key steps to secure your piece:
- Attach a jewelry clasp, like a lobster or toggle clasp, using crimp beads or jump rings.
- Use pliers to tightly crimp the beads, securing the clasp in place.
- Trim any excess thread or wire, leaving a small tail.
- For extra security, add a dab of jewelry glue to the crimped area or knot to prevent slipping.
Following these steps keeps your jewelry durable and ready to wear or gift. Proper finishing makes your DIY jewelry look polished and professional.
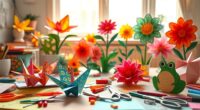
Making Paper Flowers for Decor
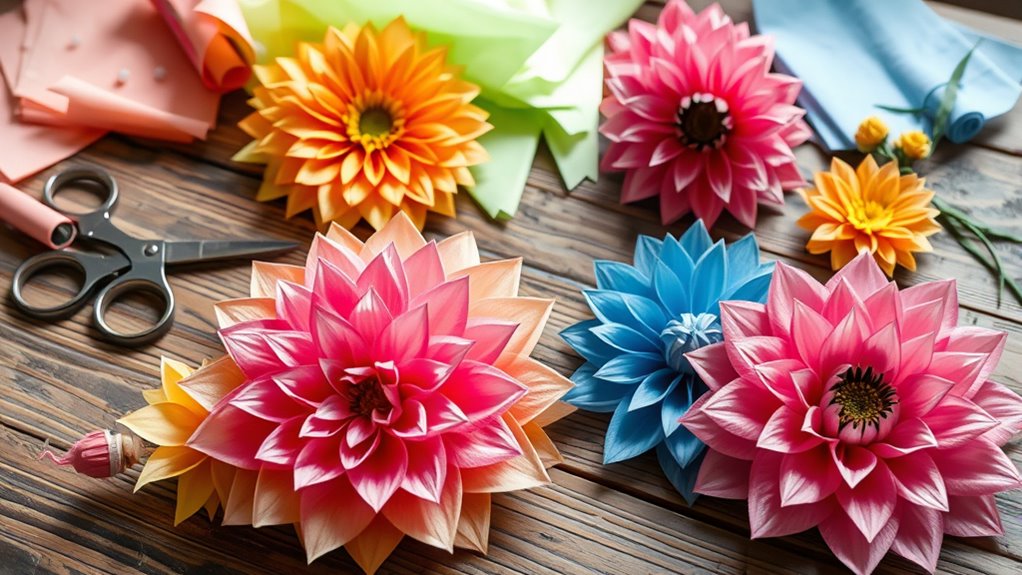
Choose bright, cheerful paper colors to make your flowers stand out.
Use simple folding and shaping techniques to create beautiful, realistic petals.
With a little practice, you’ll transform plain paper into stunning decor pieces.
Selecting Bright Paper Colors
Selecting bright paper colors is essential to making eye-catching paper flowers that brighten up any space. Vibrant hues instantly grab attention and add energy to your decor.
When choosing colors, consider the mood or theme you want to create. Bright pinks, yellows, oranges, and reds are perfect for lively, cheerful arrangements.
To avoid clashing, pick colors that complement each other or follow a harmonious color palette. Remember, contrasting shades can make your flowers pop even more.
Also, mix different shades of the same color for depth and dimension.
Finally, think about the background or surrounding decor to ensure your paper flowers stand out. Using bold, bright colors guarantees your DIY project will become a vibrant focal point.
Folding and Shaping Technique
How do you transform flat paper into lifelike flowers? The secret lies in your folding and shaping techniques. Start by folding paper into petals with simple creases, then gently curve or pinch the edges to mimic real flower shapes. Shaping adds dimension and realism, making your paper blooms stand out. Use tools like scissors or your fingers to curl or bend the edges for different effects. Remember, the way you fold and shape determines the flower’s appearance and charm.
| Technique | Effect |
|---|---|
| Creasing | Defines petal structure |
| Curling edges | Adds natural curves |
| Pinching & folding | Creates depth and realistic textures |
Designing Your Own Greeting Cards

Creating your own greeting cards is a fun and rewarding way to add a personal touch to any occasion. To start designing, gather blank cards or cardstock and decide on a theme or message. Here are four key ideas to make your cards stand out:
- Use your favorite stamps or stencils for unique patterns.
- Incorporate hand-drawn illustrations or doodles.
- Add embellishments like stickers, ribbons, or washi tape.
- Write heartfelt messages with colorful pens or calligraphy.
Keep your design simple or elaborate—whatever fits your style. Experiment with layering materials and textures for depth.
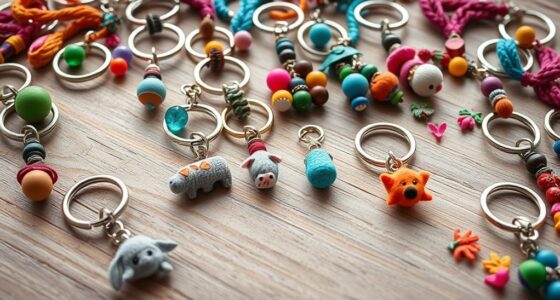
Crafting Colorful Beaded Keychains

Start by choosing bright, eye-catching beads that match your style. Then experiment with different stringing techniques to create unique patterns.
As you assemble your keychain, think about ways to personalize it with initials or charms. With these tips, you’ll craft a colorful accessory that’s truly your own.
Selecting Bright Beads
Have you ever noticed how bright beads can instantly make a beaded keychain pop with color? Choosing the right beads is crucial to creating eye-catching designs.
First, pick beads with vibrant hues that stand out, like reds, blues, or yellows.
Second, consider the size—larger beads create bold statements, while smaller ones add detail.
Third, match beads with complementary colors to make your design harmonious.
Fourth, opt for beads with a shiny finish to catch the light and add sparkle.
By selecting bright, well-matched beads, you’ll ensure your keychain looks lively and attractive.
Stringing Techniques Tips
Mastering effective stringing techniques is essential for making colorful beaded keychains that are both durable and visually appealing. Start by choosing the right beading wire or thread based on your bead size and weight.
Before stringing, lay out your beads in the order you want them to appear; this helps prevent mistakes and keeps your design organized.
When threading, use a needle if needed to make it easier to pass through small holes.
Keep a gentle but firm tension to prevent beads from slipping and to maintain a consistent look.
Secure your ends tightly with knots or crimp beads, then trim excess wire or thread carefully.
Practicing these tips ensures your keychains stay intact and look professional.
Personalizing Your Design
Personalizing your beaded keychains allows you to create unique accessories that reflect your style and personality. To make them stand out, choose beads in colors and shapes that resonate with you. You can also add charms or initials for a special touch.
Here are four ideas to customize your design:
- Incorporate your favorite colors to match your style.
- Add meaningful charms or pendants for personal significance.
- Use alphabet beads to spell out names or words.
- Experiment with different bead sizes and textures for visual interest.
Simple Macramé Plant Hangers
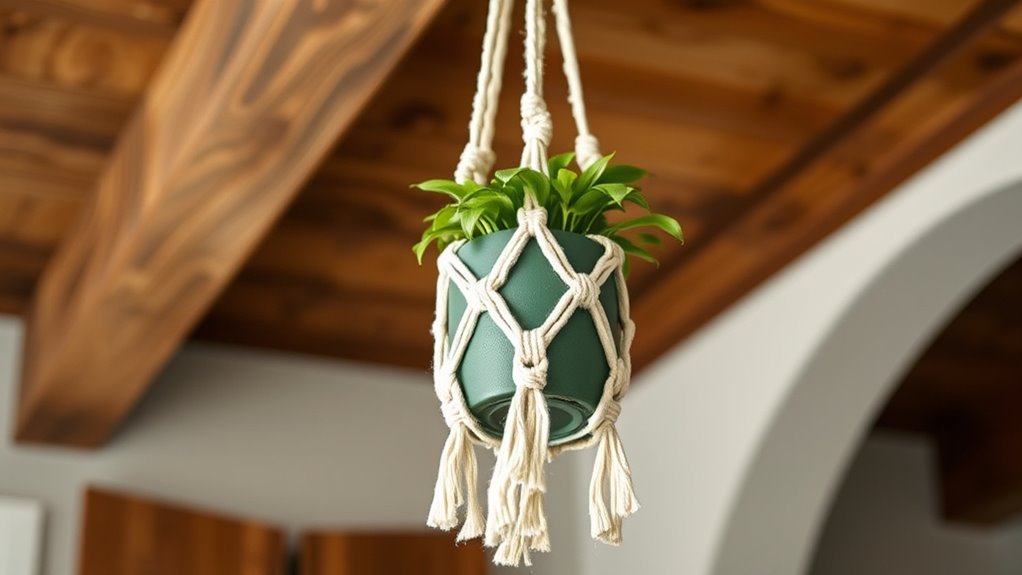
Are you ready to add a touch of greenery to your space with minimal effort? Making a simple macramé plant hanger is easier than you think.
Add greenery effortlessly with a DIY macramé plant hanger—simple, stylish, and fun to make.
Start with some basic supplies: rope, scissors, and a small ring or hook. Cut several lengths of rope, about 3-4 feet each.
Then, learn a few basic knots like the square knot and half hitch.
Arrange the ropes in groups and tie knots at different heights to create a basket for your plant.
Once you finish the design, attach the top to a ring or hook, and trim any excess rope.
Hang your new creation in a sunny corner or near a window, and enjoy your stylish, handcrafted plant hanger.
It’s a fun project that instantly elevates your home decor.
Upcycling Old T-Shirts Into Tote Bags

Choosing the right T-shirts is key to making sturdy tote bags. Look for soft, durable fabrics without too much stretch. Once you’ve selected your shirts, sewing techniques and finishing touches will guarantee your bag holds up and looks great.
I’ll share simple tips to help you sew neatly and add those professional-looking details.
Selecting Suitable T-Shirts
Selecting the right T-shirt is essential for creating a durable and stylish tote bag. You want a shirt that’s sturdy enough to hold weight and holds up over time.
First, choose a T-shirt made from thick cotton or canvas fabric, as these are stronger and more durable.
Second, pick a shirt with a simple design or solid color for a clean, versatile look.
Third, avoid shirts with holes, stains, or frays, which can weaken the bag’s structure.
Finally, opt for a shirt that fits well—neither too tight nor too loose—to ensure it’s easy to work with and maintains its shape during use.
These tips help you select a T-shirt that’s perfect for upcycling into a functional, stylish tote bag.
Sewing and Finishing Tips
To guarantee your upcycled T-shirt tote bag is both sturdy and polished, paying attention to sewing and finishing details is key. Use a zigzag or stretch stitch to reinforce the seams, especially at the handles and bottom, to prevent tearing.
Trim excess fabric close to the stitches to reduce bulk and give your bag a clean look. Fold the raw edges inward and sew a narrow hem around the top opening for a smooth finish.
Press seams with an iron to set them neatly. For added durability, double-stitch critical areas like the handle attachments.
Finally, consider adding a decorative topstitch around the opening for extra strength and style. Proper sewing and finishing not only enhance your bag’s appearance but also ensure it lasts through daily use.
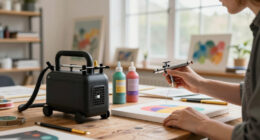
Painting Canvas Art With Basic Techniques
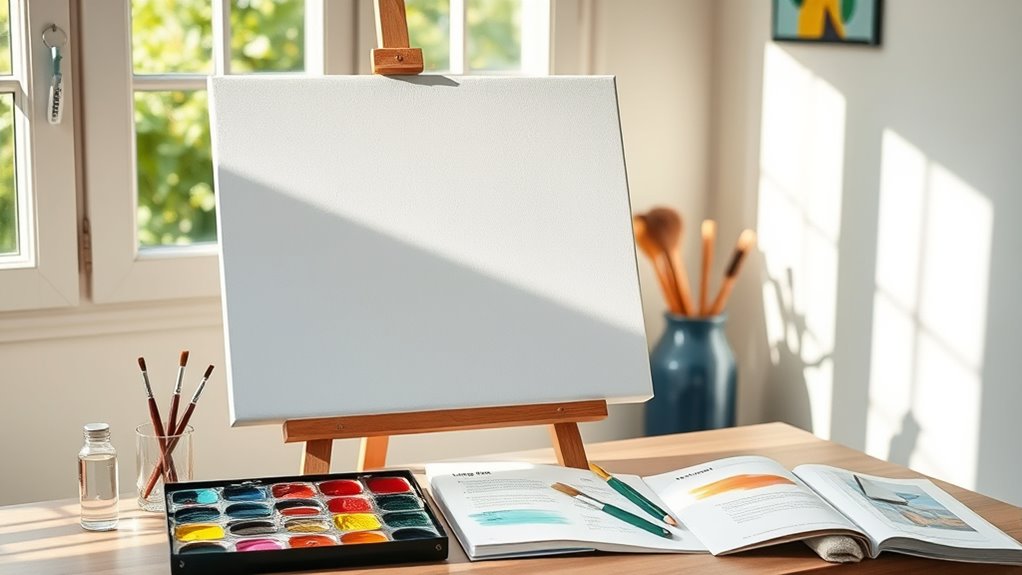
If you’re new to painting on canvas, starting with basic techniques can make the process enjoyable and manageable. Focus on simple methods to build confidence and develop your skills. Here are four essential techniques to try:
- Blending Colors – Smoothly mix two or more colors for seamless *gradations*.
- Brush Strokes – Experiment with different strokes to create texture and depth.
- Layering – Build your artwork by applying multiple layers of paint.
- Dry Brushing – Use a dry brush for a textured, rough effect.
Begin with these fundamentals, and don’t worry about perfection. Practice regularly, and soon you’ll find your style and confidence grow. Keep your tools clean, and enjoy the creative process!
Making Cozy Fabric Coasters

After experimenting with different painting techniques, you might enjoy creating something functional and cozy—like fabric coasters. Making these is simple and adds a personal touch to your space. Start by cutting fabric squares, then layer batting for absorbency. Sew around the edges with a zigzag stitch or straight stitch, leaving a small gap to turn right side out. Add a layer of waterproof fabric or felt for extra protection. To inspire thought, consider this meaning behind coasters:
| Purpose | Material | Design Idea |
|---|---|---|
| Protect surfaces | Absorbent fabric | Personal patterns |
| Keep drinks warm | Batting inside | Bright, cheerful colors |
| Add decor | Waterproof backing | Embellishments like embroidery or appliqué |
Cozy fabric coasters combine functionality with creativity, making your space more inviting.
DIY Button Art for Wall Decor
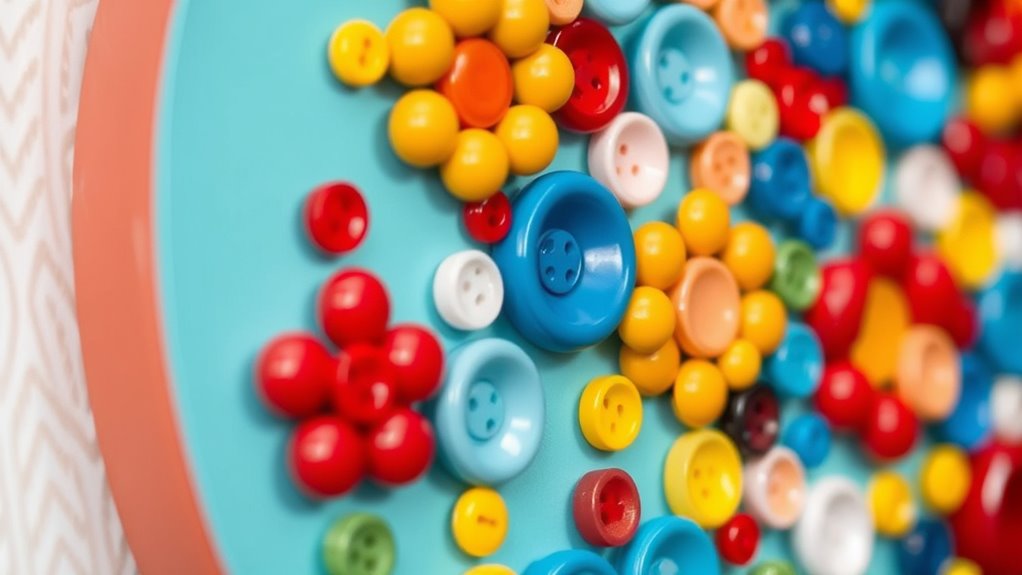
Creating DIY button art for wall decor offers a fun and customizable way to personalize your space. You can turn simple buttons into a stunning piece of art with a few easy steps.
Create personalized wall art by turning colorful buttons into unique, fun decor with simple steps.
First, choose a design or shape, like a heart, star, or abstract pattern. Second, gather a variety of colorful buttons to add vibrancy. Third, select a sturdy backing such as canvas or foam board.
Fourth, use hot glue to securely attach each button, following your design. This project allows you to experiment with colors and patterns, making your wall decor uniquely yours.
Plus, it’s budget-friendly and quick to create, perfect for adding a personal touch to any room. Get creative, and transform buttons into eye-catching art that reflects your style.
Creating Hand-Painted Mason Jar Vases
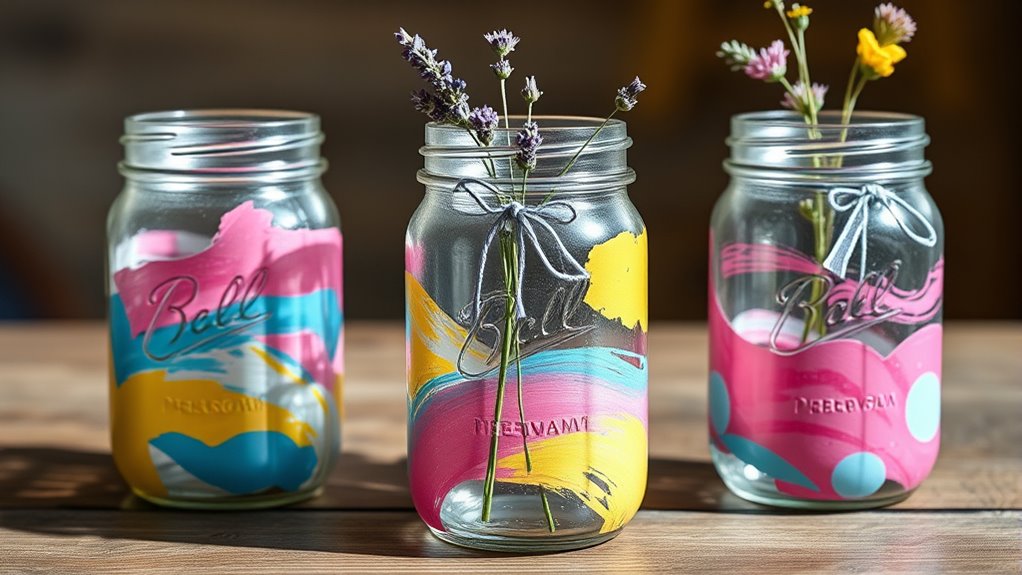
Transforming simple mason jars into personalized vases adds a charming touch to your home decor. Begin by cleaning your jars thoroughly and drying them completely.
Pick out acrylic paints in colors that match your style or the room’s palette. Use a fine brush to create designs, patterns, or even simple florals on the jar’s surface. You can also add details like polka dots or stripes for a playful look.
For a more polished finish, apply a clear sealant to protect your artwork. Fill the jars with fresh flowers or greenery to complete the look.
This DIY project is quick, affordable, and allows you to showcase your creativity while making beautiful, custom vases that brighten any space.
Frequently Asked Questions
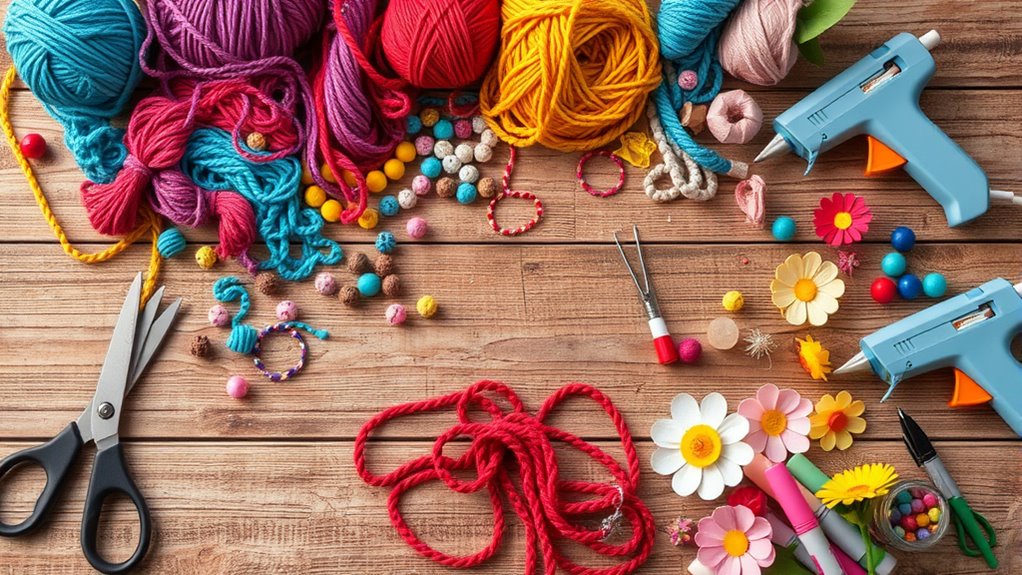
What Are Some Beginner-Friendly Tools for DIY Crafts?
When you’re starting out with DIY crafts, having the right tools makes a big difference. You’ll want a good pair of scissors, craft glue, and a measuring tape for accuracy.
A hot glue gun is handy for quick fixes, while acrylic paints and brushes allow you to add color easily.
Don’t forget a cutting mat for safety, and a set of basic screwdrivers if your projects involve assembling.
These tools set a solid foundation for your crafting journey.
How Can I Choose the Right Materials for My Project?
When choosing materials for your project, you should consider your skill level, budget, and the craft’s purpose. Opt for beginner-friendly supplies that are easy to work with and readily available.
Read product labels to guarantee safety and suitability. Start with versatile materials like paper, fabric, or basic paints.
Experimenting with different options helps you learn what works best and builds confidence for more complex projects later on.
What Safety Precautions Should I Take During Crafting?
When you’re crafting, you should always prioritize safety. Wear protective gear like gloves and goggles, especially when working with sharp tools or chemicals.
Keep your workspace tidy to prevent accidents, and work in a well-ventilated area if you’re using fumes or adhesives.
Read all instructions carefully and follow safety warnings.
Never rush, and take your time to ensure you avoid injuries and create securely.
How Do I Fix Mistakes or Errors in My Crafts?
Like a skilled artist correcting their masterpiece, you can fix craft mistakes with patience and a few simple tricks. If glue smudges, gently wipe with a damp cloth before it dries.
For uneven paint, sand lightly once dry. Torn paper? Reinforce with a bit of glue or tape.
Always keep extra supplies handy, and don’t be afraid to restart parts—every mistake is a step toward perfection.
Where Can I Find Affordable Craft Supplies Online?
You can find affordable craft supplies online on sites like Amazon, Etsy, and Walmart, which offer a wide range of materials at competitive prices.
Don’t forget to check out specialty craft stores like Michaels and Hobby Lobby’s online sections, where you might find discounts and sales.
Comparing prices across different platforms and signing up for newsletters can also help you snag deals and save money on your craft projects.
Conclusion
Getting started with DIY crafts is easier than you think, and it’s a fun way to personalize your space. Did you know that 78% of people find crafting reduces stress and boosts creativity? Whether you’re painting flower pots or making cozy coasters, these simple projects are perfect for beginners. So grab your supplies, follow these easy steps, and enjoy the satisfaction of creating beautiful handmade decor that adds personality to your home.