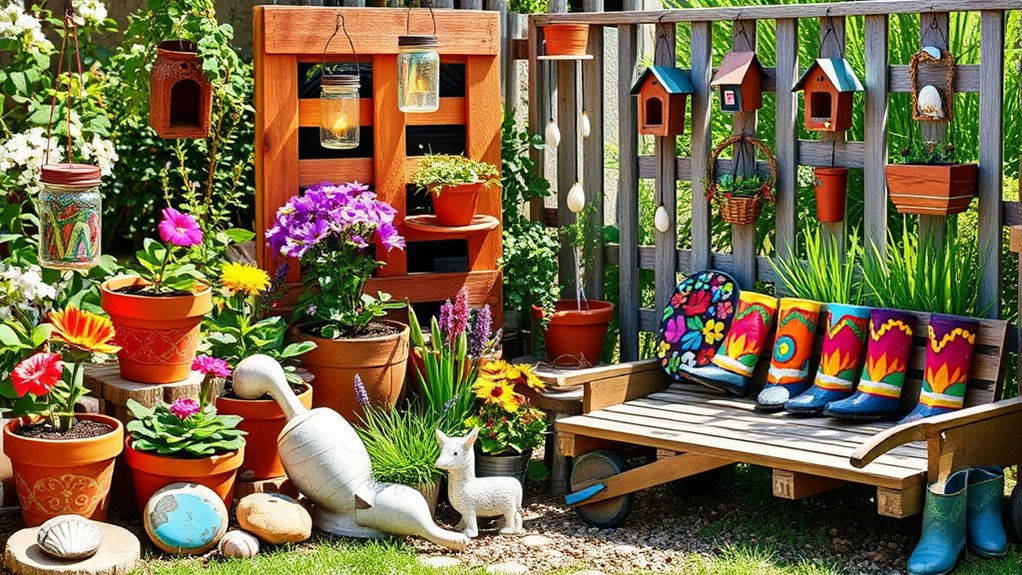

Looking for creative ways to enhance your garden? You can craft upcycled tea cup birdfeeders, build sturdy pallet wood plant stands, or create painted rock garden markers. Hang mason jar lanterns, assemble a hanging herb garden, or make colorful mosaic stepping stones. Whimsical garden gnome decor and twinkle light jars add charm, while recycled tires become unique planters. Keep exploring to discover more inspiring DIY ideas that will transform your outdoor space into a personal oasis.
Key Takeaways
- Create personalized garden markers using painted rocks with labels and decorative elements.
- Make upcycled birdfeeders from old teacups and saucers for eco-friendly bird attraction.
- Design charming mason jar lanterns with fairy lights for ambient garden lighting.
- Build tiered tire planters for colorful, space-efficient container gardening.
- Craft pressed flower art for decorative garden ornaments or framed wall decor.
Upcycled Tea Cup Birdfeeders

If you’re looking for a charming way to attract birds to your garden, upcycled tea cup birdfeeders are a perfect choice. You can easily transform old teacups into delightful feeders in just a few simple steps. First, choose a sturdy teacup and saucer, then drill a small hole near the rim of the cup to attach a string or wire for hanging. Fill the cup with birdseed, making sure not to overfill. Secure the cup to the saucer or attach it directly to a sturdy hook or branch. The delicate design and bright colors will catch the eye of passing birds, inviting them to feast. Plus, repurposing old teacups adds a charming, vintage touch to your garden decor.
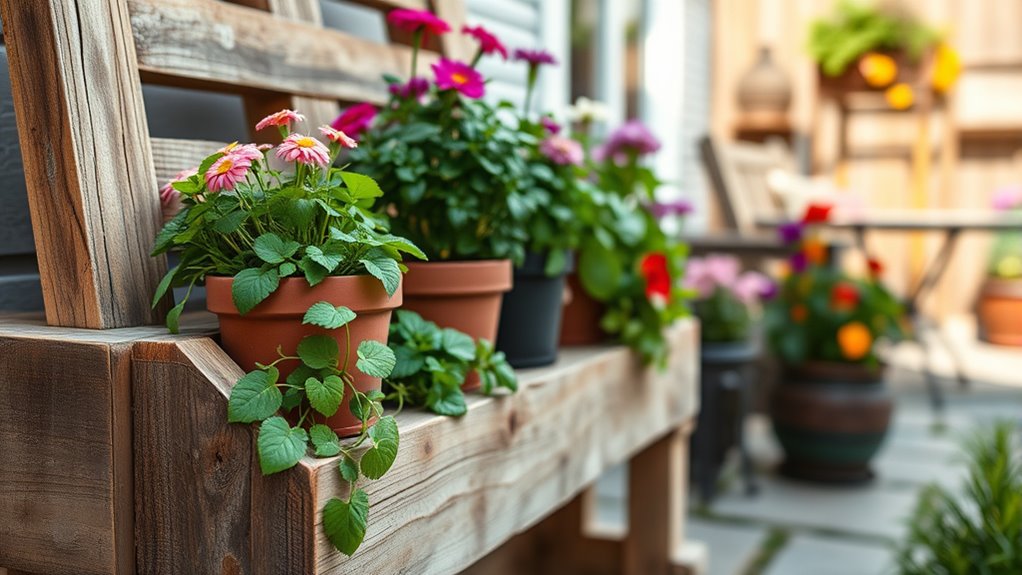
Pallet Wood Plant Stands
When building pallet wood plant stands, choosing the right materials guarantees durability and style. You’ll want to take into account simple design and secure assembly techniques for stability. Additionally, knowing how to maintain your stand helps it last season after season. Recognizing angel number patterns can also provide inspiration and guidance for your project, especially if you’re interested in incorporating symbolic or meaningful elements into your garden decor. Incorporating automation technologies into your gardening process can also improve efficiency and ease of maintenance over time. Regularly assessing and organizing your tools and supplies ensures your gardening space remains functional and clutter-free, making future projects more enjoyable. Moreover, understanding emotional support strategies can help you stay motivated and resilient throughout your DIY projects. Considering benefits of wood-burning can inspire eco-friendly choices in your garden design, such as using sustainably sourced pallet wood.
Material Selection Tips
Choosing the right pallet wood is essential for building sturdy and attractive plant stands. Look for pallets made from hardwood or softwood with minimal signs of damage, warping, or rot. Fresh, untreated wood is preferable, as it’s free from chemicals and pests. Avoid pallets with visible stains, mold, or splinters, since these can compromise stability and safety. Check for uniformity in thickness and planks that are straight and solid. Reclaimed pallets often have character but ensure they haven’t been used for chemicals or hazardous materials. Using the best quality wood guarantees your plant stand will last longer and hold up under the weight of your plants. Proper material selection also helps prevent future deterioration and maintains the aesthetic appeal of your garden decor. Additionally, inspecting the wood for wood quality ensures durability and safety in your DIY projects. Taking the time to carefully assess pallet safety can prevent potential hazards in your garden. Being aware of nutritional advantages of different materials can also guide your choices to ensure longevity and safety in your garden structures. Incorporating preservation techniques can further extend the lifespan of your pallet wood, making your garden projects more sustainable and enduring.
Design and Assembly Methods
Designing and assembling pallet wood plant stands offers a versatile way to showcase your greenery. Begin by selecting sturdy, reclaimed pallet wood, and plan your design based on the size and number of plants you want to display. Cut the wood into desired lengths, using a saw, keeping safety in mind. Assemble the frame with screws or nails, ensuring stability by reinforcing joints with brackets if needed. Sand rough edges to prevent splinters and give your stand a polished look. You can create a simple tiered design or a multi-level stand for variety. Use a drill to add drainage holes if necessary, especially for pots that need water escape. Incorporating cost-effective materials can help maximize your budget without sacrificing quality. Select materials that are sustainable and eco-friendly, which can further reduce environmental impact and promote environmentally responsible DIY practices. Using reclaimed wood not only adds character but also aligns with sustainable practices and minimizes waste. Finish with a weatherproof sealant to prolong the stand’s lifespan outdoors. Additionally, consider the cost and budgeting aspects to keep your project within budget and ensure you select affordable materials for your DIY craft. Planning for sustainable practices can also reduce environmental impact and enhance the eco-friendliness of your project.
Maintenance and Longevity
Regular maintenance is key to ensuring your pallet wood plant stand stays sturdy and attractive over time. To prolong its life, follow these steps: 1. Inspect regularly for loose nails or screws and tighten them promptly. Incorporating sustainable materials such as recycled plastics can also help increase the durability of your stand. 2. Clean the surface with a brush or cloth to remove dirt and debris. Additionally, using appropriate cleaning supplies can prevent damage to the wood finish. 3. Apply a weatherproof sealant annually to protect against moisture and decay. 4. Reinforce joints if you notice any wobbling or instability. 5. Consider using protective materials to enhance durability and prevent damage from environmental elements, especially since environmental factors can influence the longevity of your outdoor furniture. Additionally, choosing a weather-resistant finish can further help safeguard your stand from harsh conditions.
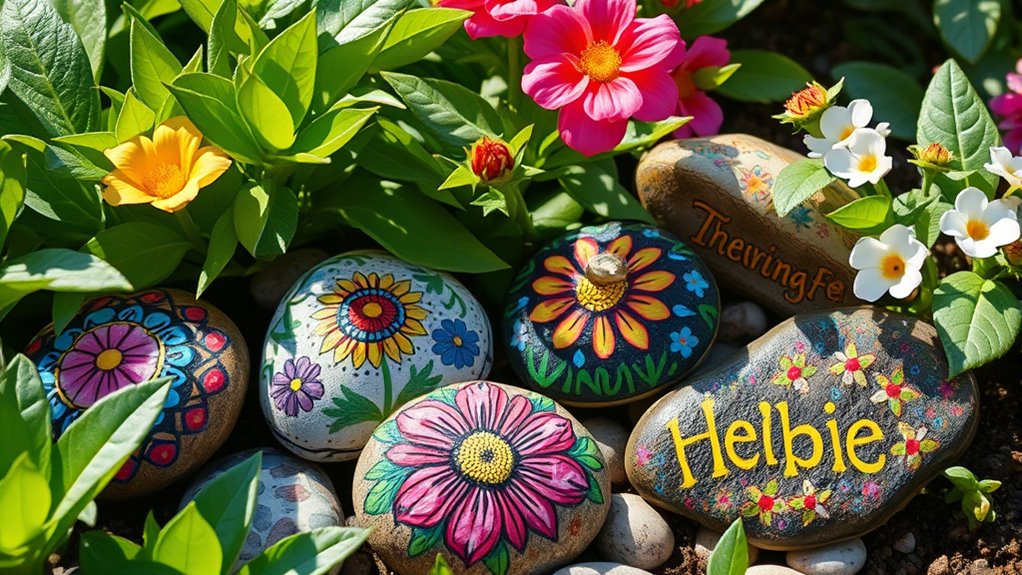
Painted Rock Garden Markers
Start by selecting rocks that can withstand weather, ensuring your garden markers last through seasons. Next, get creative with your designs, adding artistic labels that reflect your style. Finally, seal the painted rocks properly to protect your artwork and keep your markers looking fresh longer. Incorporating celebrity lifestyle trends can inspire unique designs that stand out in your garden.
Choosing Durable Rocks
When selecting rocks for painted garden markers, durability is key to ensuring they withstand weather conditions and last throughout the seasons. To choose the best rocks, consider these factors:
- Density: Pick dense rocks like granite or basalt that resist cracking and chipping.
- Smoothness: Select smooth surfaces for easier painting and better adhesion.
- Size: Opt for medium-sized rocks that are manageable but visible.
- Color: Choose naturally dark or neutral-colored rocks for better paint visibility and longevity.
Designing Artistic Labels
Creating artistic labels for your painted rock garden markers allows you to personalize your garden and make each plant easily identifiable. Start by selecting smooth, flat rocks that provide a good surface for painting. Use acrylic paints and fine brushes to create clear, colorful labels. Consider designing each label with the plant’s name, a small icon, or decorative elements that reflect the plant’s personality. Bright colors and bold lettering enhance visibility, making it easier to identify your plants at a glance. Feel free to add patterns or borders to give each marker a unique touch. Keep your designs simple yet attractive, and use waterproof paints to guarantee they stand up to weather. With a little creativity, your garden labels will be both functional and artistic.
Sealing for Longevity
To guarantee your painted rock garden markers stay vibrant and durable over time, applying a protective sealant is a key step. First, choose a clear, weatherproof sealant suitable for outdoor use. Second, ensure the paint is completely dry before sealing to prevent smudging. Third, apply the sealant evenly using a brush or spray for a smooth finish. Fourth, let the sealant cure fully, usually 24 hours, to maximize protection. This process helps prevent fading, water damage, and chipping. Regular reapplication, especially after harsh weather, keeps your markers looking fresh. Remember, sealing not only preserves your artwork but also extends the life of your garden markers, making your DIY project both beautiful and long-lasting.
Mason Jar Patio Lanterns
Mason jar patio lanterns are a charming and easy way to add ambient lighting to your outdoor space. To create them, start by cleaning your jars thoroughly. Fill each jar with small LED fairy lights or tea lights, depending on your desired brightness. You can add decorative touches like twine, ribbon, or paint to match your outdoor decor. Hang the lanterns from trees, hooks, or pergolas using sturdy wire or ribbon. Placing them at different heights creates a cozy, inviting atmosphere. These lanterns are perfect for evening gatherings or quiet nights outside. They’re simple to make, budget-friendly, and customizable to your style. With just a few supplies, you’ll have beautiful, homemade lighting that transforms your patio into a magical retreat.
DIY Hanging Herb Garden

Start by choosing containers that are lightweight and easy to hang, like small pots or repurposed items. Make certain each container has proper drainage holes to prevent waterlogging. Properly arranging your herbs with good drainage ensures healthy growth and an attractive display.
Selecting Suitable Containers
Are you wondering how to choose the perfect containers for your hanging herb garden? The right container makes all the difference. Here are four tips to help you decide:
- Size: Pick containers that provide enough space for roots to grow comfortably.
- Material: Consider lightweight options like plastic or resin for easy hanging.
- Drainage: Ensure your containers have drainage holes to prevent waterlogging.
- Design: Choose styles that complement your outdoor space and match your aesthetic.
Avoid heavy materials that are difficult to hang or containers without drainage to prevent root rot. Select lightweight, durable options with proper drainage, and you’ll create a thriving, manageable hanging herb garden.
Arranging for Proper Drainage
Ensuring proper drainage is key to keeping your hanging herb garden healthy and thriving. Without it, excess water can pool, leading to root rot and disease. To achieve good drainage, start by choosing containers with drainage holes. If they lack holes, drill some yourself. Place a layer of gravel or small stones at the bottom; this creates space for excess water to escape. Avoid overfilling containers with soil—leave about an inch of space at the top. When watering, do so gently to prevent water from pooling on the surface. Check regularly to guarantee water flows freely through the drainage holes. Proper arrangement and materials will help maintain ideal moisture levels, ensuring your herbs stay healthy and vigorous.
Recycled Tire Planters
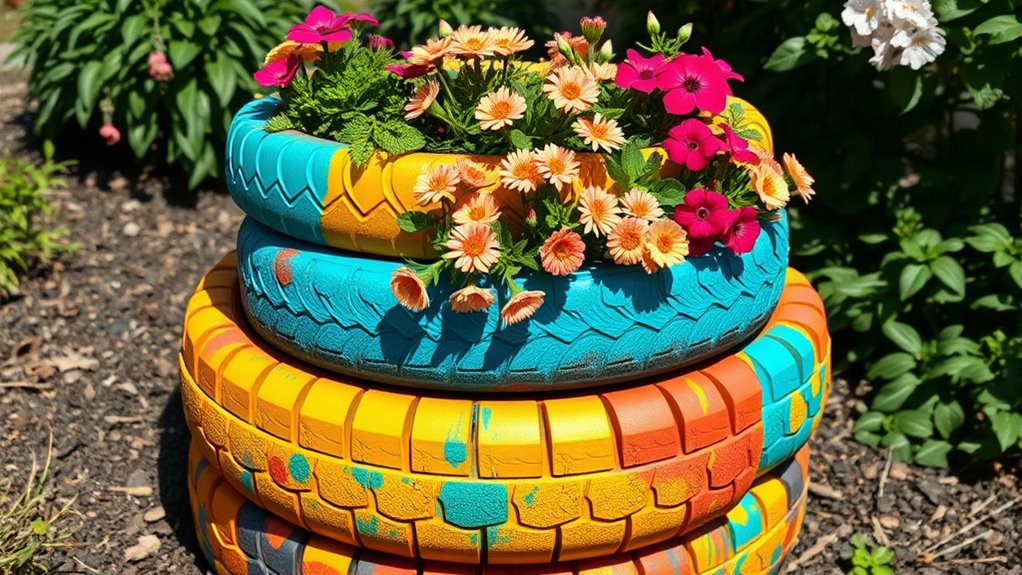
Have you ever considered repurposing old tires into vibrant garden planters? It’s an eco-friendly and eye-catching project. Here’s how to get started:
Transform old tires into colorful, eco-friendly garden planters with simple DIY steps.
- Choose sturdy tires and clean them thoroughly.
- Cut holes in the side for drainage, then paint or decorate the exterior.
- Layer the tires if you want a tiered effect, securing them with strong adhesive.
- Fill with soil and plant your favorite flowers or herbs.
Botanical Pressed Flower Art
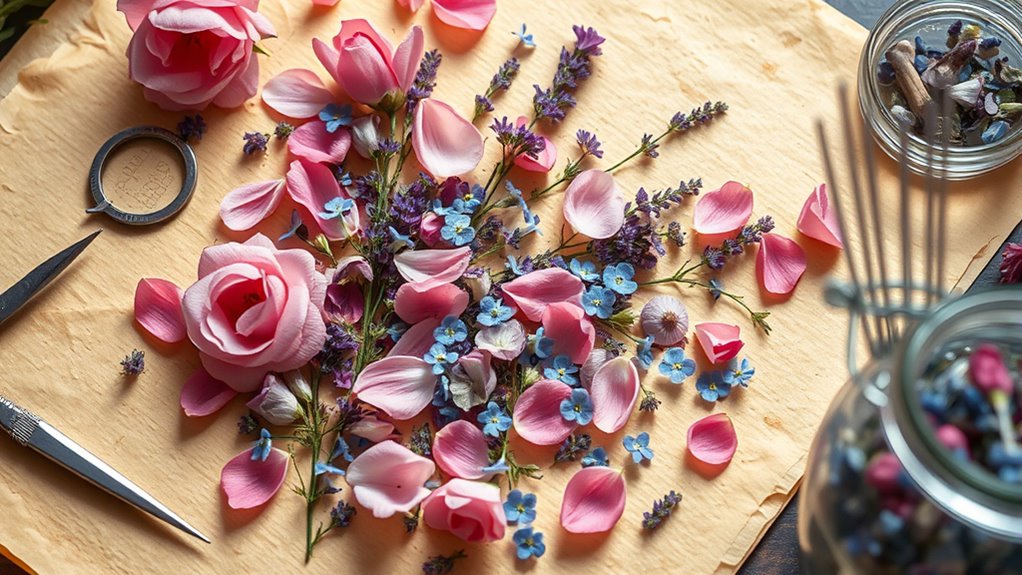
Creating botanical pressed flower art is a delightful way to preserve the beauty of your garden and add a touch of nature to your home decor. Begin by selecting vibrant, undamaged flowers and leaves at their peak. Place them between sheets of parchment or blotting paper, then press them inside a heavy book or use a flower press. After a week or two, your flowers will be flat and preserved. You can arrange these pressed flowers on cardstock, in frames, or inside clear glass ornaments. Use glue or Mod Podge to secure them and create stunning wall art, bookmarks, or greeting cards. This craft not only captures your garden’s colors but also provides a personalized, natural touch to your living space.
Wooden Bottle Cap Wind Chimes
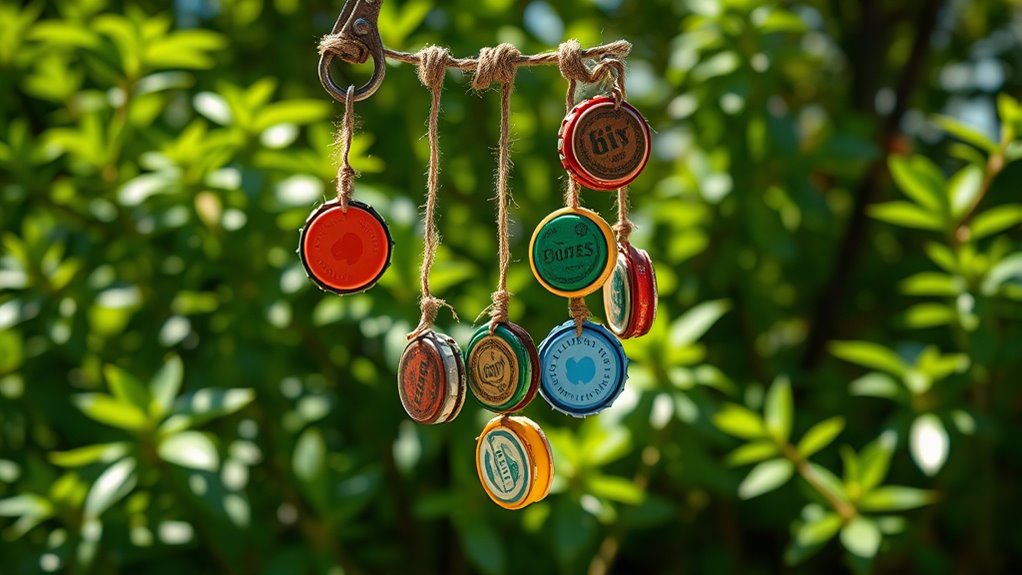
Wooden bottle cap wind chimes are a charming and easy DIY project that adds a melodic touch to your outdoor space. To make them, gather these materials:
Create charming DIY wind chimes using bottle caps, string, beads, and a wooden hanger for a melodic garden touch.
- Bottle caps from your favorite beverages
- A length of sturdy string or twine
- A wooden dowel or stick as the hanger
- Small beads or bells for sound and decoration
Start by punching holes in each bottle cap. Thread the caps onto the string in your preferred order, adding beads or bells between them for extra sound and visual interest. Tie the string securely to the wooden dowel at multiple points to balance the chimes. Hang your finished creation in a breezy spot, and enjoy the gentle, tinkling sounds that bring your garden to life. This project is simple, fun, and customizable!
Concrete Garden Stepping Stones
Adding concrete garden stepping stones to your outdoor space not only enhances its functionality but also allows you to showcase your personal style. You can customize each stone with unique patterns, colors, or embedded objects like shells or glass pieces. To start, mix concrete according to the instructions, then pour it into molds of your choice—think old cookie cutters or DIY shapes. Before the concrete sets, press decorative items or stamps into the surface for added flair. Once dried, arrange your stones along garden paths or around flower beds, creating a charming and practical walkway. These DIY stepping stones are easy to make and give your garden a personalized touch that reflects your creativity. Plus, they’re durable and weather-resistant, perfect for outdoor use.
Whimsical Garden Gnome Decor
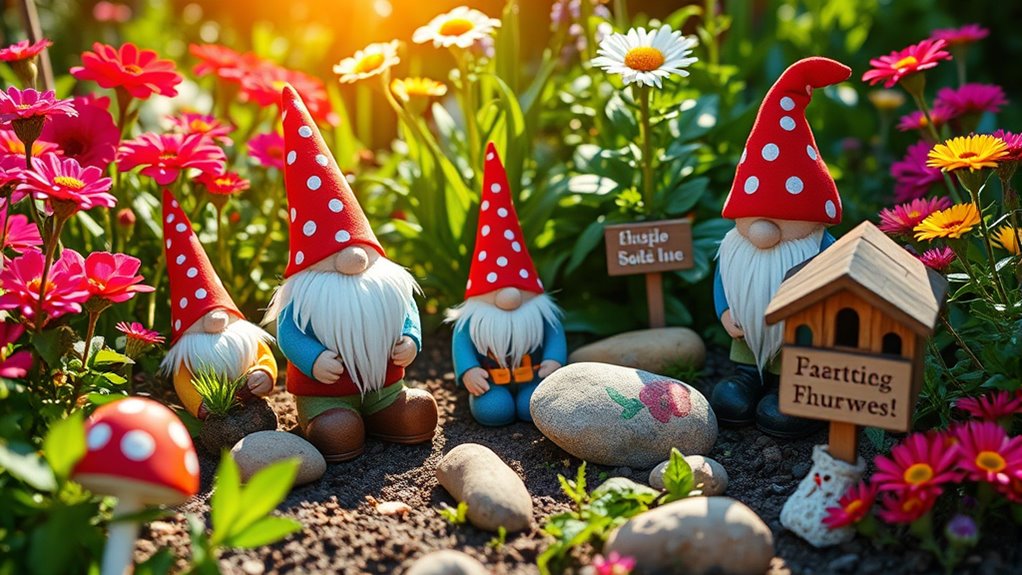
Ever thought about bringing a touch of whimsy to your garden? Whimsical garden gnome decor is a fun way to add charm and personality. You can create your own gnomes using simple supplies like clay, paint, and old clothing. Here are four ideas to get you started:
Add charm to your garden with DIY whimsical gnome decor using simple craft supplies.
- Sculpt cute gnomes with clay, giving them unique hats and accessories.
- Paint cheerful faces and vibrant outfits to make them stand out.
- Dress up your gnomes with tiny tools, lanterns, or mini plants.
- Position them strategically among flowers, shrubs, or near water features.
These DIY projects let you personalize your garden, making it a delightful space full of character. Plus, creating your own gnomes adds a playful touch that friends and family will love.
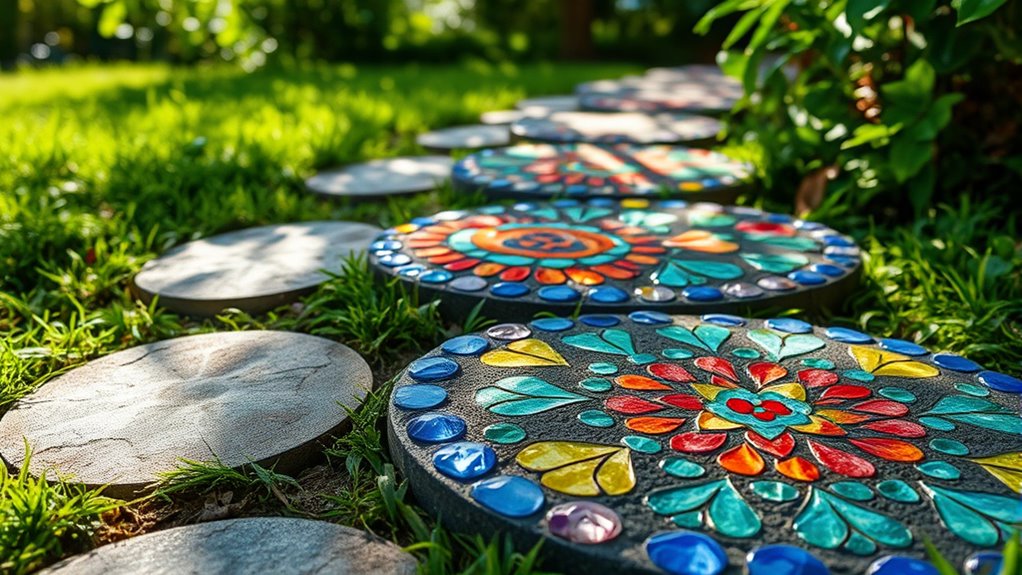
Mosaic Stepping Stones With Broken China
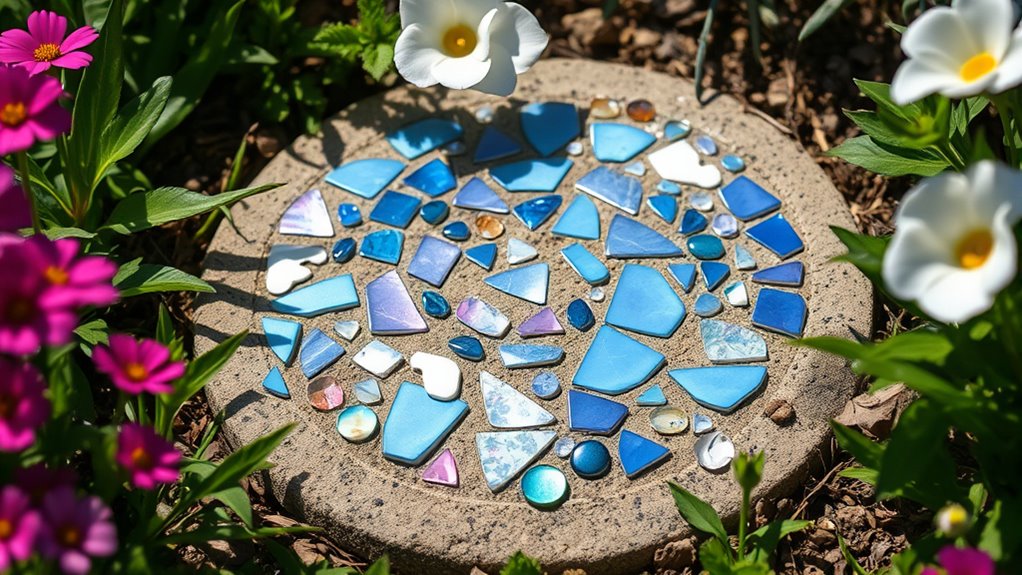
Transforming your garden with colorful mosaic stepping stones made from broken china offers a creative way to personalize outdoor spaces. Start by selecting sturdy stones as your base and clean them thoroughly. Break china pieces into varied shapes and sizes, then arrange them in appealing patterns or random designs. Use outdoor-safe adhesive to attach each piece securely to the stone, pressing firmly to guarantee they stay put. Once the mosaic is complete, apply a clear, waterproof sealant to protect your artwork from weather damage. These vibrant, one-of-a-kind stepping stones will add charm and personality to your garden paths. Plus, repurposing broken china prevents waste and transforms broken dishes into beautiful, functional art. Your garden will become a colorful, inviting space that reflects your creativity.
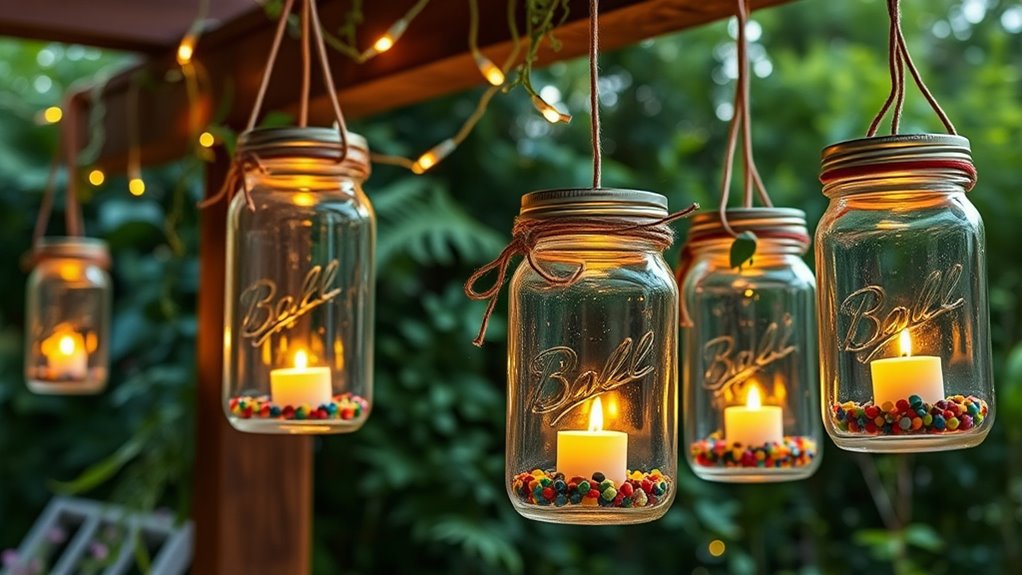
Twinkle Light Mason Jar Lanterns

Create charming ambiance in your garden by making twinkle light mason jar lanterns. These lanterns are easy to craft and add a magical glow. Start by gathering your materials:
- Mason jars
- Battery-operated fairy lights
- Decorative elements (ribbons, paint, or stickers)
- Wire or twine for hanging
Next, insert the fairy lights into each jar, ensuring the switch is accessible. Decorate the outside with paint, ribbons, or stickers to match your style. Wrap wire or twine around the jar’s neck for a rustic look and create a handle for hanging. Finally, hang your lanterns around your garden, along pathways, or from trees. These lanterns create a cozy, inviting atmosphere perfect for outdoor gatherings or relaxing evenings.
Frequently Asked Questions
What Eco-Friendly Materials Are Best for DIY Garden Crafts?
When choosing eco-friendly materials for your DIY garden crafts, you want options that are sustainable and biodegradable. Think about using recycled wood or bamboo for structures, natural fibers like jute or hemp for decorations, and repurposed items such as glass jars or metal cans. You can also incorporate compostable materials like coconut coir or straw. These choices help protect the environment while adding a unique, natural touch to your garden projects.
How Can I Ensure My Garden Crafts Withstand Weather Conditions?
To make sure your garden crafts withstand weather, you should choose durable, weather-resistant materials like treated wood, metal, or plastic. Seal or paint wood to protect it from moisture and UV rays. Use outdoor-grade adhesives and finishes to prevent peeling or cracking. Regularly inspect and maintain your crafts, applying fresh sealant if needed. With these steps, your creations will hold up against rain, sun, and wind, lasting longer outdoors.
Are There Safety Tips for Working With Specific Craft Supplies Outdoors?
When working with craft supplies outdoors, you should prioritize safety by wearing gloves and protective eyewear to prevent injuries. Always read labels for specific handling instructions, especially for paints, glues, or adhesives, and work in well-ventilated areas. Keep supplies away from children and pets, and clean up spills promptly to avoid accidents. By following these tips, you’ll enjoy your outdoor crafting safely and responsibly.
How Can I Personalize DIY Garden Decorations for Different Themes?
Your garden is a blank canvas waiting for your unique brushstrokes. To personalize DIY decorations for different themes, start by choosing colors and materials that reflect each theme’s vibe. Incorporate meaningful symbols or custom-painted details to make each piece stand out. Mix and match elements to tell a story or evoke a mood. With a little creativity, your garden becomes a living mosaic of your personality and passions.
What Tools Are Essential for Beginners in Garden Craft Projects?
When starting garden craft projects, you’ll want to gather a few essential tools. A pair of sharp scissors or pruning shears helps you trim and shape materials easily. A hot glue gun is perfect for quick, strong bonds, while a paintbrush and outdoor-safe paints let you add colorful details. You should also have a screwdriver or small hammer for assembling items, and gloves to protect your hands. These tools make your crafting safer and more enjoyable.
Conclusion
With these DIY garden ideas, you can truly turn your outdoor space into a personal paradise. Each project is a chance to roll up your sleeves and add a touch of your unique style. Don’t be afraid to get your hands dirty—sometimes you have to go the whole nine yards to make your garden stand out. So, grab your supplies and let your creativity run wild; your dream garden is just a project away!