
To clean and maintain your crafting tools, start by wiping them with warm, soapy water or rubbing alcohol for thorough removal of debris. Use soft brushes or old toothbrushes to clean blades and crevices, and dry tools completely to prevent rust. Store them properly in a dry, ventilated area, and apply light oil to metal parts for extra protection. Keep adhesives and paint tools clean and inspect your tools regularly—you’ll find plenty of helpful tips ahead.
Key Takeaways
- Regularly clean tools with warm, soapy water and soft brushes to remove debris and prevent rust.
- Use rubbing alcohol or acetone to eliminate adhesive residue and sanitize blades and surfaces.
- Sharpen blades periodically with appropriate tools, maintaining consistent angles for optimal cutting performance.
- Store tools in a dry, well-ventilated area with protective covers to prevent damage and rust.
- Apply a thin layer of oil after cleaning to create a moisture barrier and prolong tool lifespan.

3D Printer Tools Kit with Storage Bag, 44PCS 3D Printing Accessories-Craft Knife, 5 Types of Files, Scrapers, Tweezers, Nozzle Cleaning, Finishing Tools, Cutting Mat & More, Starter Kit for Printing
【Printing Experience Enhandced】This 44-pieces 3D printing tool kits is compatible with a wide range of printing materials and…
As an affiliate, we earn on qualifying purchases.
As an affiliate, we earn on qualifying purchases.
Gathering the Necessary Supplies
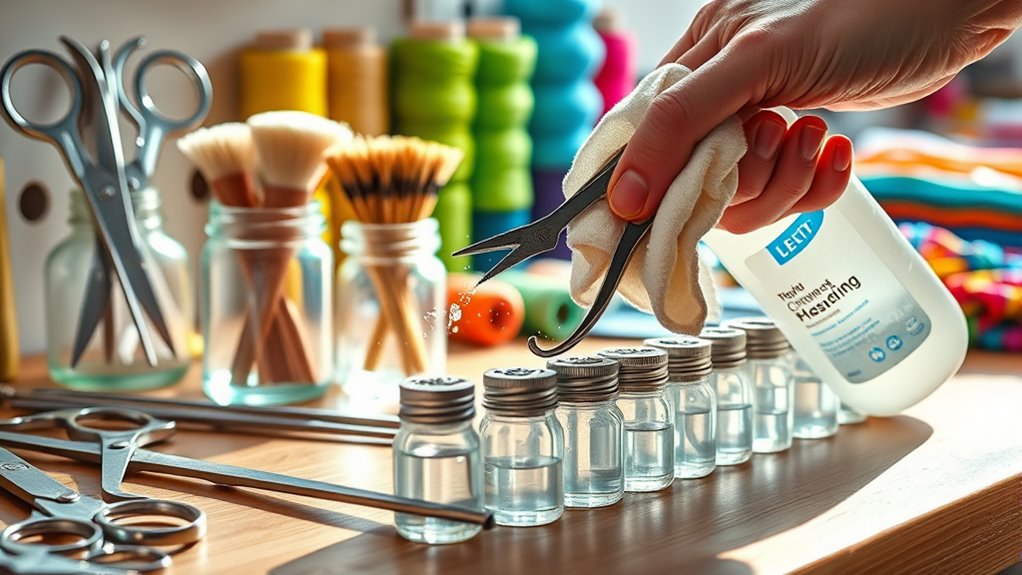
Have you gathered all the essential tools you’ll need for your crafting projects? Before you begin cleaning, make sure you have the right supplies on hand. You’ll want a soft cloth or microfiber towel to wipe down tools gently.
Ensure all your crafting tools are ready with soft cloths, brushes, and cleaning supplies before starting to keep everything in top condition.
A small brush or old toothbrush works well for removing debris from blades and crevices. Keep some mild soap or cleaning solution suitable for your specific tools—avoid harsh chemicals that could cause damage. Using appropriate tool maintenance techniques can extend the lifespan of your crafting tools and ensure they remain effective. Incorporating proper cleaning methods can also help prevent the buildup of residues that might affect your work quality. Regular cleaning with gentle exfoliation agents can maintain your tools’ surfaces and prevent corrosion.
You might also need rubbing alcohol or disinfectant for sanitizing. Don’t forget a pair of gloves if you’re working with chemicals, and a container or tray to hold small parts.
Gathering these supplies in advance helps streamline the cleaning process and ensures you’re prepared to keep your tools in top shape. Proper maintenance of your tools can also contribute to a more productive crafting experience, especially if you understand the types of materials your tools are made from and how they respond to different cleaning agents.

Orange Ninja Scissors Sharpener – 4 Angle Settings for Kitchen, Fabric, Hair & Craft Scissors – Quick, Safe Sharpening for All-Purpose & Heavy-Duty Scissors – Right Hand Use
4 Precision Sharpening Angles: Turn the dial to sharpen kitchen scissors, fabric scissors, hair scissors, sewing scissors, or…
As an affiliate, we earn on qualifying purchases.
As an affiliate, we earn on qualifying purchases.
Cleaning Scissors, Knives, and Cutting Tools
To keep your scissors, knives, and cutting tools in top shape, you need to focus on restoring their sharpness and storing them properly. Regular cleaning removes debris that can dull blades, while correct storage prevents damage and rust. Utilizing proper field recording techniques can also help maintain the integrity of your tools when working outdoors or in variable environments. Proper blade sharpening methods are essential for maintaining cutting efficiency and safety. Additionally, understanding the importance of contrast ratio can guide you in selecting the right lighting conditions for your workspace, ensuring better visibility and safer handling of your tools. Using durable and safe materials, such as non-toxic finishes, can also contribute to the longevity and safety of your crafting tools, especially in environments with children. In this section, we’ll explore effective methods to sharpen your tools and store them safely for long-lasting performance.
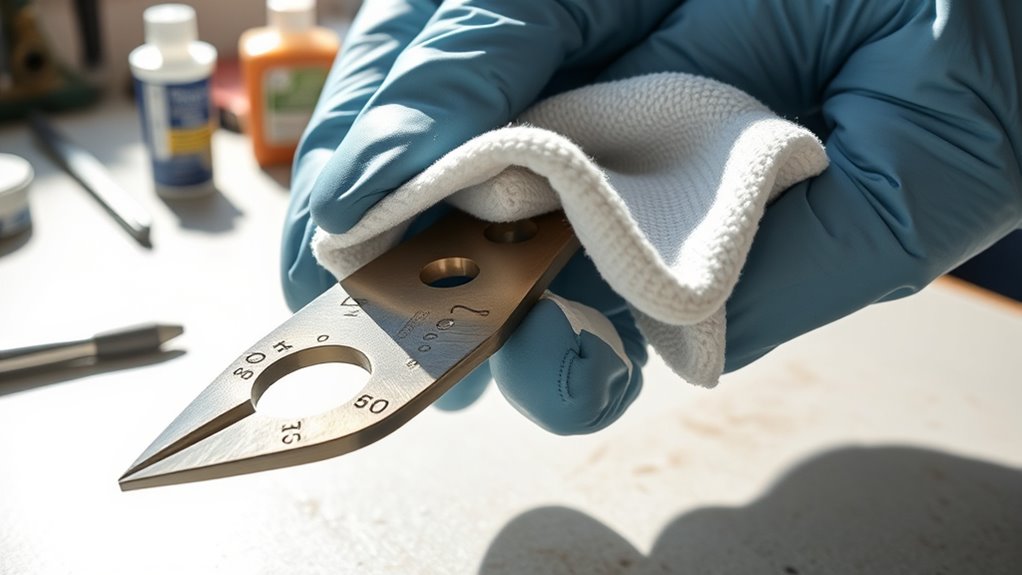
Sharpness Restoration Tips
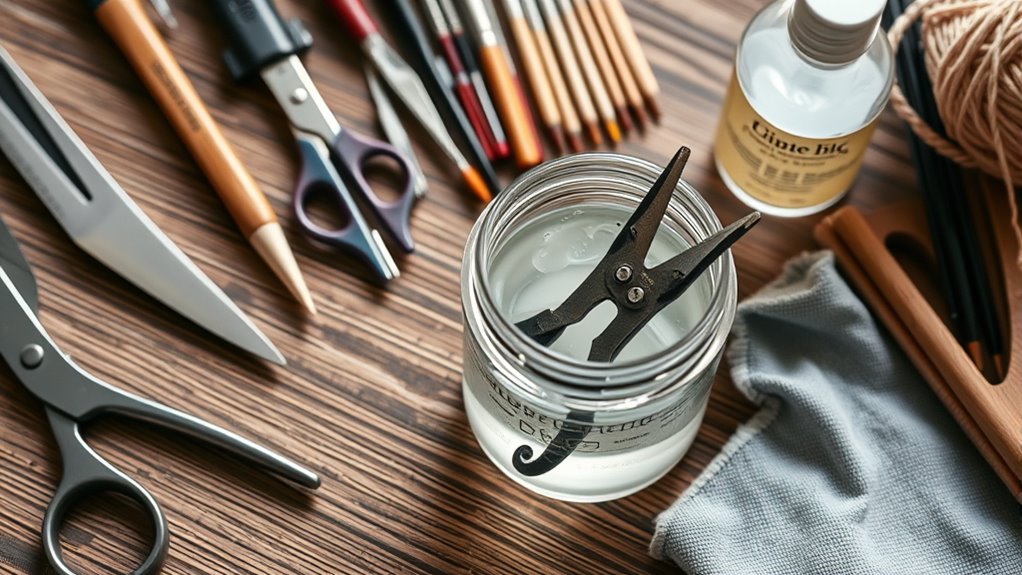
Over time, dirt, adhesive residue, and corrosion can dull the blades of your scissors, knives, and cutting tools, compromising their sharpness and performance. To restore their edge, start by cleaning the blades thoroughly with warm, soapy water and a soft brush to remove debris. For stubborn residue, use a small amount of rubbing alcohol or acetone on a cloth to dissolve adhesive buildup. Next, sharpen your blades with a sharpening stone, honing rod, or specialized tool, following the manufacturer’s instructions. Be sure to maintain a consistent angle for a clean, precise edge. After sharpening, wipe the blades with a clean cloth to remove metal shavings and debris. Regular sharpening and cleaning will keep your tools performing at their best, ensuring clean cuts every time. Proper maintenance techniques are essential for optimal Hyundai Tuning and longevity of your tools.
Proper Storage Techniques
Cleaning and sharpening your tools prepares them for proper storage, which helps maintain their performance and longevity. After cleaning, make sure your scissors, knives, and cutting tools are completely dry to prevent rust and corrosion. Proper storage in a dry, clean area away from moisture and extreme temperatures is essential. Use a designated tool holder or a toolbox with compartments to keep blades protected and prevent damage. For scissors and knives, consider wrapping the blades in protective covers or storing them with blade guards. Avoid tossing tools into drawers where they can get dull or nicked. Regularly inspect your stored tools for signs of rust or damage, and clean or sharpen them as needed. Additionally, utilizing smart technology can help monitor the condition of your tools and remind you when maintenance is required. Implementing preventive maintenance can further extend the lifespan of your tools and keep them in optimal condition. Proper storage techniques can also help prevent accidental injuries caused by exposed blades. Ensuring that your tools are stored in a dedicated storage space designed specifically for crafting tools can further enhance their preservation and safety. Furthermore, choosing storage options with climate control can help protect your tools from humidity and temperature fluctuations that accelerate deterioration.

CRAFTSMAN Storage Organizer, Small Parts Organizer, 3-Packs with 10-Compartments, Lid Includes Secure Latch (CMST60964M)
Removable dividers provide high customization for small parts and larger hand tools
As an affiliate, we earn on qualifying purchases.
As an affiliate, we earn on qualifying purchases.
Caring for Glue Guns and Adhesives
To keep your glue gun working smoothly, you need to clean any residue after each use. Proper storage also helps prevent clogs and extends its lifespan. Taking these simple steps guarantees your adhesives stay effective and your tools last longer. Being aware of security system effectiveness can help you understand how proper maintenance contributes to overall safety and performance. Additionally, understanding grocery store hours can assist in planning shopping trips efficiently, ensuring your supplies are always available when needed. Regular maintenance with the help of an Expert Appliances Technician can further prevent issues and prolong your tools’ usability. Incorporating hydrocolloid technology into your cleaning routine can also facilitate faster healing and less irritation when dealing with skin or tool damage.
Cleaning Residue Properly
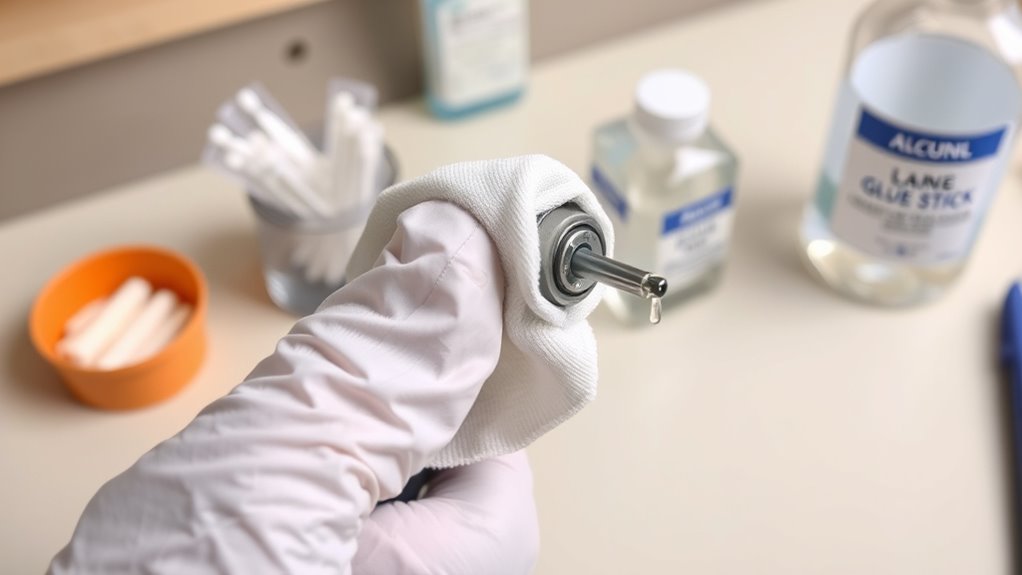
Properly cleaning residue from your glue gun and adhesives is essential to guarantee they function smoothly and last longer. After each use, unplug your glue gun and wait for it to cool down completely. Remove any leftover glue by gently scraping it with a soft cloth or a plastic scraper—avoid metal tools that could damage the nozzle. For hardened glue, warm the gun briefly to soften the residue before cleaning. Use a lint-free cloth dampened with isopropyl alcohol or a specialized cleaning solution to wipe away adhesive buildup, especially around the nozzle. Regular cleaning prevents clogs and ensures smooth glue flow. Be sure to clean the nozzle carefully, avoiding excessive force, to maintain a precise application every time. Proper maintenance keeps your tools in top shape. Additionally, tool longevity can be improved by establishing a routine cleaning schedule after each crafting session. Incorporating proper storage practices, such as keeping the glue gun in a cool, dry place, can also help prevent clogging and extend the lifespan of your adhesive tools. Staying informed about advanced automation techniques in manufacturing can help you optimize your setup and reduce downtime. Developing a consistent maintenance routine can further enhance the vibrational energy associated with your crafting environment, making your creative process more enjoyable and efficient.
Storing for Longevity
Storing your glue guns and adhesives correctly can effectively extend their lifespan and guarantee reliable performance over time. After use, unplug your glue gun and allow it to cool completely before storing.
Keep it in a dry, dust-free area, preferably in a dedicated toolbox or storage container to avoid accidental damage. For glue sticks, store them upright in a sealed container to prevent dust buildup and dehydration.
If your adhesive bottles are in use, ensure they’re tightly sealed to prevent drying out or contamination. Avoid exposing glue guns and adhesives to extreme temperatures, as heat can weaken the glue and damage components.
Proper storage not only preserves your tools’ functionality but also ensures safety and readiness for your next project.
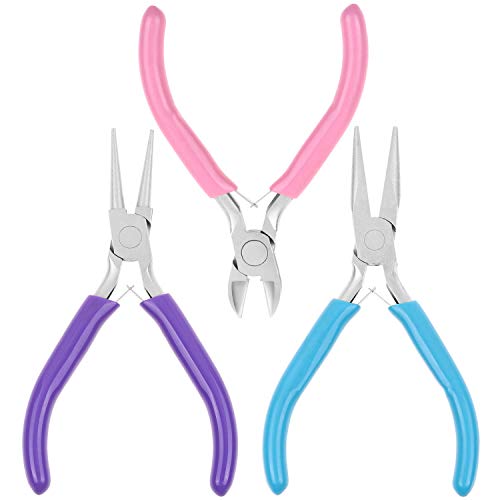
Shynek 3pcs Jewelry Making Plier Tools with Needle/Chain/Round Nose Pliers and Wire Cutter for Jewelry Repair, Wire Wrapping, Crafts, Jewelry Making Supplies
PLEASE NOTE: The jewelry making tools are coated with oil to prevent rust.If the jewelry making pliers you…
As an affiliate, we earn on qualifying purchases.
As an affiliate, we earn on qualifying purchases.
Maintaining Paintbrushes and Painting Tools
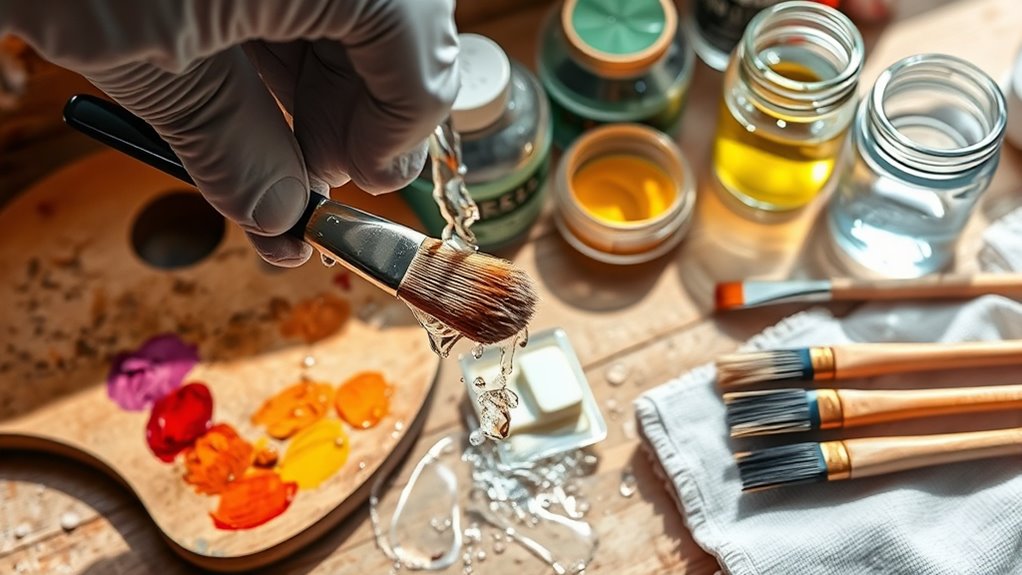
Cleaning and maintaining your paintbrushes and painting tools regularly guarantees they perform well and last longer. After each use, rinse brushes thoroughly with warm water or the appropriate solvent for your paint type. Gently work out excess paint from the bristles with your fingers or a brush comb.
For stubborn paint, soak brushes in cleaning solution, then reshape the bristles and dry them flat or hanging to prevent splaying. Store brushes with the bristles facing up or flat in a container to prevent damage.
Clean paint rollers and other tools with warm water and mild soap, then dry thoroughly to avoid mold and deterioration. Proper maintenance ensures your tools stay in top condition, providing consistent results for all your projects.
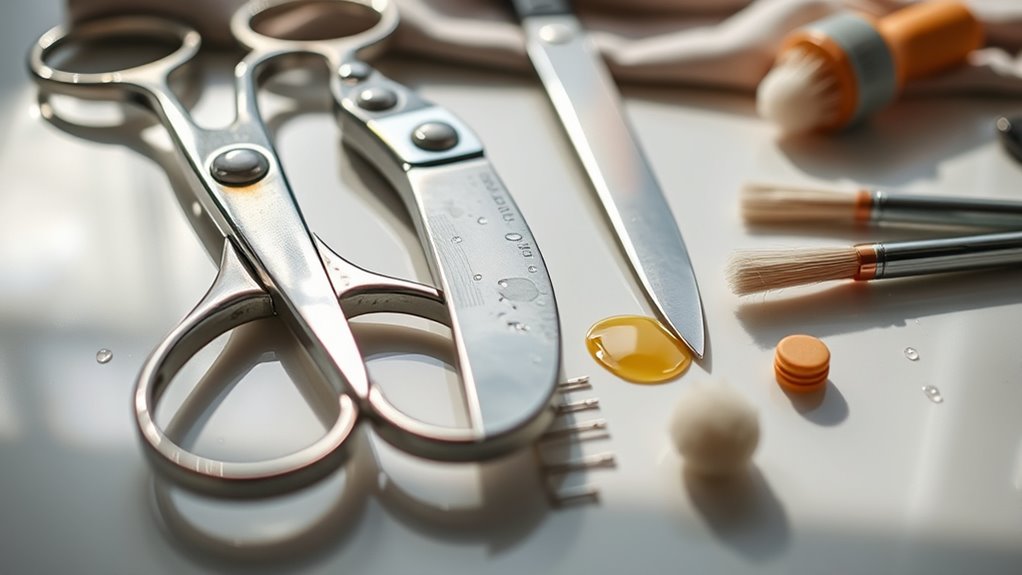
Preventing Rust and Corrosion on Metal Tools
Metal tools are vulnerable to rust and corrosion, especially when exposed to moisture or humid environments. To prevent this, always wipe your tools dry after use, removing any traces of water or sweat.
Apply a thin layer of oil, like mineral or machine oil, to metal surfaces to create a barrier against moisture. Store your tools in a dry, well-ventilated area, and consider using silica gel packs or desiccants to absorb excess humidity.
Regularly inspect your tools for signs of rust, and if you notice any, remove it promptly with steel wool or a rust remover. Avoid leaving tools in damp places or in contact with materials that can trap moisture.
Proper care and preventive measures keep your tools rust-free and in top condition.
Storing Your Tools for Longevity

To guarantee your tools last as long as possible, proper storage is essential. Store your tools in a dry, clean environment to prevent rust and corrosion.
Keep metal tools in a toolbox or on a pegboard with individual slots to avoid contact that could cause damage. For delicate tools, use protective sleeves or pouches.
Avoid stacking heavy items on top of your tools, which can cause warping or dents. Regularly inspect your storage area for moisture or dust, and clean the tools before putting them away.
Consider adding silica gel packs or rust inhibitors to your storage space for extra protection. Proper storage not only extends the life of your tools but also ensures they’re ready for your next project.
Frequently Asked Questions
How Often Should I Replace My Crafting Tools for Optimal Performance?
You should replace your crafting tools when they become dull, damaged, or no longer function properly. Regularly inspect your tools after each project, and if you notice chips, rust, or bending, it’s time for replacements.
Using worn-out tools can affect your work quality and safety. Trust your judgment—if a tool isn’t performing as it should, upgrading guarantees you get the best results and maintain your crafting efficiency.
Can I Use Household Cleaning Products to Clean Craft Tools Safely?
You might wonder if household cleaning products are safe for your craft tools. While some can be effective, many contain chemicals that may damage delicate surfaces or finishes. It’s best to read the manufacturer’s instructions first.
Generally, mild soap and water or specific cleaning solutions for your tools work better. Using the right products helps keep your tools in top shape, ensuring they last longer and perform well.
What Are the Signs That a Crafting Tool Needs Professional Repair?
They say a stitch in time saves nine, and that applies here. When your crafting tools show signs like persistent rust, cracks, or if they don’t perform as smoothly as before, it’s time to seek professional repair.
Dull blades, chipped edges, or tools that feel loose are also red flags. Don’t ignore these signs; addressing issues early keeps your tools in top shape and your projects flawless.
How Do I Disinfect Tools After Working With Potentially Hazardous Materials?
After working with potentially hazardous materials, you should disinfect your tools thoroughly. First, wipe off any residue with a damp cloth.
Then, soak or wipe the tools with a disinfectant solution like rubbing alcohol or a diluted bleach mix. Make sure to scrub thoroughly, especially in crevices.
Rinse with clean water if needed, dry completely, and store them in a safe, clean place to prevent contamination.
Are There Eco-Friendly Methods to Maintain and Clean My Crafting Tools?
You can keep your crafting tools eco-friendly by using natural cleaning solutions like vinegar and water or baking soda paste. These substances effectively remove residue without harmful chemicals.
After use, scrub tools gently, rinse thoroughly, and dry completely to prevent rust.
Regular maintenance with these eco-conscious methods not only extends your tools’ lifespan but also helps protect the environment, ensuring your creative space stays sustainable and safe.
Conclusion
Keeping your crafting tools in top shape is essential to make certain they last and perform well. With proper cleaning and storage, you’ll prevent small issues from turning into big headaches down the line. Think of it as giving your tools a little TLC—because a stitch in time saves nine. Stay proactive with your maintenance, and your crafting projects will stay smooth, enjoyable, and frustration-free. After all, a well-kept tool is worth its weight in gold!