
Transform your workspace with fun, easy DIY crafts like colorful mason jar pencil holders, personalized desk calendars, inspiring wall art, and unique cable wraps to keep things tidy. You can craft decorative binder clips, upcycled tin can pen cups, and motivational coasters that add personality and motivation to your desk. These creative ideas will make your office more organized and lively. Keep exploring to discover even more simple, stylish DIY projects to personalize your space.
Key Takeaways
- Create colorful mason jar pencil holders and upcycled tin can organizers for personalized desk storage.
- Design motivational quote coasters and decorative wall art to inspire and brighten your workspace.
- Craft handmade desk accessories like custom trays, binder clips, and nameplates for a unique office setup.
- Use materials like fabric, washi tape, and paint to decorate cables, cans, and organizational tools for a stylish look.
- Add personal touches with stickers, photos, and labels to customize your desk and boost workspace motivation.
Colorful Mason Jar Pencil Holders
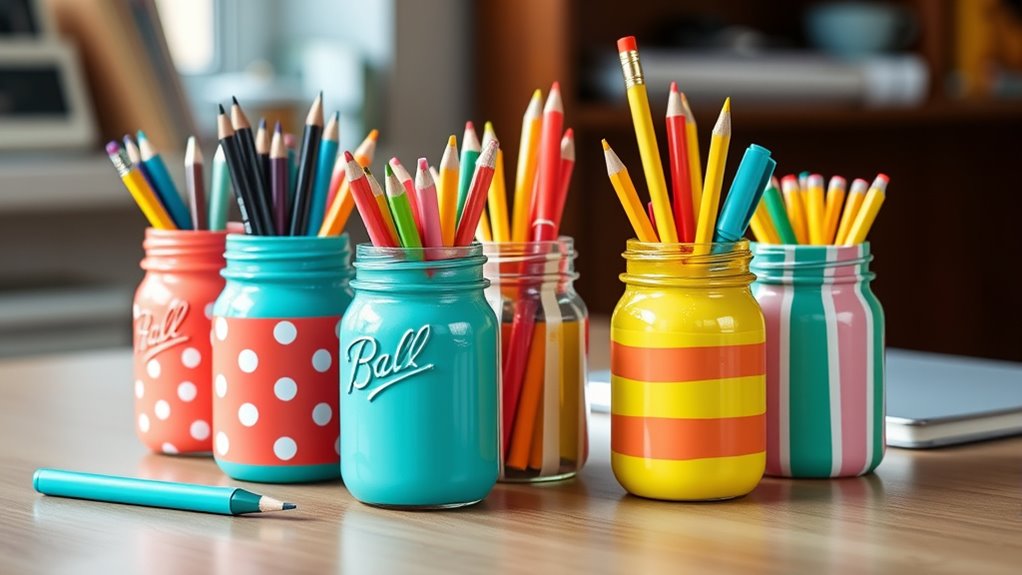
Adding a splash of color to your workspace is easy with DIY colorful mason jar pencil holders. Grab some mason jars and choose your favorite paint or decorative paper. You can paint the jars in vibrant hues or wrap them with patterned paper for a personalized touch. To make them more functional, add a layer of waterproof sealant to protect your designs from spills. Once dry, fill the jars with pens, pencils, and other small office supplies. These holders not only keep your desk organized but also brighten up the space with their cheerful colors. Plus, they’re simple to customize—try using washi tape, stickers, or even tie a ribbon around the neck for extra flair. They’re a fun, inexpensive way to add personality to your work area. Incorporating personality into your office decor can help foster a more inviting and motivating environment.
Customized Desk Calendar

A customized desk calendar not only helps you stay organized but also adds a personal touch to your workspace. You can create one using simple supplies like cardstock, stickers, and markers. Start by designing each month with your favorite colors, photos, or motivational quotes. Use a hole punch and binder rings or a tabletop stand to assemble your calendar. Incorporate important dates, birthdays, or deadlines directly onto the pages for easy reference. Personal touches, like doodles or doodle spaces, make it uniquely yours. This craft is functional and fun, giving you a constant reminder of what’s ahead while reflecting your personality. Plus, it’s a cost-effective way to brighten your desk and boost your productivity every day. Color accuracy can also be enhanced by choosing the right color scheme for your design, making your calendar more visually appealing. Additionally, customizing your calendar allows for community engagement by including local events or celebrations that matter to you. Understanding store hours can help you plan your shopping trips efficiently if you need supplies or want to shop during less busy times. Proper application timing of different craft materials can ensure your calendar lasts longer and looks polished. Furthermore, being aware of privacy and cookie usage can help you better manage your online shopping or craft resource browsing for supplies.
Elegant Quote Wall Art
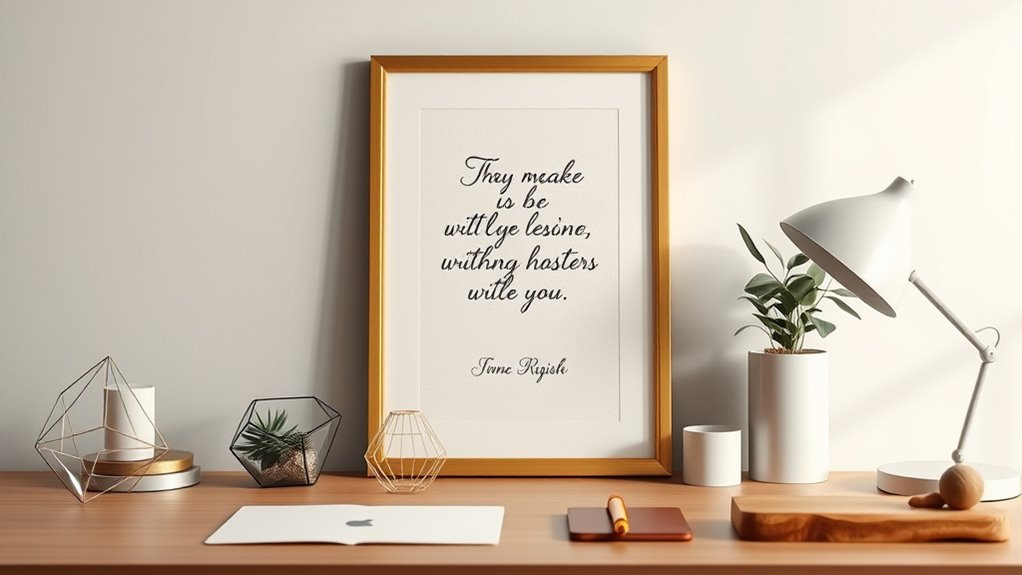
Have you ever wanted to inspire yourself every time you glance at your workspace? Creating elegant quote wall art is an easy way to do just that. Pick a meaningful quote that motivates or uplifts you, then choose a stylish font and color scheme that matches your office decor. You can design your quote on your computer or handwrite it for a personal touch. Print it out on quality paper or cardstock, then frame it with a sleek, simple frame to add sophistication. Hang your wall art in a prominent spot where you see it often, like above your desk or near your workspace. This piece acts as a daily reminder to stay positive and focused, giving your office a personalized, inspiring touch. Using Pimple Patches as a metaphor, your quote can serve as a targeted reminder to keep your motivation clear and effective throughout the day. Incorporating interior design principles such as balance and harmony can enhance the overall aesthetic of your space. Additionally, choosing quotes that reflect economic stability can promote a sense of security and confidence in your workspace environment. To further enhance your environment, consider integrating mindfulness techniques such as deep breathing or visualization to maintain focus and tranquility while working.
DIY Cable Organizer Wraps

Creating your own cable organizer wraps is simple and customizable. You can choose stylish materials like fabric, washi tape, or rubber bands, and learn an easy wrapping technique that keeps your cables tidy. This DIY solution not only looks great but also helps prevent tangles and clutter on your desk. Incorporating community engagement by sharing your designs can inspire others to get creative with their workspace organization. Additionally, understanding local resources for crafting supplies can make your project more accessible and enjoyable. Exploring DIY tuning ideas can also help personalize your cable wraps for a unique touch.
Stylish Material Options
Choosing the right materials can instantly elevate your DIY cable organizer wraps, making them both functional and stylish. Fabric strips like colorful linen, burlap, or patterned cotton add a vibrant touch, while leather or faux leather offers a sleek, professional look. You might opt for elastic bands or silicone sleeves for a modern, minimalist vibe. Natural materials such as jute or twine give a rustic charm, perfect for a cozy office space. For a more personalized touch, consider using washi tape or decorative ribbons to embellish your wraps. The key is to select materials that match your workspace’s aesthetic and your personal style. Durable, flexible options ensure your wraps stay secure, while eye-catching textures add visual interest. Mixing different textures and materials can also enhance the overall aesthetic appeal of your desk setup, making it both practical and uniquely yours. Incorporating prophetic dreams concepts into your workspace decoration might inspire creativity and intuition in your daily tasks. Additionally, considering personality traits, such as your zodiac sign compatibility, can help you choose colors and textures that reflect your personal energy and enhance your workspace harmony. Understanding the security of your materials will also help ensure your cables remain protected and organized over time, especially when using colorful textiles that can hide minor wear and tear.
Easy Wrapping Technique
To achieve a neat and secure wrap for your cables, start by gathering your chosen material and cutting it to the desired length. Wrap the material around the cable, making sure to leave enough slack at both ends. Once in place, secure the wrap with a simple knot or a small piece of adhesive tape if needed. For a cleaner look, tuck the end under the wrap or use a bit of hot glue to hold it in place. Keep the wrap snug but not too tight to avoid damaging the cable. This technique is quick, effective, and customizable to your cable sizes, helping you keep your workspace tidy and cables organized without much effort. Additionally, choosing versatile and durable materials can enhance the longevity and appearance of your cable wraps. Knowing how to properly manage cables can also prevent damage and improve safety in your workspace.
Keeps Cables Tidy
Keeping your cables tidy is simple with DIY cable organizer wraps. These wraps prevent tangles, save space, and make your desk look cleaner. To make one, use materials like fabric, Velcro, or rubber bands. Wrap the cord neatly, then secure it with your chosen fastener. Customize the size for different cables to keep everything organized. The key is to keep cables grouped and prevent them from slipping or tangling.
| Cable Type | Wrap Material | Fastener Type |
|---|---|---|
| Charging Cables | Fabric Strip | Velcro |
| Earbuds | Rubber Band | None |
| Power Cords | Silicone Sleeve | Velcro |
| USB Cables | Cloth Wrap | Snap Button |
| Monitor Cables | DIY Fabric Wrap | Tape |
Personalized Sticky Note Dispenser
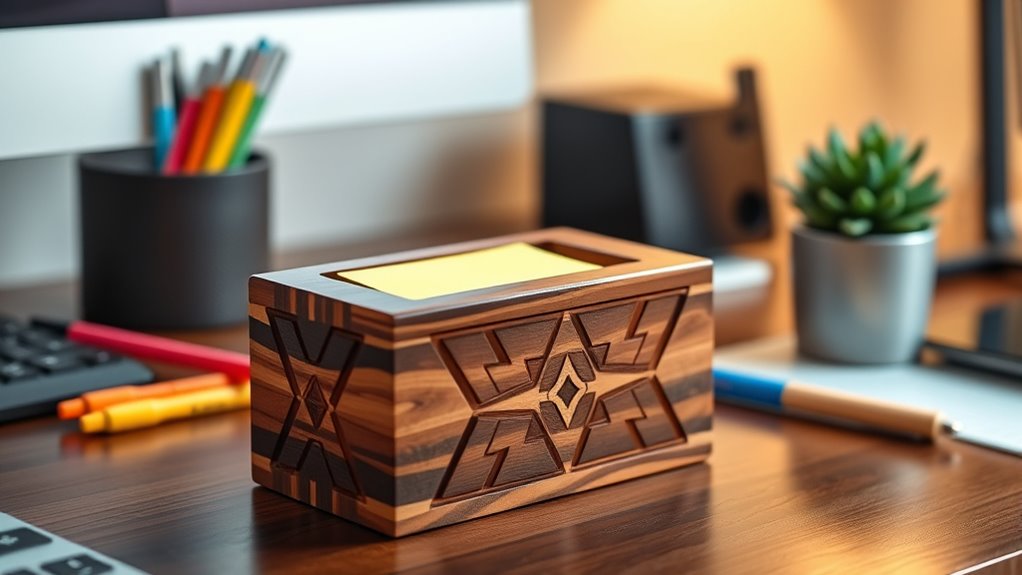
A personalized sticky note dispenser adds both function and personality to your workspace. It keeps your notes easily accessible while showcasing your style. To make one, gather a small box or container that fits your notes, then decorate it with paint, washi tape, stickers, or even printed photos. You can write your name or fun designs on the outside for a unique touch. If you want to get fancy, attach a small magnet to the back so it can stick to your metal desk or filing cabinet. Filling it with colorful sticky notes makes it easy to grab what you need quickly. This simple craft keeps your desk tidy and adds a bit of flair to your daily routine.
Creative Paper Clip Baskets
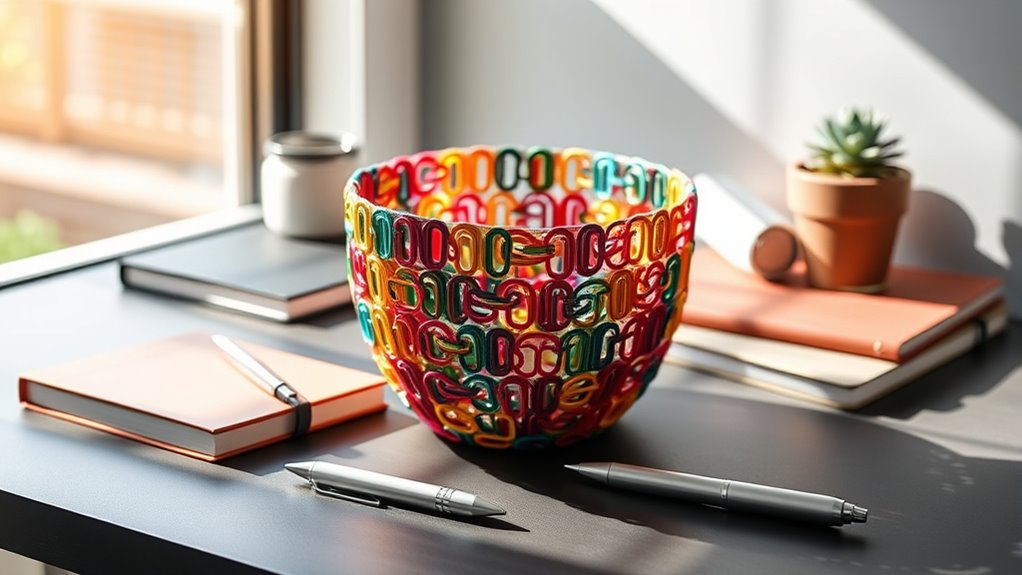
Creating a paper clip basket is easy with the right materials and some simple tips. You’ll find a step-by-step guide to assemble it quickly, plus ideas to customize and decorate your design. Let’s get started on turning plain supplies into a functional and fun desk accessory.
Materials Needed and Tips
To craft your creative paper clip basket, gather a few essential materials: sturdy cardboard or thick paper for the base, colorful paper clips, and strong adhesive like hot glue or craft glue. You might also want scissors to cut the cardboard and tweezers for handling small clips. Using vibrant paper clips adds visual appeal, so choose a variety of colors to make your basket lively. For best results, opt for a hot glue gun to guarantee quick, strong adhesion, but craft glue works if you prefer a slower dry time. Keep a damp cloth nearby to clean up any excess glue. To make your project smoother, work on a flat, protected surface, and organize your clips by color before starting. These simple tips will help you create a sturdy, attractive basket.
Step-by-Step Assembly Guide
Begin by shaping your base from sturdy cardboard or thick paper, cutting it to your desired size with scissors. Next, fold the sides upward to form the basket’s walls, ensuring they are even. Secure the edges with glue or tape to hold the shape. Then, take paper clips and interlock them by hooking the end of one clip into the loop of another, creating a flexible, woven structure. Continue linking paper clips until your basket reaches the desired height. Once finished, reinforce the edges by gluing additional clips along the top rim for stability. Finally, let the glue dry completely before using your basket. With these steps, you’ll craft a sturdy, stylish paper clip basket perfect for organizing your desk essentials.
Customization and Decor Ideas
Once you’ve assembled your paper clip basket, you can easily personalize it to match your style and workspace. Start by painting it with your favorite colors or adding patterns with markers or stickers. You could also wrap the exterior with decorative washi tape for a pop of design. For a touch of elegance, glue on small embellishments like rhinestones or charms. If you want a more organized look, label sections with handwritten tags or printed labels. To make it truly unique, consider lining the inside with patterned paper or fabric. This not only adds visual interest but also protects the basket’s surface. With a few simple touches, your paper clip basket becomes a functional, stylish piece that complements your desk decor perfectly.
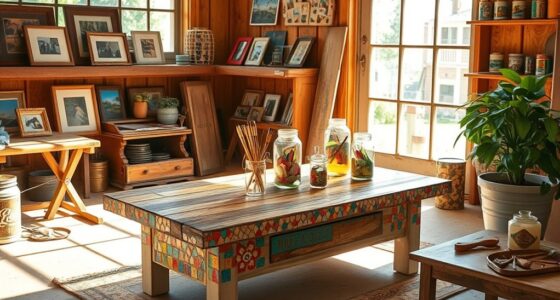
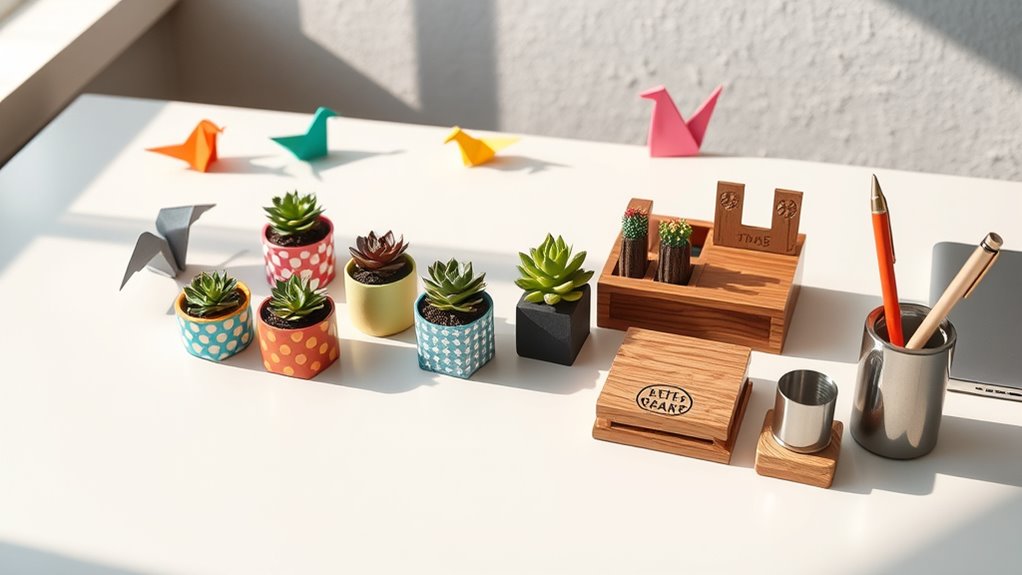
Stylish Desk Plant Holders

Have you ever thought about how your desk space can reflect your style? A stylish desk plant holder adds personality and freshness to your workspace. You can craft one from everyday items, making it both functional and decorative. Here are three ideas to inspire you:
- Repurposed Jar Holder: Use a vintage jar or mug, paint or decorate it to match your decor, and add some gravel at the bottom for drainage.
- Geometric Concrete Holder: Mix concrete in a mold to create a modern, angular planter that’s sturdy and eye-catching.
- Macrame Plant Hanger: Craft a colorful macrame hanger to suspend a small pot, adding texture and a boho touch.
These DIY projects keep your desk lively and personalized without breaking the bank.
Handmade Desk Tray
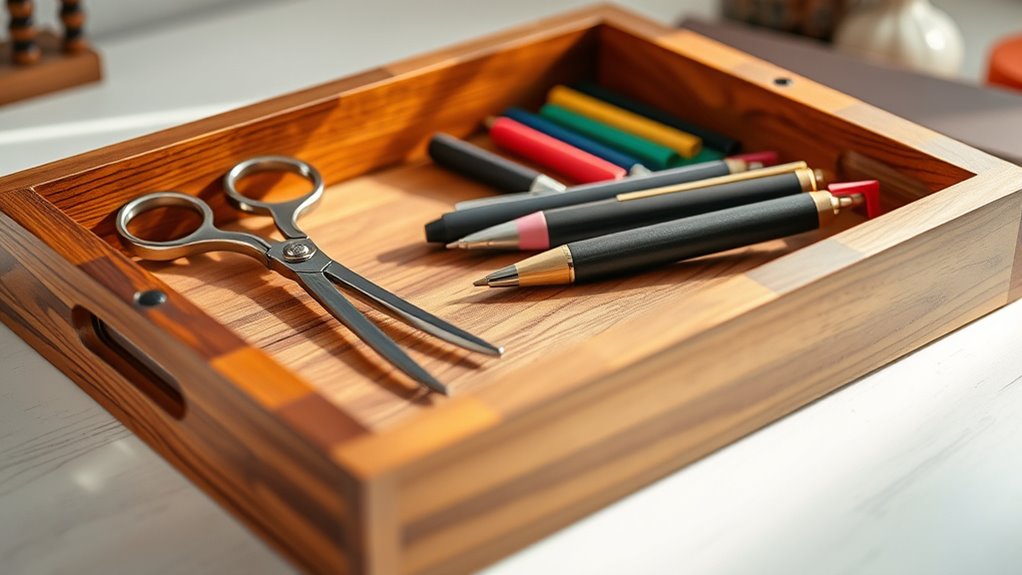
A handmade desk tray is a practical and personalized addition to your workspace that helps keep your essentials organized. You can create it using materials like cardboard, wood, or even repurposed items. Start by measuring the space you want to fill and cut your chosen material accordingly. Fold or assemble the pieces to form compartments for pens, paper clips, sticky notes, and other small items. Decorate the tray with paint, washi tape, or fabric to match your style. Not only does this keep your desk tidy, but it also adds a custom touch to your office. Plus, making your own tray gives you the satisfaction of a handcrafted item tailored to your needs. It’s a simple project that combines organization with personal flair.
Decorative Binder Clips
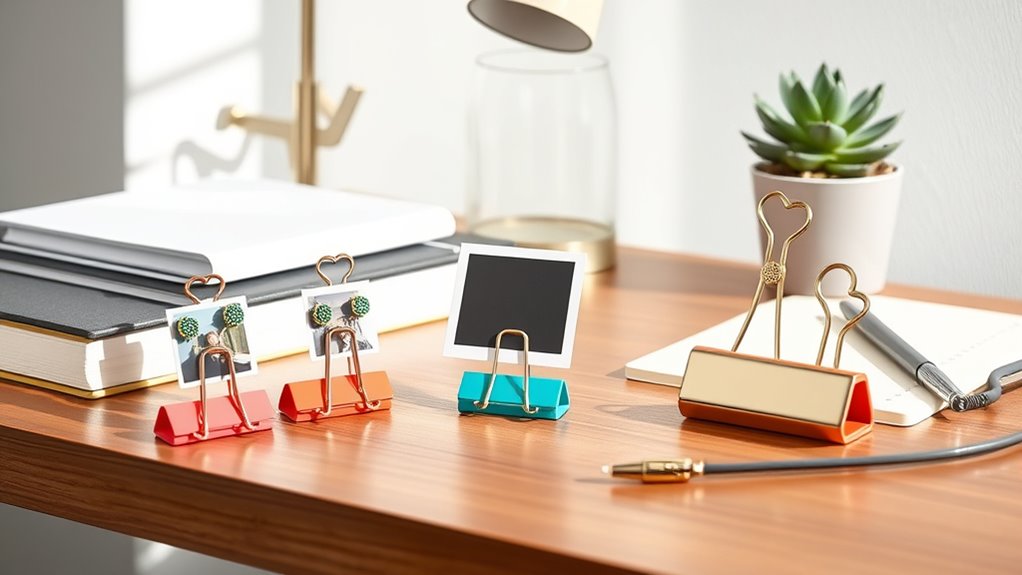
Ever thought about adding a splash of personality to your desk with just a simple accessory? Decorative binder clips are perfect for that. You can turn plain clips into fun, colorful accents that brighten your workspace. To do this, try these ideas:
Add personality to your desk with colorful, decorated binder clips for a fun, creative touch.
- Paint or decorate your clips with markers, washi tape, or small stickers to match your style.
- Wrap them with twine, ribbon, or fabric for a textured look that also secures papers.
- Add charms or embellishments by attaching tiny objects to the tops for a personalized touch.
These small changes cost little but make a big difference. They help keep your papers organized while giving your desk a creative, lively vibe. Plus, they’re easy to remove or update whenever you want a fresh look.
Unique Desk Name Plate

Adding a touch of personality to your workspace doesn’t have to stop with decorative binder clips. A unique desk name plate instantly personalizes your space and makes it feel more inviting. You can craft one using materials like wood, cork, or even repurposed objects. For example, paint a small wooden plaque with your favorite colors and add your name in bold lettering. Or, glue decorative elements like washi tape, stickers, or mini figurines for a fun, distinctive look. If you’re feeling crafty, try layering different textures or incorporating your hobbies. Not only does this make your desk easier to identify, but it also reflects your style. Plus, creating your own name plate offers a satisfying DIY experience, making your workspace truly yours.
Upcycled Tin Can Pen Cups
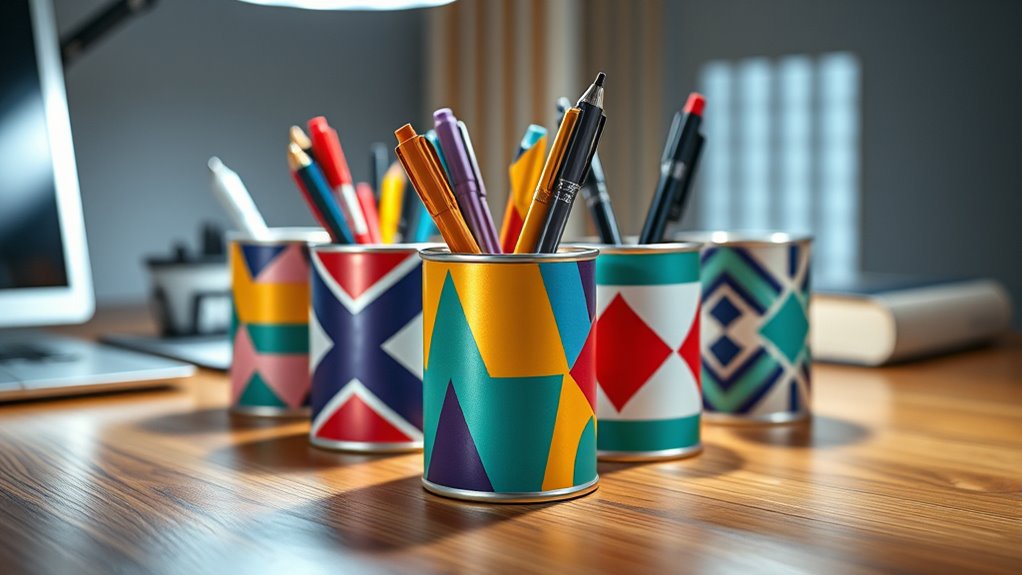
Start by selecting recyclable cans that suit your style and purpose. Then, decorate them with colorful paints to make your workspace brighter and more personalized. Finally, add labels to keep your pens, pencils, and supplies organized at a glance.
Choose Recyclable Cans
Recyclable cans make excellent materials for creating upcycled tin can pen cups that add a personalized touch to your workspace. When choosing cans, look for those made of durable metal without sharp edges or rust. Picking the right cans guarantees your craft stays sturdy and safe. Focus on cans that are clean and free of labels, or easily removable if you want a smooth surface. Avoid cans that are dented or damaged, as they may not stand up well over time. Selecting the right cans allows you to customize your desk organization while reducing waste. Here are some tips to help you choose:
- Opt for cans with smooth surfaces and minimal dents.
- Use cans that are thoroughly cleaned and label-free.
- Select sizes that suit your storage needs and aesthetic preferences.
Decorate With Paints
Decorating your upcycled tin can pen cups with paints is a fun way to personalize your workspace. Choose bright, bold colors or soft pastels to match your style. Use acrylic paints for durability and quick drying. For added flair, try patterns like stripes, polka dots, or geometric shapes. You can also add designs like flowers or abstract art for a unique touch. To help you plan, here’s a simple idea:
| Paint Type | Design Ideas |
|---|---|
| Acrylic | Polka dots, stripes |
| Chalkboard | Write motivational quotes |
| Metallic | Gold or silver accents |
| Matte Finish | Solid colors for a sleek look |
Organize With Labels
Adding labels to your upcycled tin can pen cups instantly boosts organization and makes it easier to find your supplies. Clear labels help you quickly identify pens, pencils, markers, or other office tools, saving you time. To get started, consider these ideas:
- Use a label maker or print labels on your computer for a professional look.
- Write directly on the cans with permanent marker for a quick, DIY touch.
- Color-code your labels to categorize supplies, like blue for pens and red for markers.
Keep labels simple and legible, placing them on the front or top of each can. This method transforms your desk into an organized space, making work more efficient and less cluttered.
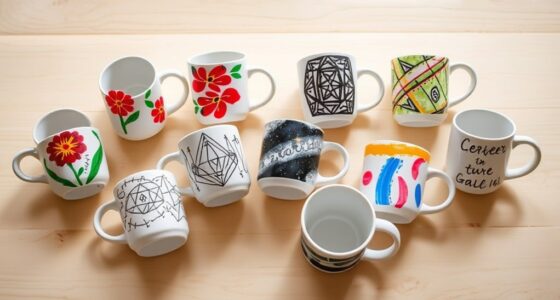
Fun Motivational Quote Coasters
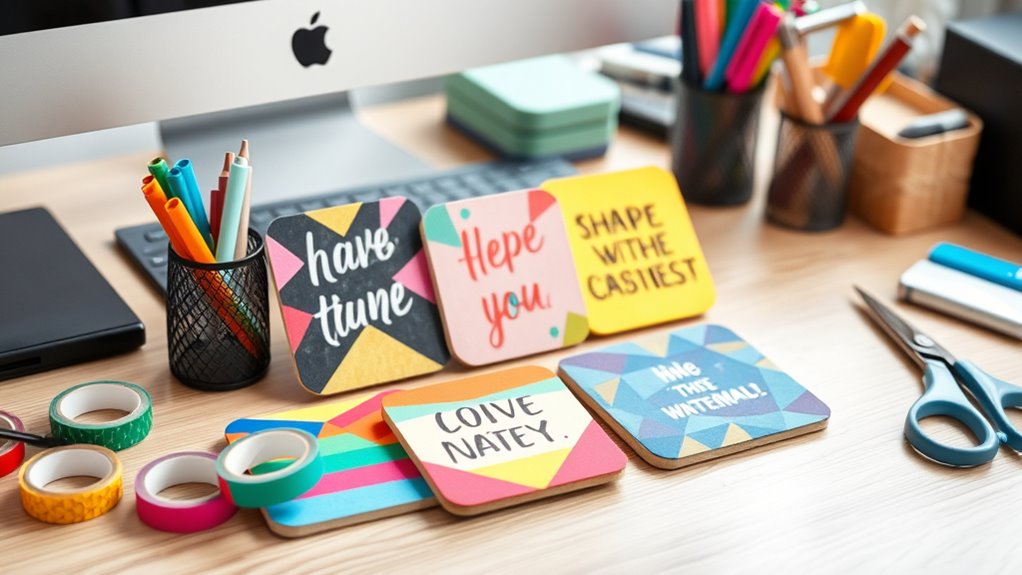
If you’re looking to brighten up your workspace, fun motivational quote coasters are a simple yet effective way to do so. They add personality and inspiration to your desk while protecting surfaces. You can customize each coaster with quotes like “You’ve Got This,” “Stay Positive,” or “Keep Going.” Think of a 3×3 table with different designs:
| Bright Colors | Bold Fonts | Playful Icons |
|---|---|---|
| Inspirational Quotes | Cheery Patterns | Motivational Words |
| Unique Artworks | Fun Doodles | Uplifting Messages |
These coasters become mini art pieces that encourage you throughout the day. Plus, they’re easy to craft and personalize, turning your workspace into a lively, motivating environment.
Frequently Asked Questions
What Are Eco-Friendly Materials for DIY Desk Crafts?
When choosing eco-friendly materials, you’re making a positive impact on the environment. Consider using recycled paper or cardboard for decorations or storage solutions. Bamboo is a great sustainable option for organizers or pen holders, as it grows quickly and requires minimal resources. You can also opt for natural fabrics like linen or hemp for desk accessories. Using these materials keeps your workspace eco-conscious and stylish at the same time.
How Can I Customize Crafts for Different Office Themes?
Imagine your office as a garden, each space a different flower needing unique care. To customize crafts for various themes, you tailor colors, textures, and accessories like a gardener choosing the right plants. Use themed stickers, matching desk accessories, or specific color palettes to bring your vision to life. Personal touches, like miniature figurines or seasonal decor, help your workspace bloom perfectly with each theme, making it uniquely yours.
What Safety Precautions Should I Take During DIY Projects?
When doing DIY projects, you should prioritize safety. Always work in a well-ventilated area to avoid inhaling fumes or dust. Wear protective gear like gloves, goggles, and masks to prevent injuries. Keep your workspace organized to prevent accidents, and handle sharp tools carefully. Read instructions thoroughly before starting, and never rush. Taking these precautions helps guarantee you enjoy your crafts without risking your safety.
How Do I Ensure Durability in Handmade Desk Accessories?
Think of your project as building on a sturdy foundation. To guarantee durability in your handmade desk accessories, use quality materials suited for everyday wear. Pay attention to proper adhesion and finishing techniques; don’t cut corners. Allow sufficient drying time and reinforce weak spots. By taking these steps, you’ll create pieces that stand the test of time—built to last as long as your workday, no matter how busy it gets.
What Tools Are Essential for Beginner DIY Office Crafts?
When starting with DIY office crafts, you’ll want to gather essential tools to make the process easier. A good pair of scissors, a hot glue gun, a ruler, and craft knives are must-haves. You’ll also need some basic supplies like glue, tape, and markers. These tools help you craft neatly and efficiently, ensuring your projects turn out just as you envision. With these, you’ll be ready to create personalized, functional office accessories.
Conclusion
With these DIY crafts, your desk will go from boring to mind-blowingly awesome—like a secret agent’s command center or a superstar’s backstage haven! Imagine walking into your office and feeling like you’ve just stepped into a Pinterest dream, where everything is perfectly organized and bursting with personality. Trust me, your coworkers will be so jealous they’ll think you’ve got a magic touch. So, get crafting and turn your workspace into the envy of the universe!